
Your Lawn & Landscape Still Needs Moisture… Even During The Off Season!

As the lawn and landscape season winds down there is one very important never-ending task: Monitoring the weather to make sure your lawn and landscape is receiving enough moisture.
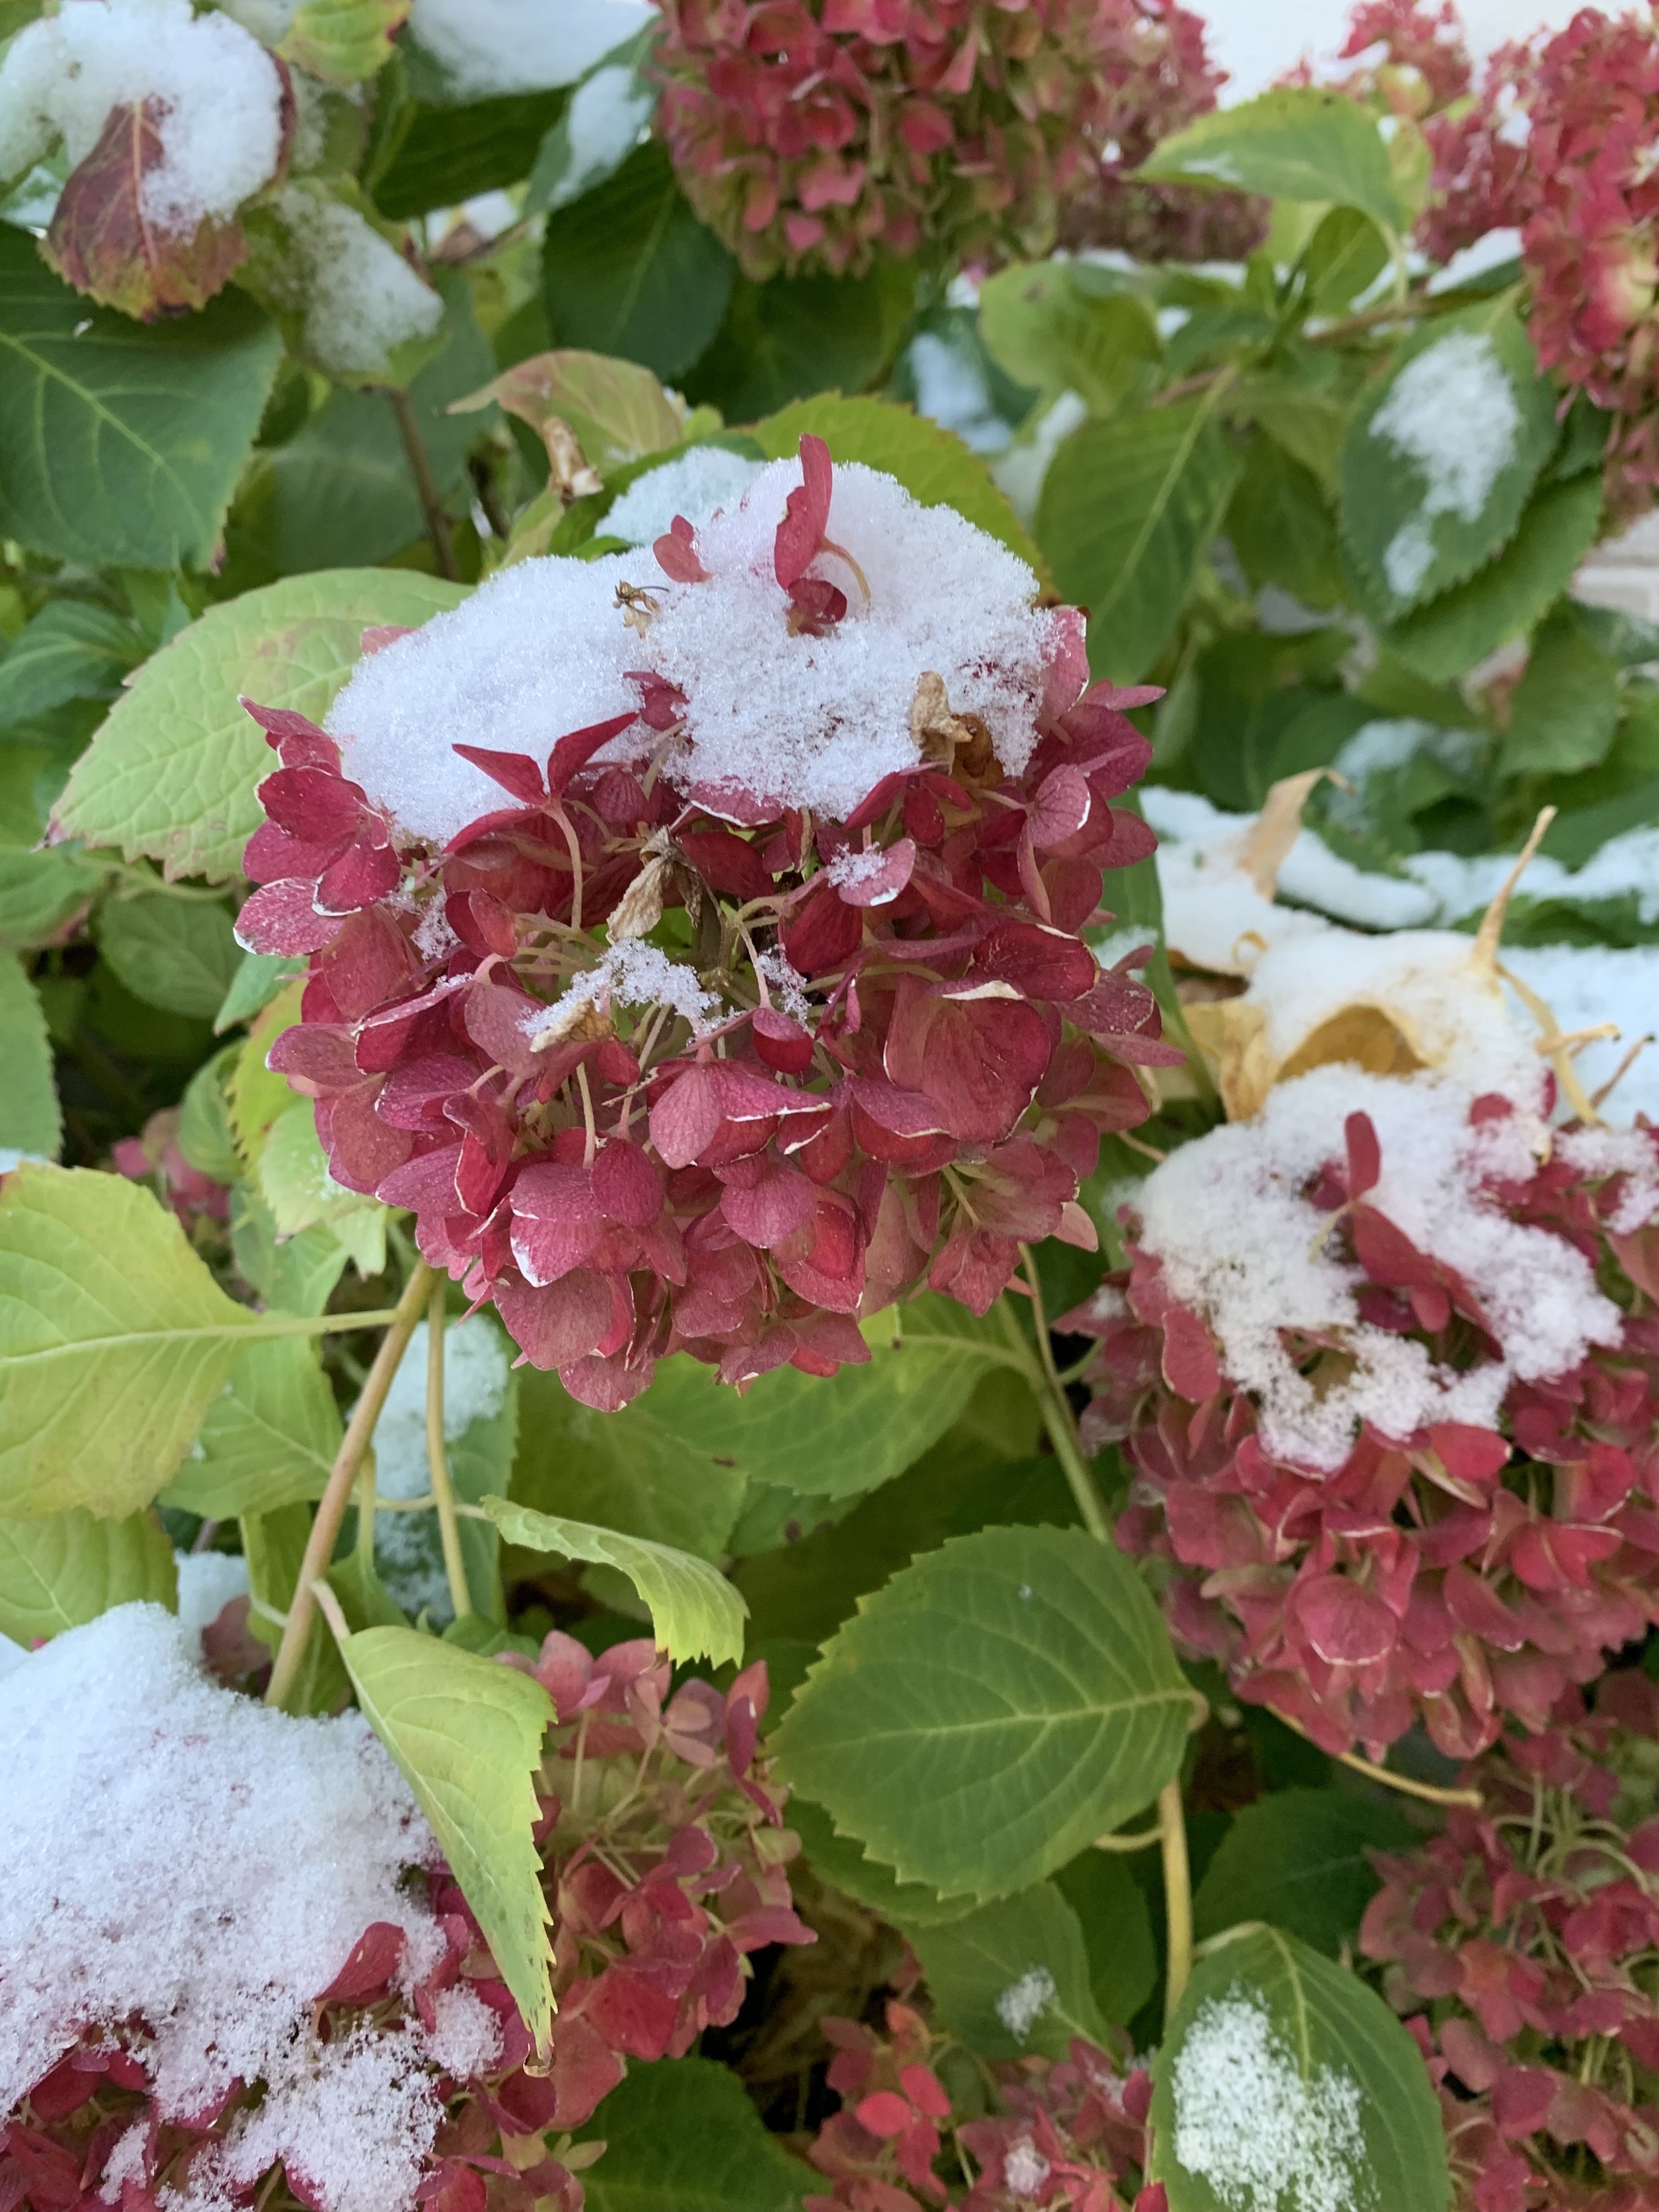
After last week’s 2.5” of rainfall followed by our first freeze this week, the temptation is to turn the irrigation off and roll up the hoses. But, if your lawn and landscape could talk, they would be encouraging you to not cut off the water just yet and be prepared to give them a drink from time to time through the winter.
Most winter plant injury occurs when we receive a harsh cold spell while plant root systems are dry.
Sure, your lawn, trees, shrubs, and flowers don’t need as much water through the winter, but they do need some. Your landscape needs at least ½” of moisture every two weeks through the winter.
Current Watering Recommendation:
Give your lawn and landscape a good deep soaking every 4-7 days.

Pansies need moisture through the winter to survive and make a strong spring show.
Make it a part of your routine from now until spring to check soil moisture and rainfall amounts at least once a week. A great source is the Oklahoma Mesonet. The Oklahoma Mesonet is a world-class network of environmental monitoring stations that consists of 120 stations throughout Oklahoma.
Use this link to check current soil moisture: https://www.mesonet.org/index.php/weather/map/2-inch_fractional_water_index/soil_moisture
Use this link to see the amount of rainfall in the last week: https://www.mesonet.org/index.php/weather/map/7_day_rainfall_accumulation/rainfall
Throughout the off season take advantage of nice, warm, light wind days
and give your lawn and landscape a good soaking.


Evergreens and fescue require more water attention during the winter.

Japanese maples have shallow roots that are susceptible to drying out during the winter.

Fescue and rye lawns will retain more color over the winter if the soil is moist went temperatures below 30 degrees.
Newly sodded lawns, due to a shallow root system, can experience freeze damage if the roots are dry during a winter cold spell.
Finally, all newer landscapes, those installed in the last two years require a little more watering attention over the winter.
Watering Through the Off Season - Monitor the weather. Pay attention to the amount of rainfall we are receiving. Anytime we go a week without a good rain or snow cover, pick a warm day and run your system through a cycle. If you don’t have an irrigation system, pick an enjoyable day, stretch out the hoses and make sure all plant material receives a good soaking.

Pansies are a great winter annual as long as they aren’t bone dry when a cold front arrives.


A dry, windy and cold winter is hard on needle evergreens. Through a dry winter a good deep soaking every other week will help them survive.
Winter watering is particularly critical for evergreen shrubs and trees. Windy days zap the moisture stored in their leaves making them sensitive to winter injury when we receive a harsh cold snap when they are dry.
Shallow rooted plants, such as: azalea and Japanese maple are also prone to winter injury when they do not receive regular moisture during dormancy.
Plants with shallow root systems, such as Japanese Maples and Azaleas, respond best if they receive at least 1/2” of moisture every 7-10 days throughout the winter.
If you have perennials or winter annuals such as pansies or kale, winter moisture is critical to their performance going into the spring.
Fescue lawns will retain more color in the winter and rebound quicker in the spring if they are not allowed to become bone dry during the winter.

Evergreens need moisture during to winter to keep their foliage healthy.

Set your azaleas up for a successful spring by making sure they have enough moisture this winter.

Snow cover has two benefits: 1. It provides insulation from very cold temperatures by trapping warm soil temperatures. 2. As the snow melts it acts as a good deep soaking for your lawn and landscape.
Consider Upgrading Your System – If your system doesn’t have a rain/freeze sensor, add one. A rain/freeze sensor allows you the ability to set the controller to run once per week and leave it. If the temperature is below freezing, or if there has been a recent rain, the sensor will interrupt the scheduled cycle. The benefit is you won’t have to remember to turn your system off when it is too cold, or it has rained.

Another Upgrade to Consider – Install a Rainbird WiFi Link controller and let us control your system for you. We will monitor the weather and adjust the system through the winter based on the amount of moisture the area has received.
Remember – Most winter plant injuries occur when we receive a harsh cold spell while plant root systems are dry.
Give us a call, or respond to this email, if we can help you with irrigation solutions.
Lorne Hall
Hall | Stewart Lawn + Landscape
(405)367-3873
Fall Fertilizer Needs: Bermuda vs Fescue

One of the great things about Oklahoma is that we live in the transition zone.
What is the transition zone?
The transition zone is an area from northern Kansas to the Oklahoma-Texas border where you can grow both cool-season and warm-season turfgrasses. The transition zone can experience both hot summers and cold winters, often making it hard to decide between a warm-season lawn (Bermuda or Zoysia) or a cool-season lawn (fescue).
Why is that a good thing? Because we can successfully grow both warm season and cool season turfgrasses.
The most common turf in Oklahoma is Bermuda.
But, fescue, commonly thought of as only a shade grass, continues to increase in popularity as both a turfgrass suitable for shade and for full sun areas as well. It is now very common to find Bermuda lawns with at least some fescue.
Also, more and more lawn owners are realizing that fescue is more than a shade grass, it is a cool-season grass that can grow in full sun.
But, that can be a problem. You have to think very differently about how you care for a fescue lawn versus a Bermuda lawn.
Problem - Fescue won’t thrive, it will actually struggle to survive if it is fertilized like Bermuda. And, the same is true for Bermuda. Fertilize Bermuda like fescue and the result will be a thin, weak lawn.
Fertilizing cool-season lawns versus warm-season lawns requires a paradigm shift.
While Bermuda is approaching the end of its season, fescue is starting its season.
Let’s look at the differences.

Bermuda lawns are ending a season and need a low nitrogen, high potassium fertilizer to strengthen roots for the winter.

Spring Dead Spot is a disease that impacts bermuda lawns in the spring as the lawn is coming out of dormancy. One of the catalyst is heavy nitrogen applications in October applied in an effort to keep a warm season lawn green and active late into the fall.
Fall Fertilizer Applications:
Bermuda and Zoysia (Warm Season) –
Warm-season grasses are at the end of their growing season. In October and November, warm-season lawns don’t require nitrogen. With shorter days, cooler days, and nights, and the decrease in soil temperature, growth slows, and turf color fades.
Heavy nitrogen fertilizer during October in an effort to maintain color longer into the fall is harmful for Bermuda and a catalyst for Spring Dead Spot Disease.
The chances of having Spring Dead Spot Disease next year increases when nitrogen fertilizer is applied to a Bermuda lawn in the last 4-5 weeks before the first freeze, which in central Oklahoma is typically the first week of November.
So, if you are thinking your Bermuda lawn needs one more shot of nitrogen before the end of the season, don’t do it. There is a good chance you are doing more harm than good.

Bermuda, a warm season turfgrass,, performs best when fertilized with higher nitrogen during the summer month and low nitrogen fertilizer in the fall.

With cooler night time temperatures and shorter days, Bermuda lawns are slowing down. Resist the urgent to try keep them green and growing with high nitrogen fertilizer this month.

Because bermuda starts to thin out when it receives less than 6 hours of direct sunlight it is common to see lawns with both bermuda and fescue. The problem is you try to fertilize them the same, one will flourish and the other will struggle.
Fescue –
Fall is the beginning of a new season for fescue.
As temperatures begin to cool in September, fescue lawns start regaining color, thicken, and actively growing.
For fescue, fall is the same as spring is for Bermuda.
In April and May, as soil temperatures warm and Bermuda starts to grow, a higher nitrogen fertilizer is important. Again, fall for fescue is just like spring for Bermuda. Nitrogen, the first number on the fertilizer bag, helps thicken fescue, encourages new growth, and adds a deep rich color to the lawn.
Fall fertilizer applications on fescue will result in a healthier, thicker lawn. And don’t forget, a dense healthy lawn is the best defense against weeds.
A fertilizer application with at least 25% nitrogen to start the fescue growing season is important.
Newly seeded fescue lawns benefit from a fertilizer application anytime within the first 4 weeks after seeding.
The fertilizer differences continue throughout the year. Between now and next May, fescue performs best if it receives 4 pounds of nitrogen per 1,000 square feet.
Bermuda lawns are at their best when they receive their nitrogen between spring green-up in April and the end of September.
In early summer, while Bermuda needs high nitrogen fertilizer the only fertilizer needed for fescue is a low nitrogen, high potassium fertilizer to strengthen roots headed into the summer heat, similar to only fertilizer needs of Bermuda heading into the winter cold.

Fescue lawns are start a new season every fall. A high nitrogen fertilizer application now will increase color and turf density.

Fescue can be grown in full sun but it requires a very different fertilizer schedule compared to bermuda.
For a successful, fescue lawn, you have to think backward from a Bermuda lawn.
For a successful Bermuda lawn, you must think backward from a fescue lawn.
You can’t fertilize them both the same way and expect them both to respond the same way.
The Good News –
If you subscribe to Hall | Stewart’s 7-Step Lawn Care Program, whether you have Bermuda, Zoysia, fescue, or a combination of turfgrasses, we will make sure each type is receiving the correct fertilizer based on the current season and growing conditions. Our program recognizes that warm-season grasses and cool-season grasses have very different fertilization timing and needs.
If you have a overseeded fescue or are planning to this fall, don’t skip a fertilizer application. New seed grows rapidly and needs plenty of nutrition.

A healthy, thick and deep green fescue lawn next spring is easier to achieve with when a lawn receives the correct fall fertilizer applications.
Let’s cover one more misconception about fescue in the fall:
Myth - If you are seeding fescue in the fall, it should not receive any lawn care applications.
Not true…
Fact - Fertilizer applications are not only very important for the existing fescue, but it also plays a critical role in the establishment of new seed.
Yes, if you are seeding you should not apply a pre-emergent herbicide until the seed has come up and the lawn has been mowed 2 or 3 times.
But, fertilizer anytime within the first 4 weeks of seeding will provide the seed the nourishment it needs as the new seedlings germinate and begin to grow rapidly.

The challenge for lawns with both warm season and cool season turf is they require the exact opposite timing of fertilizer applications for them both to thrive.
Summary:
Bermuda lawns benefit from receiving their last high-nitrogen fertilizer application before the end of September.
Fescue lawns are starting a new season and require a high-nitrogen fertilizer as they regain color, thicken, and grow.
Both are important.
For the best lawn, it is important to know your turf type and fertilize at the correct time of the year.
If you need have questions or need help understanding the fertilizer needs of your lawn, we would love to help.
Lorne Hall
Hall | Stewart Lawn + Landscape
(405)367-3873
The 4 Most Common Ways to Fail at Establishing Fescue

Summer is fighting hard to stay around as long as it can. But I have something to say about that, ”Summer, your days are limited. You will be replaced by fall’s cooler days very soon!”
Even though warmer than normal temperatures are still in the forecast, it is September and time to visit one of the most important lawn care activities of fall – Overseeding Fescue.
As we discussed on August 6th in Time To Evaluate Your Lawn, there are two approaches to using fescue in your lawn: fescue in shady areas only or a full fescue lawn.
After evaluating your lawn if you decided to establish fescue for the first time or if you decided you should add more fescue to your already fescue areas, we don’t want you to fail at overseeding.
Take a few minutes to review the four most common ways to fail at establishing fescue.


Small, shady areas in your lawn where there is low air movement and shade are prime candidates for annual fall seeding with fescue.

Fescue the last week of September last fall after overseeding in early September.
Failure to Seed in the Fall
Because fescue is a cool season grass there are two times per year you can plant fescue seed; Fall (September through October) and Spring (March and April).
But, if you wait until spring to seed fescue, you are seeding at the second-best time and there is an enormous chasm between the establishment of fescue now (the best time) and next spring (the second-best time).
Spring-seeded fescue will come up great, but it rarely establishes enough root system to make it through the summer heat (fescue’s off-season). As a younger, weaker plant, spring-seeded fescue is also more susceptible to brown patch disease.
Fall-seeded fescue has all fall, winter, and spring to establish a root system before enduring the heat of July and August.
Don’t fail at establishing fescue – seed now, not next spring.
Failure #1 – Seeding fescue in the spring.
Fall seeded fescue is better prepared to withstand the heat of July and August.
Fescue is the best turf grass for areas of your lawn that receive dappled sun. Bermuda needs at least 6 hours per day of direct sun light.
Failure to Create Good Seed to Soil Contact
Good seed-to-soil contact is important. If you sow seed over the existing soil without some preparation, the chance of successful seeding is greatly reduced. Research shows the percentage of germination decreases dramatically when the seed is just sewn on top of the ground.
You will have success if you start by cutting the existing turf short to remove excess grass. Then loosen the soil to create good seed-to-soil contact.
Aeration is the best method to loosen the soil and gain good seed-to-soil contact. Aerating also gives you the extra benefit of improving the soil structure, increasing water absorption, and developing deeper roots.
Give more attention to bare areas and the edges. Rough up the areas with a rake. Rototilling isn’t necessary but breaking the surface of the soil in bare areas is needed.
Heavy aeration is one of the best ways to create good seed to soil contact when seeding. You also get the added benefit of improved soil conditions from aeration.
In areas that are completely bare, spread a thin layer of peat moss over the surface after seeding to increase the seed-to-soil contact.
If overseeding an existing fescue area with a good stand of grass, spread seed at a rate of 5-8 pounds per 1,000 square feet.
If establishing a new fescue lawn, spread seed at a rate of 10-12 pounds per 1,000 square feet.
Failure #2 – Just spreading the seed over the top of the ground.

The lawn was being maintained at 3”.
This bermuda lawn is being cut short in preparation of overseeding it with fescue for the first time.

Cutting it to 2” will improve the seed to soil contact and increase the success of the first time overseed.
Failure to Buy a Good Fescue Blend
Fescue was first introduced in the US from Europe in the 1800s as a pasture grass. Kentucky-31 Tall Fescue was developed in the 1940s as an improved pasture grass and introduced to the home turf market in the 1960s by Pennington Seed.

All seed grown in Oregon is certified. Buy it when possible.

Look for a fescue blend with at least 3 varieties. Blends contain the best varieties and give you more protection against disease and are more heat and drought tolerant.

Bonus tip - some seed companies have seed that is coated with compounds to stimulate growth.
What is the point of the seed history lesson?
If you are buying Kentucky-31 Tall Fescue, you are buying an 80-year-old product when there are over 300 improved fescue varieties that offer darker green color, narrower blades, and improved tolerance to heat, cold, drought and disease. Kentucky-31 is marginally acceptable as a lawn grass that tends to become thin and clumpy.

Improved fescue varieties are very heat and drought tolerant and can successfully be grown in full sun.
No matter the name on the bag of the seed, any improved variety will outperform Kentucky-31.
We believe using a blend is best when seeding fescue. Blends are a combination of two or more varieties within the same species, such as two or more fescues in one mix. Blends are a combination of the best species, tested over time, for the best shade tolerance and disease resistance. The number one problem with fescue is brown patch disease. The best blends use fescue varieties that show strong resistance to brown patch. Also, some blends will contain bluegrass and, or rye for an even more vibrant spring color.
Failure #3 – Buying cheap seed. You will get what you are pay for… a low-quality turf for years to come.
Failure to Keep the Area Tacky Moist Until Seed Germinates
The first three are very important, but the 4th one is critical for success.
Nothing will hand you a losing hand quicker than not keeping the seed moist. You can get the first three correct and have complete failure if the seeded area is not kept moist until new grass is visible in the entire area.

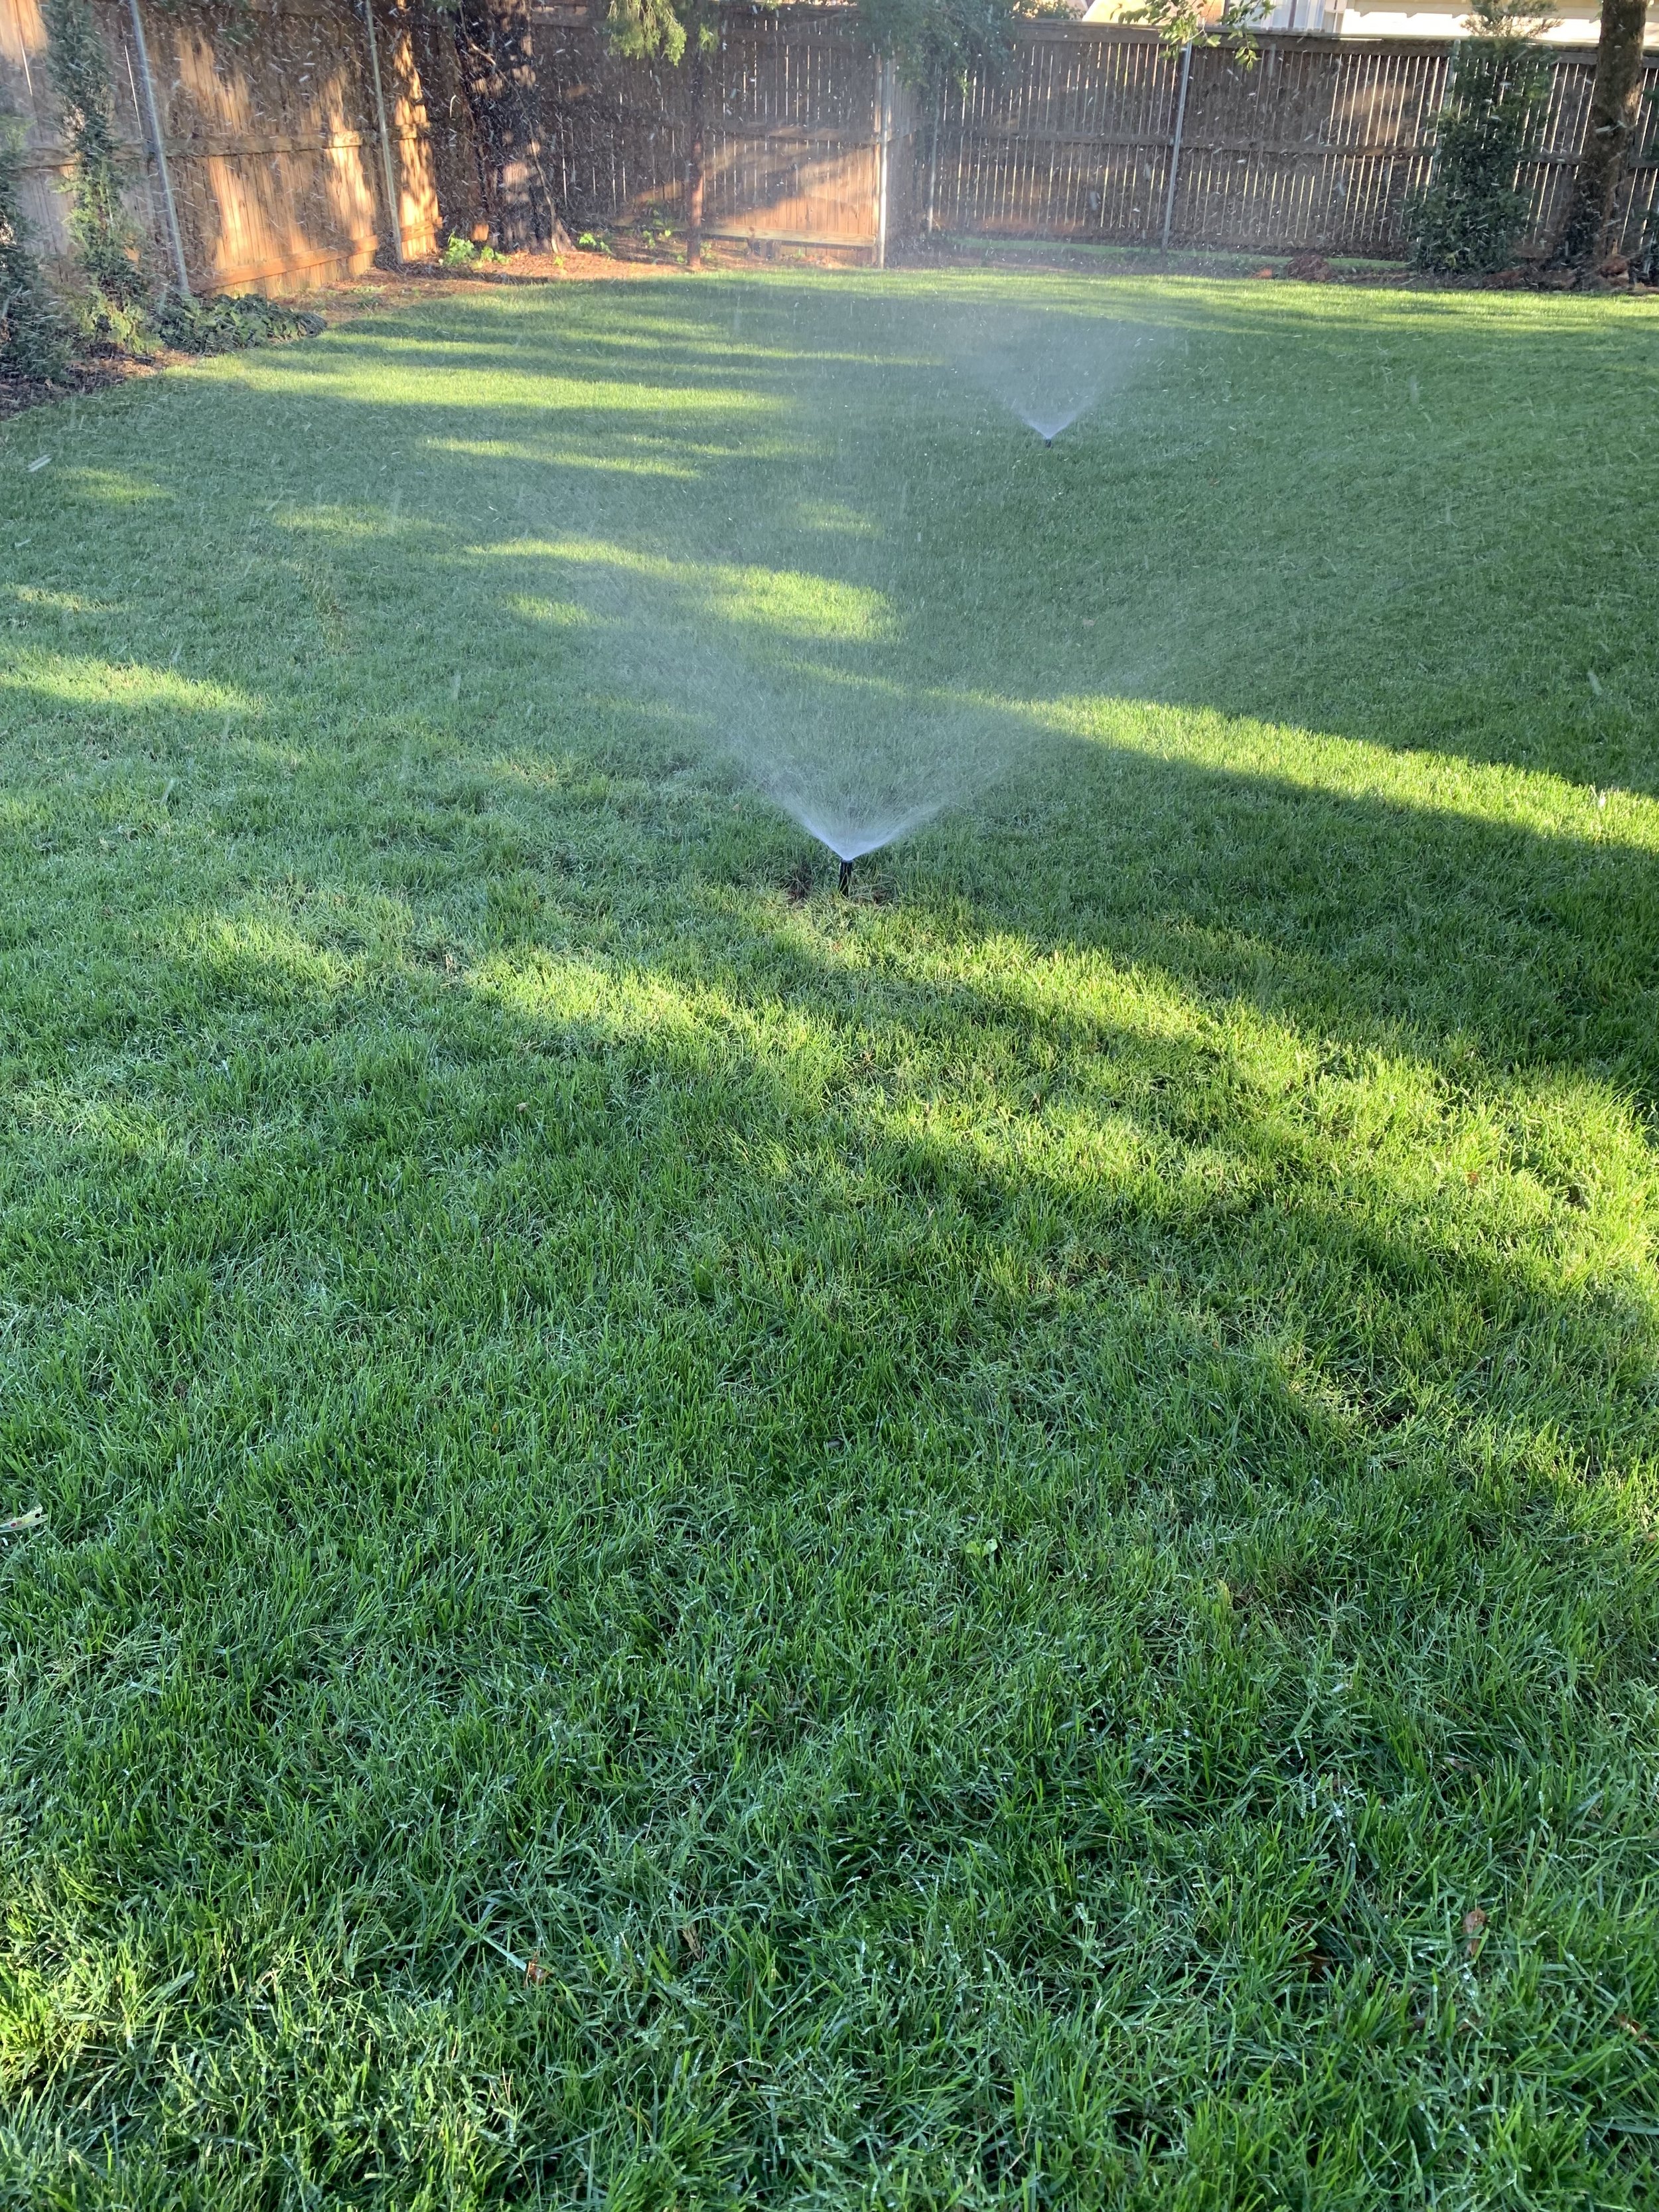
Even water distribution is important in keeping the seed tacky moist until it comes up. Check your system. Look for areas where there isn’t complete head to head coverage. The result will be poor germinate around the sprinkler head.

This picture 14 days after seeding demonstrates how critical moisture is to seed germination. The seed in the area where the irrigation does not reach has not germinated at all while the moist areas are nearly fully germinated.
The worst thing you can do is water the seeded area, allow it to dry completely, water again, allow it to dry completely, repeat, repeat, repeat… After a few times of drying out completely, the seed will no longer be viable.
For the best success, set your irrigation to run 3 short cycles per day. Set spray type zones to run 3-5 minutes each time. Set rotor type zones to run 7-10 minutes each time. If possible, set the system to run before dawn (4:00 AM), late morning (10:00 AM), and mid-afternoon (4:00 PM).
You don’t have to have an irrigation system to establish fescue. You only need to be diligent at watering every morning and every evening.
Failure #4 – Not keeping the seed tacky moist until it germinates.
Fescue can be grown successfully in Oklahoma. There are examples of great fescue lawns in every neighborhood, and there will be more and more as our environment becomes more and more shady.
Who should overseed this fall?
If you have areas of your lawn where the Bermuda has thinned because of shade, you should seed this fall. Bermuda needs at least 6 hours of direct sunlight for the best performance. Less than 6 hours of direct sunlight and Bermuda starts to thin.
If you have fescue areas that have become thin because of brown patch, drought, or insect damage, you should seed this fall.
If you just want to keep your fescue thick and healthy, you should seed this fall. Fescue doesn’t spread like Bermuda with runners across the top of the soil. Fescue spreads through tillering through the soil and putting up new vertical shoots. Fescue spread is slow and often rare in the transition zone in which we live. To keep a fescue lawn at its best, adding more seed is common.
If you want to have a green lawn longer into the fall and earlier in the spring, you should seed this fall. Fescue is a cool season grass that stays green and active into early December and recovers from the winter in early March. With a fescue lawn, it is common to have a green lawn for 10 out of 12 months.
Myth: It is difficult to grow fescue. But, really it isn’t. Growing fescue does require a different approach to your lawn, but it isn’t difficult when you avoid some of the most common mistakes in establishing fescue.
Successful fescue lawns are the result of best seeding practices, best cool season turf maintenance practices, and persistence. But, more importantly, they are a result of different thinking.
Bonus Reason: Why Fescue Seeding Fails
Applying a fall pre-emergent before seeding in the area. The same pre-emergent herbicide that prevents weeds will prevent fescue from germinating. Wait until the new fescue turf has been mowed 2-3 times before putting a pre-emergent on the lawn.
Special Note: DO NOT use pre-emergent herbicides now in areas that are going to be seeded this fall.
If you need assistance in establishing a fescue lawn or have questions about fescue, give us a call – (405) 367-3873.
Lorne Hall
Hall | Stewart Lawn + Landscape
(405)367-3873

Time for a Summer Landscape Color Check

Wow! The heat of summer is hanging on!
How’s your landscape handling the heat?
A good activity for late August is to create a summer landscape journal. Grab a few minutes and take pictures of your landscape while it is still hot. Jot down a few notes about plants that are doing well and the ones that are struggling.
Next spring you will be glad to have the information when you make summer landscape plans. Too often we get excited about a plant that looks great in April and May only to have it disappoint when the heat is on in July and August.
Great landscapes should include plants that add color and interest in every season, even when temperatures are pushing triple digits.
Here are a few things I have noticed doing well in the heat of late July and August:
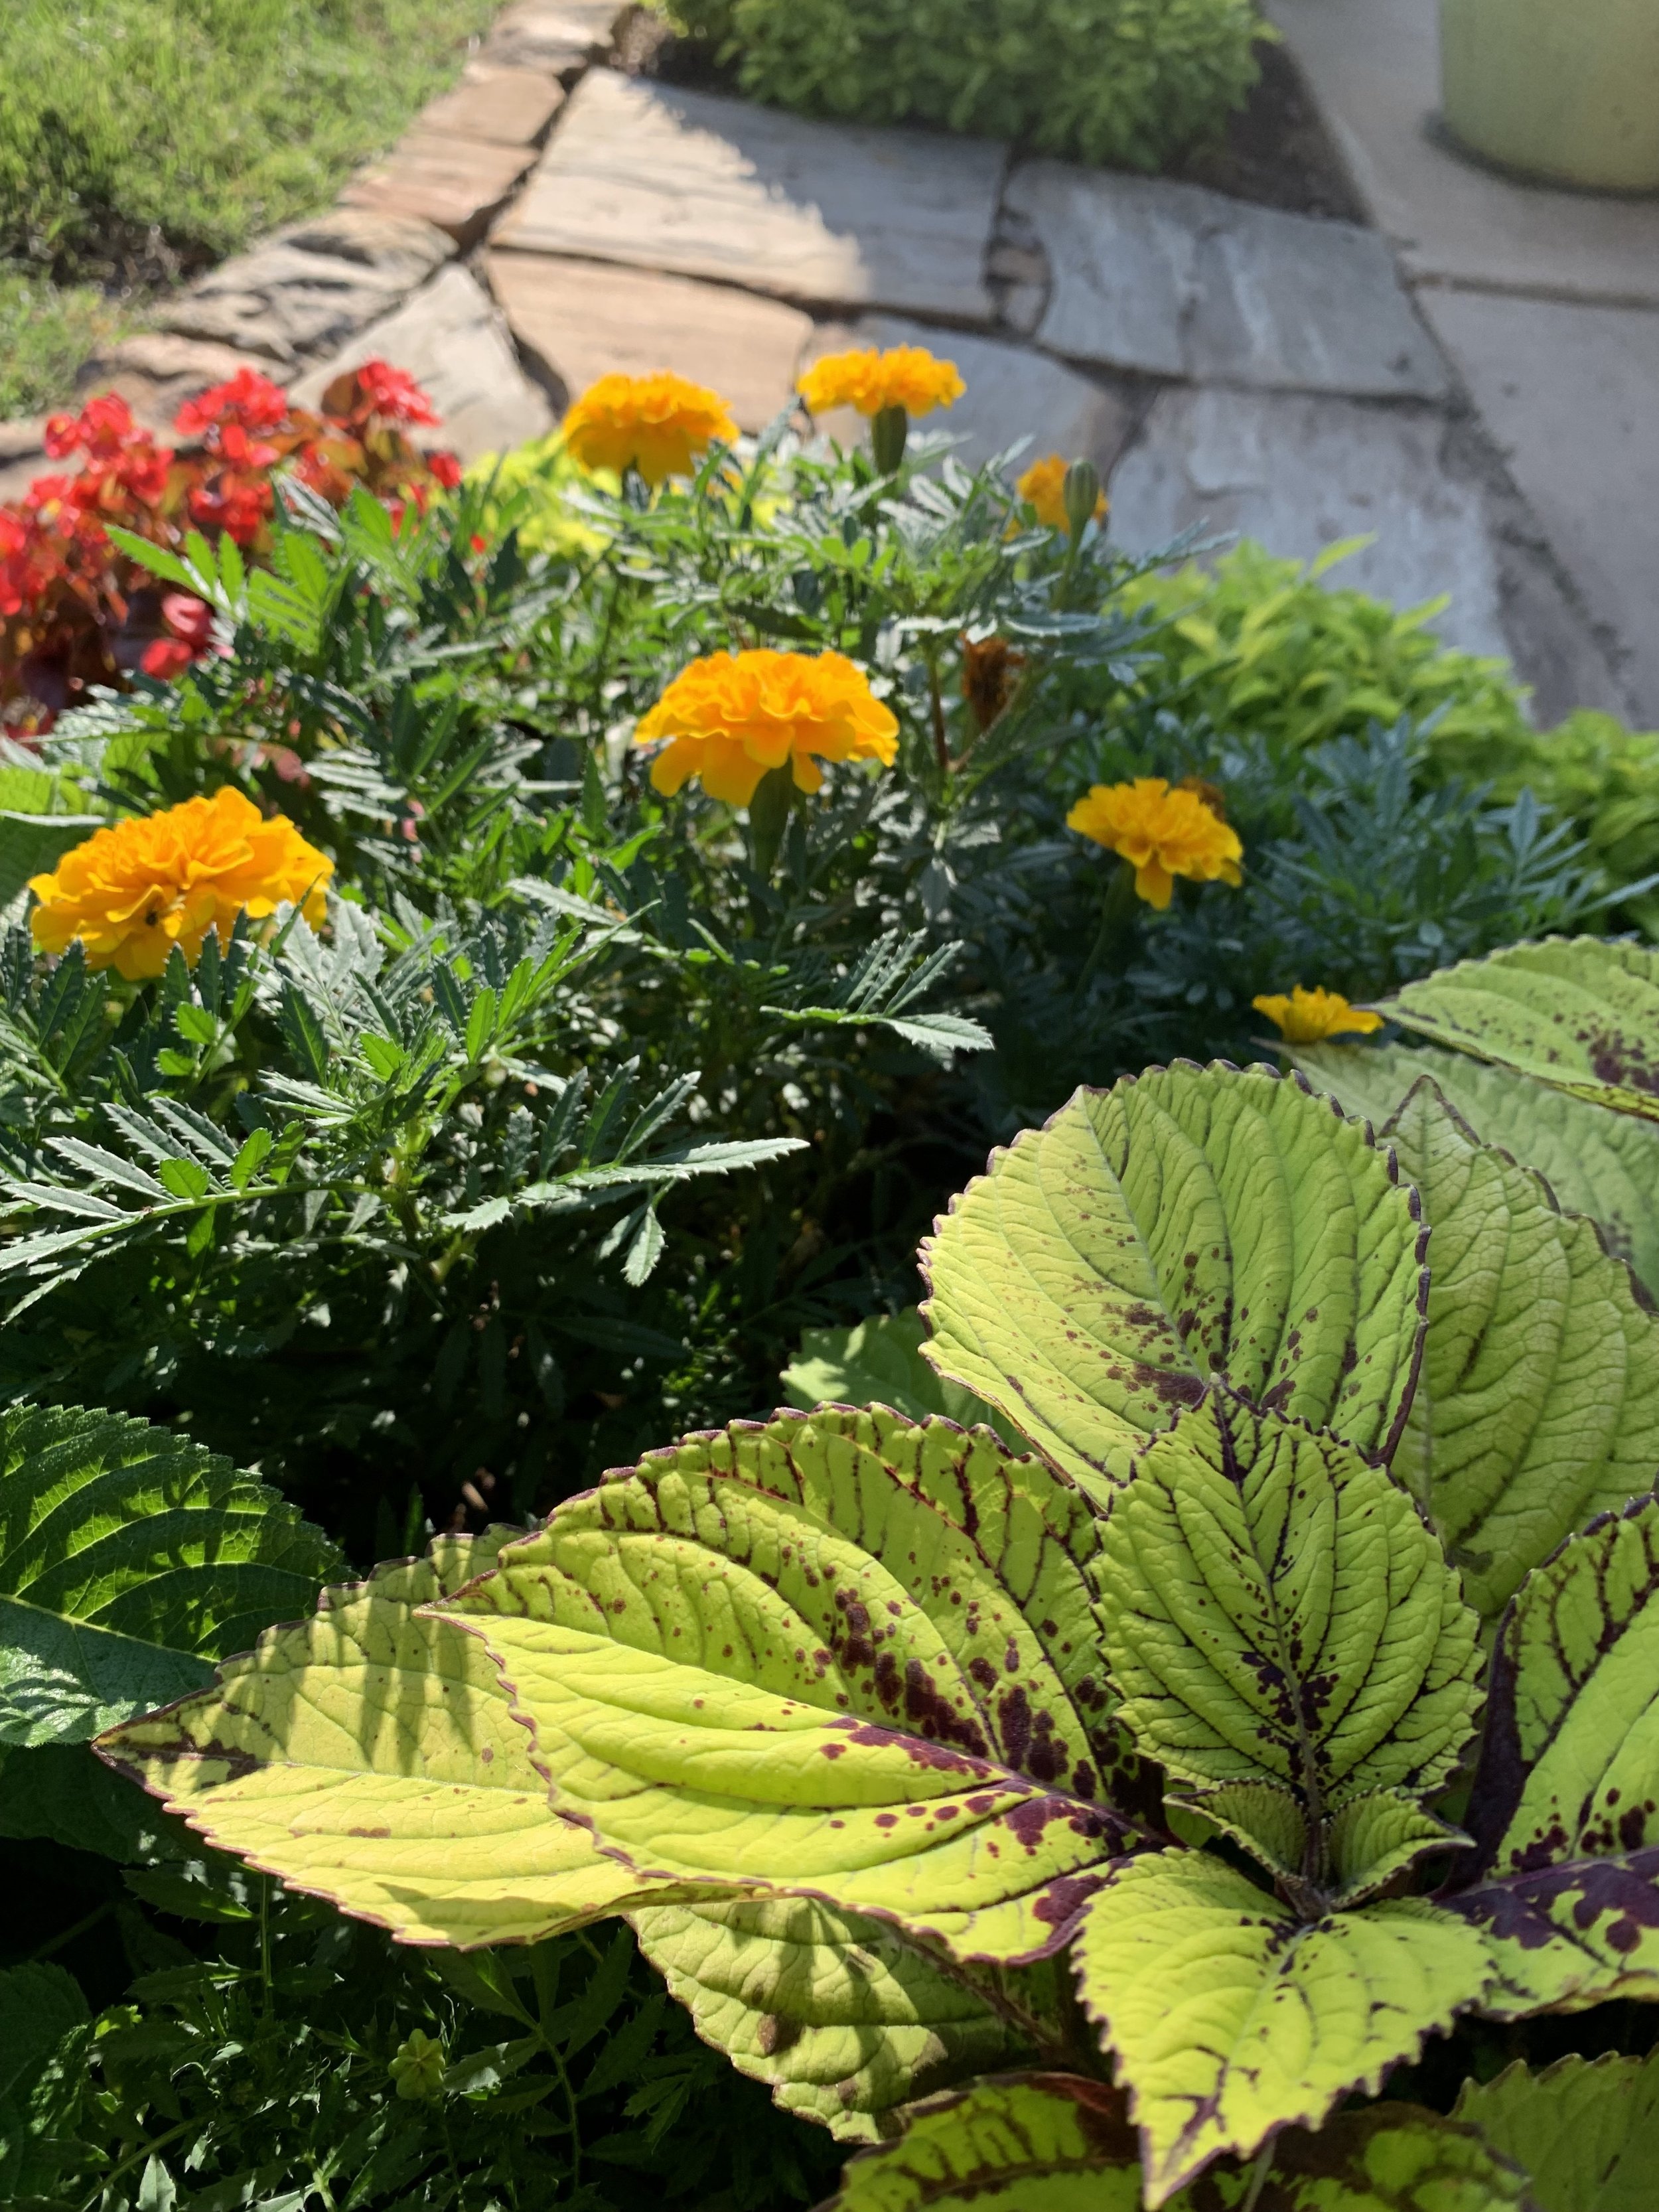
The limes and red speckled leaves of Coleus make a nice accent to the yellow flower of Marigolds.
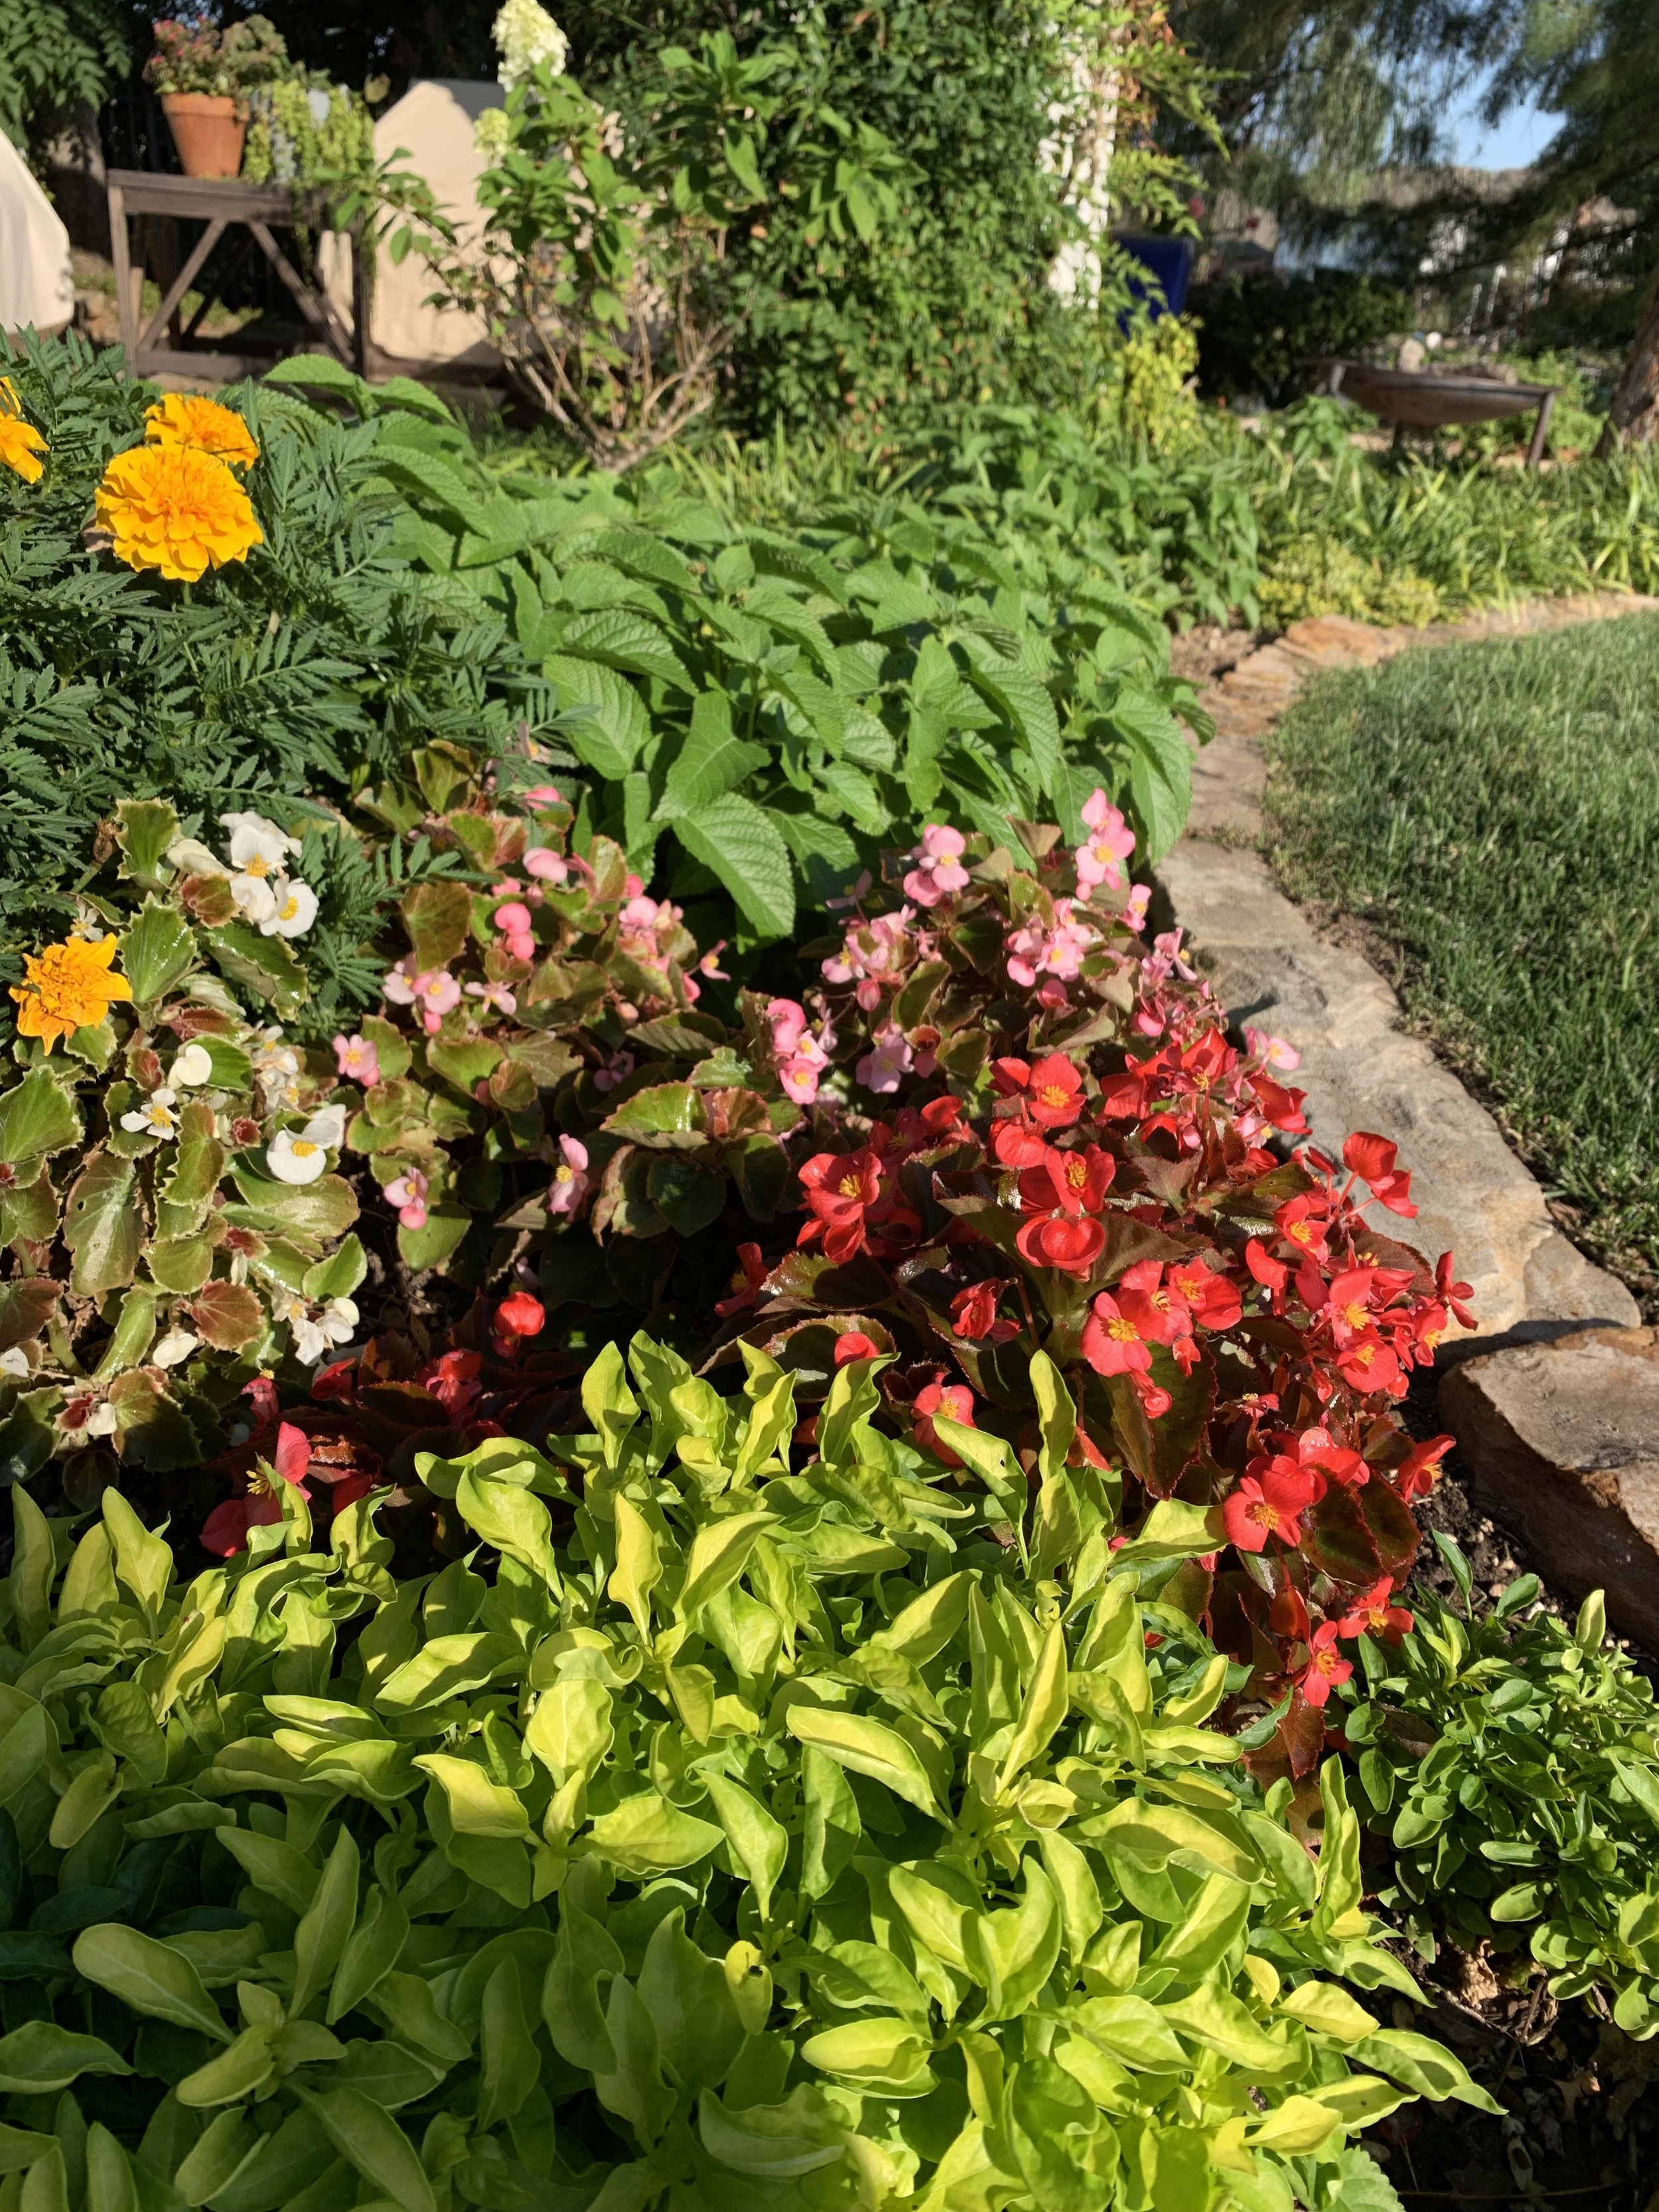
Joseph Coat is a great compliment for the reds of Bronze-Leaf Begonias.

Caladiums behind Impatiens is the perfect combination for shady areas of your landscape.
Annual Summer Seasonal Color
Coleus – Planted for the colorful foliage, it is available in both shade and sun varieties and many colors. Colors range from limey yellow to red with many that have speckled leaves of yellow, green, and red.
Joseph Coat – This low-growing, bright yellow-green annual is a great border in full to partial-sun areas. It is also available in a dark red but is not near as dramatic as the brightness of the lighter variety.
Lantana – You can’t beat lantana in the heat in full sun. Some of the more common varieties are New Gold, Dallas Red, and Confetti. Known for having a bushy growth habit, but there are varieties that are more compact and mounding.
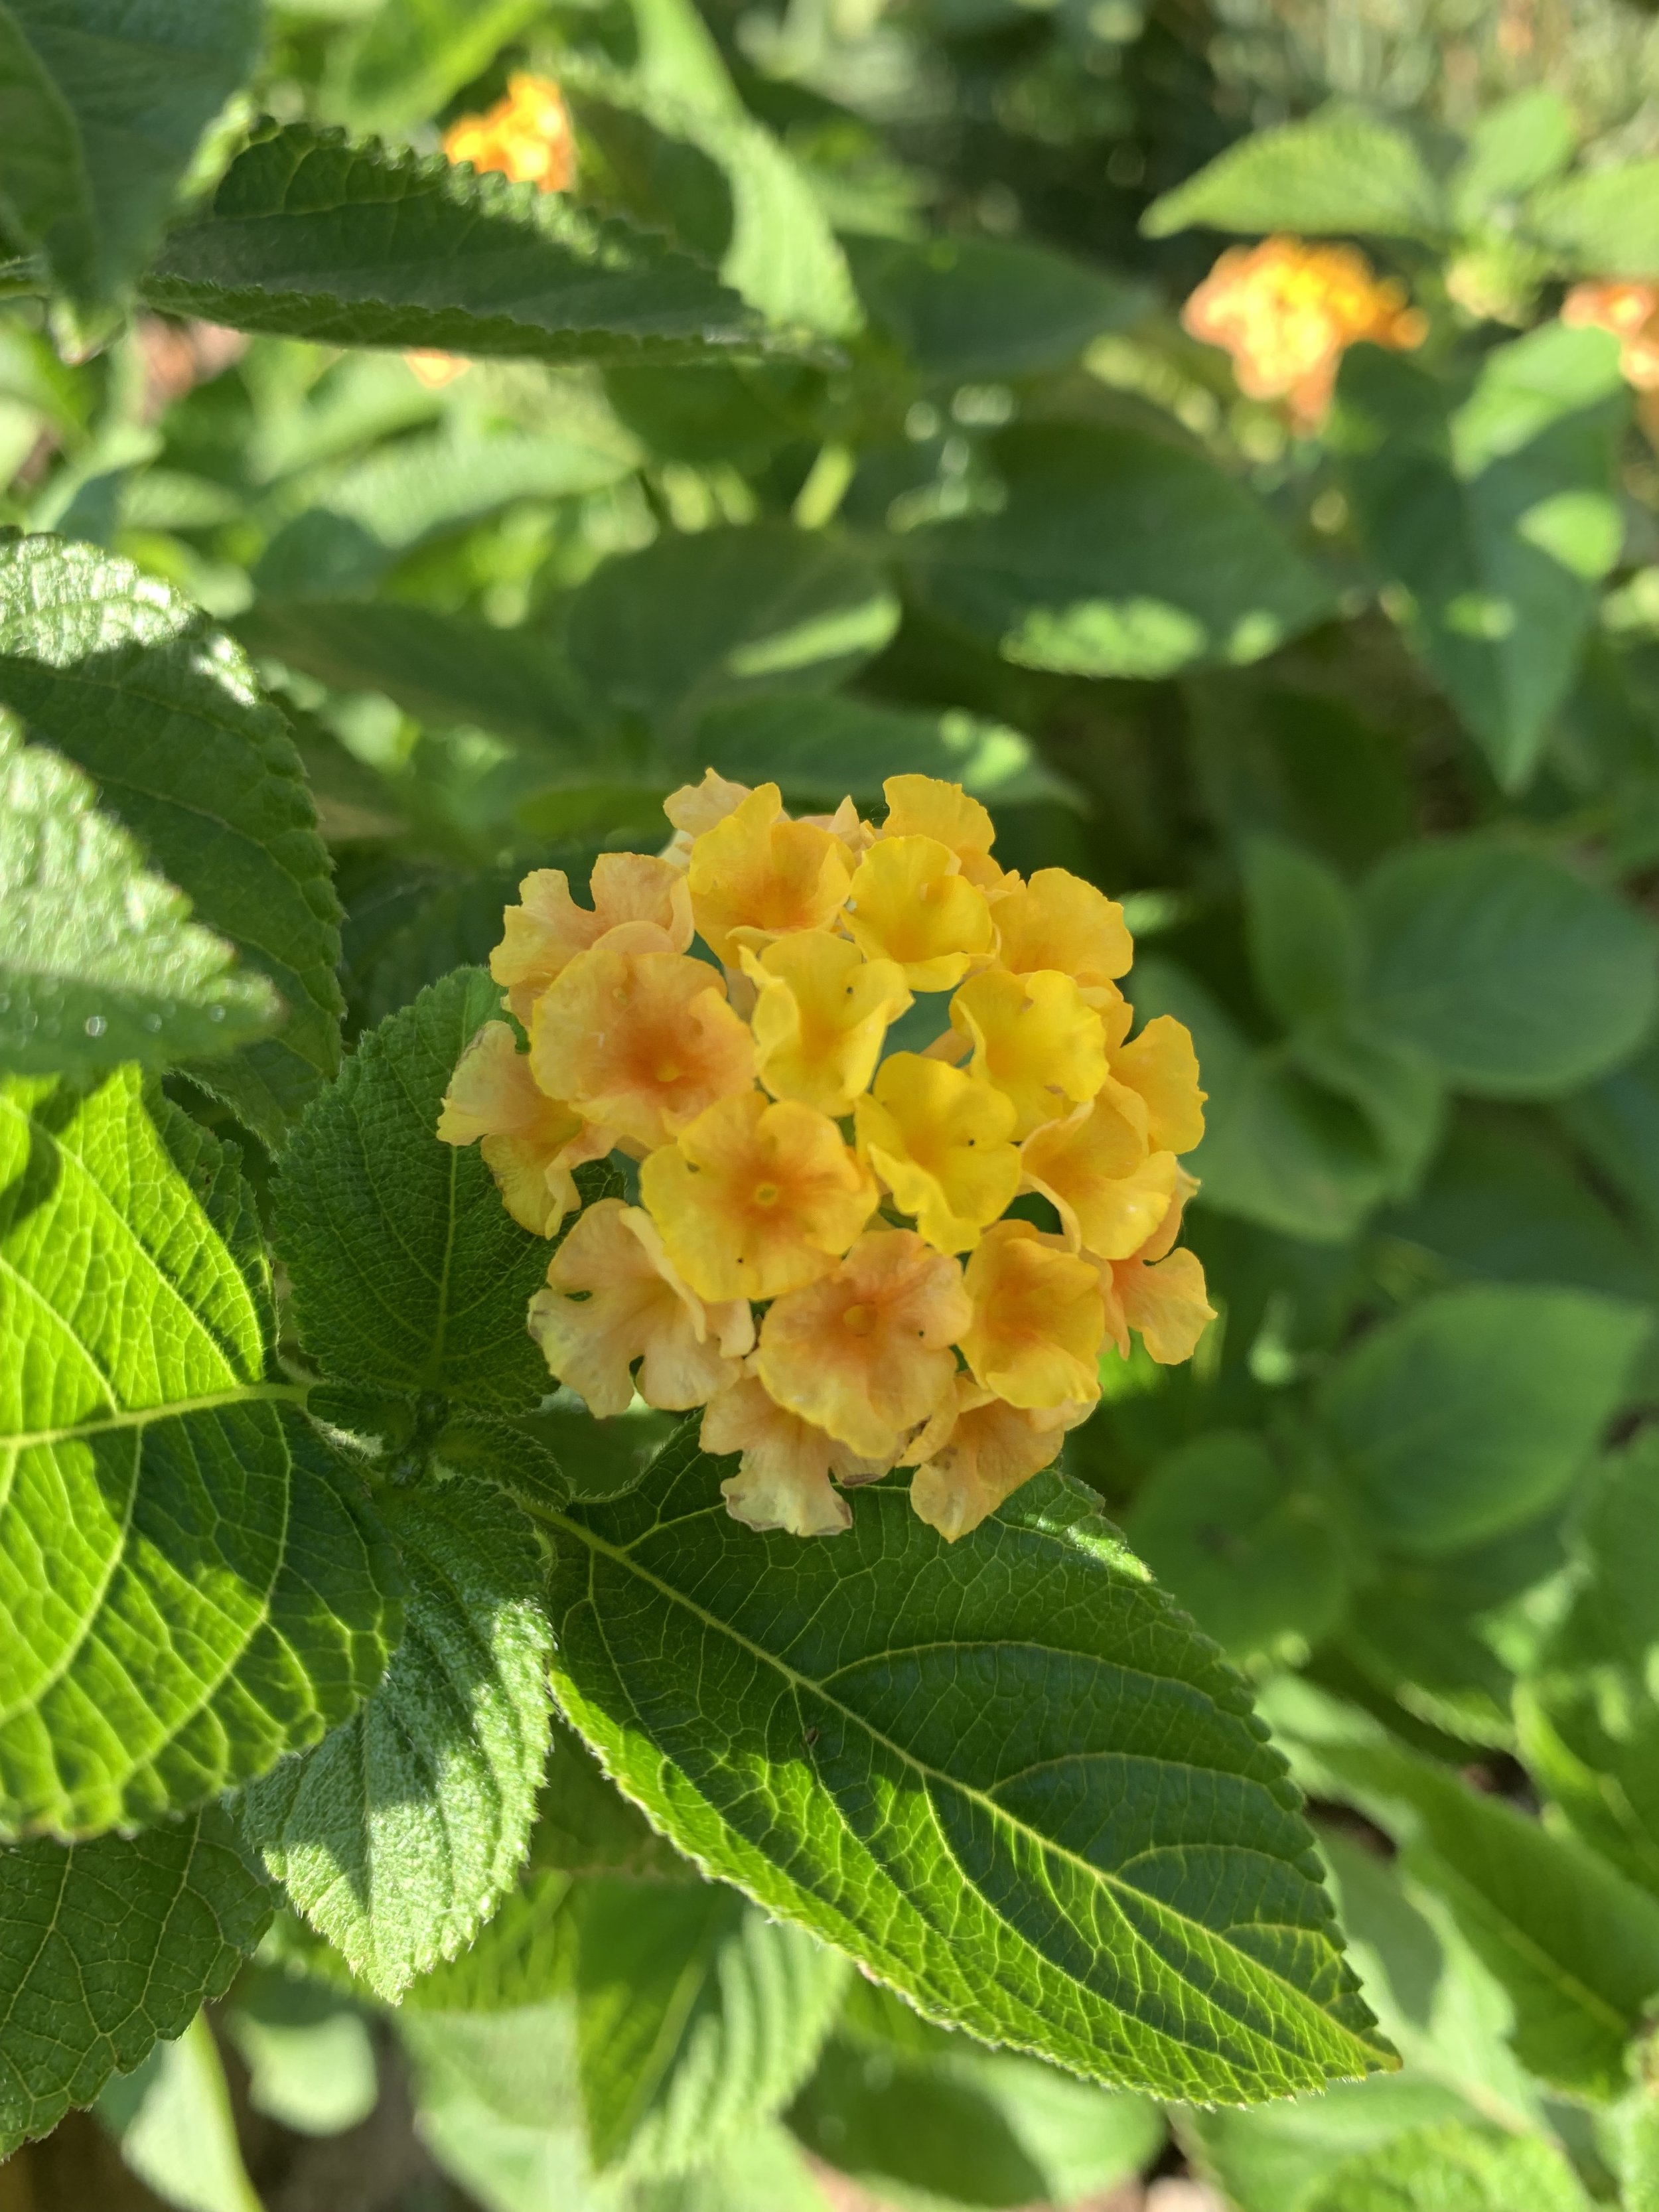
Lantana, one of the best lovers of summer heat, comes in so many colors that there has to be one perfect for your summer landscape.

The dark reds and lime-red of these Coleus varieties make a great combination.
Penta – Another annual plant that thrives in full sun. Bright clusters of star-shaped flowers in red, pink, and white look great planted behind Joseph Coat.
Periwinkle – An old traditional annual plant that just keeps performing. Periwinkle thrives in full sun. White with red center is most common, but also is available in vibrant pinks, reds, and violets.

Strawberry Periwinkle, red Penta, Lemon Zest Lantana, Stain Glass Coleus in front of Black-eyed Susan make for a showy mid-summer landscape.

A great combination for shady areas in the heat of summer is Caladiums and Impatiens.

Periwinkle is a summer loving annual that brightens landscapes with vibrant pinks, reds and whites.

Strawberry Periwinkle with a compliment of Black-Eye Susan

Penta will continue to bloom in full sun to partial shade through the hottest days of summer.

The lime color of Joseph Coat is a great compliment to the rosy pink of Strawberry Periwinkle

Angelonia and Sunpatiens both love summer heat and sun.
Sunpatiens – All the color burst you would expect from impatiens, but they love full sun and heat. They come in a wide range of colors. Sunpatiens have become one of my favorite summer annual plants.
Angelonia – It is available in whites, pinks, purples, and blues and very often you will find it mixed. Plant in full to partial sun.

Sunpatiens and Lantana adding color in the summer sun.

Sunpatiens have become a staple for a splash of color in my summer landscape.

Orange Sunpatiens planted with Joseph Coat and yellow Marigolds.
Caladiums – The large colorful leaves make a great show in full or dappled shade. You will find them in reds, whites, and pinks. Caladiums are great at adding a burst of color to shady areas of the landscape.
Impatiens – Another old favorite that is hard to beat in the full shade areas of your landscape. It is available in many colors.

Caladiums and Impatiens combine to add a splash of color in shady areas.
Perennials
Black-eyed Susan – Grows 2-3’ tall with dark green foliage and vibrant golden-yellow daisy type flowers with a dark brown center. Blooming starts in late June and continues into August. Their show in the summer heat is second to no other perennial.
Coneflower – A native prairie plant that puts on a great show through the summer. Each plant will produce several clusters of 2-4” blooms. They are available in several colors, but the purple varieties are my favorite.
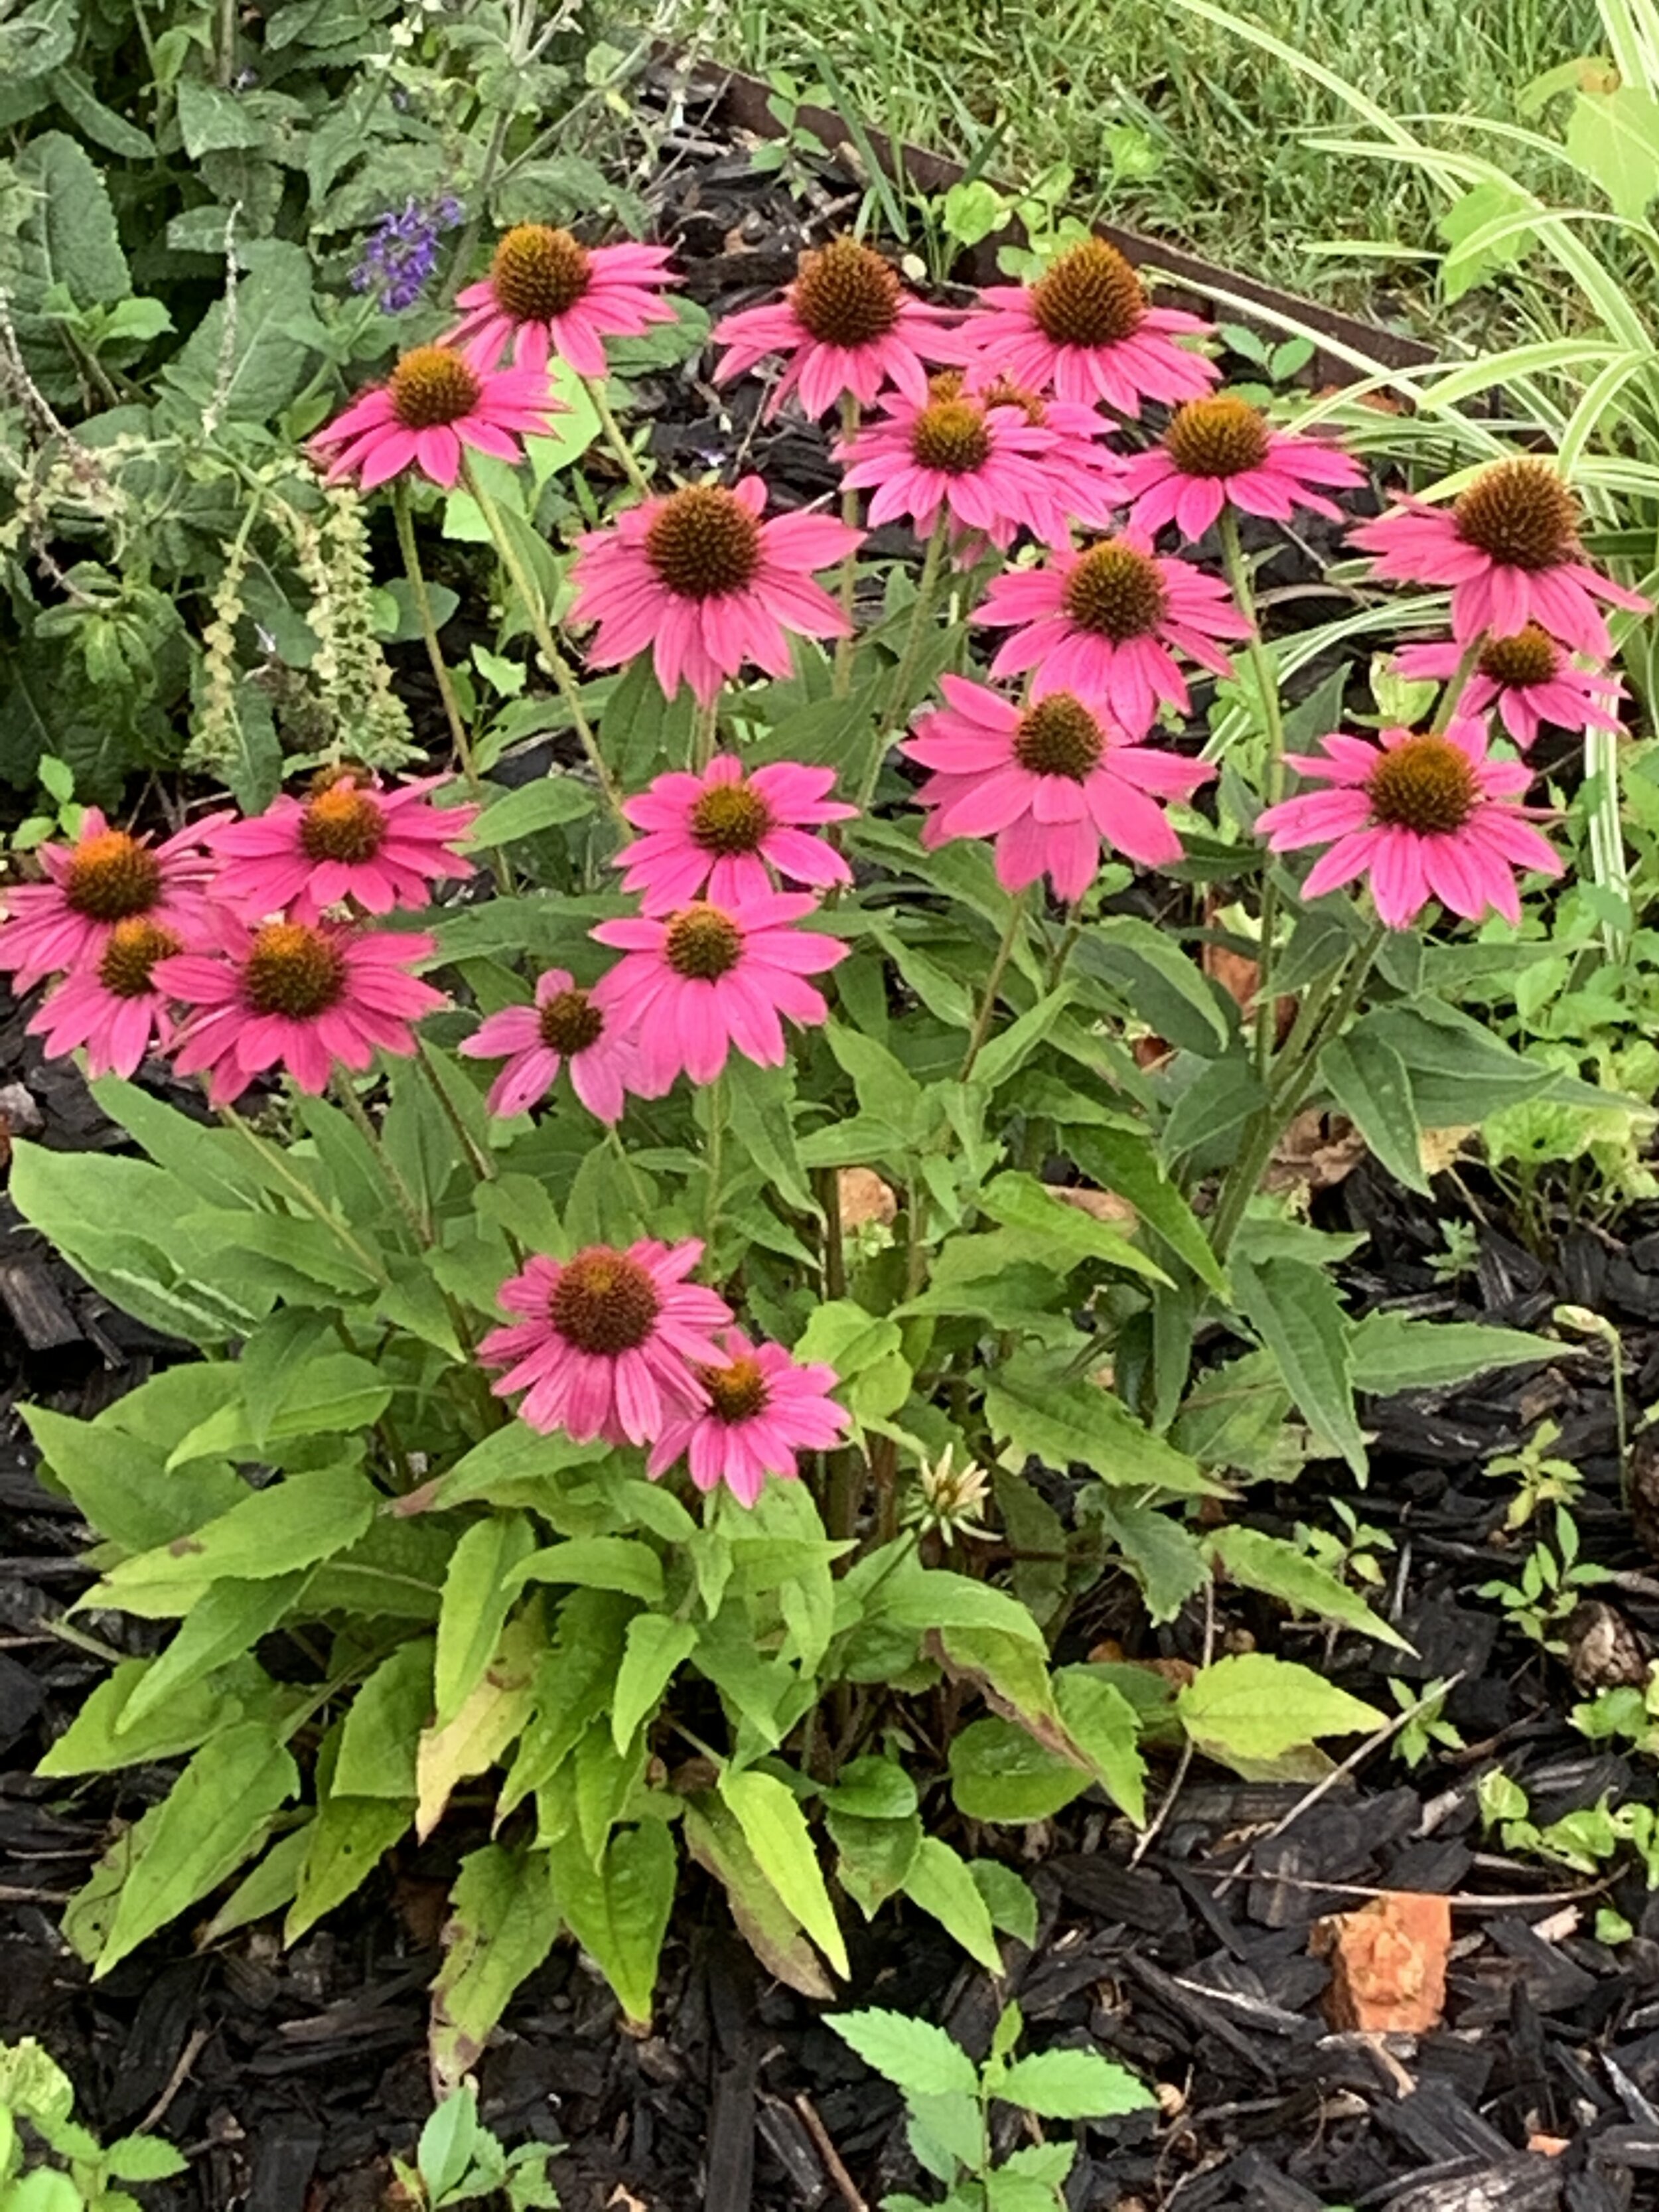
Coneflower add color to the landscape through the hottest times of the summer.
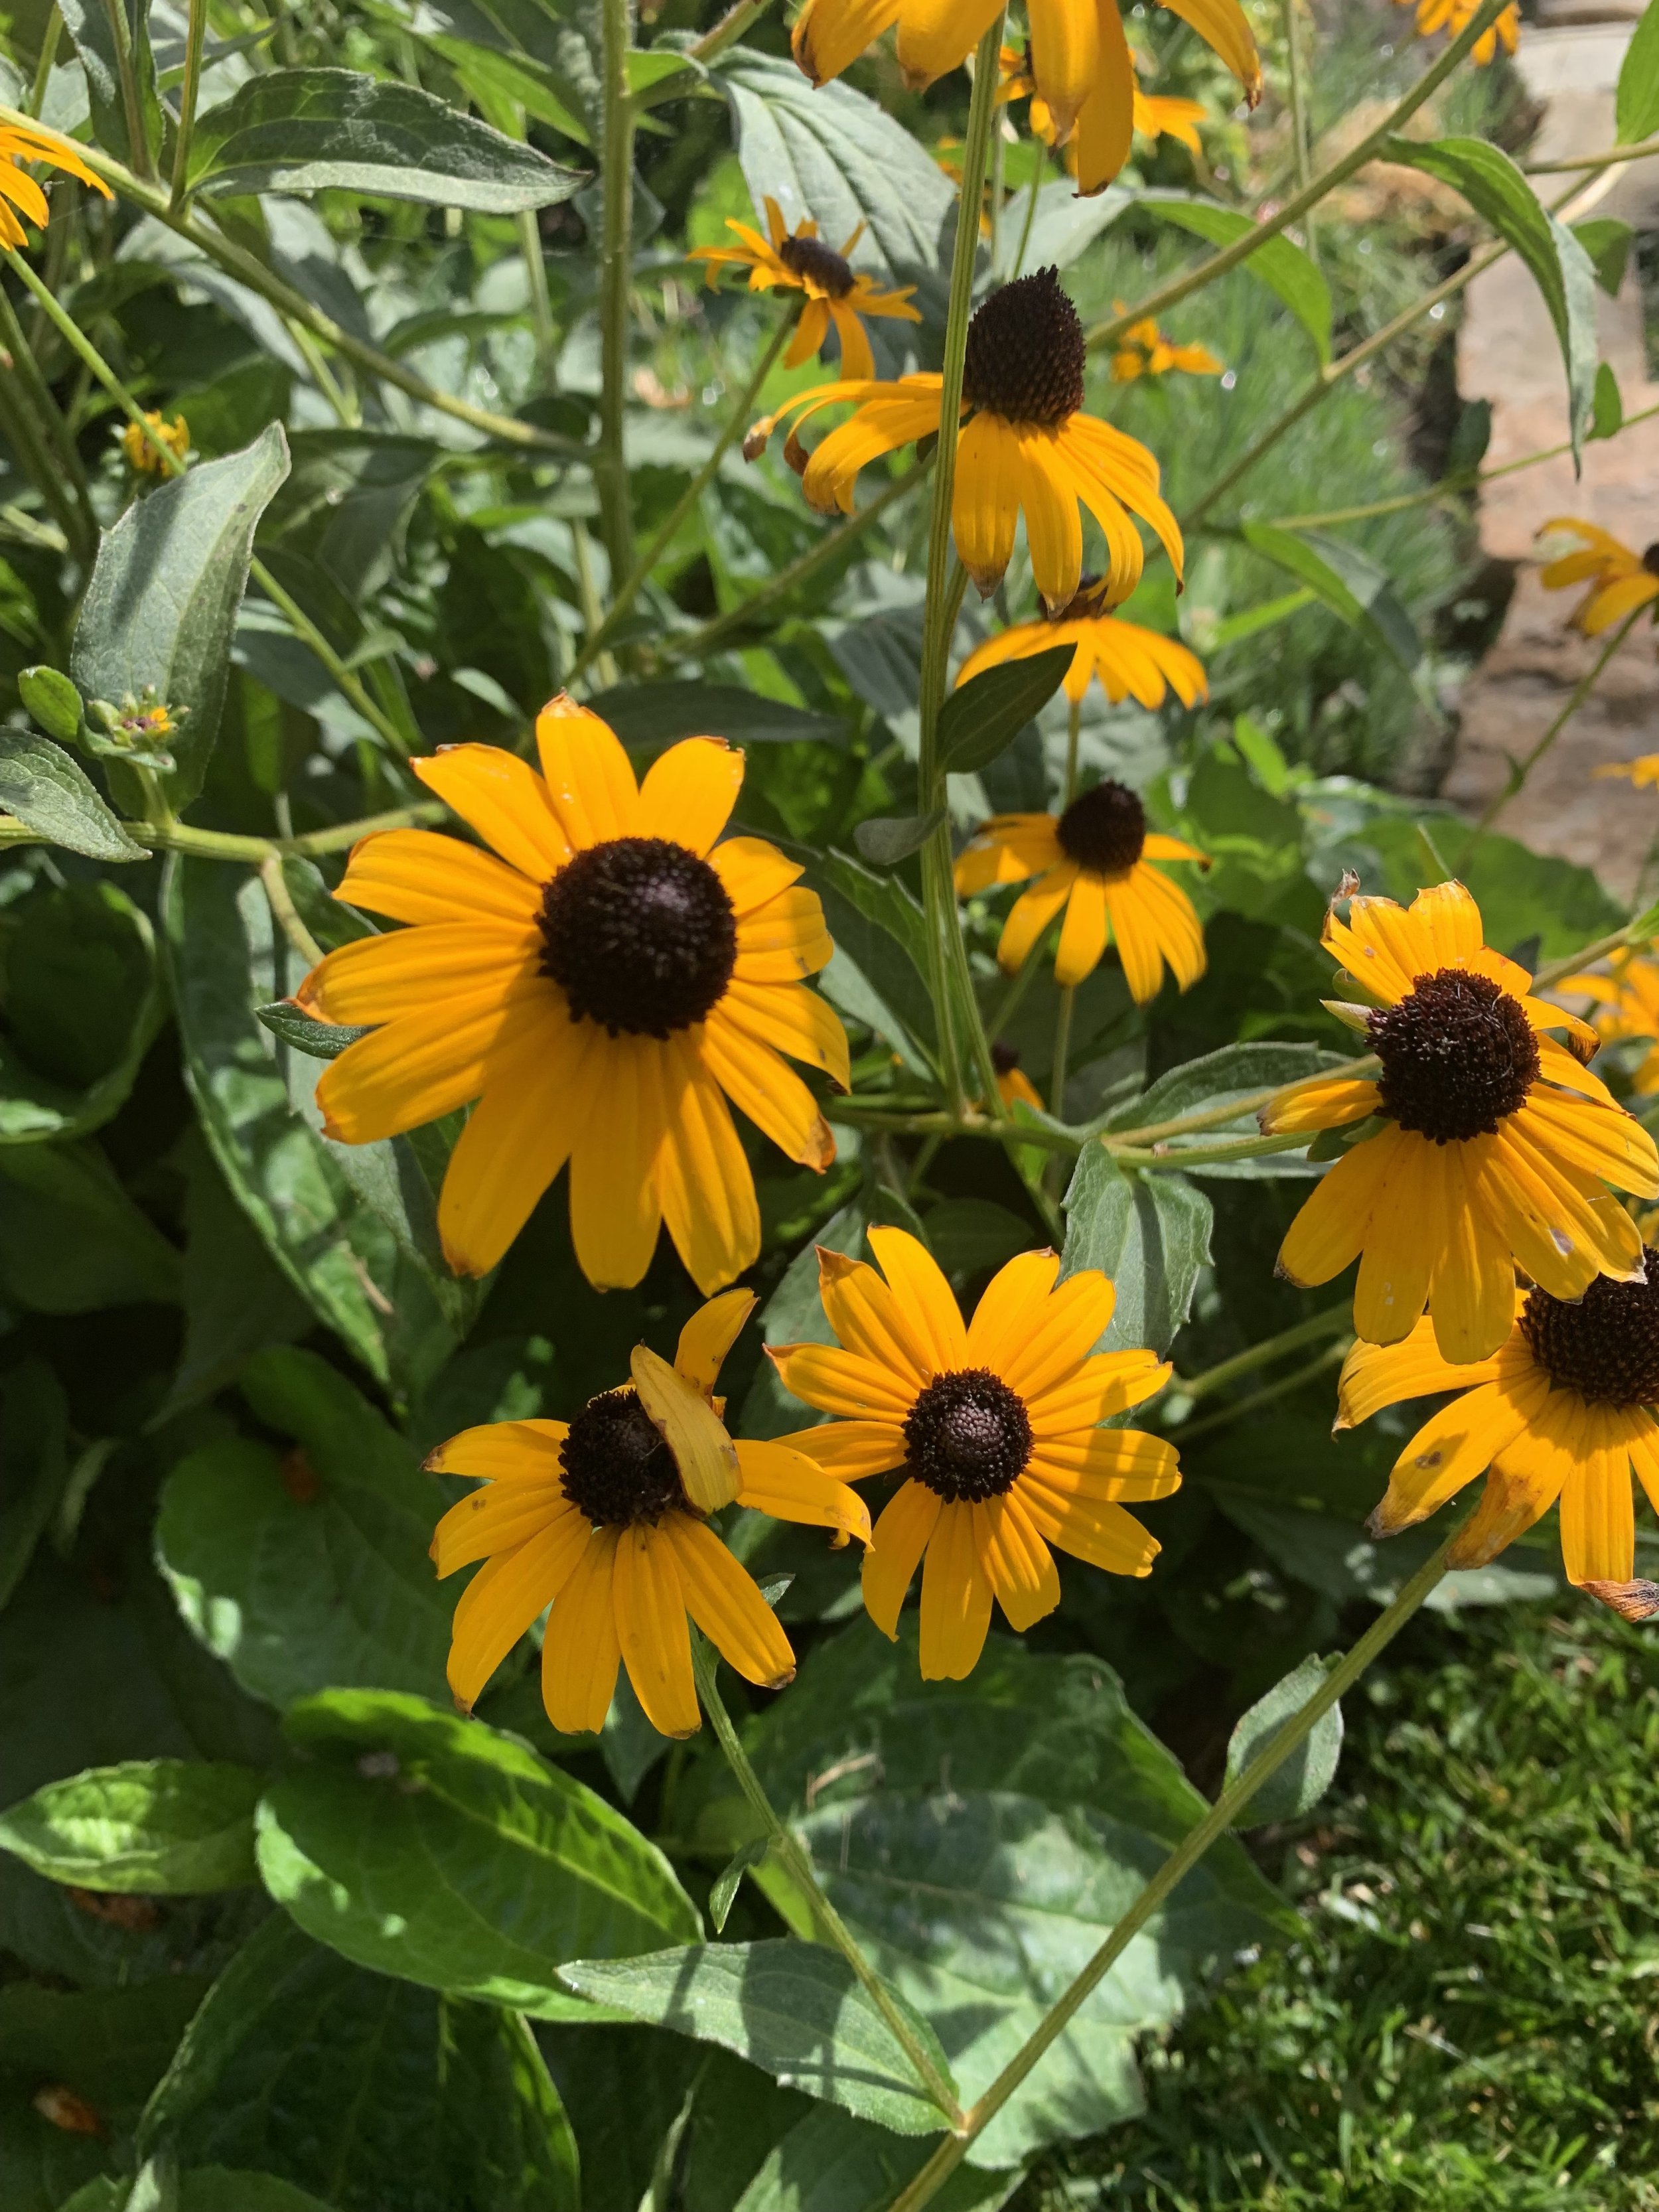
Using the perennial Black-eyed Susan in your landscape will add a splash of yellow through July and into August.
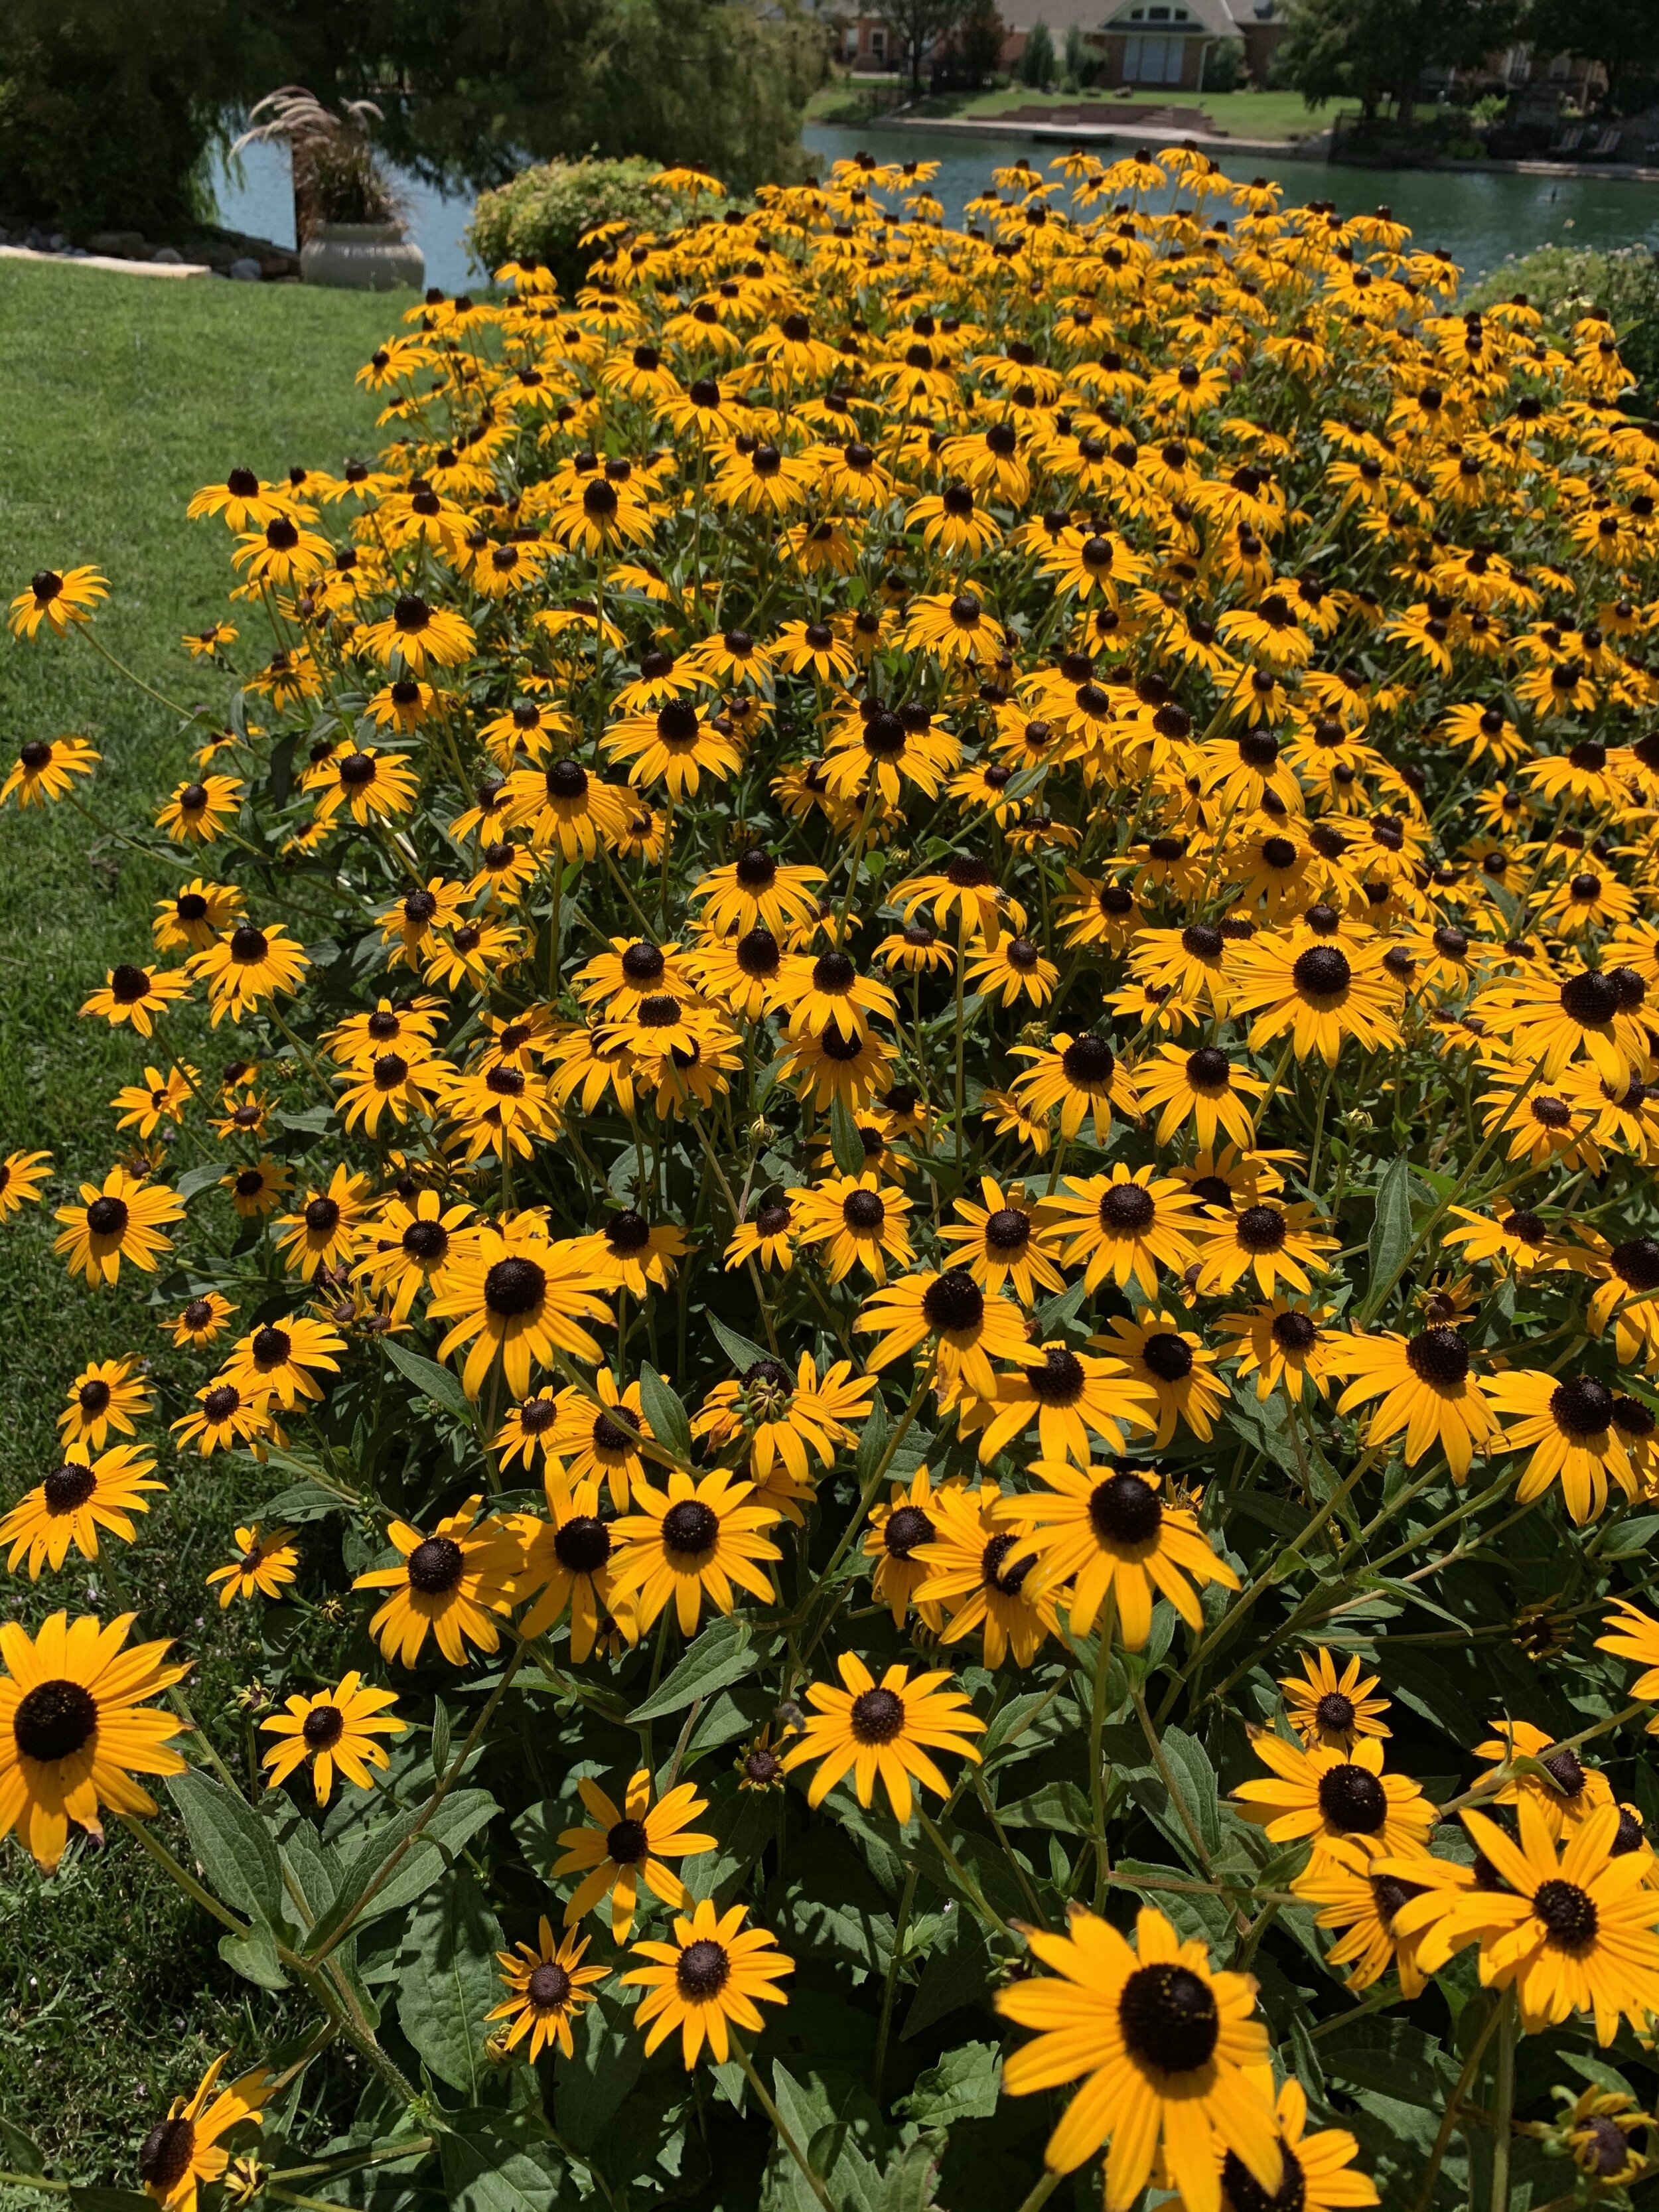
Black-eyed Susans add bold brilliant flowers in mid-summer to our landscapes.

Coneflower is a perennial that blooms in midsummer.

Crape Myrtle, the longest summer blooming plant become more brilliant as the summer gets hotter.

Maybe the hardiest Hydrangea, Limelight, blooms during the heat of midsummer and they do well in full sun. These are planted around a parking lot on the west side of a building.
Shrubs
Crape Myrtle – I have a tendency to mention them often, but as our longest-blooming summer shrub and/or tree they are a must-have for your landscape. Varieties come in dwarf (2-4’), semi-dwarf (up to 8’), and standard (up to 25’). Colors range from white, pink, purple, and red. It seems that the hotter the summer, the more brilliant their blooms.
Limelight Hydrangea – A very hardy hydrangea with unique mid-summer white blooms and a slight hint of green. They look great planted in mass, as a hedge or as a single specimen. Also, they do well planted in full sun.


Bobo Hydrangeas and Black-eyed Susan both thrive in the summer heat.
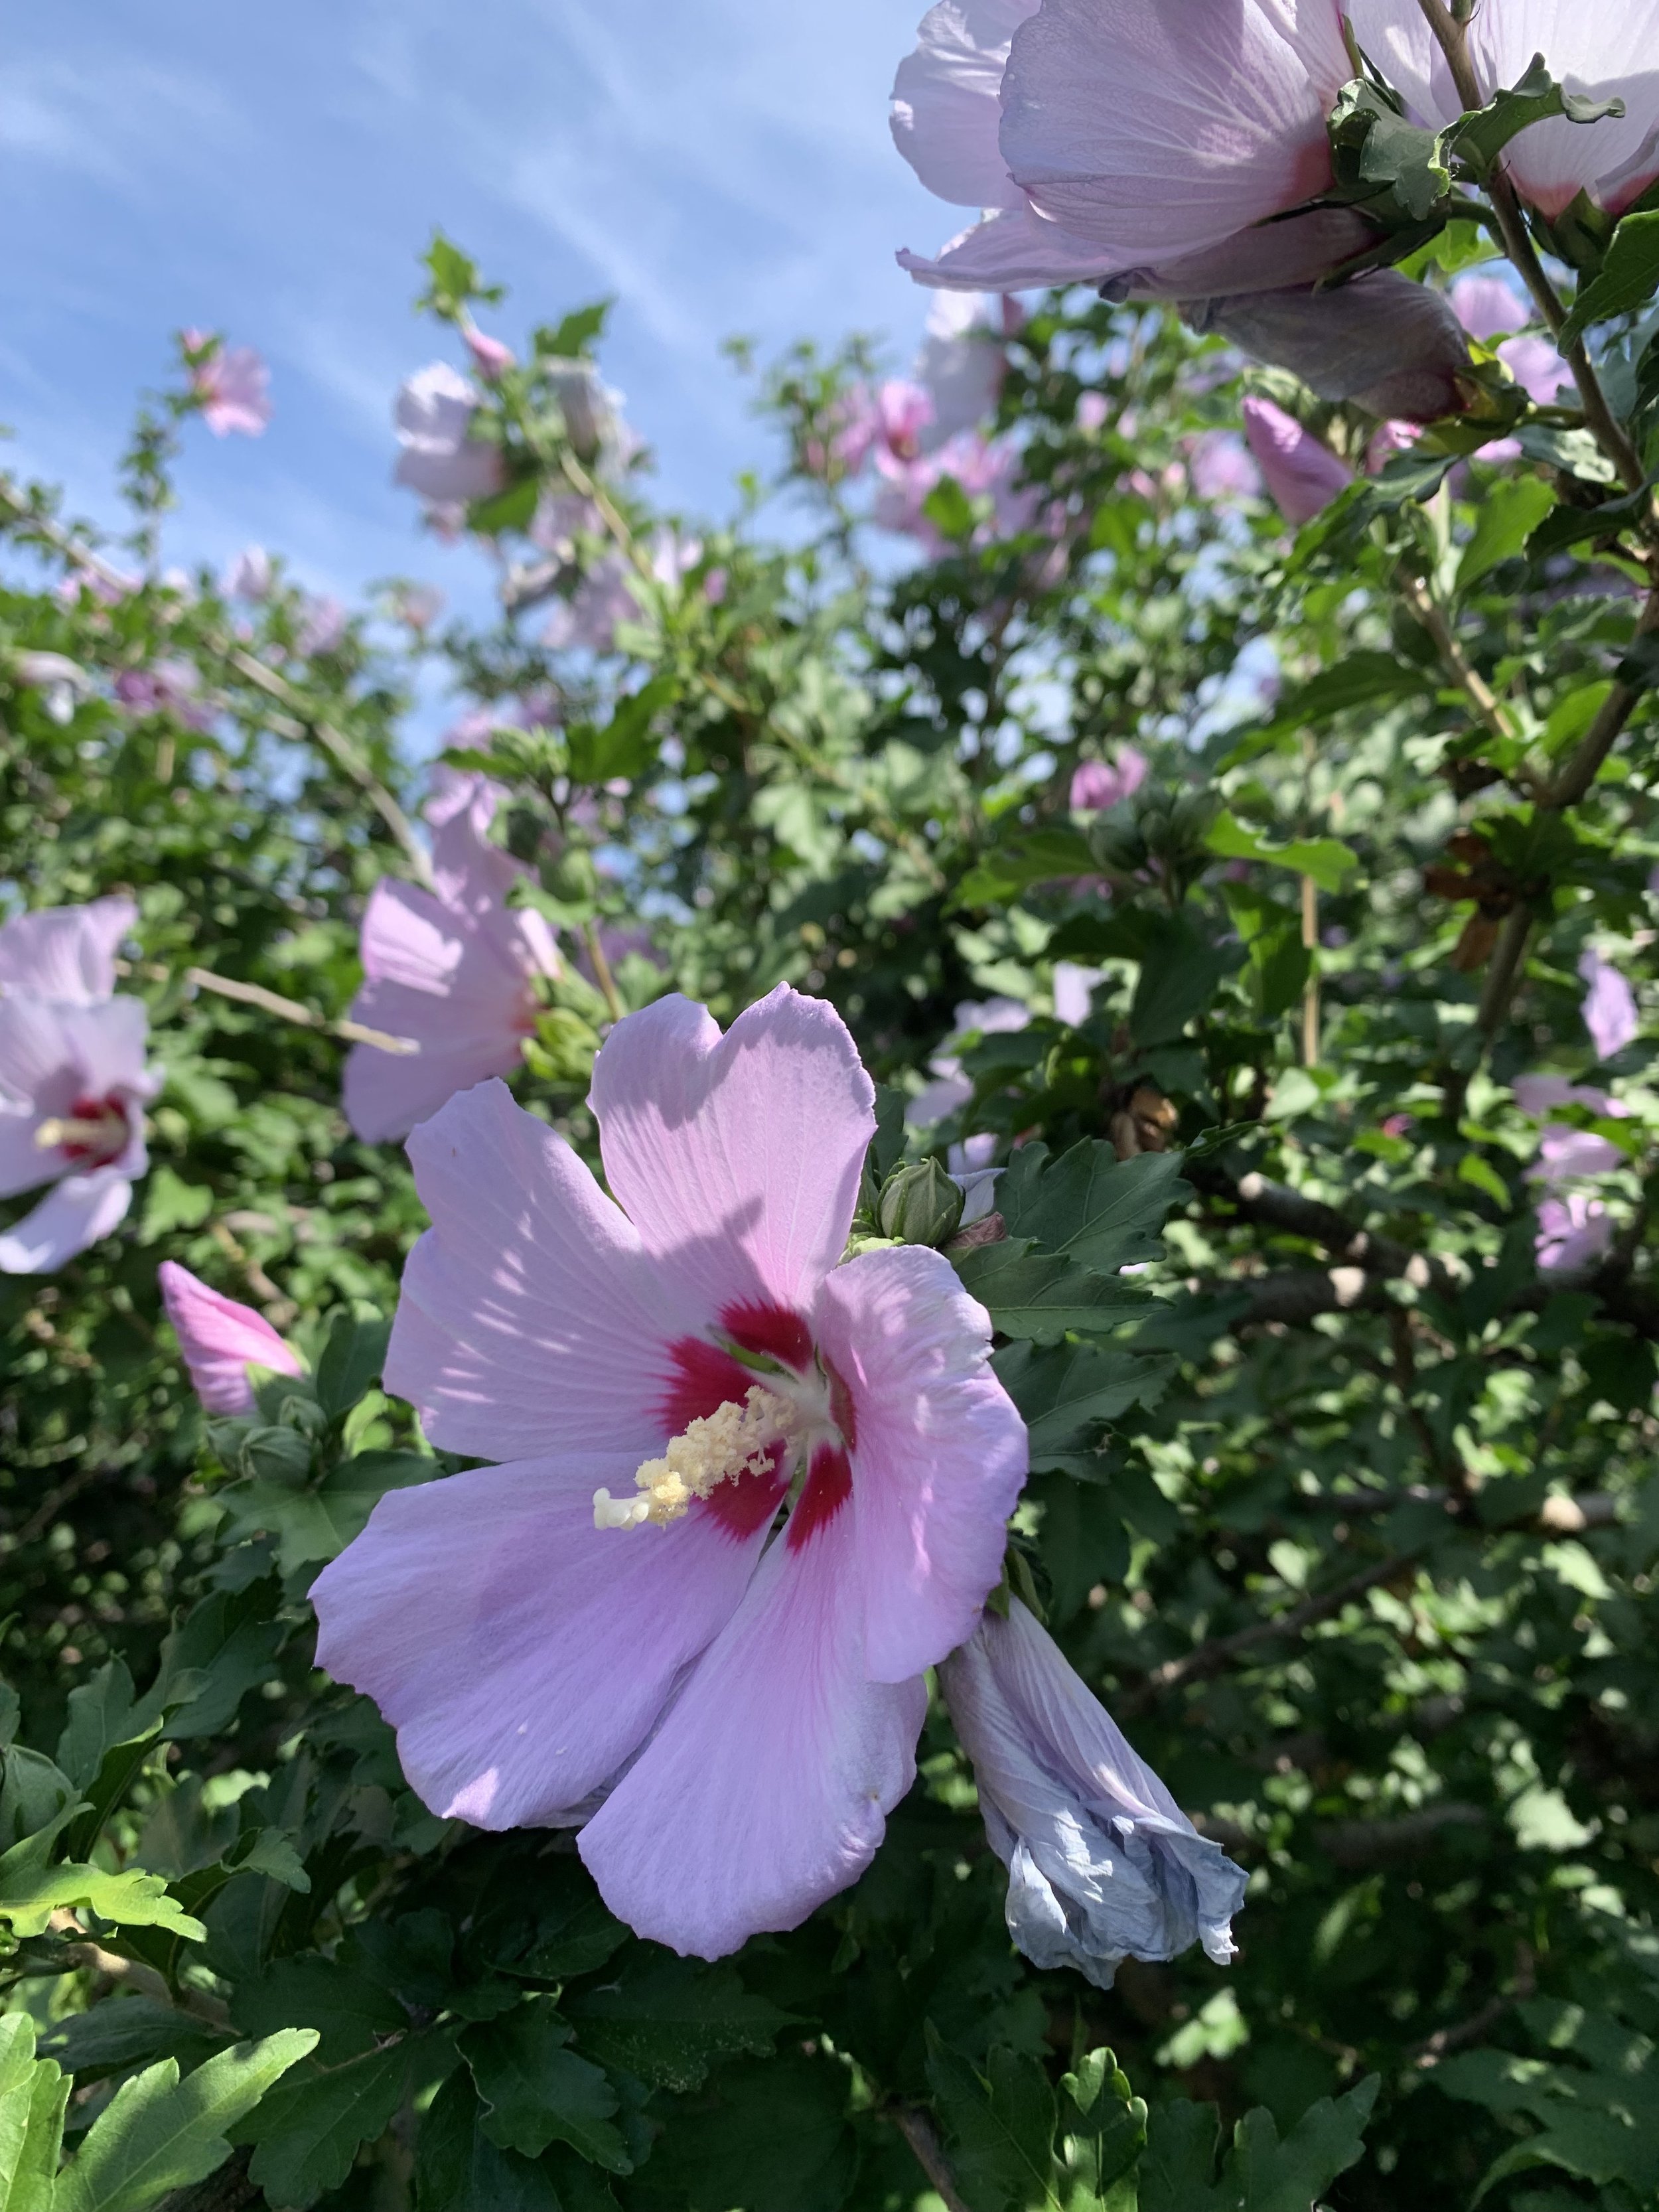
Hardy Hibiscus – A spectacular summer bloomer that will quickly make a dramatic impact to any landscape. Look for newer varieties as they have larger flowers. For most flowers, they need full sun. They are a great addition to a perennial garden or in front of an evergreen hedge.
Rose of Sharon – An old fashion shrub that deserves to be used more for flowers that appear from July through late summer. It grows in all soils and does well in hot locations. Blooms range from dark pink to lavender to white.
Rose of Sharon is an easy to grow plant that blooms July through last summer.

The large flowers of Hardy Hibiscus are an eye catcher throughout the summer.
Vines
Trumpet Vine – A favorite is the ‘Madame Galen’ variety. Trumpet-shaped salmon-red flowers throughout the summer for an extra-long blooming season. Great for covering up fences and climbing arbors.
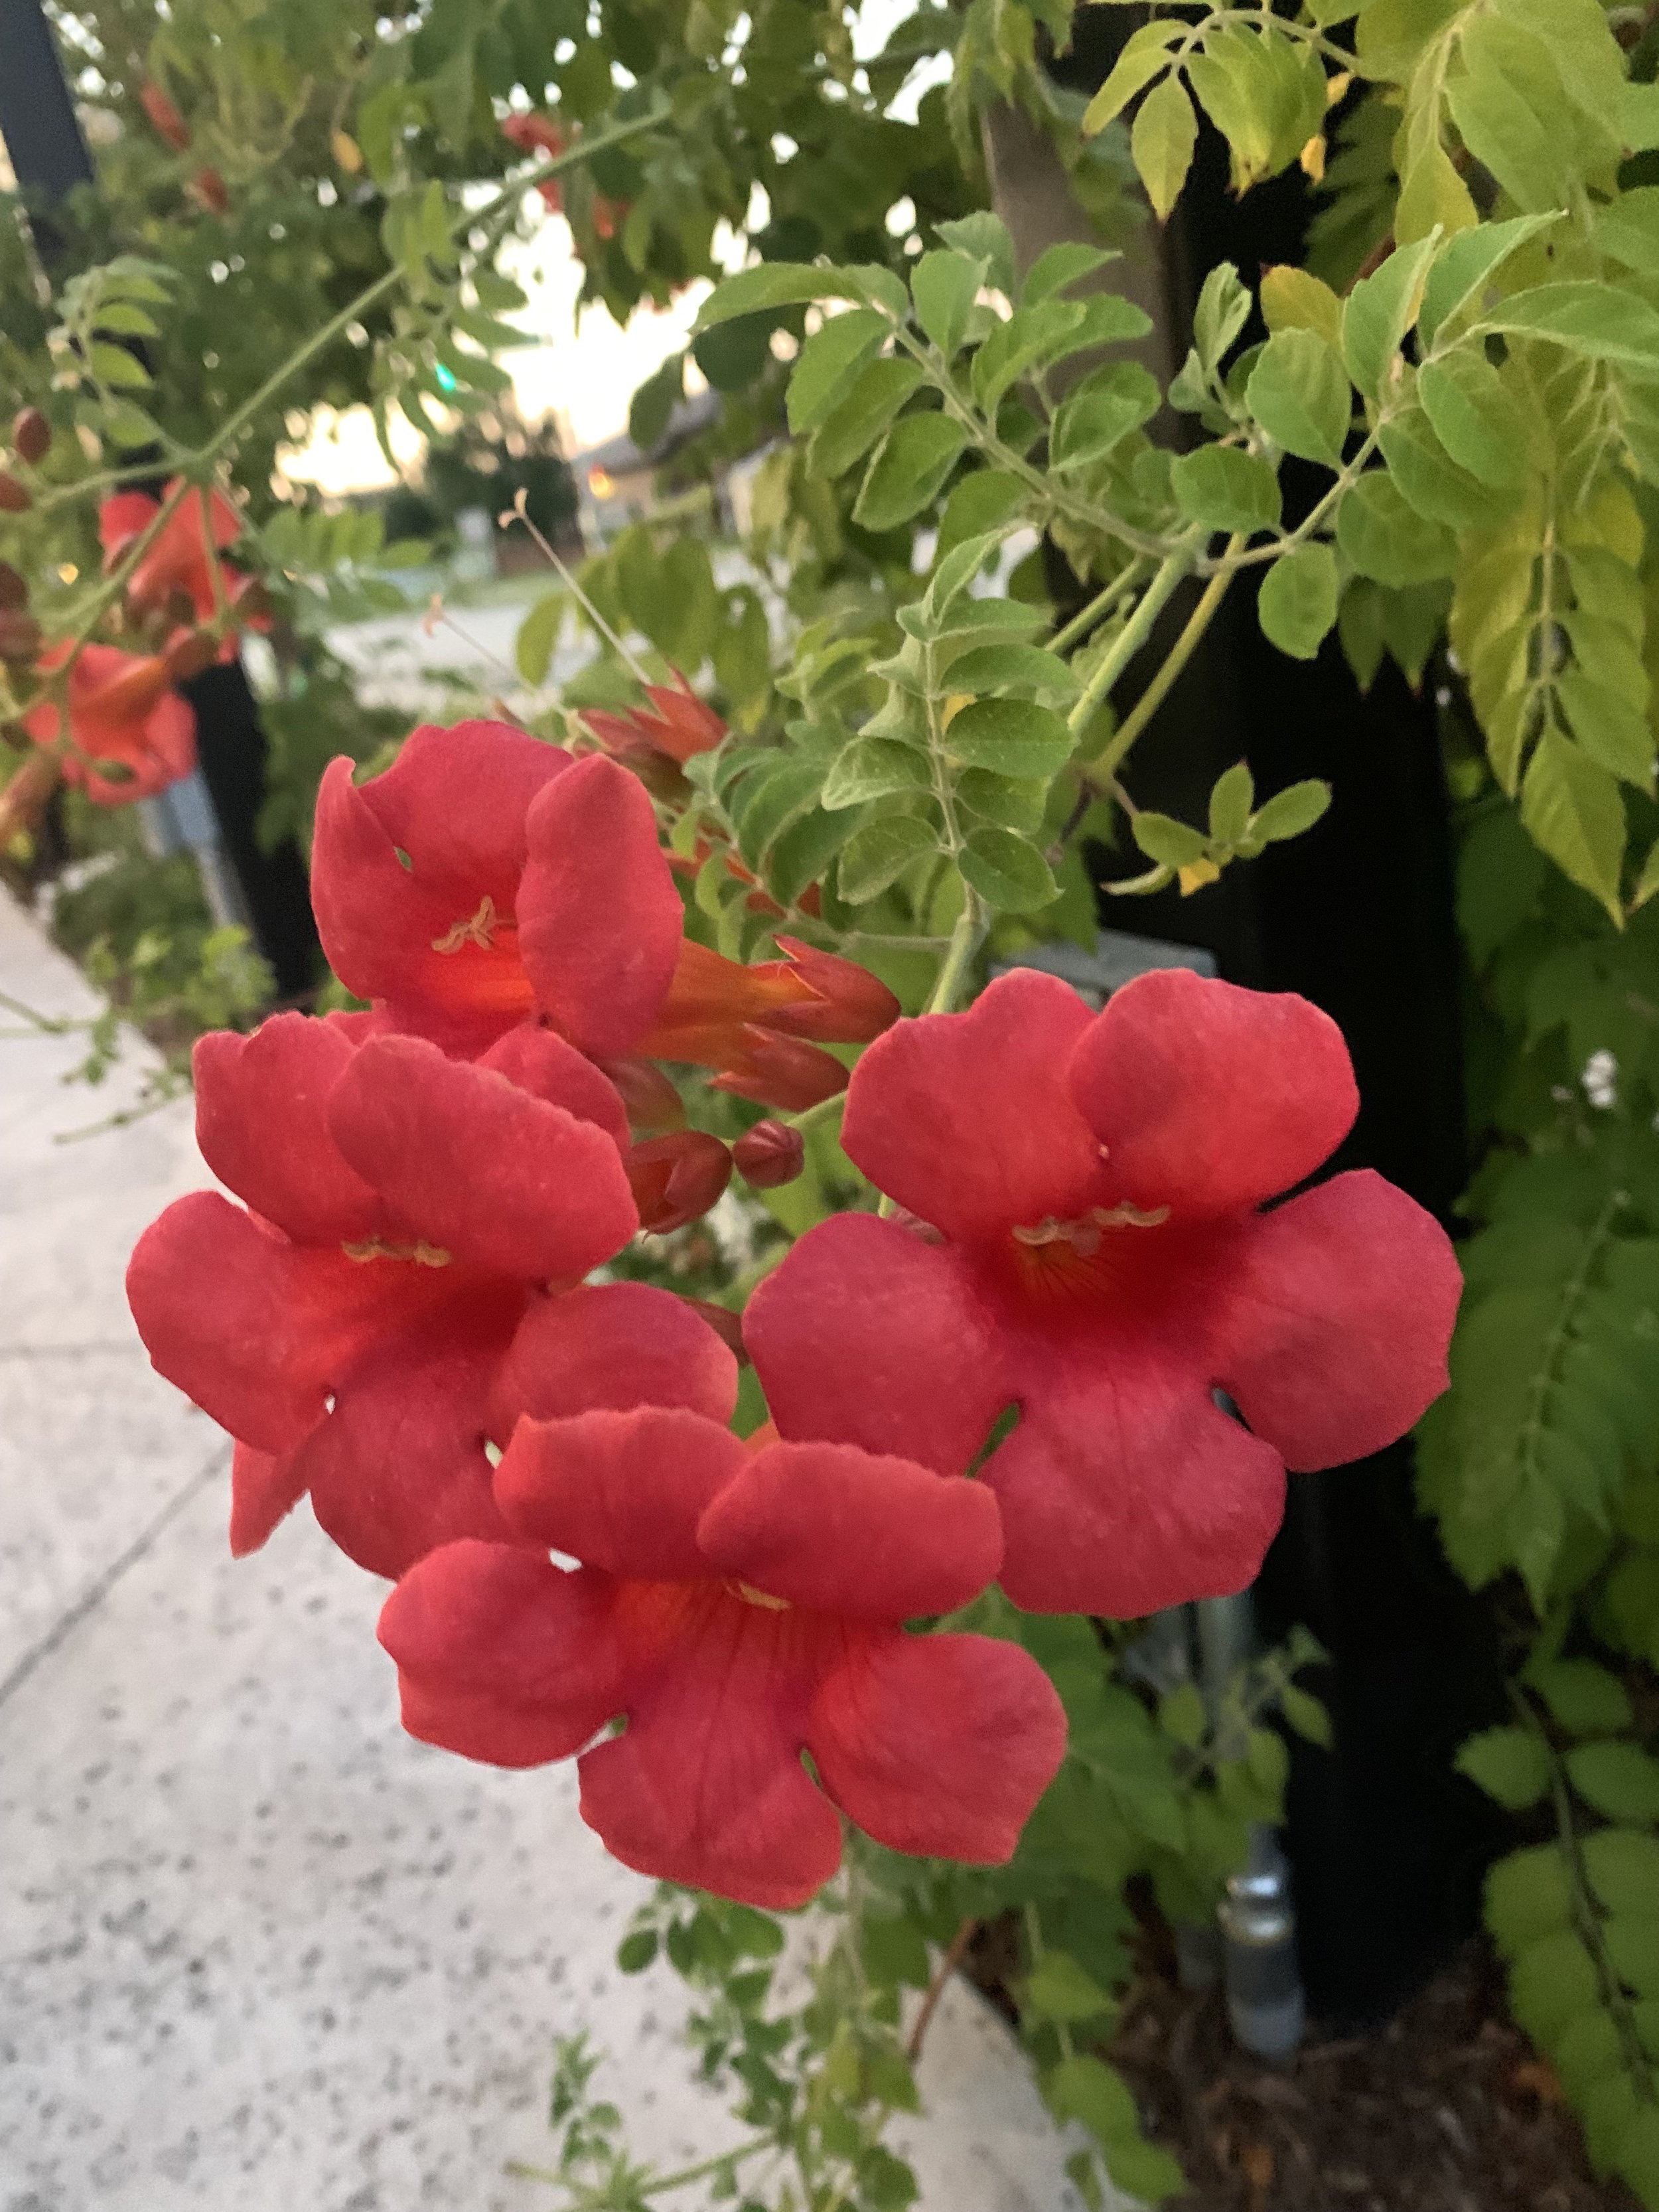
Madame Galen Trumpet Vine have an extra long summer blooming season.
Visit public gardens during the hottest times of the summer to see what is doing great in their landscapes for fresh ideas. The Myriad Gardens, Will Rogers Horticulture Gardens, and OSU’s Botanical Garden are just a few in the area.
Also, don’t be shy. Stop at that house with the best summer color in your neighborhood and ask what they are growing!
What is putting on a show this summer in your landscape?
Lorne Hall
Hall | Stewart Lawn + Landscape
(405)367-3873

The Myriad Garden is a great to visit for landscape ideas. Many of the plants are well marked.
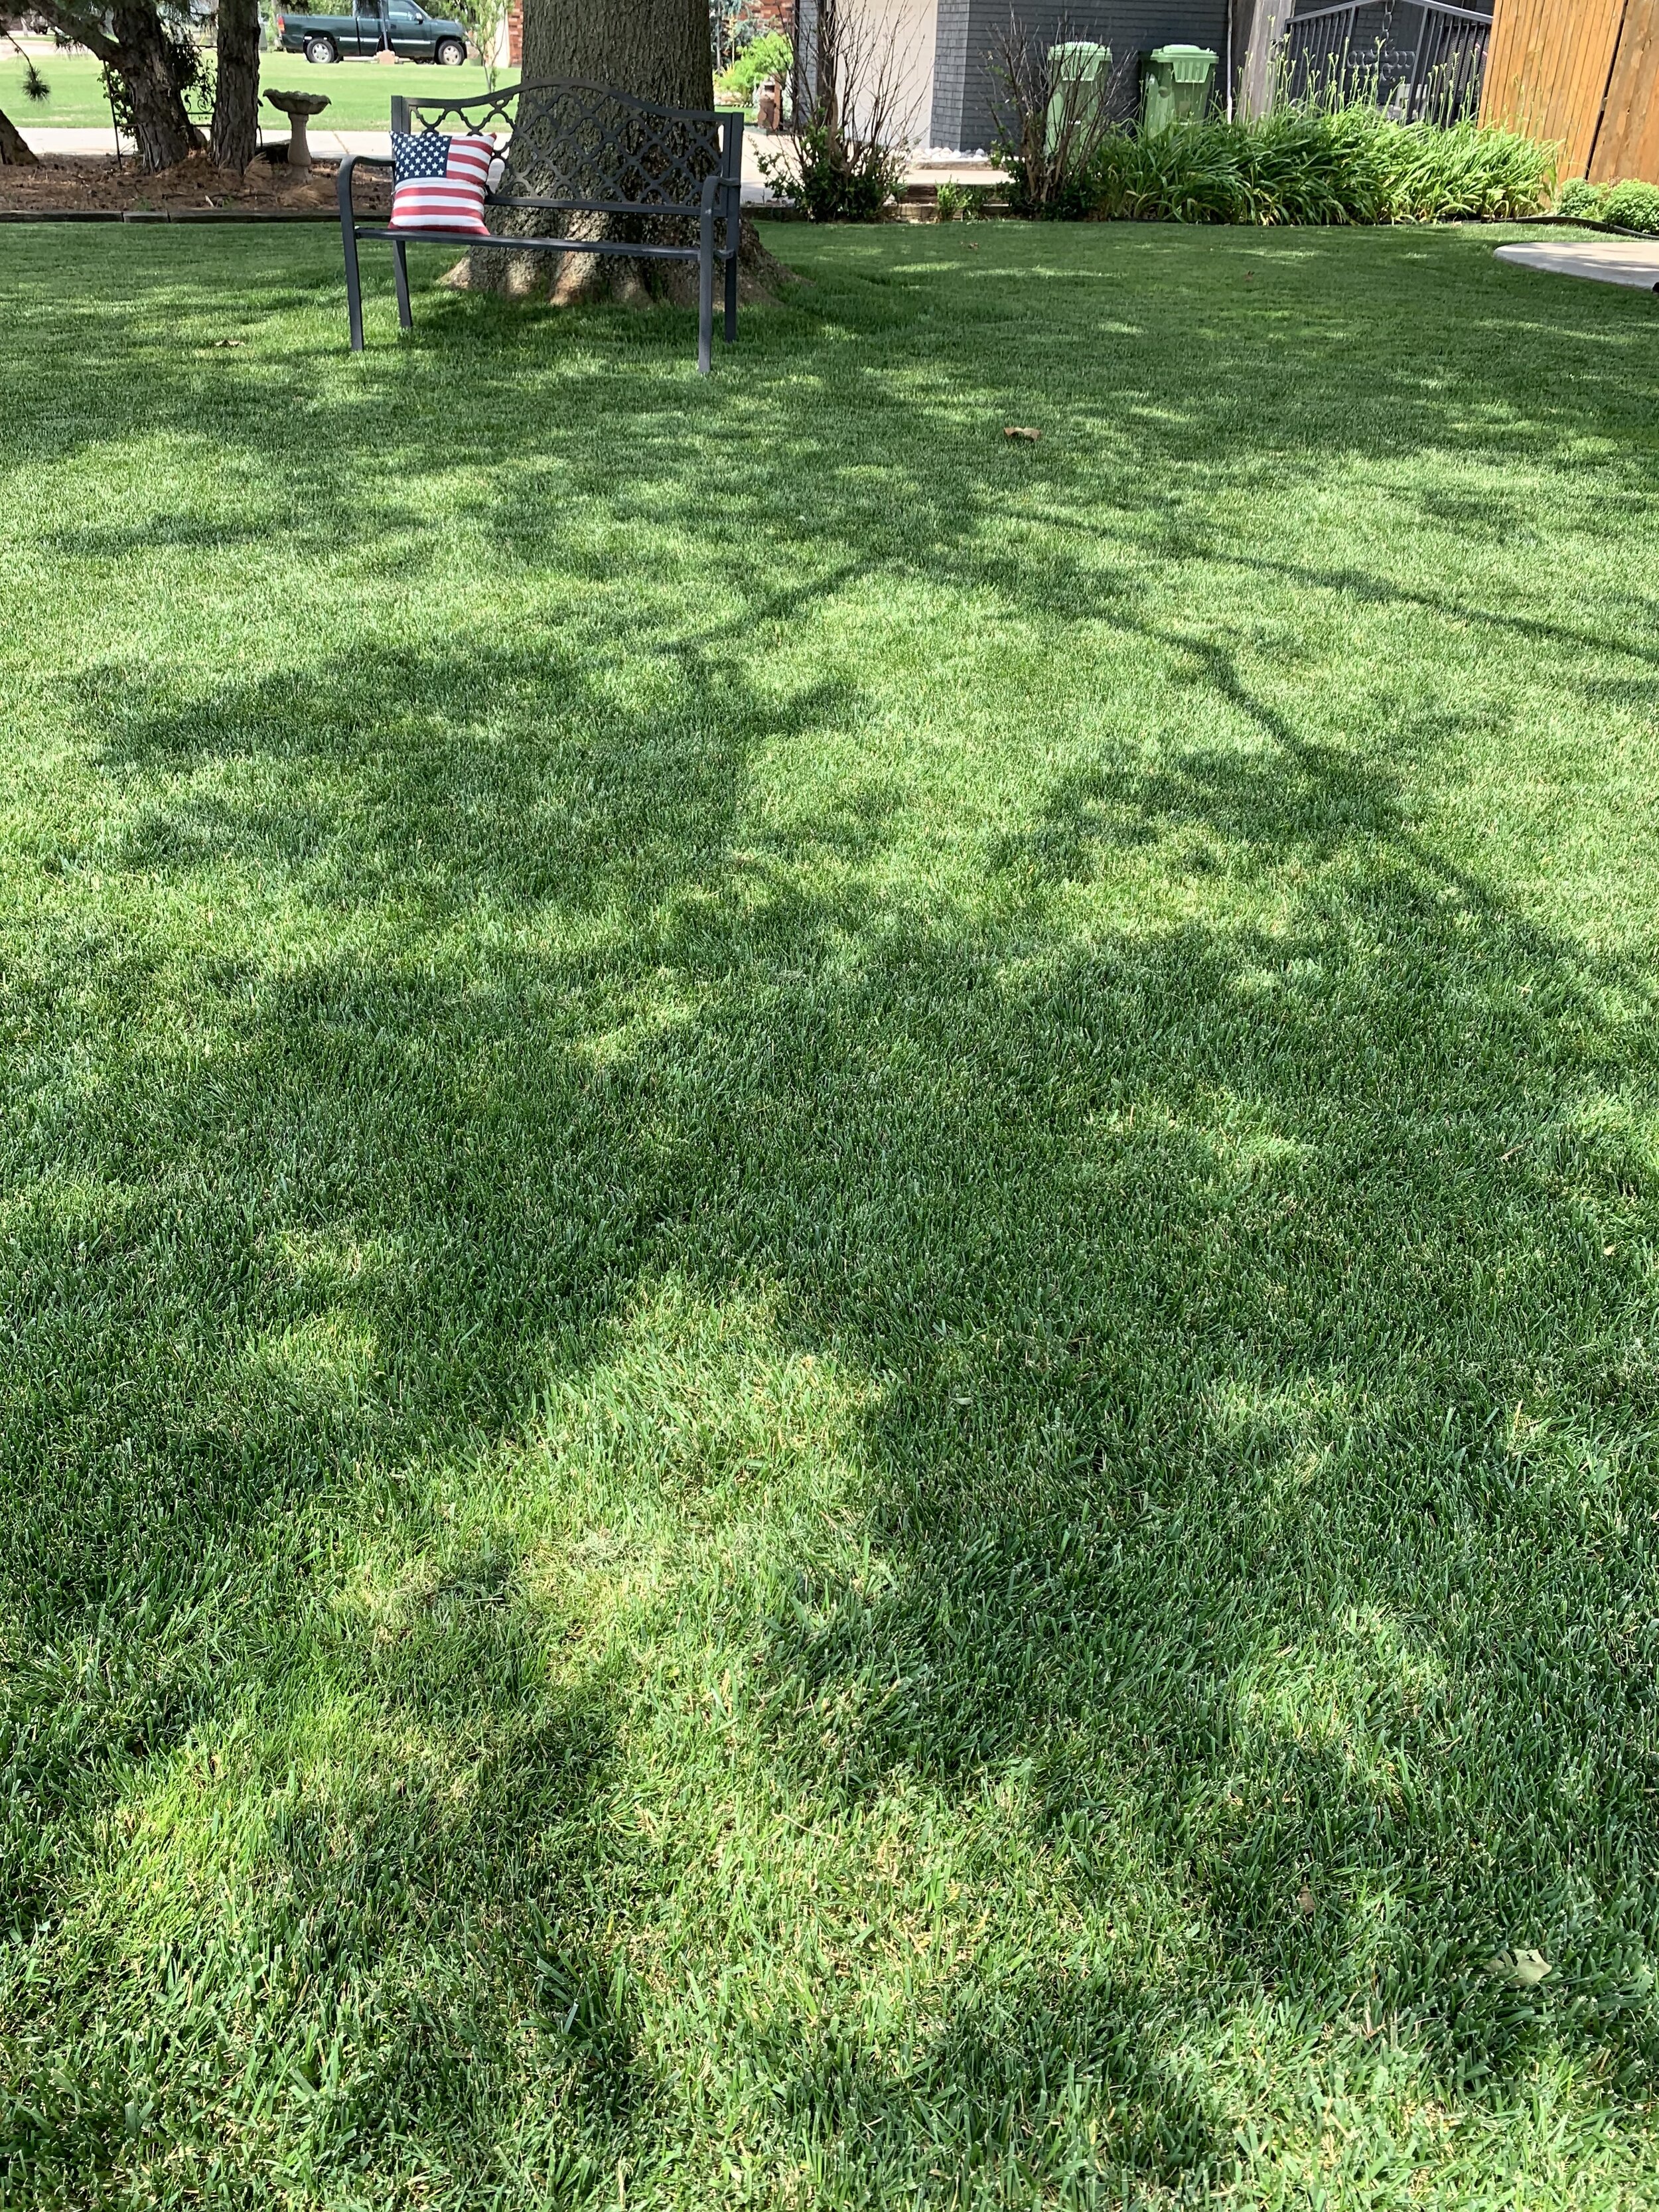
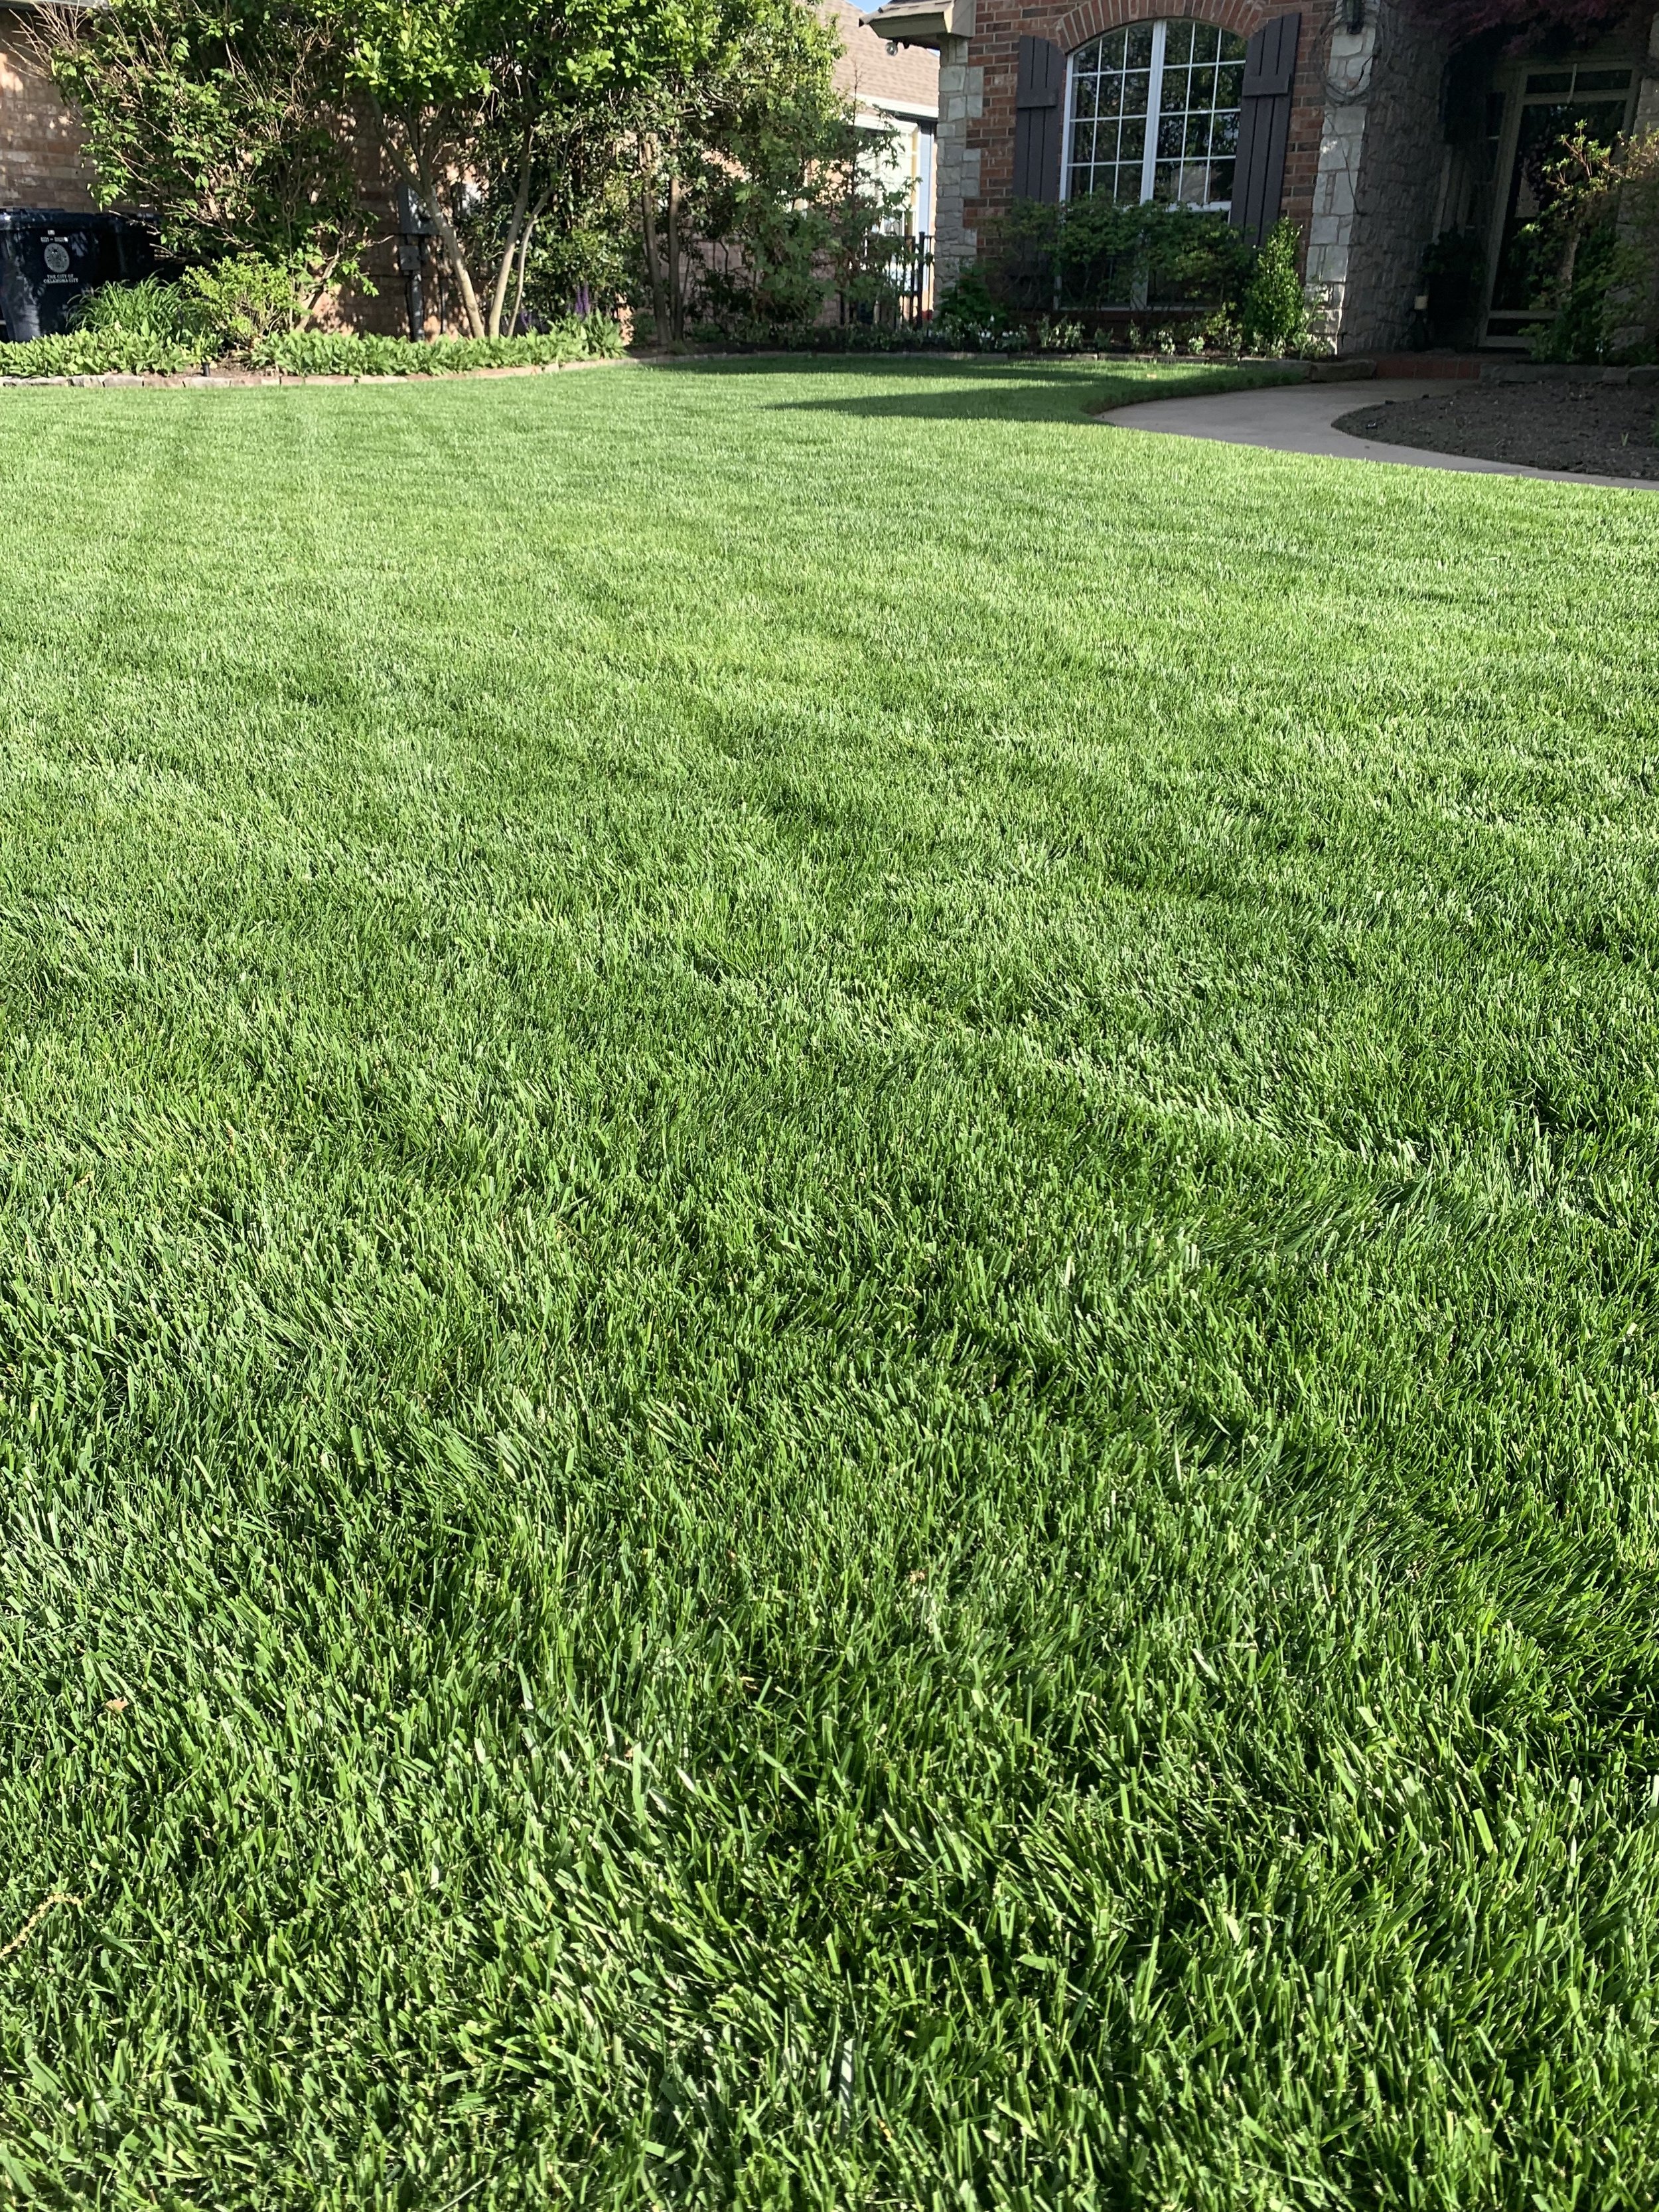
Good Mowing Practices Make a Big Difference!

Great lawns are the result of well-timed lawn care applications, perfect weather conditions, and proper maintenance practices.
Unfortunately, the impact of good mowing practices is often overlooked.
When it comes to a great lawn, mowing practices are more important than the fertilizer you use, the weed control applications that are made, and the amount of water used.
Getting mowing right comes down to three critical practices: mowing height, mowing frequency, and managing the clippings.

Mowing Height
Grasses adapt well to various mowing heights, but there is a direct relationship between mowing height and a healthy turf. As the height of the grass is increased, the root system increases. As the height is lowered, the root system decreases. A taller turf yields a healthier root system and a lawn that will withstand more stress. As the height and density increase, there is less room available for weeds to germinate and grow.
Optimal cutting heights vary based on the type of grass and the time of year. All turf grass should start the season low and gradually increase in height over the course of the summer. The goal is to have your lawn at its thickest and tallest height during the heat of summer.
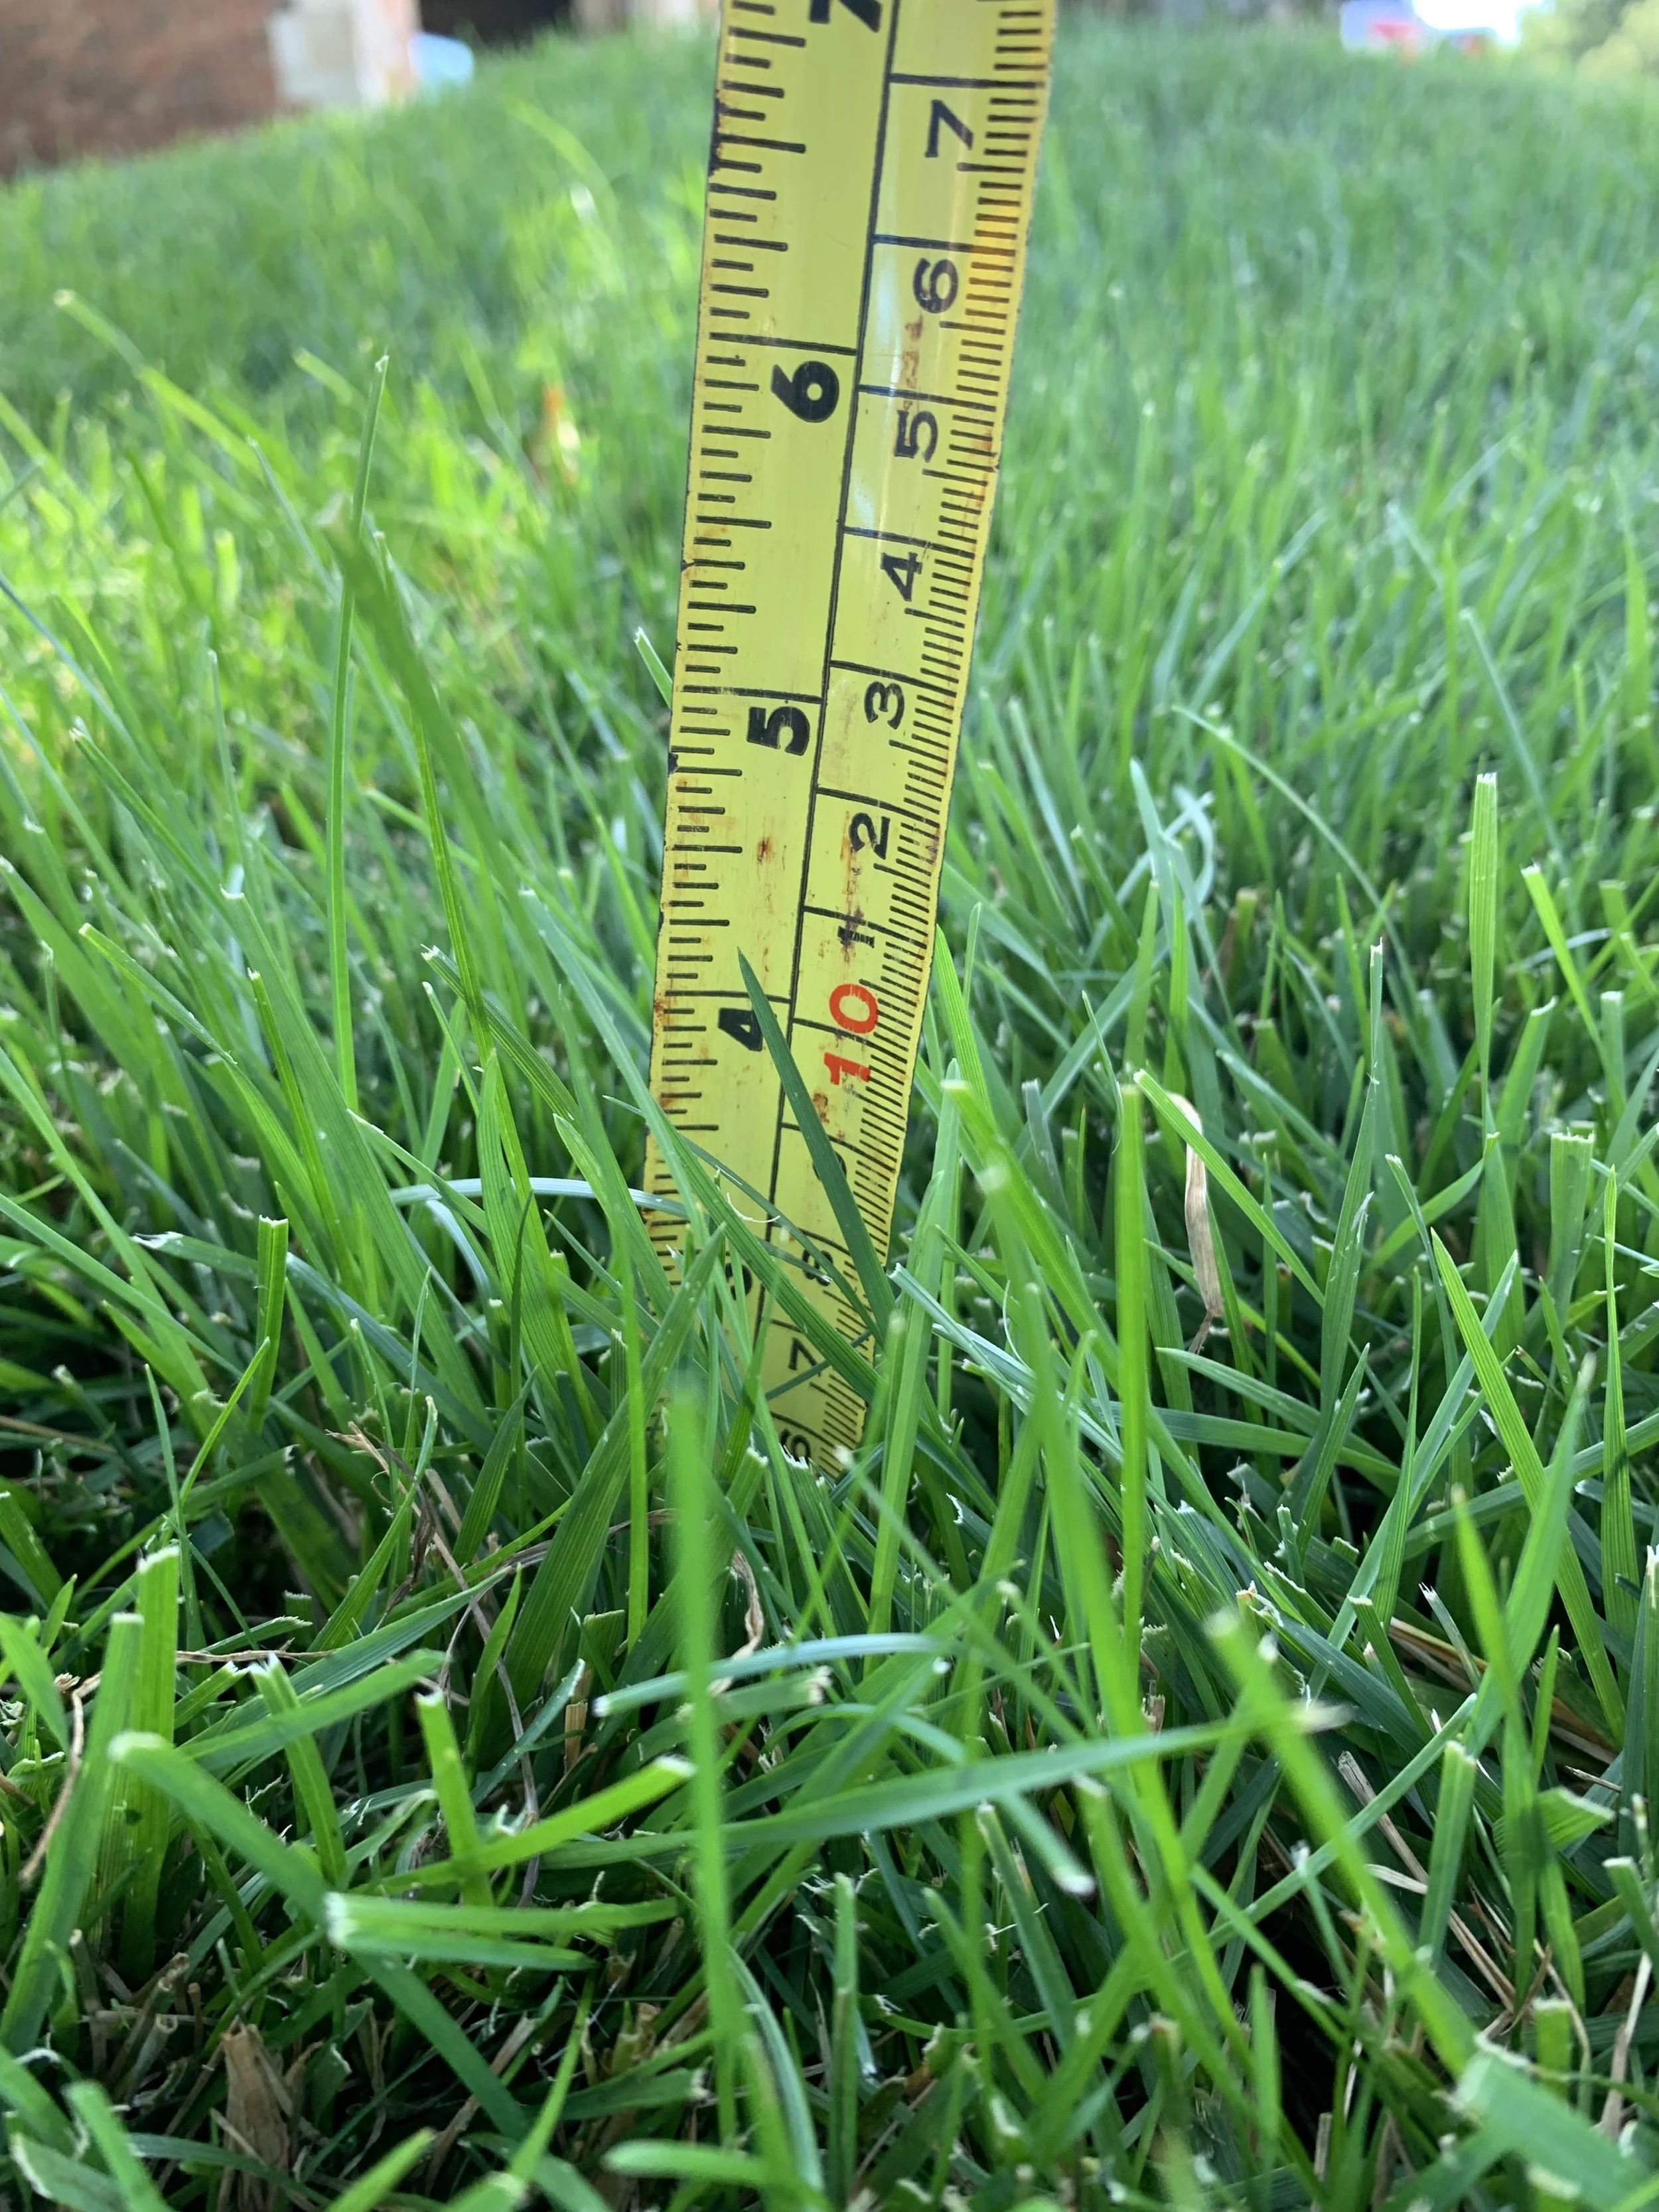
Fescue is at its best when it is cut between 2.5” to 3.5”.
Bermuda is best maintained between 1.5” to 2.5”, but Tiff Type Bermuda should be maintained shorter, .5” to 1.5”.
Areas of shade need to be mowed at the maximum height. The increase in leaf space will allow the plant the best possible chance to survive in the lower light.
A best lawn maintenance practice is to not remove more than 1/3 of the leaf blade when mowing.
Currently I’m trying to maintain my fescue lawn at 3”.
Yesterday with the fescue reaching over 4” it was time to cut it back to 3”.

Mowing Frequency
Probably the biggest hindrance to having a great lawn is mowing on a schedule, not on need. Most people mow their lawns once a week during the growing season. We all understand why. We are busy and our only opportunity to mow is on our day off. Or, you may have a landscape management company that mows the lawn once per week.
But, for the absolute best lawn, mow based on the 1/3 rule rather than a set schedule. For example: If you desire to maintain your fescue at 3”, you should never let your lawn grow over 4.5”. If you want to keep your Bermuda lawn at 2”, then you need to mow before it exceeds 3”, not just because it’s Saturday and you always mow on Saturday.
Whenever you remove more than 1/3 of the grass in a single mowing, you are cutting below the plant leaf and into the stem. If you see yellow or brown areas after you mow, you are cutting more than 1/3.
Turf grass research shows when you cut into the stems the plant responds by using nutrients stored in the root system to regenerate leaves. This reduces the strength, health, and density of the root system and results in a weaker turf.
What should you do when your lawn becomes too tall, and you need to cut off 50% or more to get back to the desired height? Cut 1/3 off, wait a couple of days and then cut another 1/3 off. Repeat until you reclaim the height you desire.
There is no doubt that frequent mowing at a uniform height, whether short or tall, is one of the most important aspects of having a great lawn.
Mowing with a mulching mower will return valuable clippings to the lawn. Grass clippings are mostly water and nitrogen.
Managing the Clippings
When you are able to mow frequently using the 1/3 rule, I recommend not catching the clippings. Turf grass leaves are 80-90% water and nitrogen. Grass clippings decompose very quickly and add nutrients back to the turf.
Not bagging your clippings is a major step in improving your lawn’s quality.
When you bag your clippings, you throw a little of your fertilizer away every time you cut the lawn.
Most years, I bag my fescue lawn a couple of times per year, the first time each spring and September when I cut the lawn short in preparation for overseeding. So far this season, I have managed to dodge the rain interruptions, stay on my typical 4-to-5-day mowing habit and my mower’s grass bag has remained in the garage since the first cut of the season.
A common belief is that when you don’t bag your clippings you are increasing thatch buildup. As long as you are only cutting the leaves and not the stems, thatch will not become a problem.


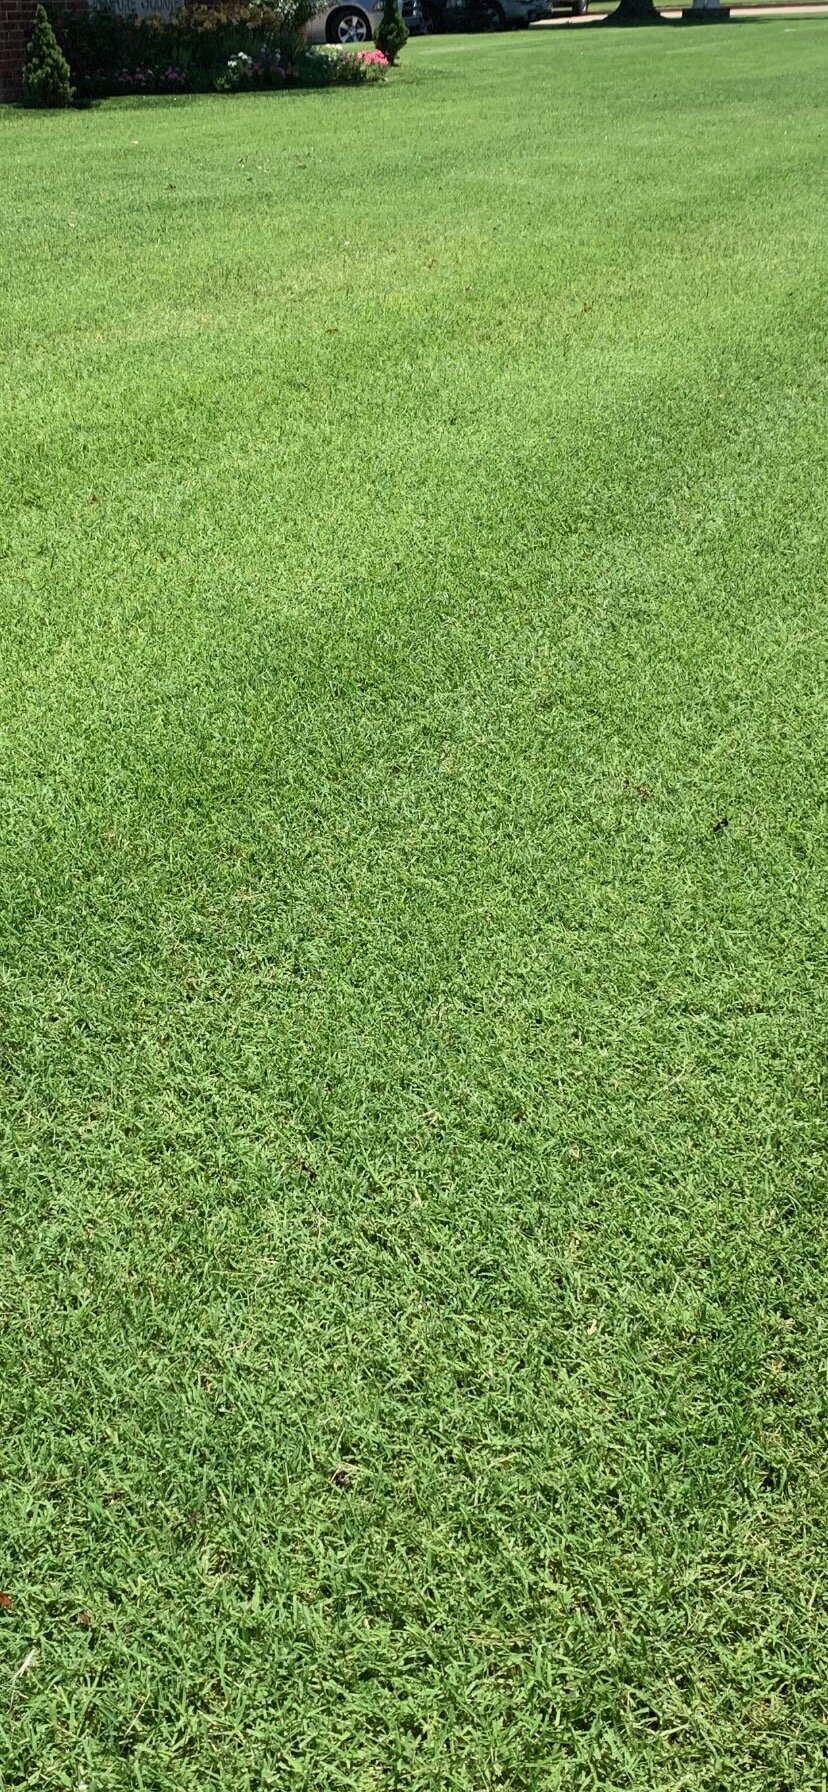
Mulch mowing will not only return nutrients to your lawn, it will also return moisture. This picture was taken late July 2022 during a heat wave and drought. At this point the lawn was being watered deeply every 4 days, cut at 3”, and mulch mowed.

Alternating your mowing pattern will not only reduce compaction, but it will add a professional look to your lawn.
Two Important Bonus Practices:
1. Mower blades should always be kept sharp. Dull blades bruise the leaf resulting in frayed leaves and a duller lawn appearance.
2. Vary your mowing pattern throughout the season to reduce soil compaction. Changing your mowing pattern will also improve turf appearance. I recommend rotating through at least three different mowing patterns. For example: mow parallel to the street, the next time mow at a 45-degree angle, followed by mowing perpendicular to the street or at the opposite 45-degree angle.


Changing the mowing pattern will reduce soil compaction and improve turf appearance.
Lawn mowing is the most time-consuming landscape practice.
It has to be performed more frequently than fertilizing, weed control, bed weeding, shrub trimming, and flower planting.
It is easy to allow mowing to become just another task that has to be done. But, a well, properly maintained lawn is well worth the time and effort.
Nothing adds more curb appeal to a property than a well-groomed lawn.
Lorne Hall
Hall | Stewart Lawn + Landscape
(405)367-3873
PS - The abundance of rain coupled with the warm night-time temperatures of July, Brown Patch is a Fescue lawn's biggest challenge currently. If you have Fescue, click this link and take a minute to learn more.
Summertime = water time!

This week marked the official start of summer. June 21st, known as the summer solstice, is the longest day of the year.
It appears our weather got the memo. Suddenly, temperatures are flirting with triple digits and suddenly there is less rain in the forecast.
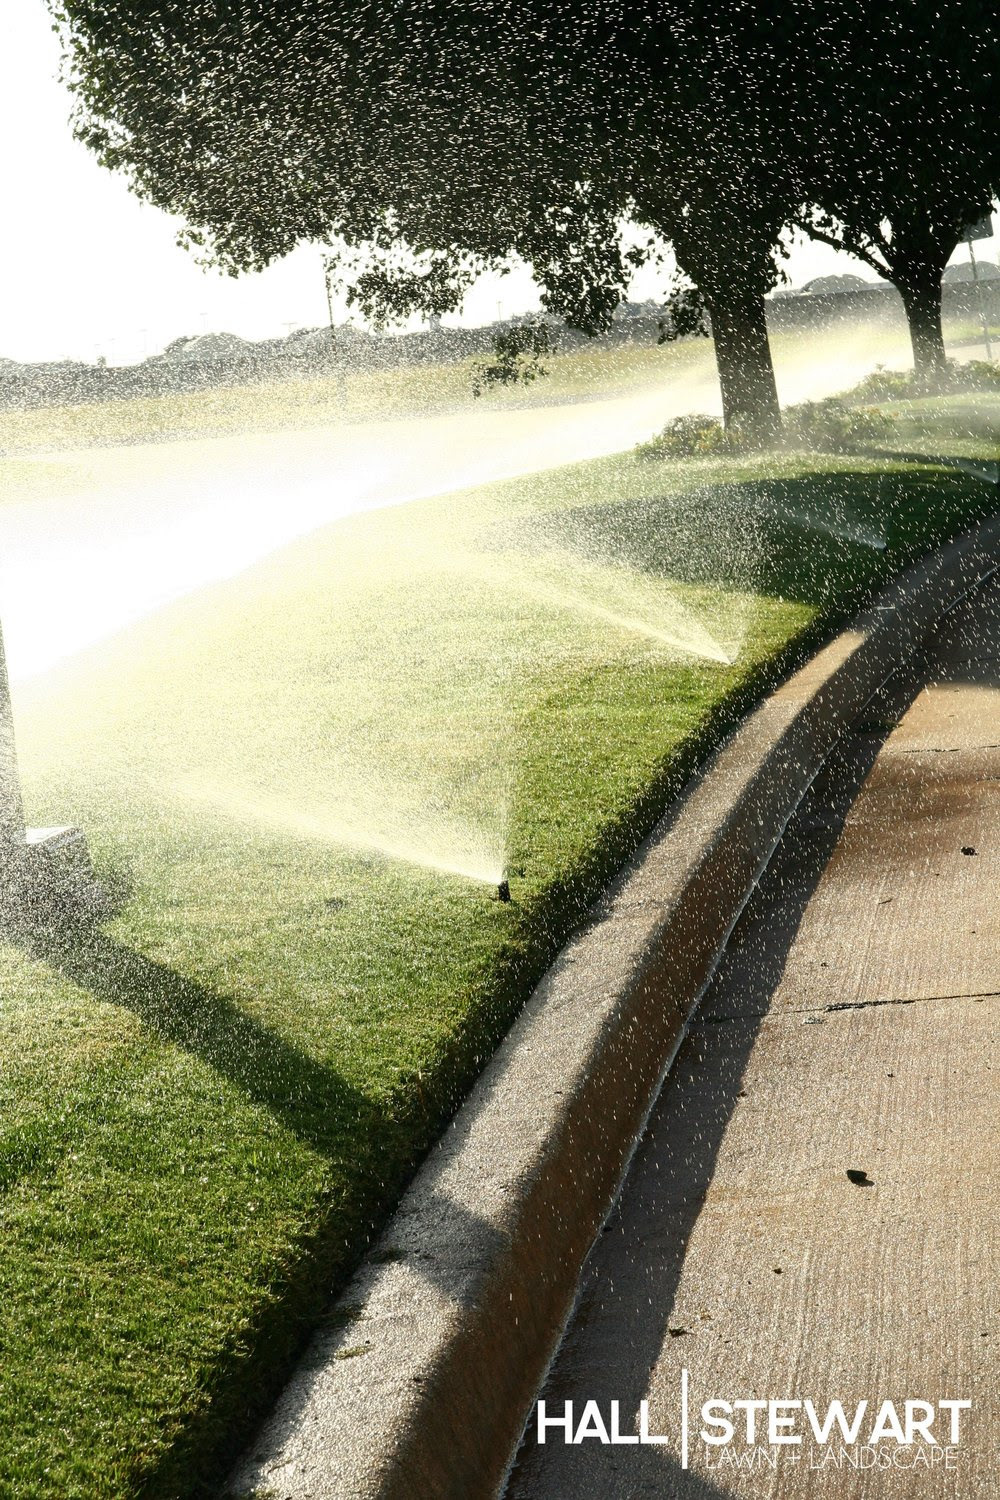
As temperatures rise and rainfall declines, it is important to develop the best watering practices.
Good watering practices start with being aware of current weather patterns and adjusting watering schedules.
Good watering practices need to be your number one focus in the landscape for the next few weeks.
Good watering practices will have the biggest influence on the health and appearance of your lawn and landscape for the rest of the summer.
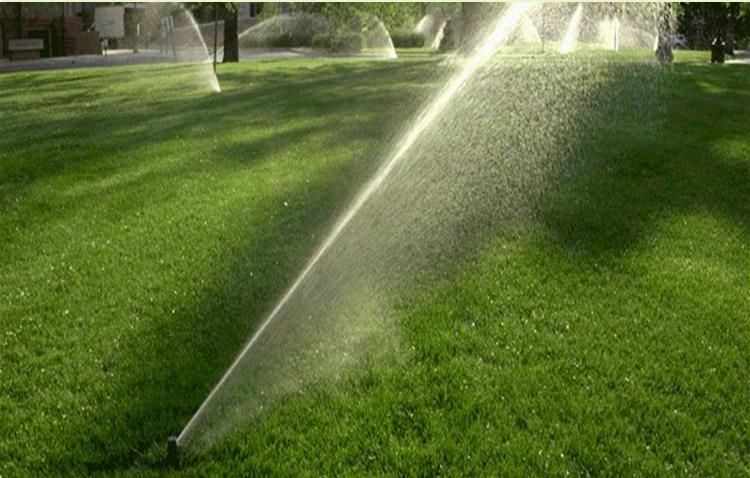
Best Watering Practices:
Apply 1” to 1.5” of water per week.
Your lawn and landscape need 1” to 1.5” of moisture per week when temperatures are consistently 90 degrees or higher.
Which begs the question: “How long should I water?”
Every irrigation system is different – different head types, different size nozzles, different head spacing, different soils, different slopes, etc.
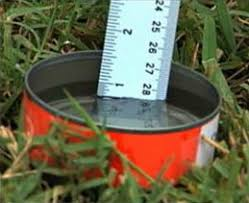
The best way to know how long you should water is to measure the amount of water your system puts out in each zone. Take a few cans and place them around your lawn in a random pattern. Run your sprinklers through a cycle and measure the amount of water in the cans. If the sprinklers ran for 15 minutes and you had .25” of water, that zone needs a total of 60 to 90 minutes of run time per week.
Next, determine how long you can run your irrigation before there is excessive runoff. This will tell you how many times per week you need to water. If you can get away with watering every 4th day, you will have a healthier, stronger landscape. Unfortunately, with our tight soils, watering every other day on the required ODD/EVEN system during the hottest times is needed to get the correct amount of water on the lawn without excessive runoff.
If you don’t have the time to audit the amount of water your system puts out, start with these settings, monitor, and adjust:
Fixed spray pattern heads with 10-15’ spacings – 15 mins per time.
Larger rotor type heads on 20-30’ spacings – 30 mins per time.
Currently, I am watering my fescue lawn every 4 days using the best practices mentioned here. Because of recently planted annuals and perennials, my landscape is currently being watered every other day. I will continue the 4-day schedule for the lawn until I see signs of stress from lack of water.

Set your controller to water with back-to-back run times.
For most of our landscapes, if you run our sprinklers long enough to get the recommended amount of water, you end up with a lot of water running down the street. Splitting zone run time in half and setting the controller to run through the zones back to back will improve the amount of water that soaks in and reduce the amount of water that runs off.
Example: Set the controller to run at 4:00 AM and 5:00 AM. When the 4:00 cycle completes, even if it is past 5:00, the controller will start the second cycle.
I know from experience that moist soil will absorb more water than dry soil. Soil is just like the sponge in your sink. A dried-out sponge repels water before it starts absorbing water. Your lawn is the same. The first cycle moistens the soil and the second cycle soaks in.
Split, back-to-back, irrigation cycles are an old golf course trick. For years, large commercial irrigation controllers have had a run/soak cycle setting that waters a short time, delays, and then waters a longer time. Now, more and more smart controllers offer a run/soak cycle feature.
I started using split, back-to-back, irrigation cycles a few years ago on lawns with slopes.
After seeing great results, I started incorporating the concept on all lawns.
It makes a difference in watering efficiency.

Water in the early morning.
Evaporation is at its lowest point in the pre-dawn hours. Typically, the wind is also at the lowest point of the day in the pre-dawn hours.
I prefer to set most irrigation controllers to start at 4:00 AM with the goal of having the cycle completed by 8:00 AM.
Avoid watering in the heat of the day when much of the water will be lost to evaporation. Also, avoid watering in the evening. Watering in the evening promotes many turf diseases because the lawn stays wet too long.
This is critical for fescue lawns. If fescue stays wet for more than 6 hours at a time and nighttime temperatures are in the 70s, brown patch is unavoidable. Fescue performs best in the heat if it is watered deeply, and grass blades are dry by noon.
If you water your fescue lawn in both the morning and the evening during the summer because you “can’t seem to get enough water on it!”, your lawn isn’t struggling because it is too dry, your lawn is struggling because you have created the perfect conditions for brown patch, a fescue lawn’s worst enemy.

IMPORTANT: Don’t water fescue in the evening during the summer. When water remains in the leaf for more than 6 hours, brown patch disease will develop.

How much difference does infrequent, deep watering make when it comes to developing a drought tolerant lawn? This is my home lawn on August 20 last summer. As an experiment I watered every 4 days starting August 1st. Temperatures were in the upper 90s to 100s the first 20 days of August last year. The only rainfall was 2/10” on August 10. Because of deep watering, my fescue lawn, in mostly sun, was able to stay green and healthy during last year’s hot summer.
Daily watering is not needed.
Unless you are trying to get newly planted seed to germinate or new sod to take root, there is not a good reason to water every day. Always water deep and infrequent. Daily, shallow watering creates a landscape that is shallow-rooted and more dependent on constant moisture for survival.
Fescue will also benefit from deep soakings, every other day, through the summer months. Shallow, daily watering in the summer heat is very damaging to fescue. Again: Brown patch symptoms look very similar to drought stress. Typically, the more you water, the worse the fescue looks, so you add more water, and the cycle of decline continues.
A common myth I would love to dispel is that fescue requires a lot more water than Bermuda. Yes, it does for a couple of weeks in the fall when you are trying to get newly seeded fescue to germinate, but mature fescue doesn’t require more moisture than Bermuda.
Aeration improves moisture absorption.
You can’t beat aeration for improving your soil structure. A key benefit of improved soil structure is better water absorption. Lawns that receive annual aeration (or at least every other year) do not experience as much runoff.
Always pay attention to water needs.
If we receive 1/2” of rain or more, turn your controller off for a few days. Install a rain sensor if you are not good at remembering. A rain sensor will pay for itself easily in one season.
Just because it is summer, don’t assume you can leave your controller in automatic and forget it.
Don’t stress if your lawn and landscape get a little dry, it will rebound quickly once water is applied.
A good indicator that your lawn is needing water is the footprint test. If the grass retains your footprints instead of quickly springing back, it is time to resume watering.

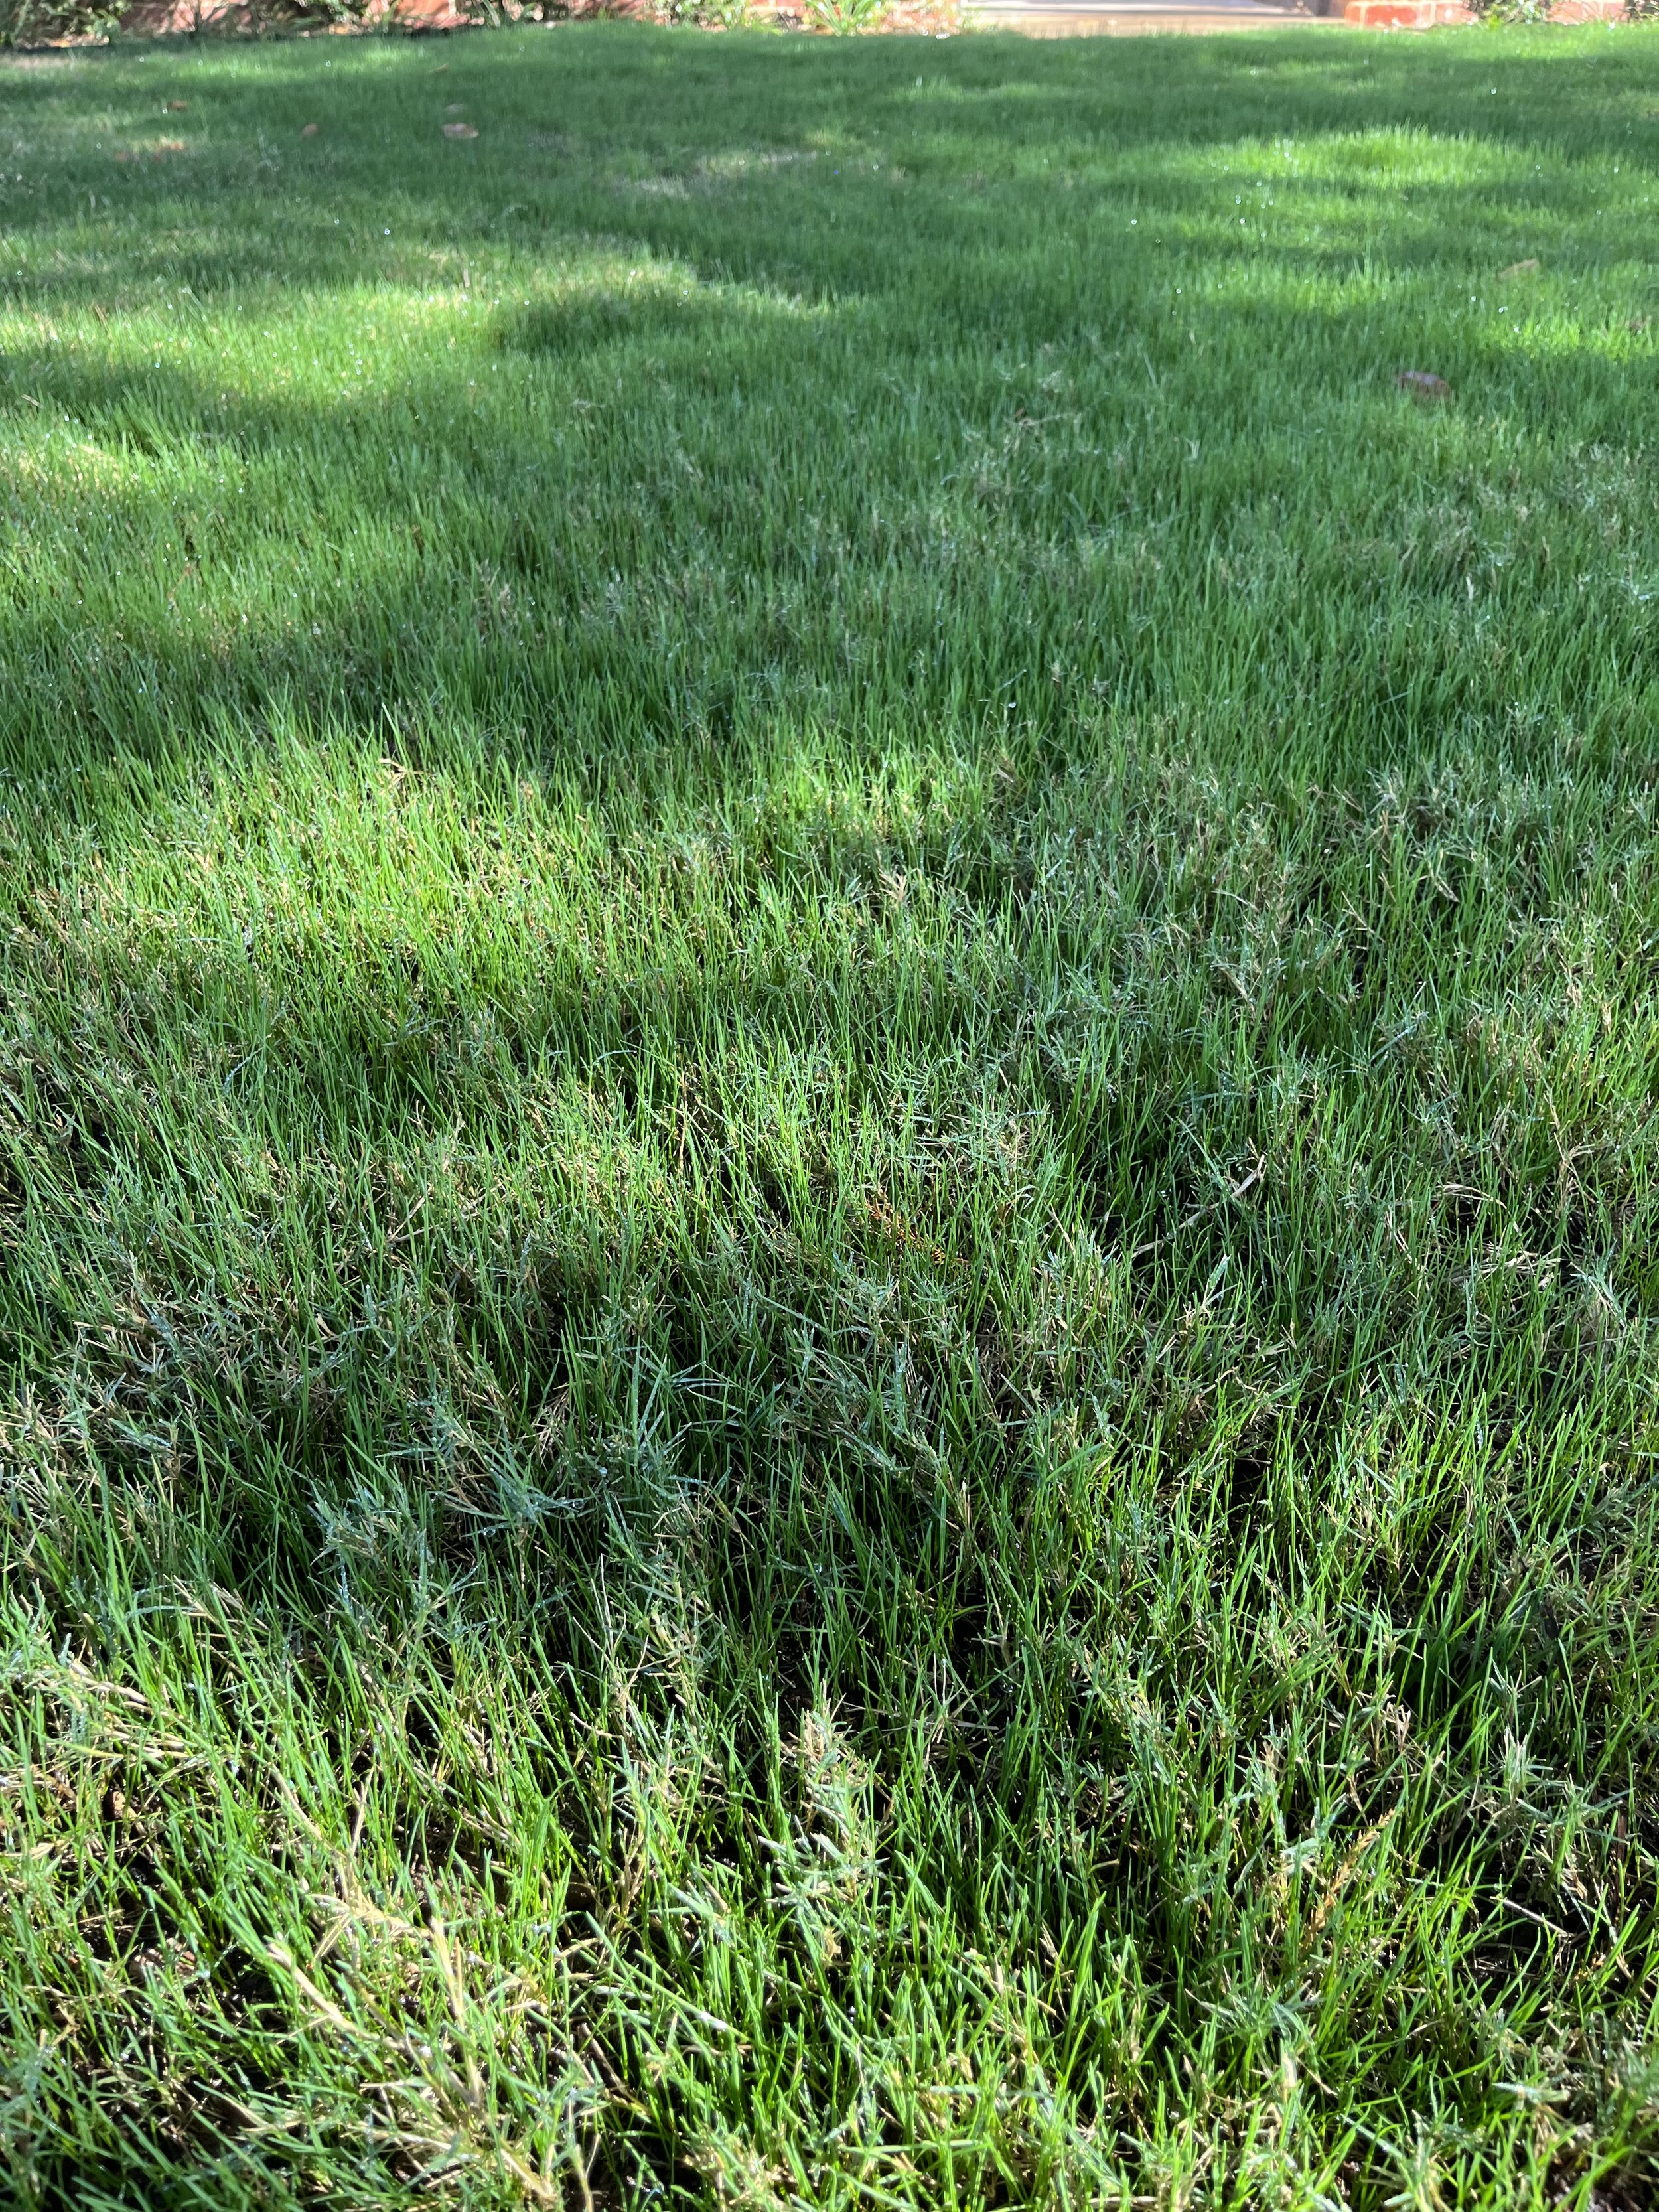
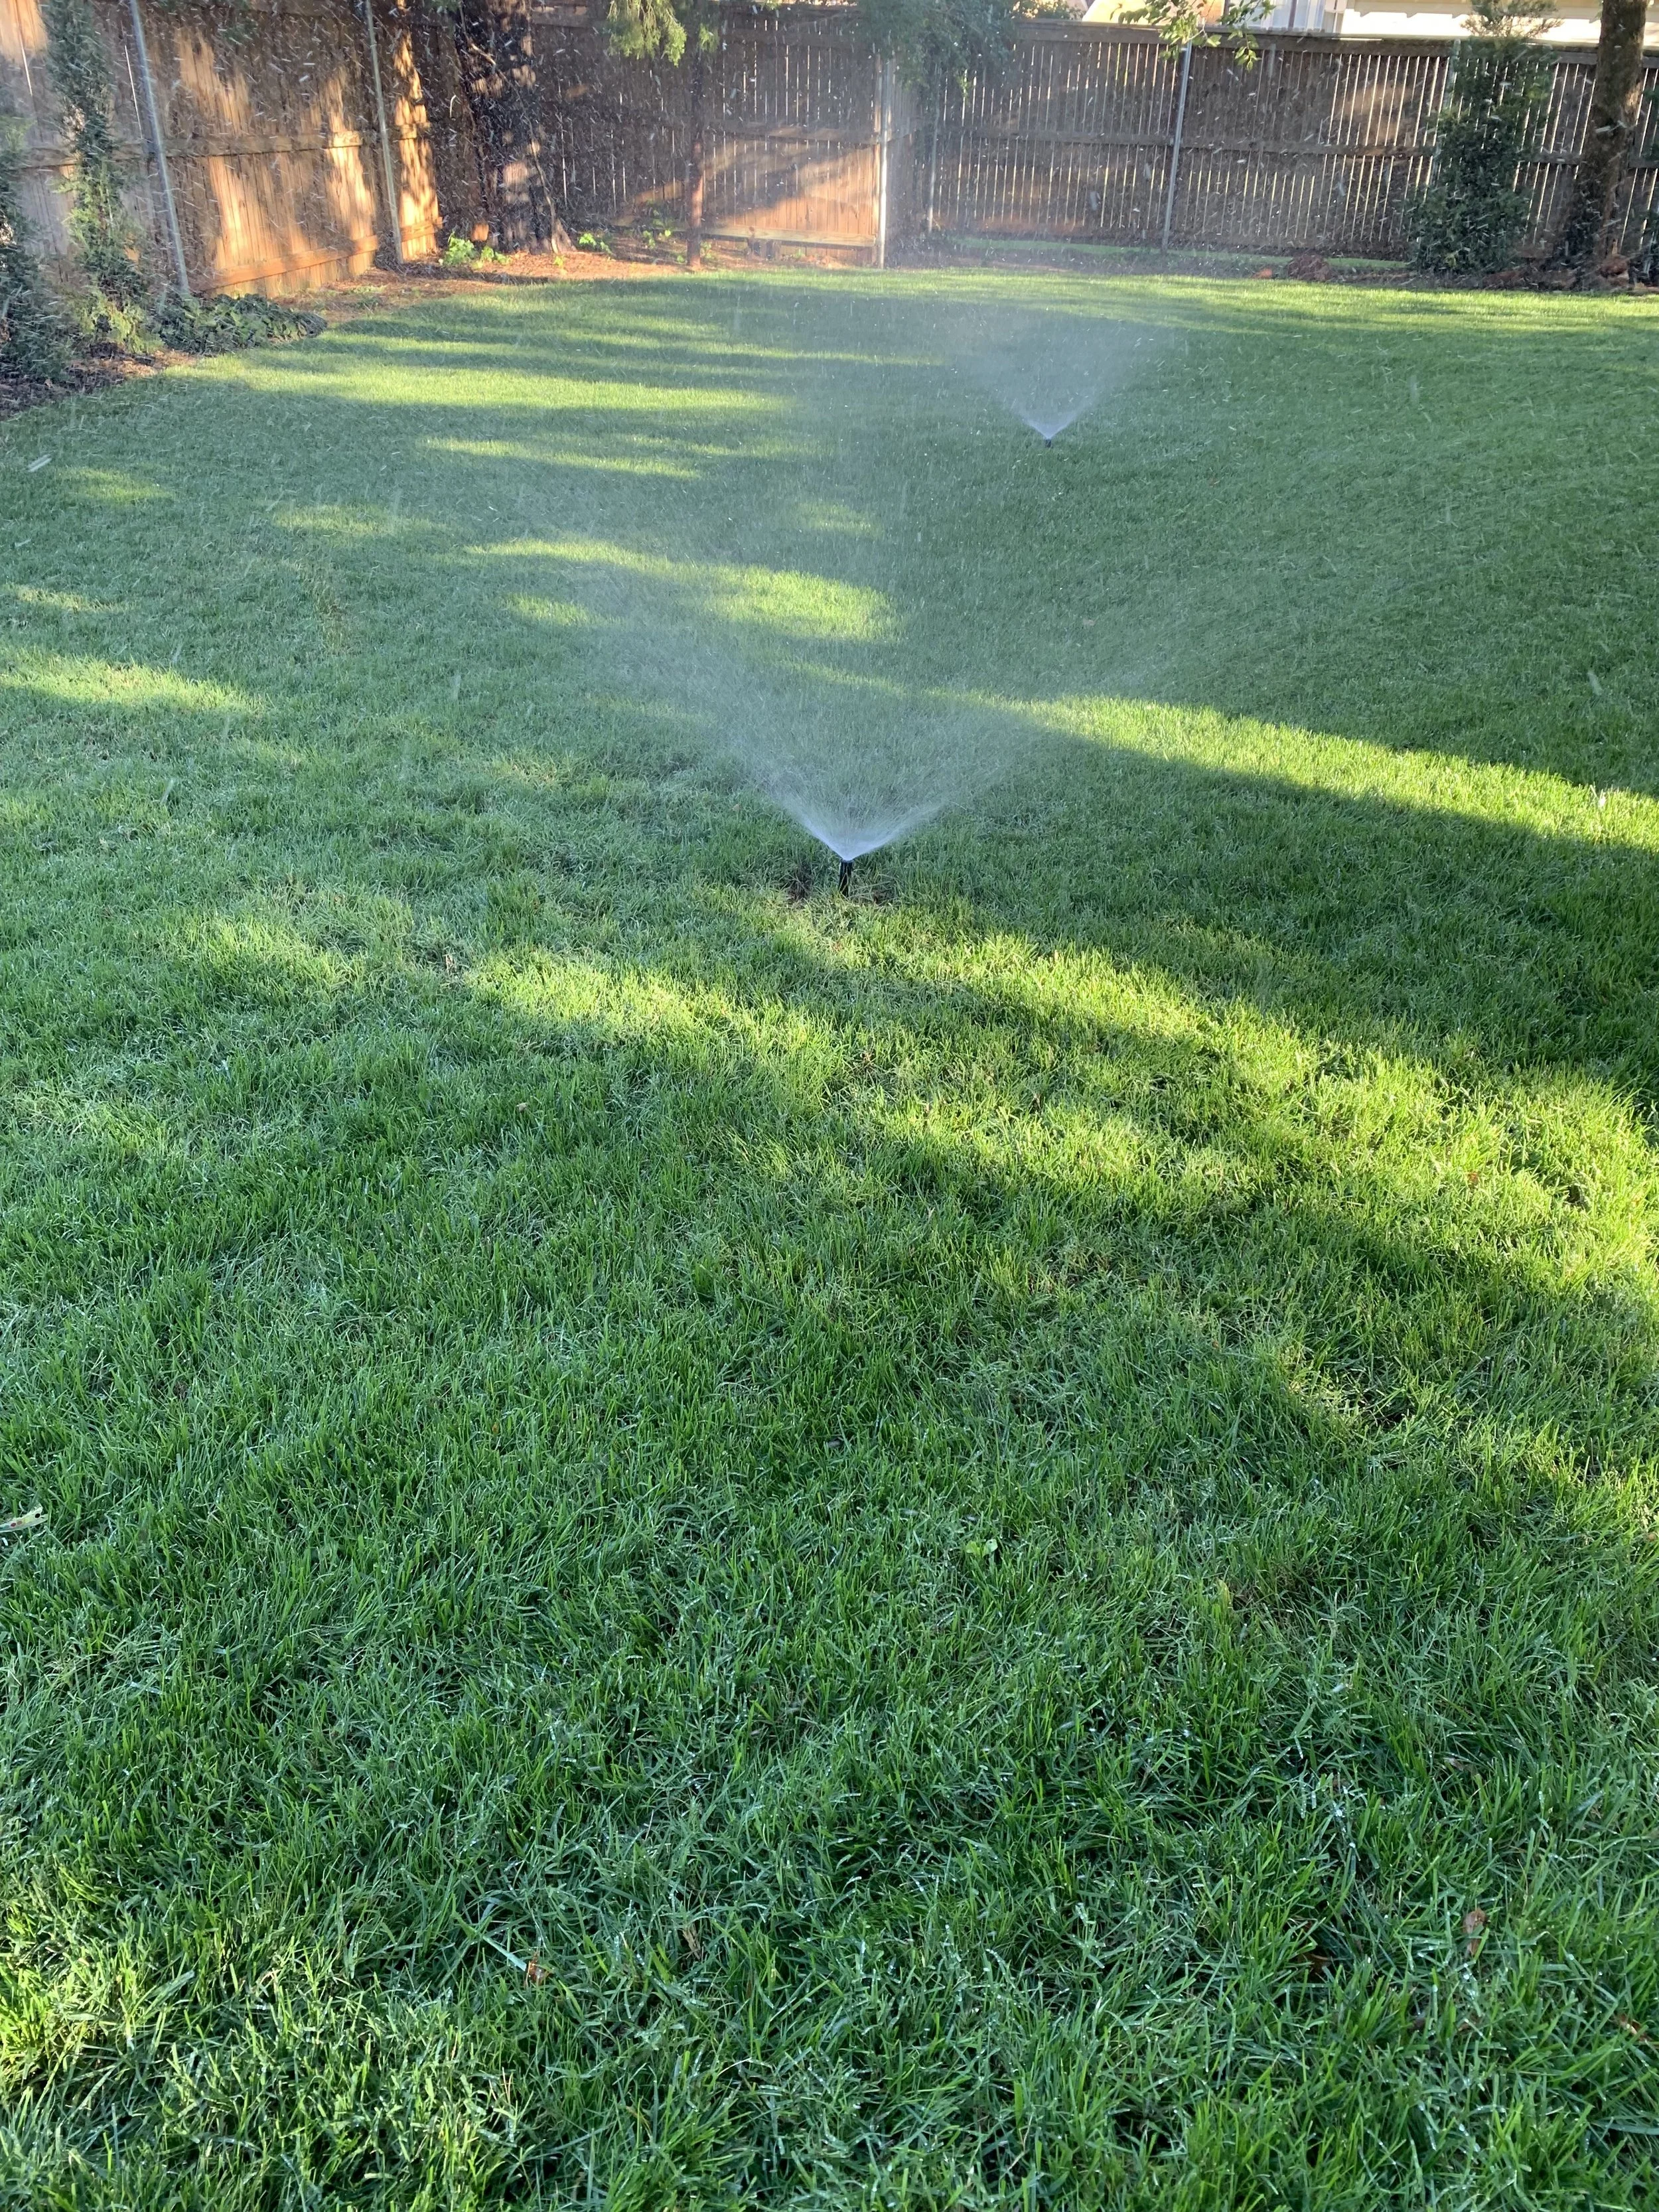
Fescue growing on the top of a sprinkler head.
Watch for uneven water patterns.
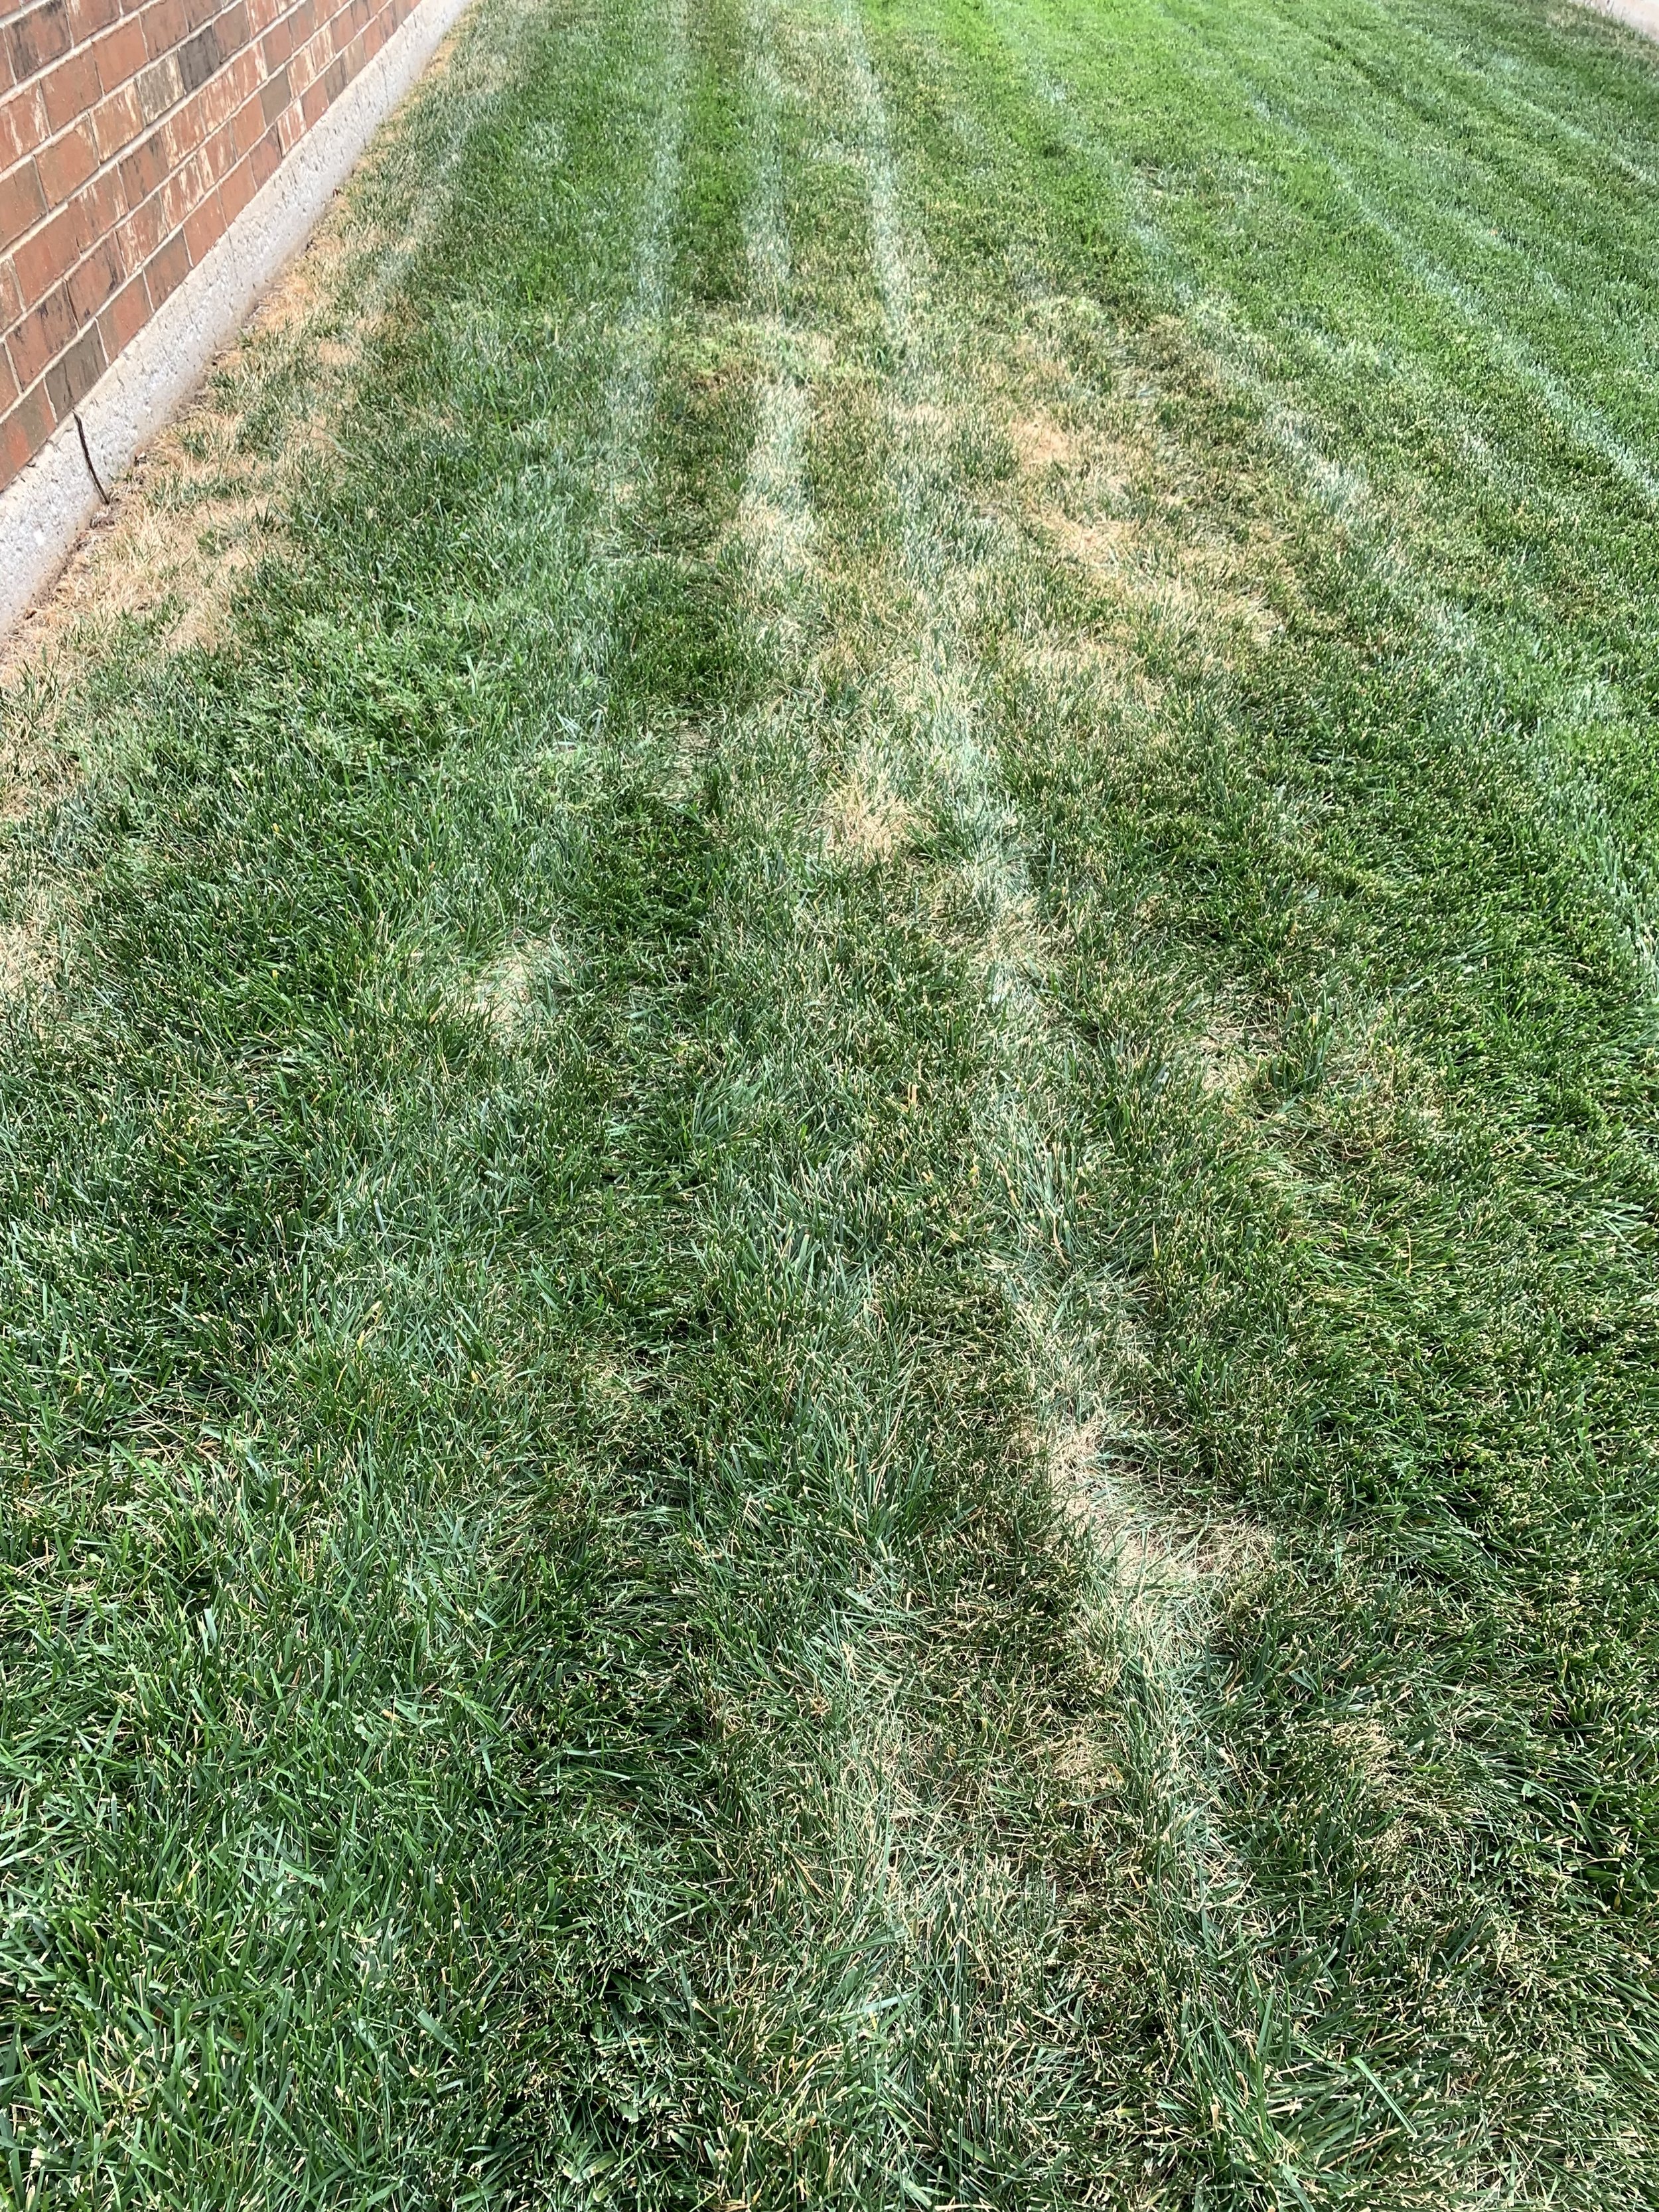
If you notice areas where the lawn color is fading, you may have uneven moisture patterns. This could be the result of a broken head, a clogged nozzle, or a head that is out of adjustment.

Head to head coverage is when the water from one sprinkler head reaches all the way to the next head. Without head to head coverage, dry areas can develop around heads.
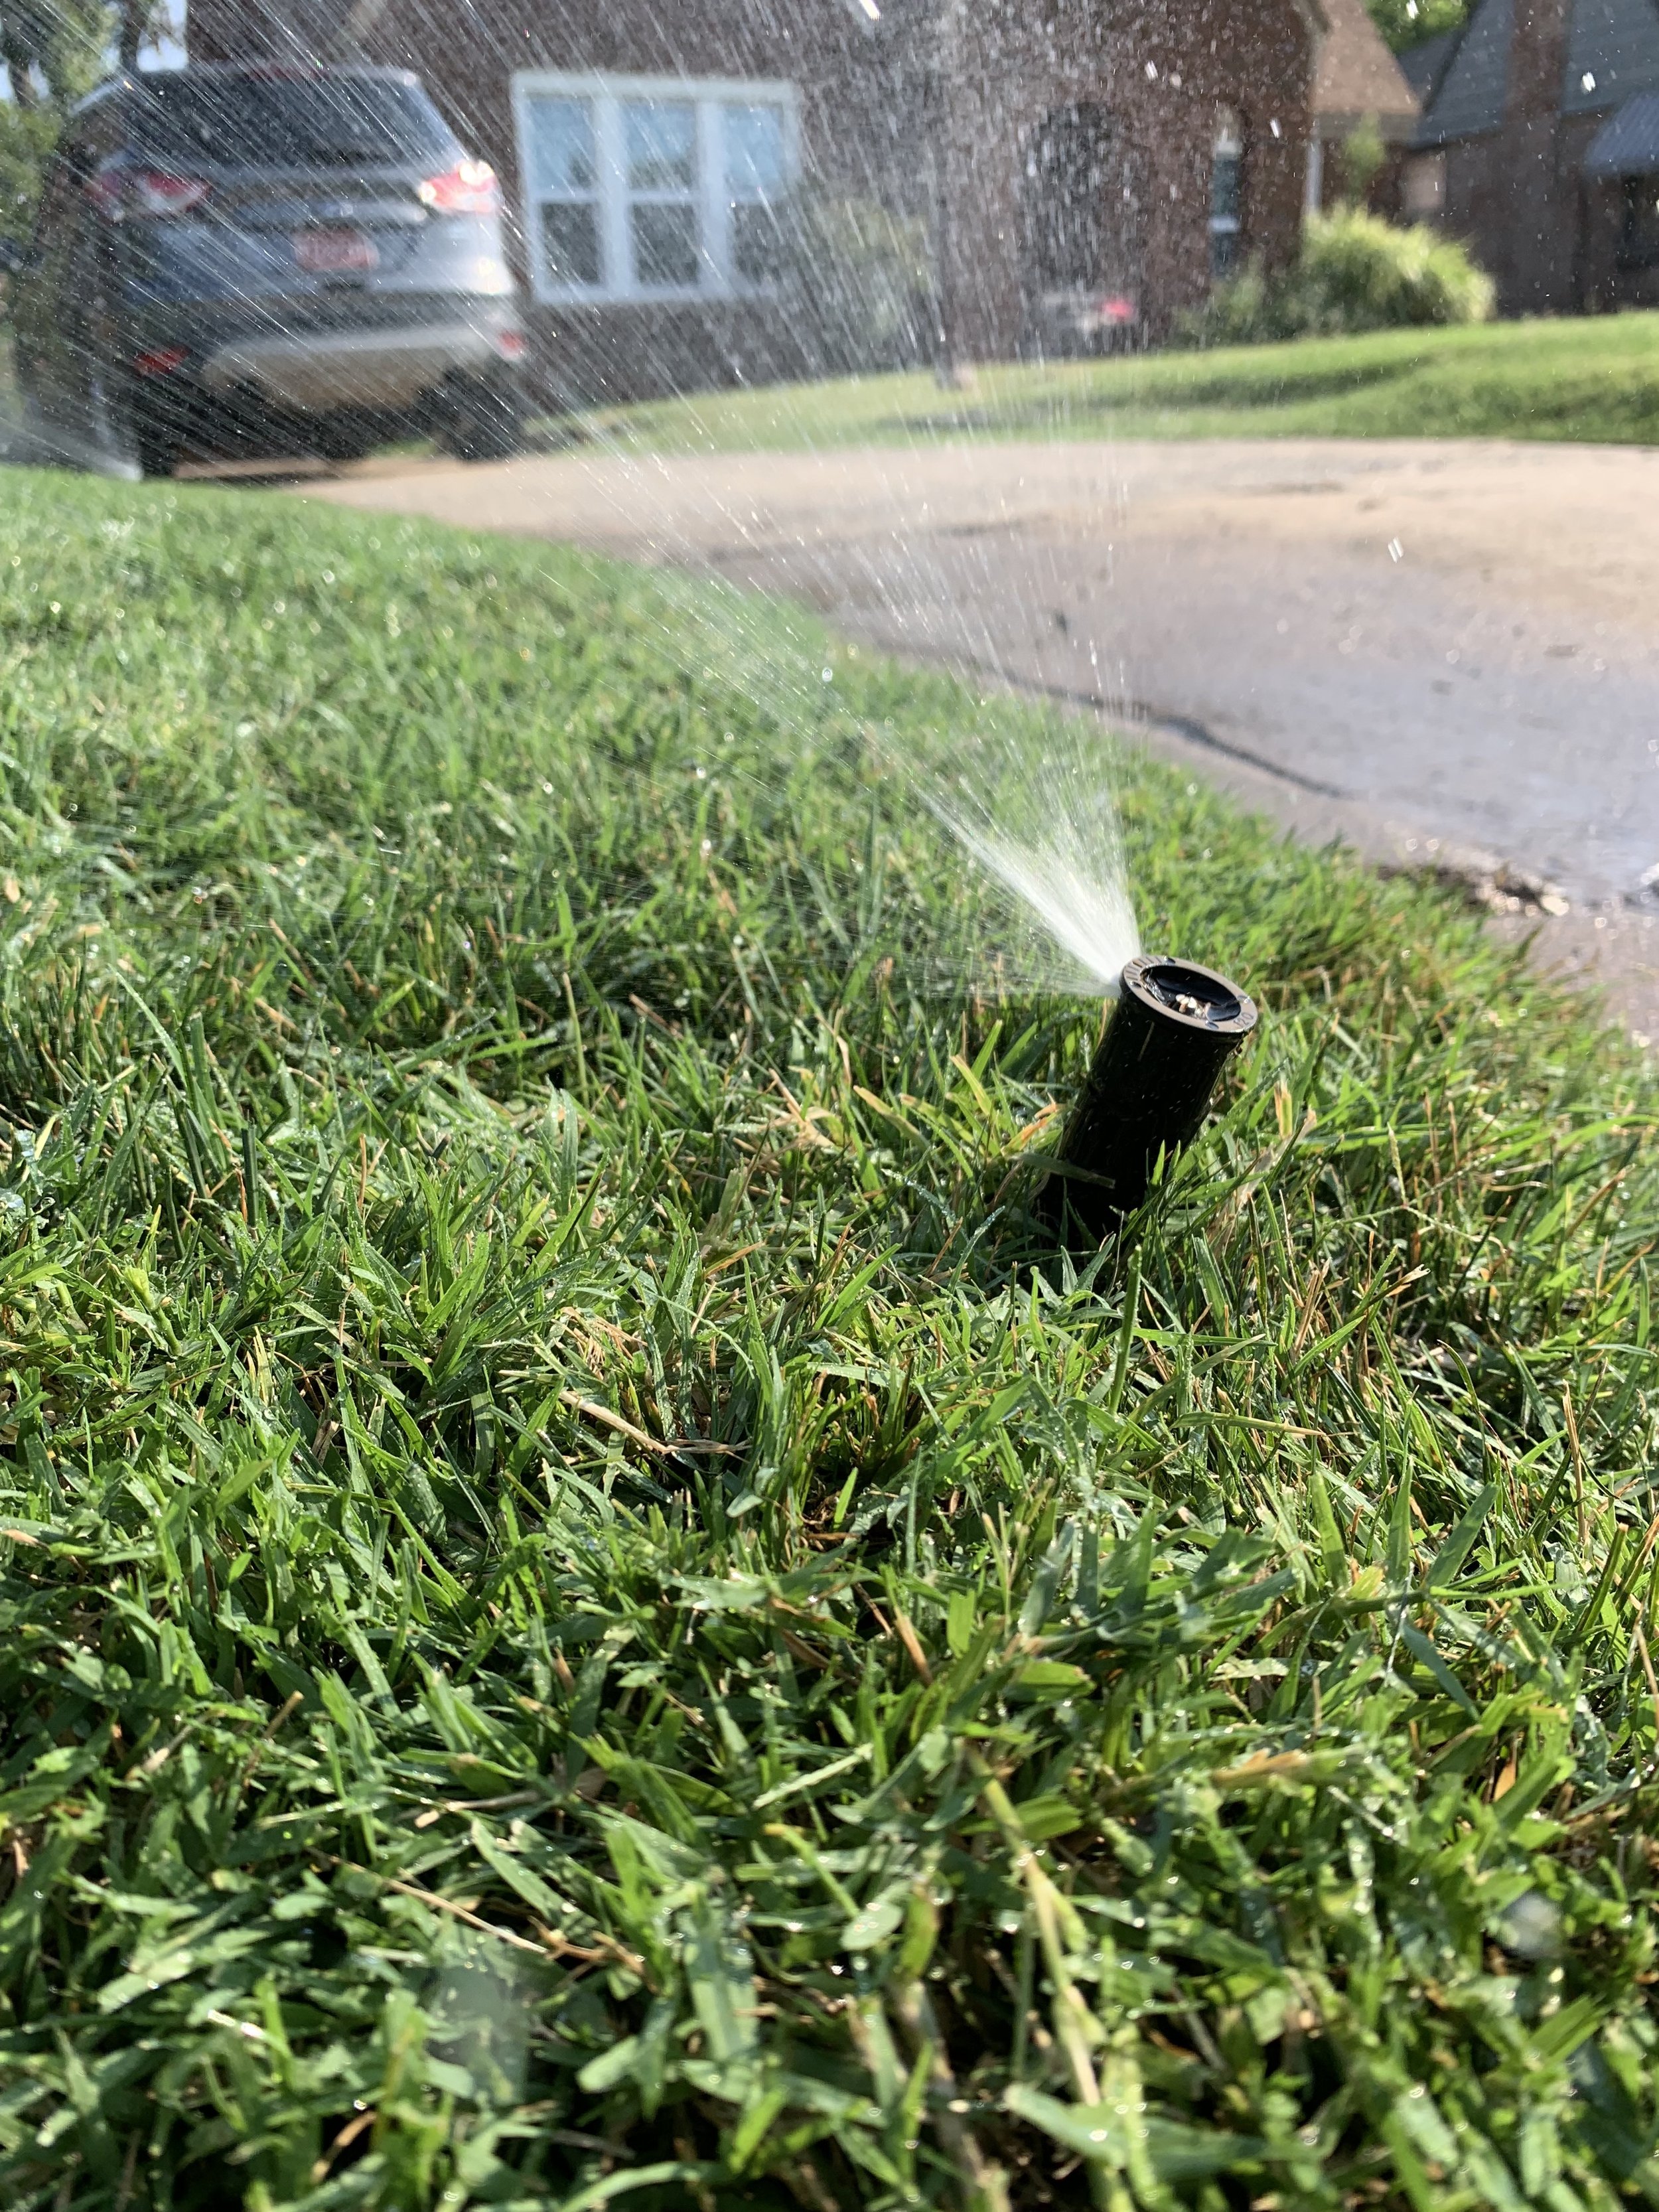
Fixing uneven water patterns in your lawn may be as simple as making sure heads are straight. A leaning head will result in uneven water distribution.

A clue to an uneven watering problem is an arc pattern matching the sweep of an irrigation head.
Even if you don’t have an irrigation system, the concepts of good watering apply.
It is important to learn how long you need to water when you are using a hose-end sprinkler. Next time you water, set out a few cans. You will be surprised how long you need to water to get the proper amount of water on your lawn.
Invest in a digital hose water timer, such as the ones made by Orbit. It will make it easier for you to control the timing and frequency of watering.

If you need help in determining your lawn and landscape’s water needs, let us know.
We can schedule an irrigation audit for your lawn and landscape. We will inspect for uneven water distribution, absorb water rates, make recommended irrigation changes, and set the controller for optimal operation. Give us a call if we can help – (405)367-3873.
A healthy landscape is an important part of our environment.
A healthy turf helps clean the air, trap carbon dioxide, reduce erosion, improve groundwater quality, absorb noise, reduce temperatures, as well as adds curb appeal and value to your home.
A key component of a healthy landscape is correct water usage.
Lorne Hall
Hall | Stewart Lawn + Landscape
(405)367-3873


Brown Patch – Fescue’s Biggest Summer Challenge
Common Belief – Fescue’s biggest summer challenge is surviving the heat.
Fact – Fescue’s biggest summer challenge is surviving Brown Patch.
It is a misconception that fescue lawns need a lot of water to survive summertime. The truth is too much watering, or rather, bad watering practices, is the reason why Brown Patch is the biggest problem for fescue during the summer.
If don’t have any fescue in your lawn and are about to click delete…DON’T DO IT!
There is valuable information at the bottom of the article about BAGWORMS.
So, what is Brown Patch and why is it fescues biggest problem?

Common Belief – Fescue’s biggest summer challenge is surviving the heat.
Fact – Fescue’s biggest summer challenge is surviving Brown Patch.
It is a misconception that fescue lawns need a lot of water to survive summertime. The truth is too much watering or rather, bad watering practices, is the reason why Brown Patch is the biggest problem for fescue during the summer.
If don’t have any fescue in your lawn and are about to click delete…DON’T DO IT!
There is valuable information at the bottom of the article about BAGWORMS.
So, what is Brown Patch and why is it fescues biggest problem?

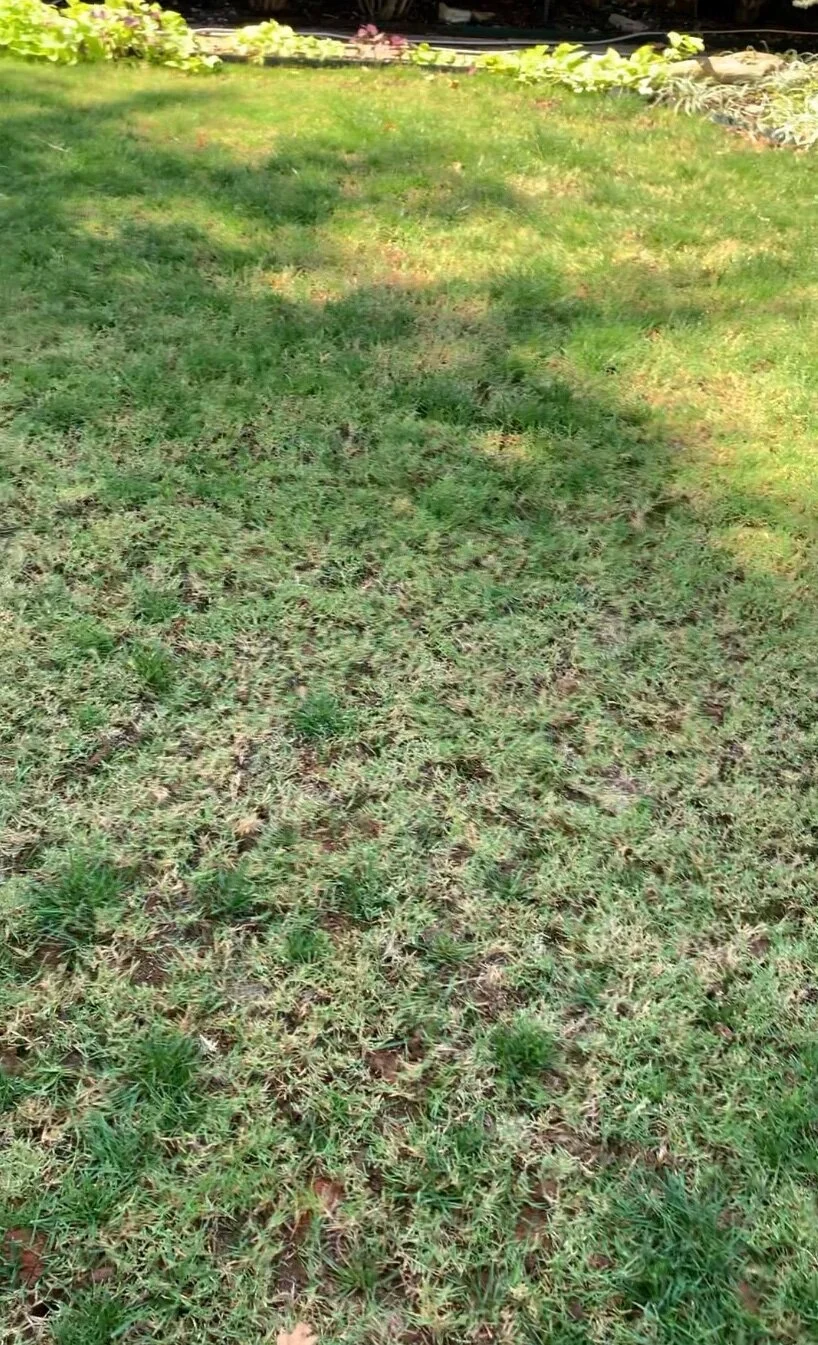
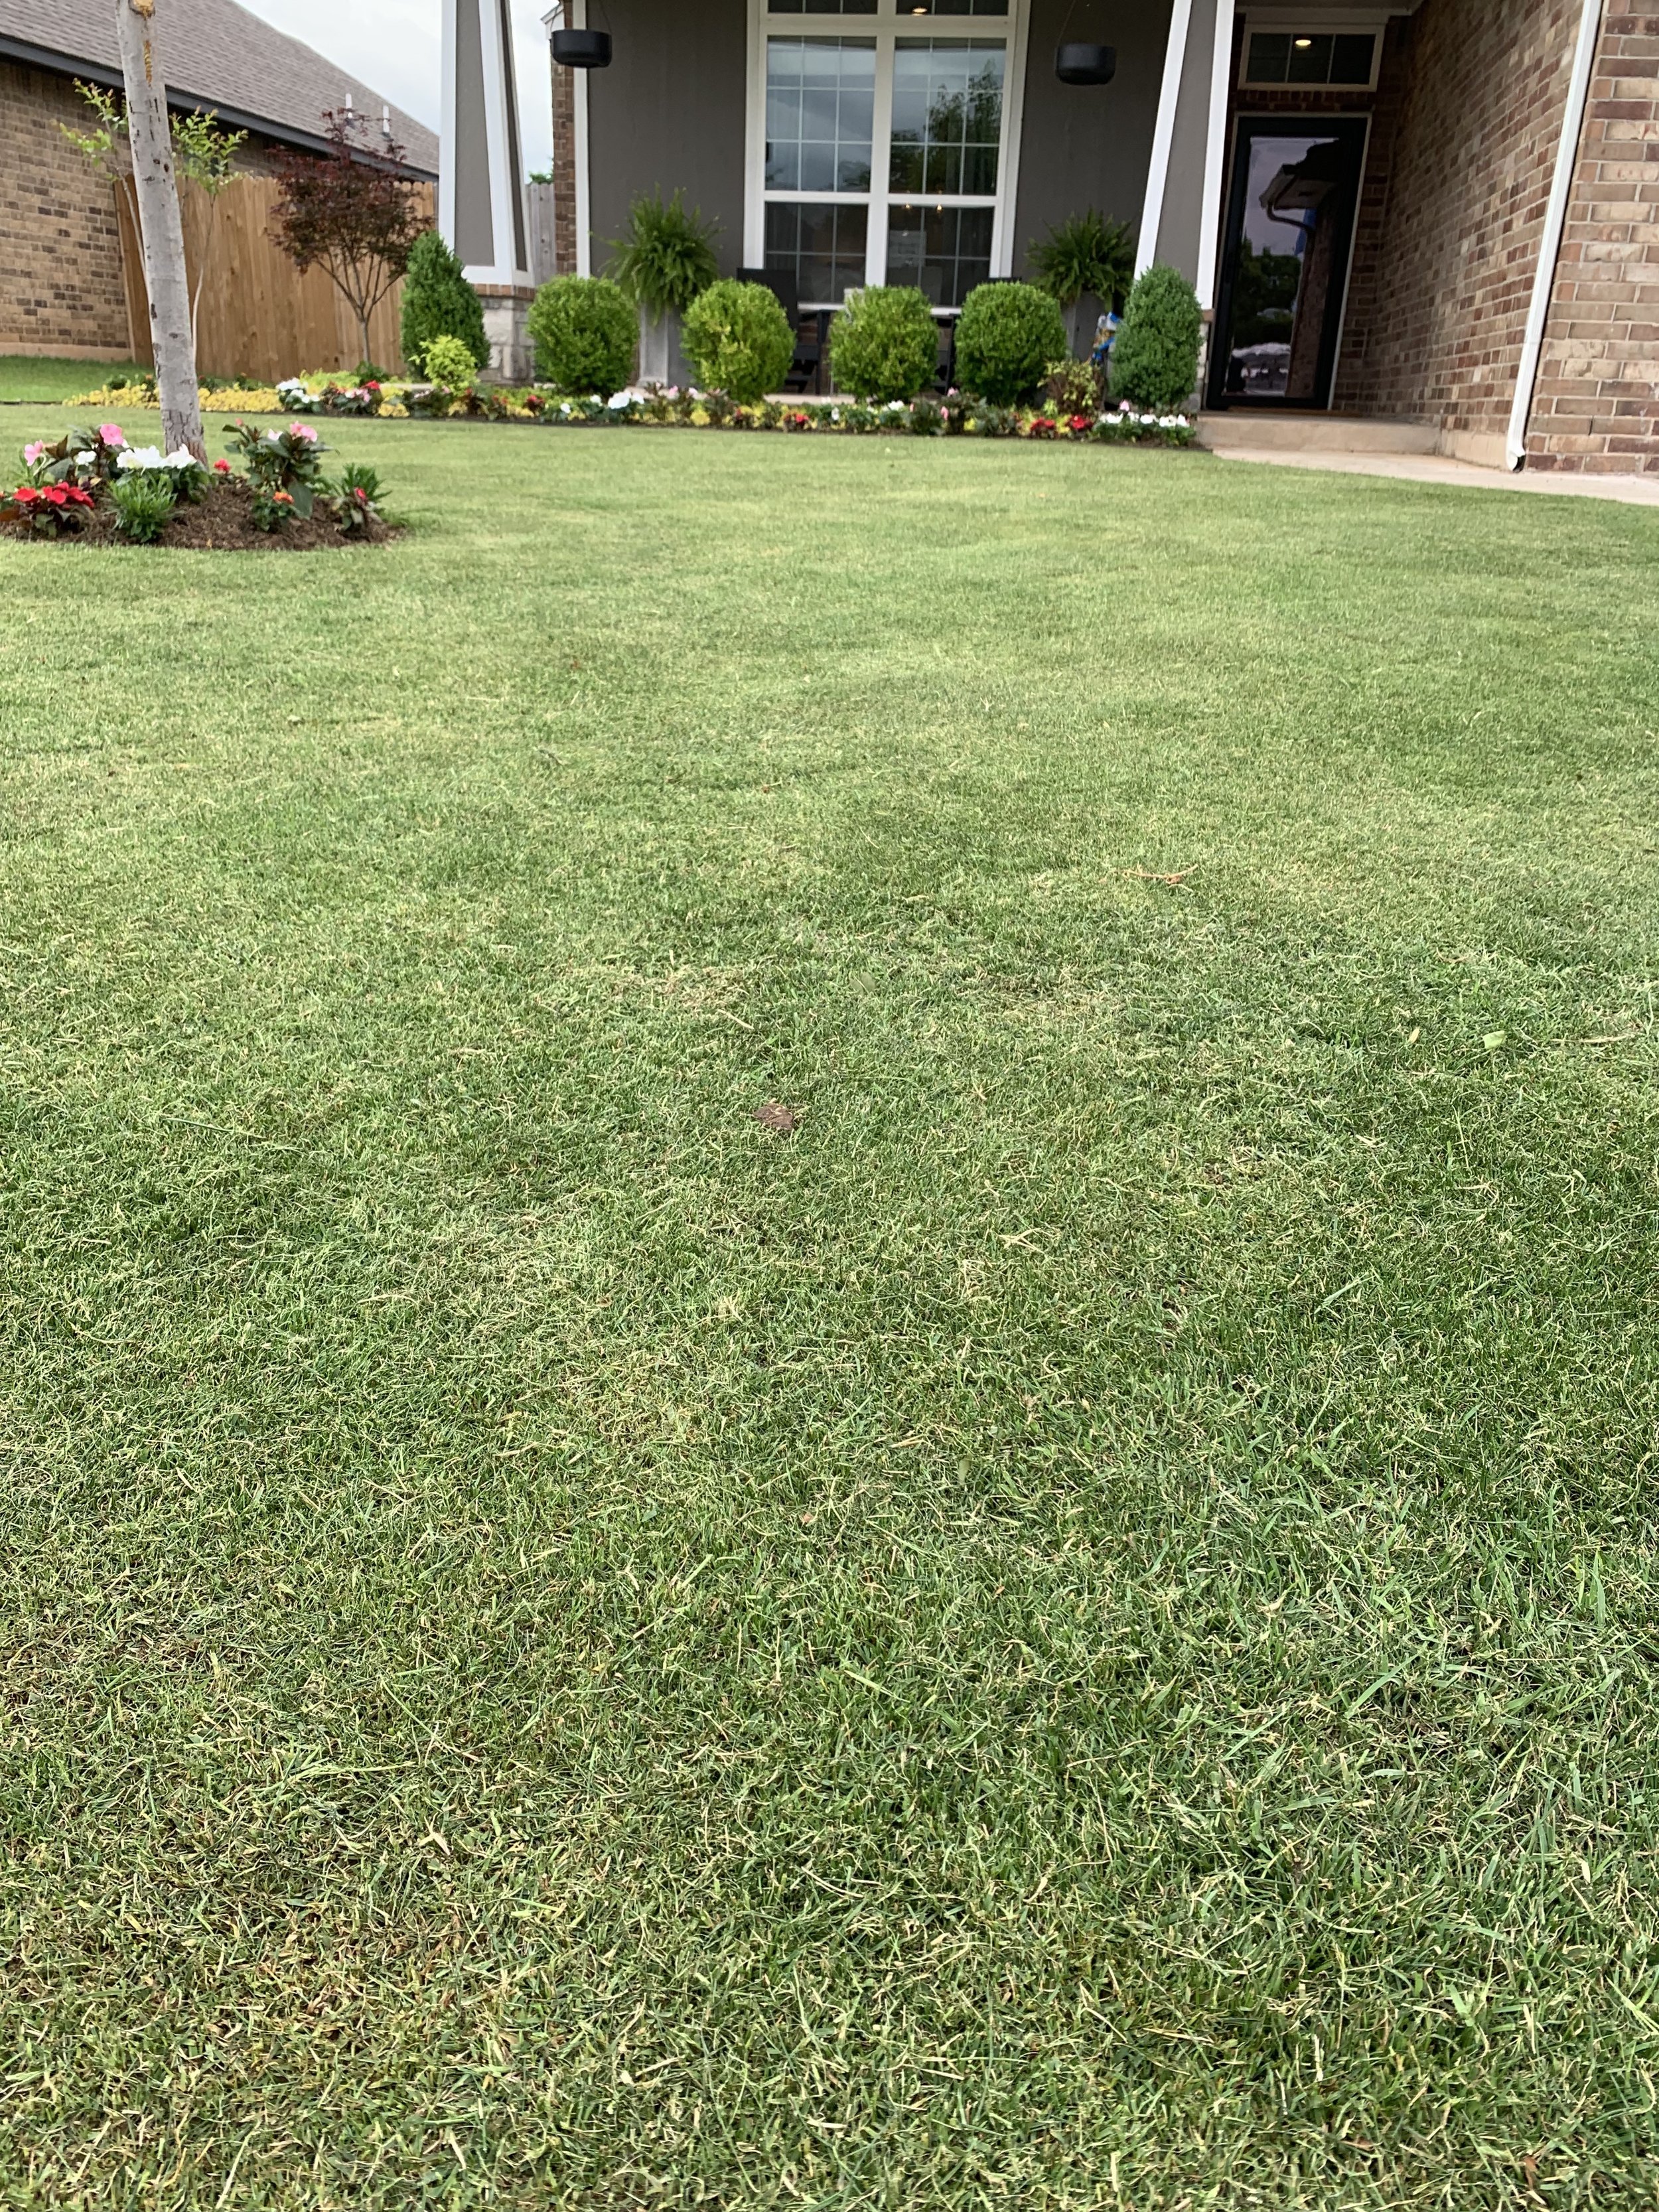
Brown Patch is the most common disease of fescue in Oklahoma. The pathogen (Rhizoctonia solani) that causes Brown Patch prefers warm temperatures and requires excessive moisture.
During June, Oklahoma City’s second wettest month, Brown Patch often occurs because the conditions for the disease are exactly right.
Brown Patch will develop anytime daytime temperatures are in the 90s, nighttime temperatures stay in the 70s and the turf leaf blades stay wet for 5 hours or more. Rain, or even just high humidities and excessive dew can be enough to keep your turfgrass wet for an extended period giving Brown Patch the opportunity to develop.
An even bigger problem than rain and high humidity when it comes to promoting Brown Patch in fescue is your watering habits. That’s right, most Brown Patch problems are self-induced.
Brown Patch appears as irregularly shaped larger areas of thinning, brown to yellow grass blades. Close inspection of leaf blades will reveal small, irregular, tan leaf spots with dark-brown borders.
Brown Patch will be more severe in areas of poor soil drainage, areas with poor air movement, areas with dense shade, and fescue that is over-fertilized in the summer.
Fescue lawns that are watered daily, or watered in the evening, are likely to struggle with Brown Patch.
Need proof that Brown Patch is often self-induced: In July and August, as the climate moves from being more humid to be more arid, we should see less Brown Patch pressure on fescue lawns, but we don’t. As the summer gets warmer, we typically see more of the disease because the default tendency is to overwater fescue, and/or to water incorrectly.

Brown patch
Do not use high rates of nitrogen fertilizer on fescue when temperatures are prime for Brown Patch during the summer months. Apply no more than ½ lb. of nitrogen per 1,000 square feet on fescue during summer months. The disease readily attacks the lush growth of grass promoted by nitrogen. During the early summer, fertilize fescue with a low nitrogen fertilizer containing higher amounts of phosphorus and potassium to strengthen the root system then do not fertilize again until temperatures begin to cool in September.
Keep the lawn mowed regularly at the proper height. Fescue should be mowed at 3 to 3 ½” in the summer. Lower mowing will increase disease severity. Remove clippings if you have an active outbreak of Brown Patch. Diseased clippings will feed the spread of the pathogen.
Do all you can to provide good drainage. Annual aeration in the fall will improve soil structure and improve water movement off the surface and into the root zone.

Close inspection of leaf blades will reveal small, irregular, tan leaf spots with dark-brown borders.

Brown patch disease loves mornings when there is a heavy dew.

Brown patch disease in fescue appears as irregular areas that lead you to believe the lawn may not be getting enough water.
What can be done to minimize the problem of Brown Patch on Fescue?
Selecting tall fescue varieties with high resistance to Brown Patch is a critical first step. We recommend using a fescue blend with at least three varieties. Additionally, look for a mixture specifically for our area. The mixture we use to overseed fescue in the fall includes varieties that show high resistance to Brown Patch.
Avoiding prolonged periods of leaf wetness will drastically reduce the severity of Brown Patch. When temperatures are warm and fescue grass blades are wet for more than 5 hours at a time, the disease will be present. Do not water daily. Do not water in the evening. Water only when needed and only in the early morning. Deep soakings every other day is the best practice. The goal is to get 1 ½” of water on fescue during the summer per week by watering no more than 3 times per week. Deep soak in the morning. Skip a day, then deep soak again.

Brown patch

A close look at the leaf blades in this area of fescue that is turning slightly brown and thinning reveals the presence of brown patch disease.
Watch this video to see the difference between brown patch and lack of water on a fescue lawn.

A key to managing Brown Patch in fescue is to water deep early in the morning every other day during the summer and avoid keeping the lawn moist for 5 or more hours at a time.

Overseed fescue in the fall. Avoid spring seeding of fescue. Brown Patch is more aggressive on young fescue while mature fescue is more resistant. It is common for spring-seeded fescue to struggle with Brown Patch during the summer.
Have your soil tested every couple of years. Brown Patch will be more severe when the soil is not healthy, pH is too high or too low, or nutrients are out of balance.
The best way to prevent Brown Patch is to eliminate areas where the disease will thrive. Consider making changes to the landscape in areas with poor air circulation and dense shade. Small turf areas surrounded by structures, fences, and heavy landscaping are Brown Patch prone. You may find removing the turf and extending the landscape or planting groundcovers a better option.
Most importantly…. when we receive rainfall during the summer, turn your irrigation off for a few days. Allow time for your lawn and landscape to dry out, good practice for all types of turf, but critical for fescue.
Good cultural practices (watering, mowing, and aeration)are important for brown patch management.
Fungicides are effective for Brown Patch as either a preventive or curative treatment. Fungicides can be applied in late spring and early summer when the conditions are right for the development of the disease.

Areas of dense shade and poor air circulation may be better served with ground covers such as liriope.

If your fescue is not looking its best, don’t assume it needs more water. Brown Patch will lead you to believe the lawn is too dry. Before you start watering, inspect the leaf blades for evidence of the disease and check the soil to see if it is dry.
It is common for us to receive a call reporting:
“I just can’t get enough water on my fescue to keep it alive…” only to make a site visit to find a thinning fescue lawn struggling with self-induced Brown Patch from overwatering.
Bagworm Alert!

Bagworms start out very small, so small you may think they are just another needle or leaf.

Bagworms started showing up this week. Right now they are so small that unless you are looking for them you won’t see them.
Bagworms, very small bagworms, are starting to feed on your needle evergreens!
Bagworm Info:

Early in the life cycle the worm inside the bag is very small, about the size of a pencil lead. Treatment with an insecticide now will be very effective.

Bagworms left untreated will reach 2” within a few weeks. They are very easy to control now. Hard to control when they reach adult size.
Bagworms, very small bagworms, are starting to feed on your needle evergreens!
Bagworm Info:
¼”-2” long spindle-shaped bag wrapped in the foliage of the host plant. Young bagworms are very hard to spot.
Favorite host plants are juniper, arborvitae, spruce, pine, and cedar. But, they can attach themselves to any deciduous shrubs and trees.
Females lay eggs in bags left on plants over the winter. One female bagworm will lay as many as 500 eggs. The eggs hatch in the late spring and tiny larva crawls out and start feeding. As they feed, they use silk and plant materials to protect and camouflage themselves. Bagworms can strip a plant of foliage. They are active from late May through September.
Heavy infestations, particularly on the same plant year after year, can cause plant death.
When there are only a few bagworms, control is best by hand-picking. If you have a large population an insecticide treatment should be made as soon as they are noticed. Try to remove any bags left on plant material in the fall. Bags left on the plant will serve as cocoons for females to lay more eggs. When removing bags, destroy them. Do not pick and toss on the ground as the worm will crawl back to a plant.
Do your landscape a favor this weekend…inspect plants for very tiny bagworms. Your landscape will thank you with healthy shrubs full of rich color and texture.
Anytime you have questions or concerns about your lawn or landscape, give us a call. Our goal is to help you have your best lawn and landscape!
Lorne Hall
Hall | Stewart Lawn + Landscape
(405)367-3873
More perennials, please!

Over the years, I have become more and more fond of using perennials in the landscape.
In the early days of my love for landscapes, I was slow to add perennials because they don’t add color all season and often their foliage is unattractive after the blooms faded. When I did add a few, they always found their home in an out-of-the-way, background location of the landscape.
I still believe annual color is the best choice close to the front door, along the front walks, and key areas around outdoor living spaces. Annual color is the best way to create a bright, welcoming, and season-long statement in the landscape. But, more and more, I find myself adding perennials to landscapes.
What is the difference between annuals and perennials?
Perennial plants regrow every spring.
Annual plants live for only one growing season and then die.
Perennials usually have a shorter blooming period compared to annuals.
Great landscapes use a combination of both plants.
There are so many perennial choices. Books and books have been devoted to perennials. I have my favorites. Favorites that have found a home in my landscape, and although none of them add color the entire season, as a group, they do add interest from spring to fall.
Creeping Phlox (Phlox stolonifera). The first to welcome spring each year. Creeping phlox produces a spring-like carpet in pastel hues of white, lavender, red, and pink. Creeping phlox is a moderate grower that can spread up to 2’ but only reaches 4-6” in height. It prefers full sun but will tolerate some shade each day. Borders, walls, and around boulders are where it looks best. In my garden, you will find it cascading over a rock retaining wall. It tolerates most soils as long as it is well drained. The plant requires little maintenance. Mites are about the only insect problem it will have.

Creeping Phlox

Creeping phlox cascading over any landscape wall is a great way to say “hello” to spring.

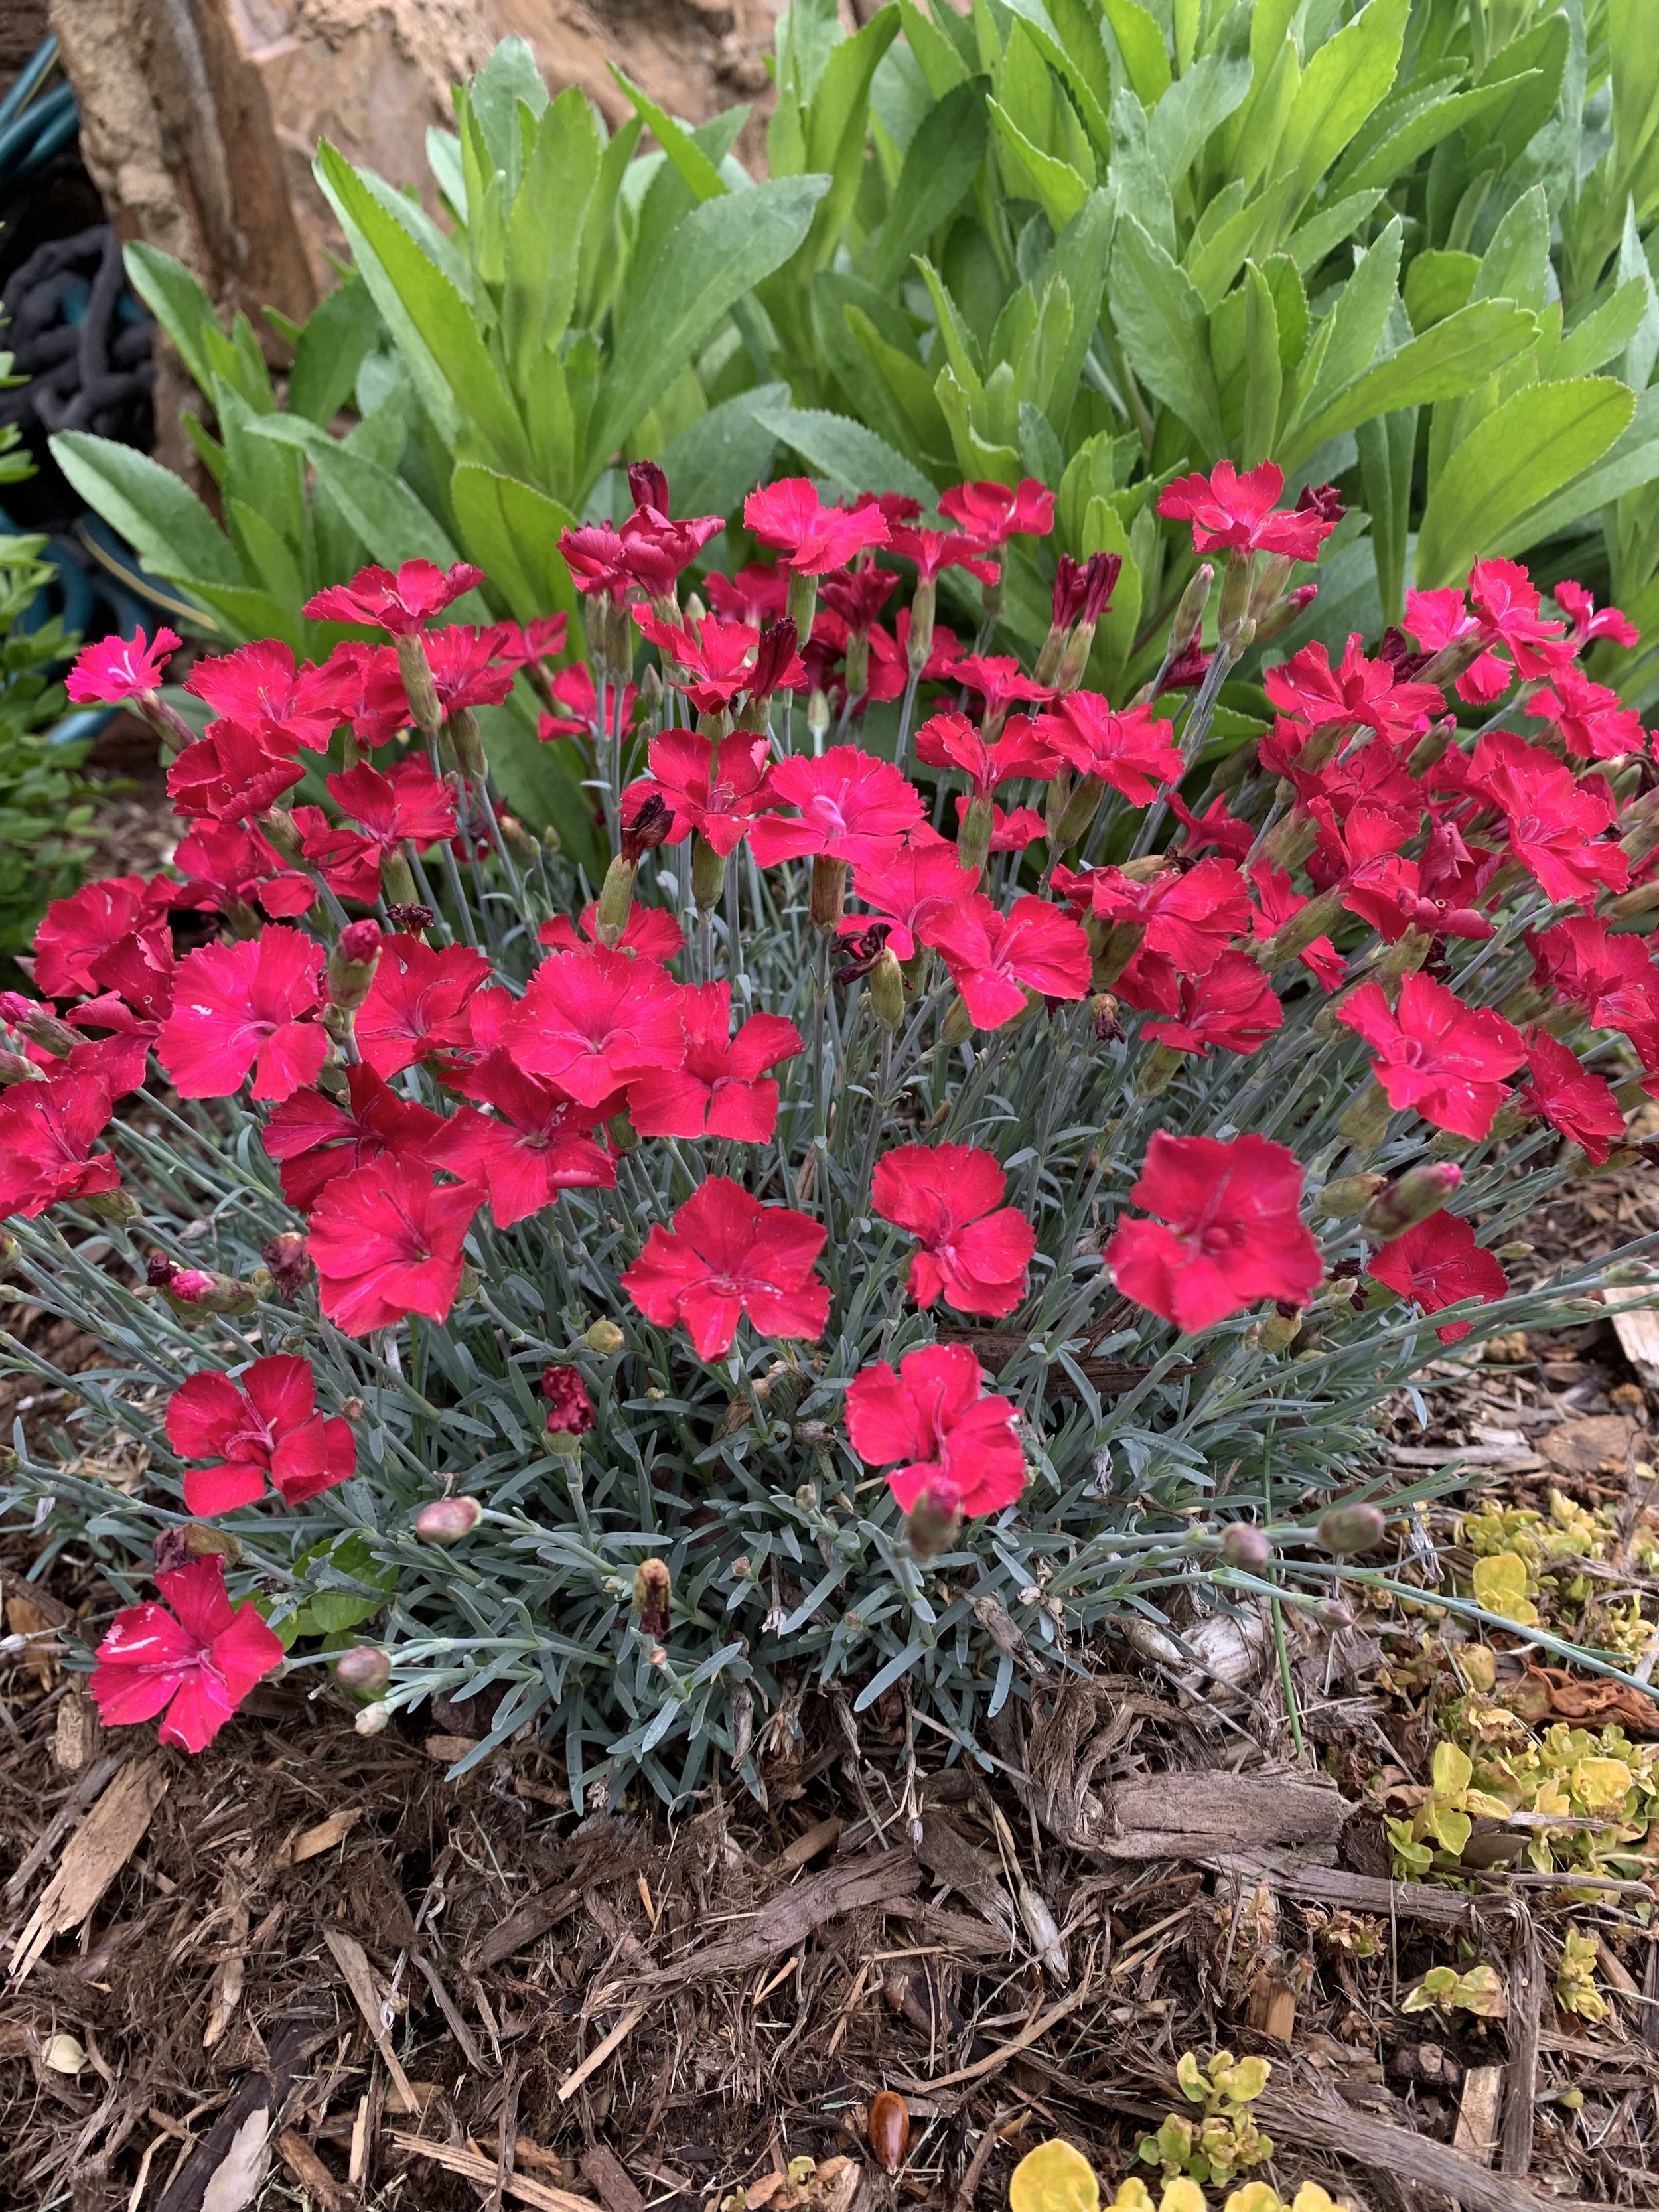
Dianthus

Dianthus and Salvia planted along a flagstone walkway.

Creeping Phlox

Creeping Phlox
Dianthus (Dianthus). It works well as a border, in small groupings, around boulders, or as a single plant reaching 10-15” tall with a spread of 12-24”. They bloom in late spring to early summer in rose, pink, white, and red. They prefer areas where they will receive at least 6 hours of full sun each day but will tolerate some dappled shade or afternoon shade. Just like creeping phlox, they are a cool season lover. They will grow in most soils, prefer alkaline soils, but waterlogged soil will cause crown and root rot. Heavy mulching near the crown of the plant can be detrimental. Late March through April and into May is the peak bloom time. Light feeding in the spring with a complete fertilizer of phosphorus, potassium, and low nitrogen is recommended. Other than an occasional aphid or powdery mildew issue, they do not have many problems. There are more than 300 varieties of dianthus to choose from. My all-time favorite is ‘Firewitch’. It has a silver-green foliage and a vibrant pink bloom. One shortcoming – it is not uncommon for them to thrive for a few years and then gradually decline, so you may need to replant every 3-4 years. I have found this true with the dianthus planted in my front landscape, but at the same time, I have a planting of dianthus in my back landscape that has overperformed for at least 10 years running.
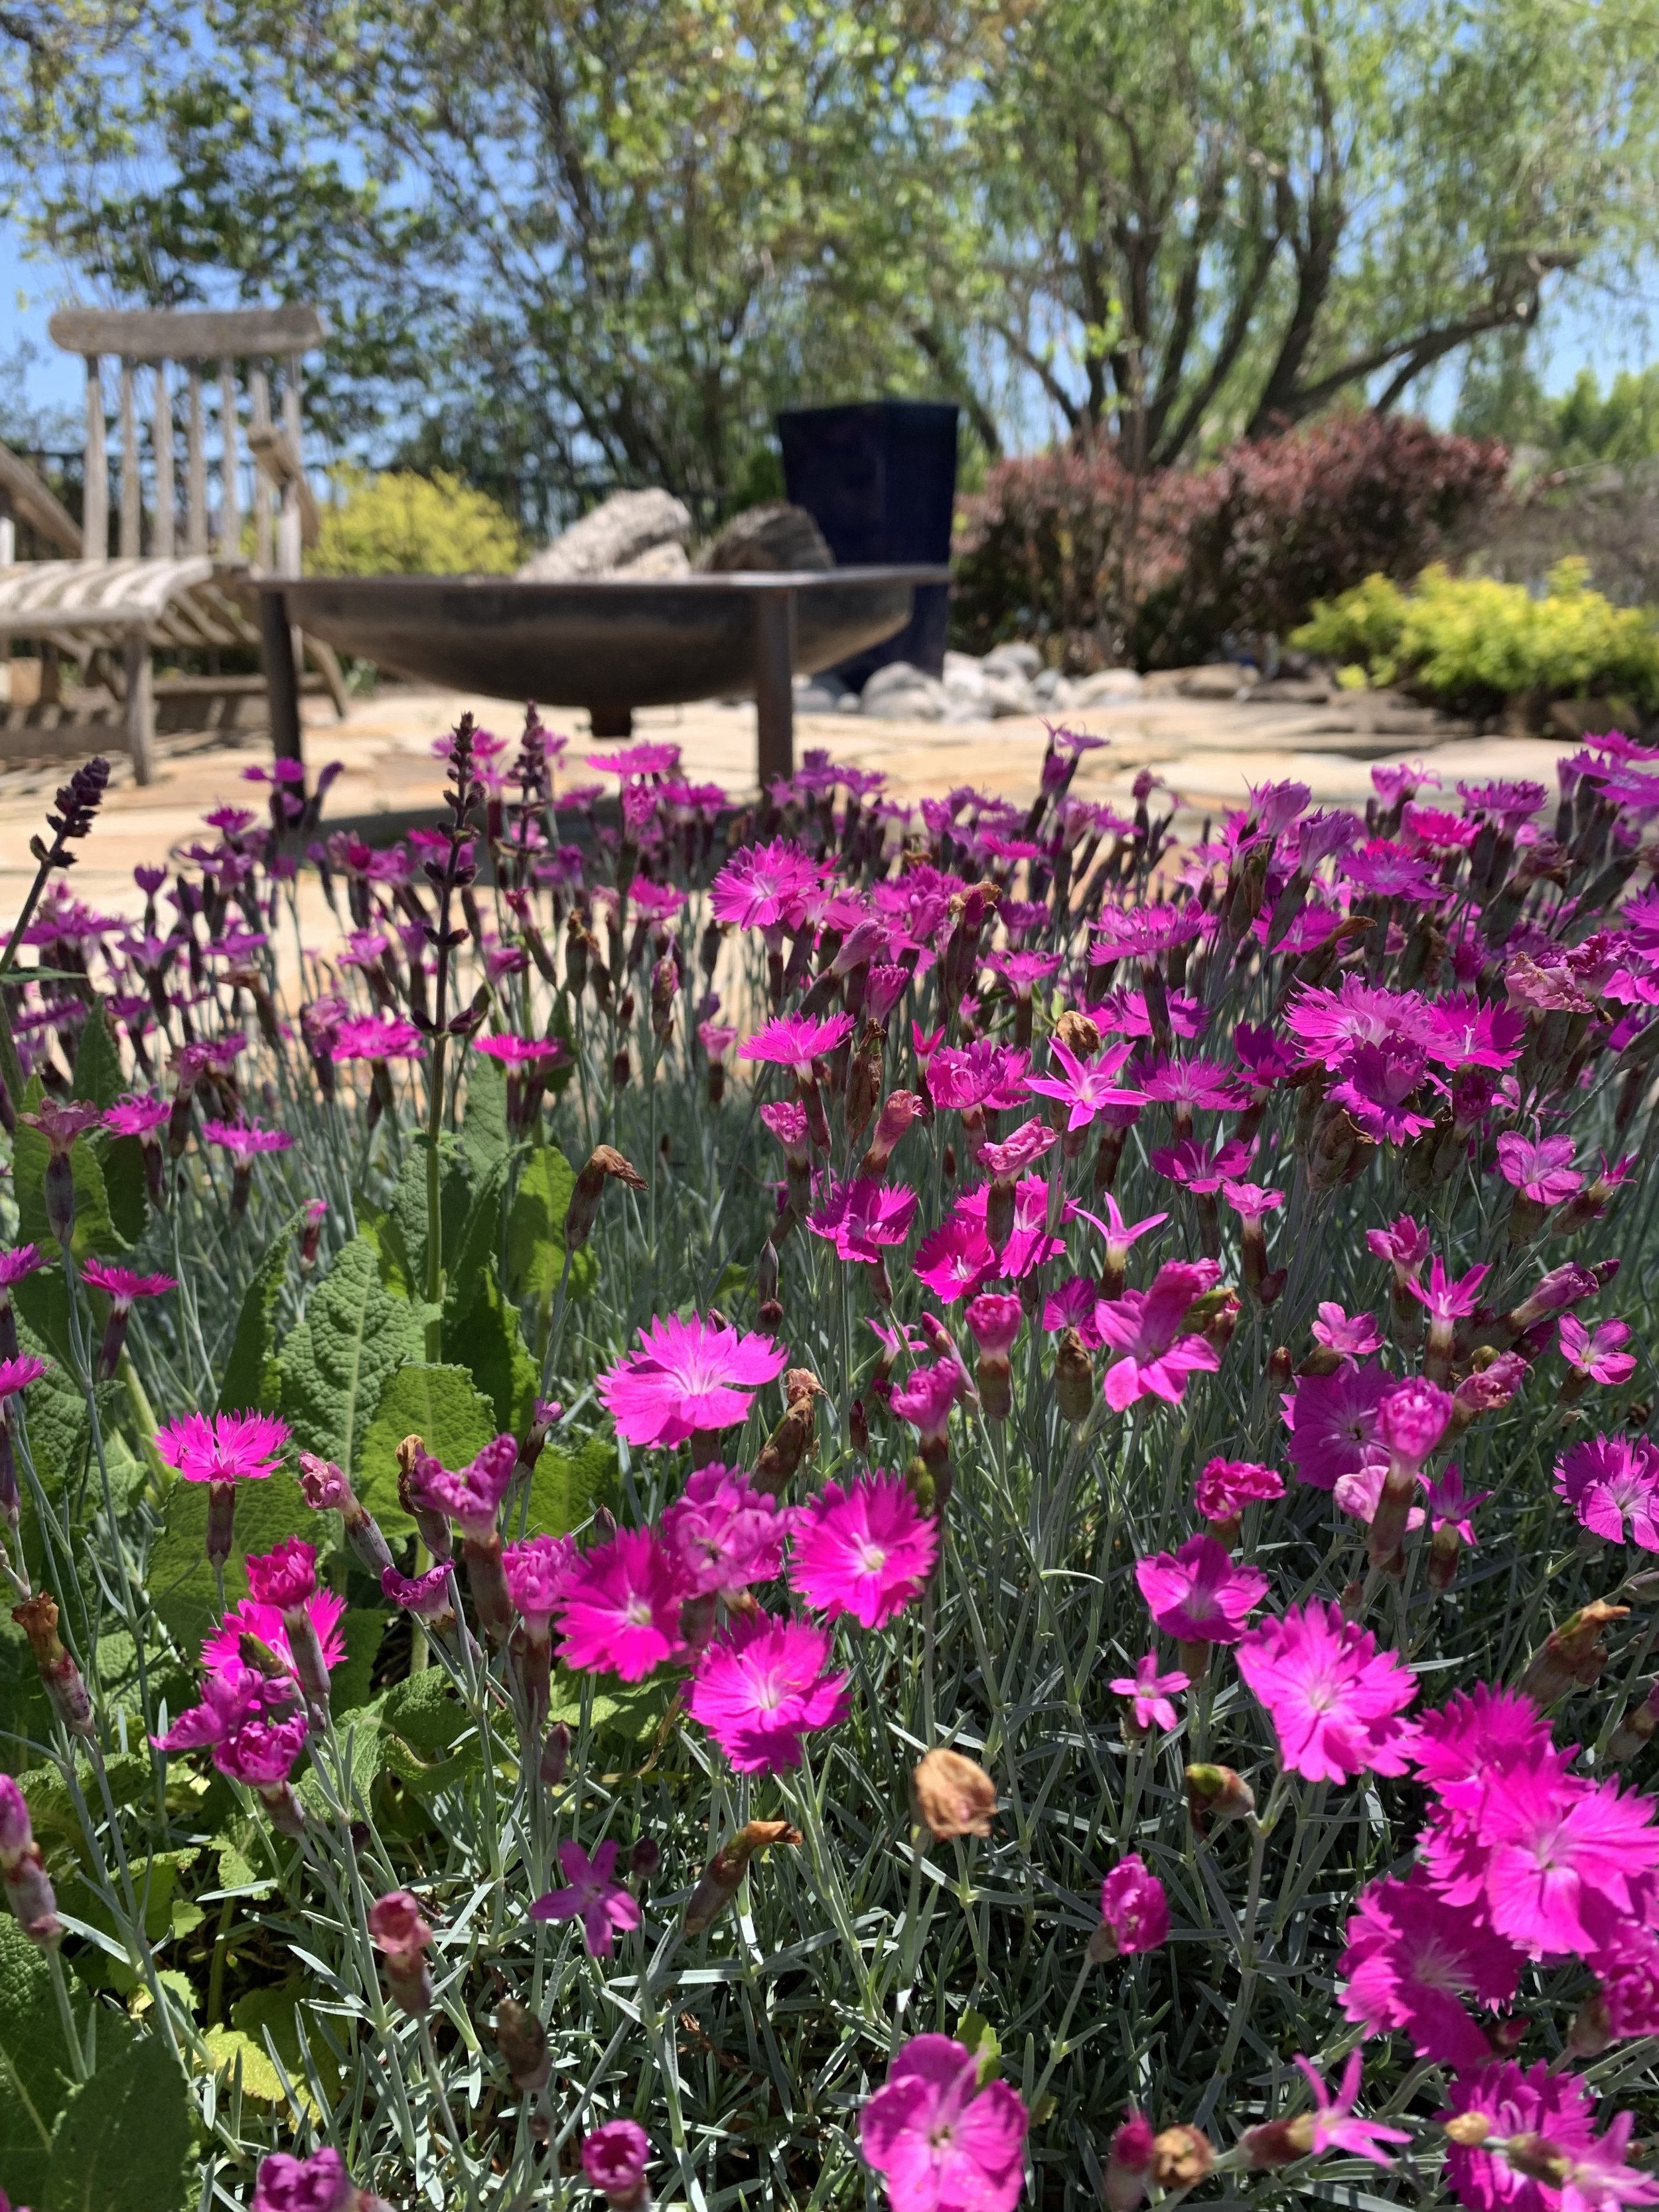
Dianthus
‘May Night’ Salvia (Salvia x sylvestris). Sage-type flower spikes of deep bluish-purple that will add color in April, May and early June. The best flower show will be in full sun, but it will tolerate a little dappled shade each day. The plant grows 12-18” tall with flower spikes reaching 24”. The plant looks great in the middle of the garden planted behind creeping phlox or dianthus, and in front of Shasta daisy or Black-eyed Susan. The leaves often become tattered later in the summer. Keep faded blooms removed to maximize bloom period and pruning the plants after blooming may result in a few fall blooms. In the early spring, before new growth emerges, remove the dormant foliage. Salvia tolerates clay soils but will struggle with root rot if the soil stays saturated.

Cutting Salvia back after it has finished blooming for the season.

From April through early June you can count on May Night Salvia adding deep blue to purple spikes of color to the landscape.

Pink Dianthus, May Night Salvia with Gold Moneywort ground cover.
Daylily (Hemerocallis). There are over 80,000 varieties of daylily. They come in nearly every color and shade of color you can imagine, ranging 10-36” tall and 12-24” wide. Depending on the variety, blooms start in early summer and extend into late summer with a successive blooming habit that lasts 4-6 weeks. They also are one of the most adaptable plants. They are very cold-hardy and very heat tolerant. They are happy in almost every soil condition; clay, loam, dry, wet, and low nutrient. They prefer full sun but will bloom in partial shade. With a clump-type growth, they are dynamic planted in a mass grouping. Leave dormant foliage until new foliage emerges in the spring. Fertilize in early spring and again in early summer. Clumps can be divided every 3-5 years in the fall. Remove spent flower stocks to encourage more blooms. The most common yellow daylily is ‘Stella de’ Oro’. ‘Pardon Me’ is a great red daylily. Planting daylilies behind liriope (monkey grass) will help cover up the unattractive foliage as it begins to fade in late summer. Look around, daylilies started putting on their early summer show this week.
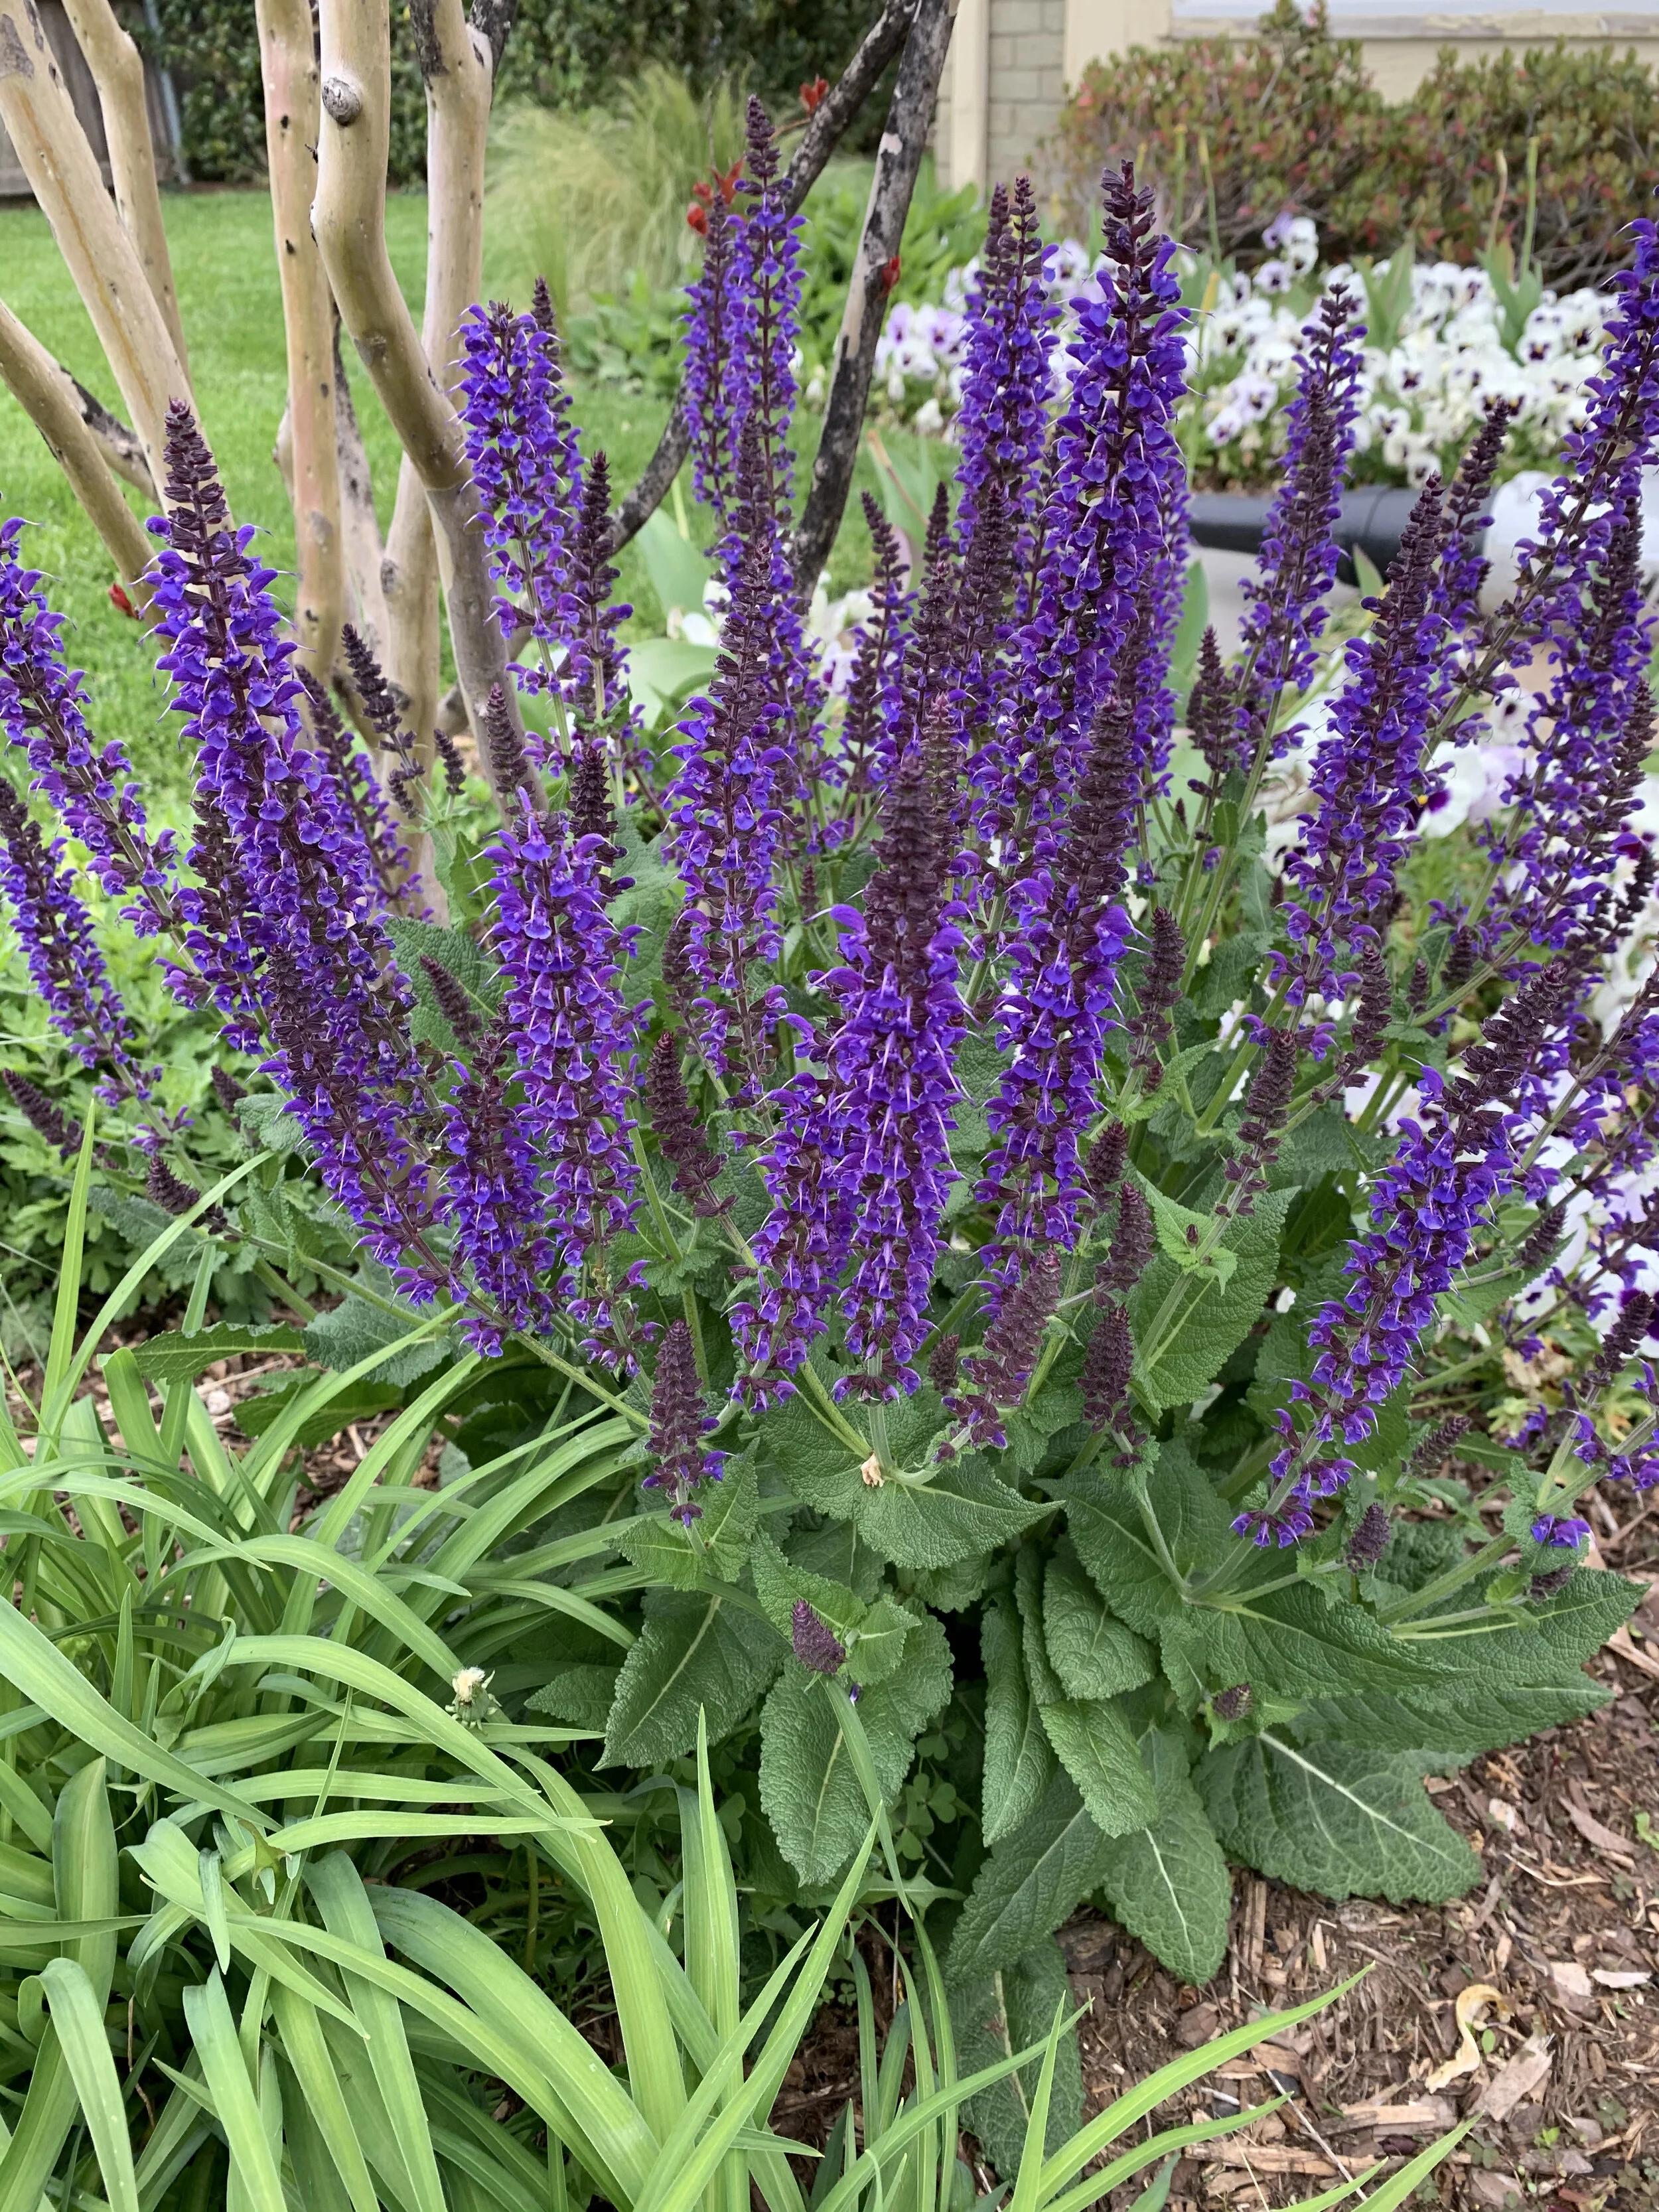
‘May Night’ Salvia

‘May Night’ Salvia

May Night Salvia

Daylily

Daylight
Red Coneflower, Black-eyed Susan and Shasta Daisy
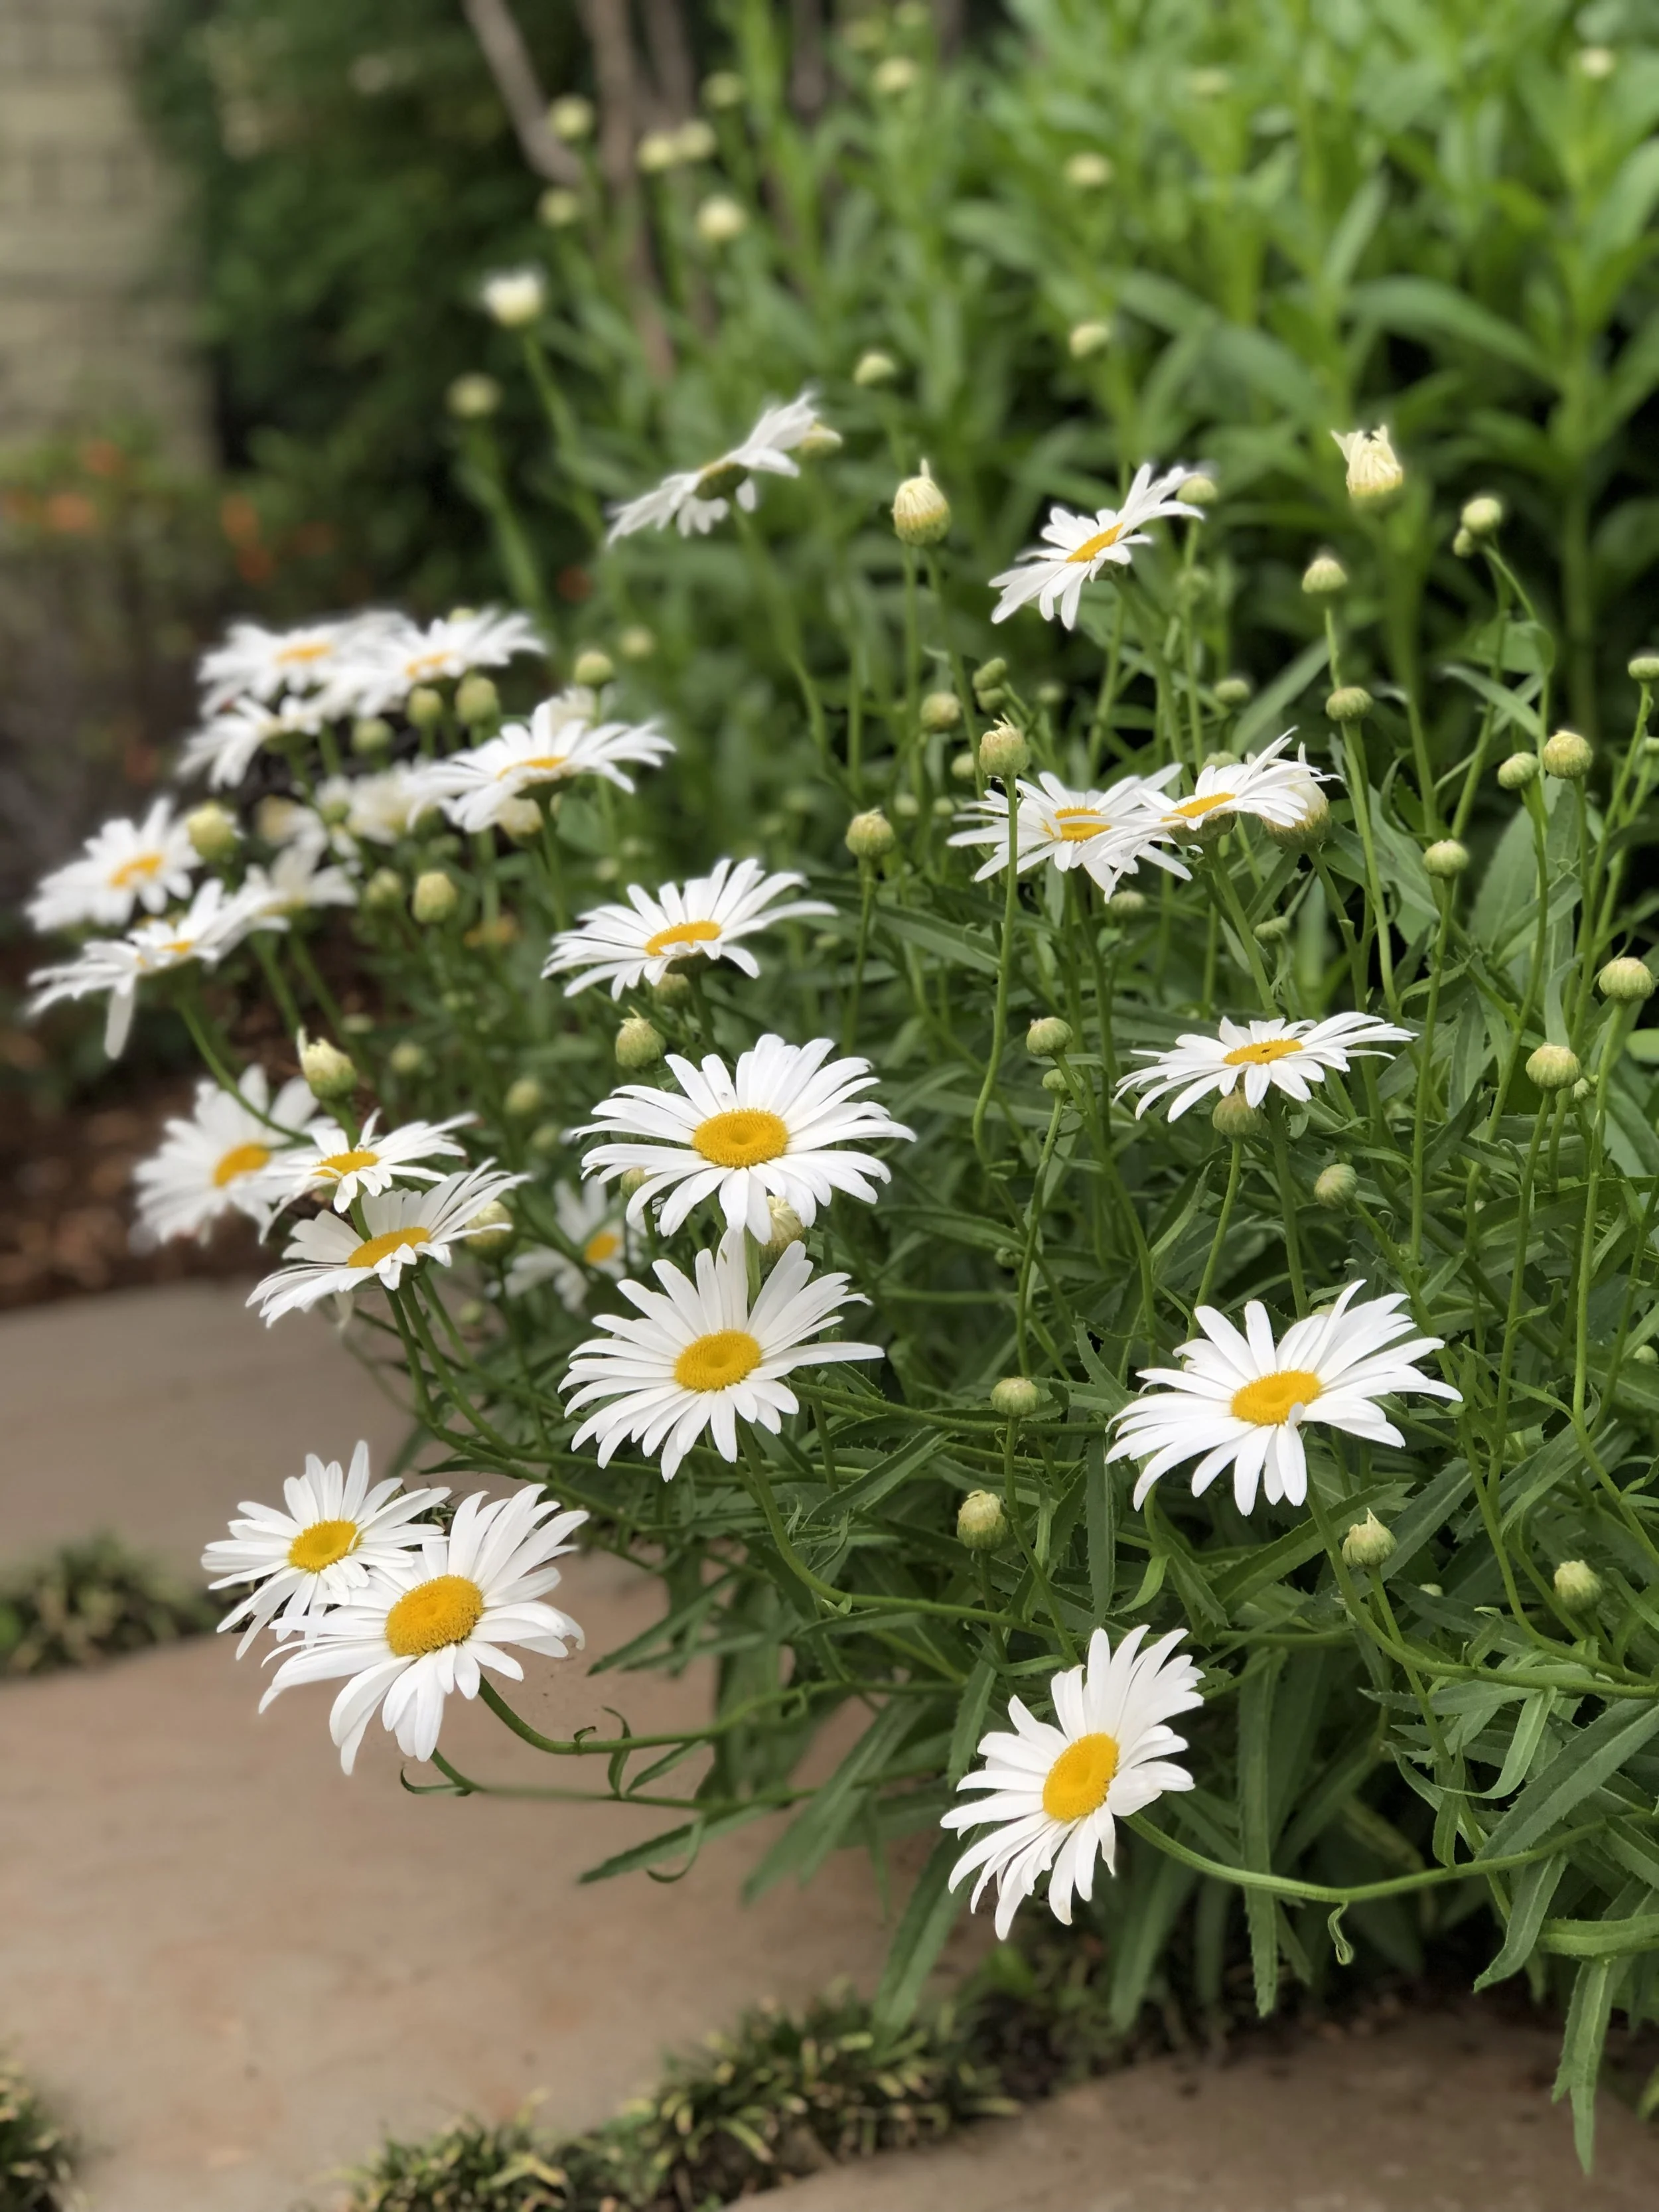
Shasta Daisy (Chrysanthemum x superbum). Classic daisy appearance of white petals around a yellow center. They grow in clumps 1-2’ wide and 2-3’ tall. Best if planted in fertile soil that drains well. The more sun they receive the more they will bloom. Shasta Daisies start blooming in early summer and can last until early fall. They make great cut flowers. Keeping the faded blooms cut will extend the color show. After the foliage goes dormant in late fall, cut the stems back to 1-2”. They respond well to light fertilizer in the spring. Daisies perform best if they are divided every 3-5 years. Considered a low-maintenance plant, aphids are about the only insect you may see. ‘Becky’ is a favorite variety.


Daylily and Shasta Daisy
Black-Eyed Susan (Rudbeckia grandiflora). Daisy-like golden-yellow flower petals surround a dark brown or black center reaching 2-4’ and spreading 2’. The large flower blooms (2-4”) will be arriving in the next few weeks and will continue into July. And, if you keep spent blooms trimmed off, you will get a few blooms in the fall. Plant in sun to partial shade. As a native prairie plant, you will find it to be low maintenance. It tolerates most soils but prefers well-drained. Because of its height, plant in the middle of a bed or as a background to lower perennials, similar to dianthus or salvia. The plant can be divided every 3-5 years. Remove dormant foliage anytime in the fall or winter. It can develop powdery mildew if in too much shade. Minimal feeding is required. Keep a watch out for occasional aphid problems.
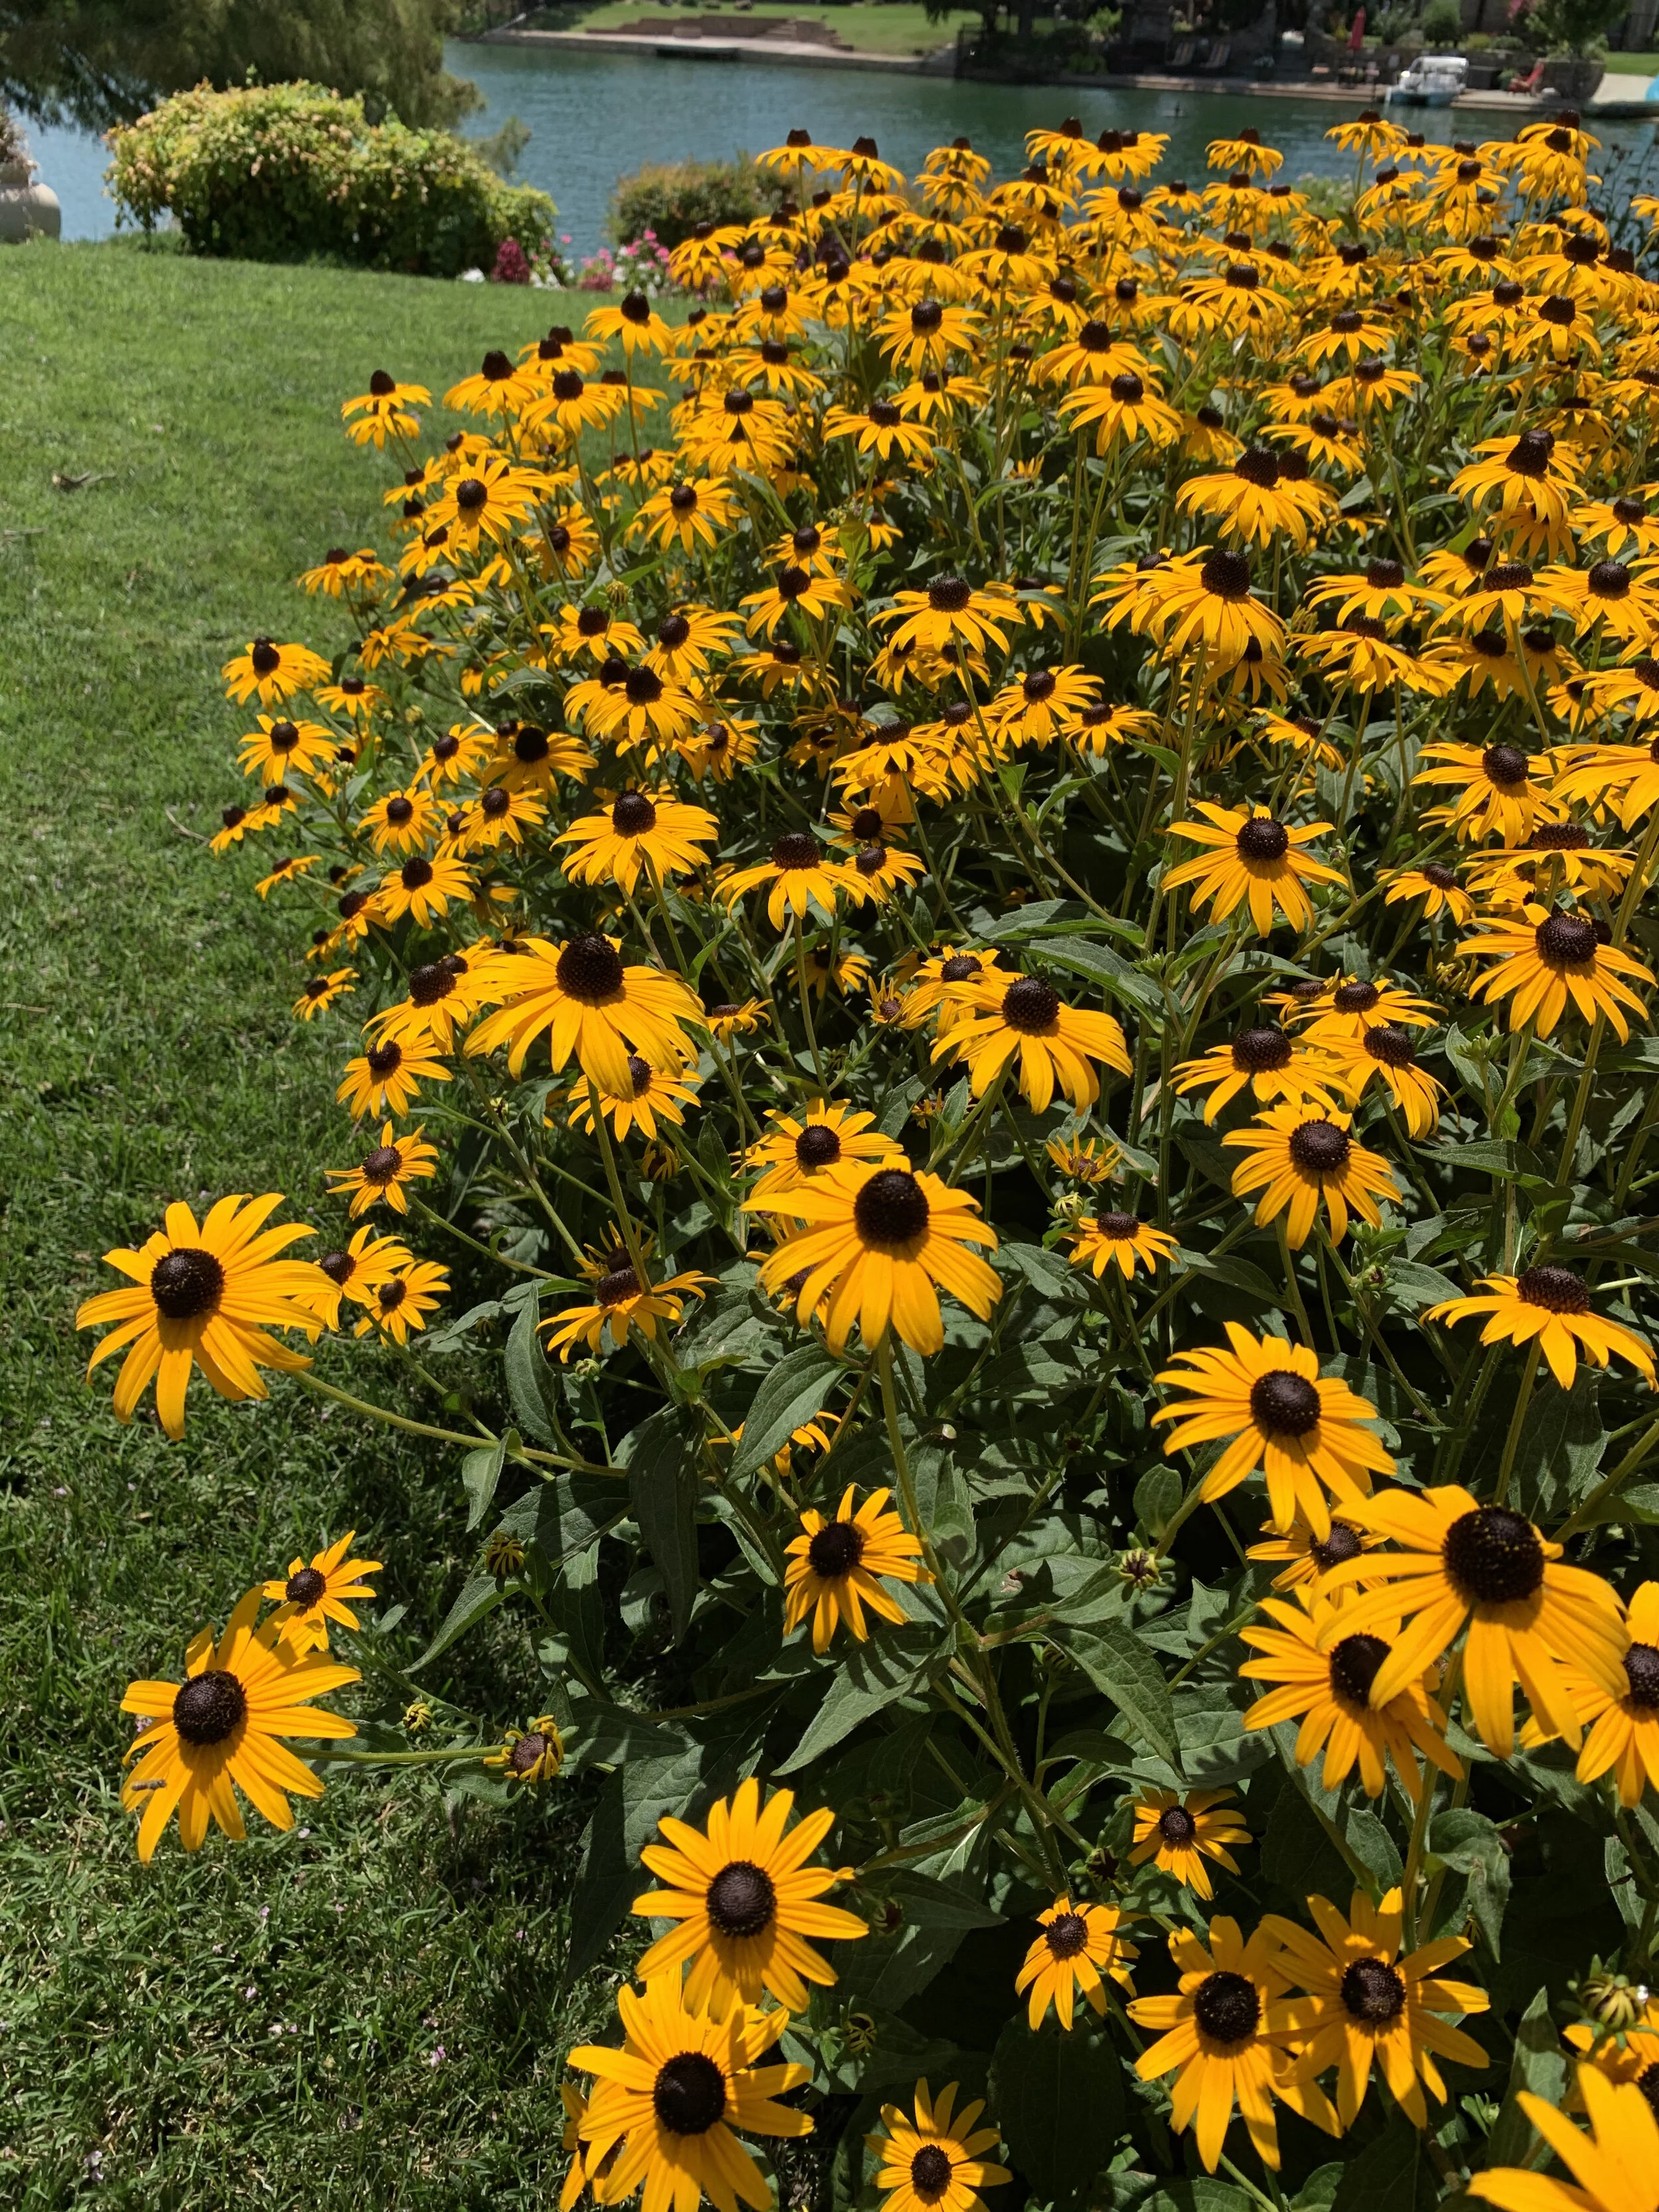
One of the best late summer blooming perennials is Black-eyed Susan.

Black-eyed Susan

Black-eyed Susan


Because of its height, plant in the middle of a bed or as a background to lower perennials, such as dianthus or salvia. The plant can be divided every 3-5 years. Remove dormant foliage anytime in the fall or winter. It can develop powdery mildew if in too much shade. Minimal feeding is required. Keep a watch out for occasional aphid problem.

Coneflower

One of the longer blooming summer perennials is Coneflower.
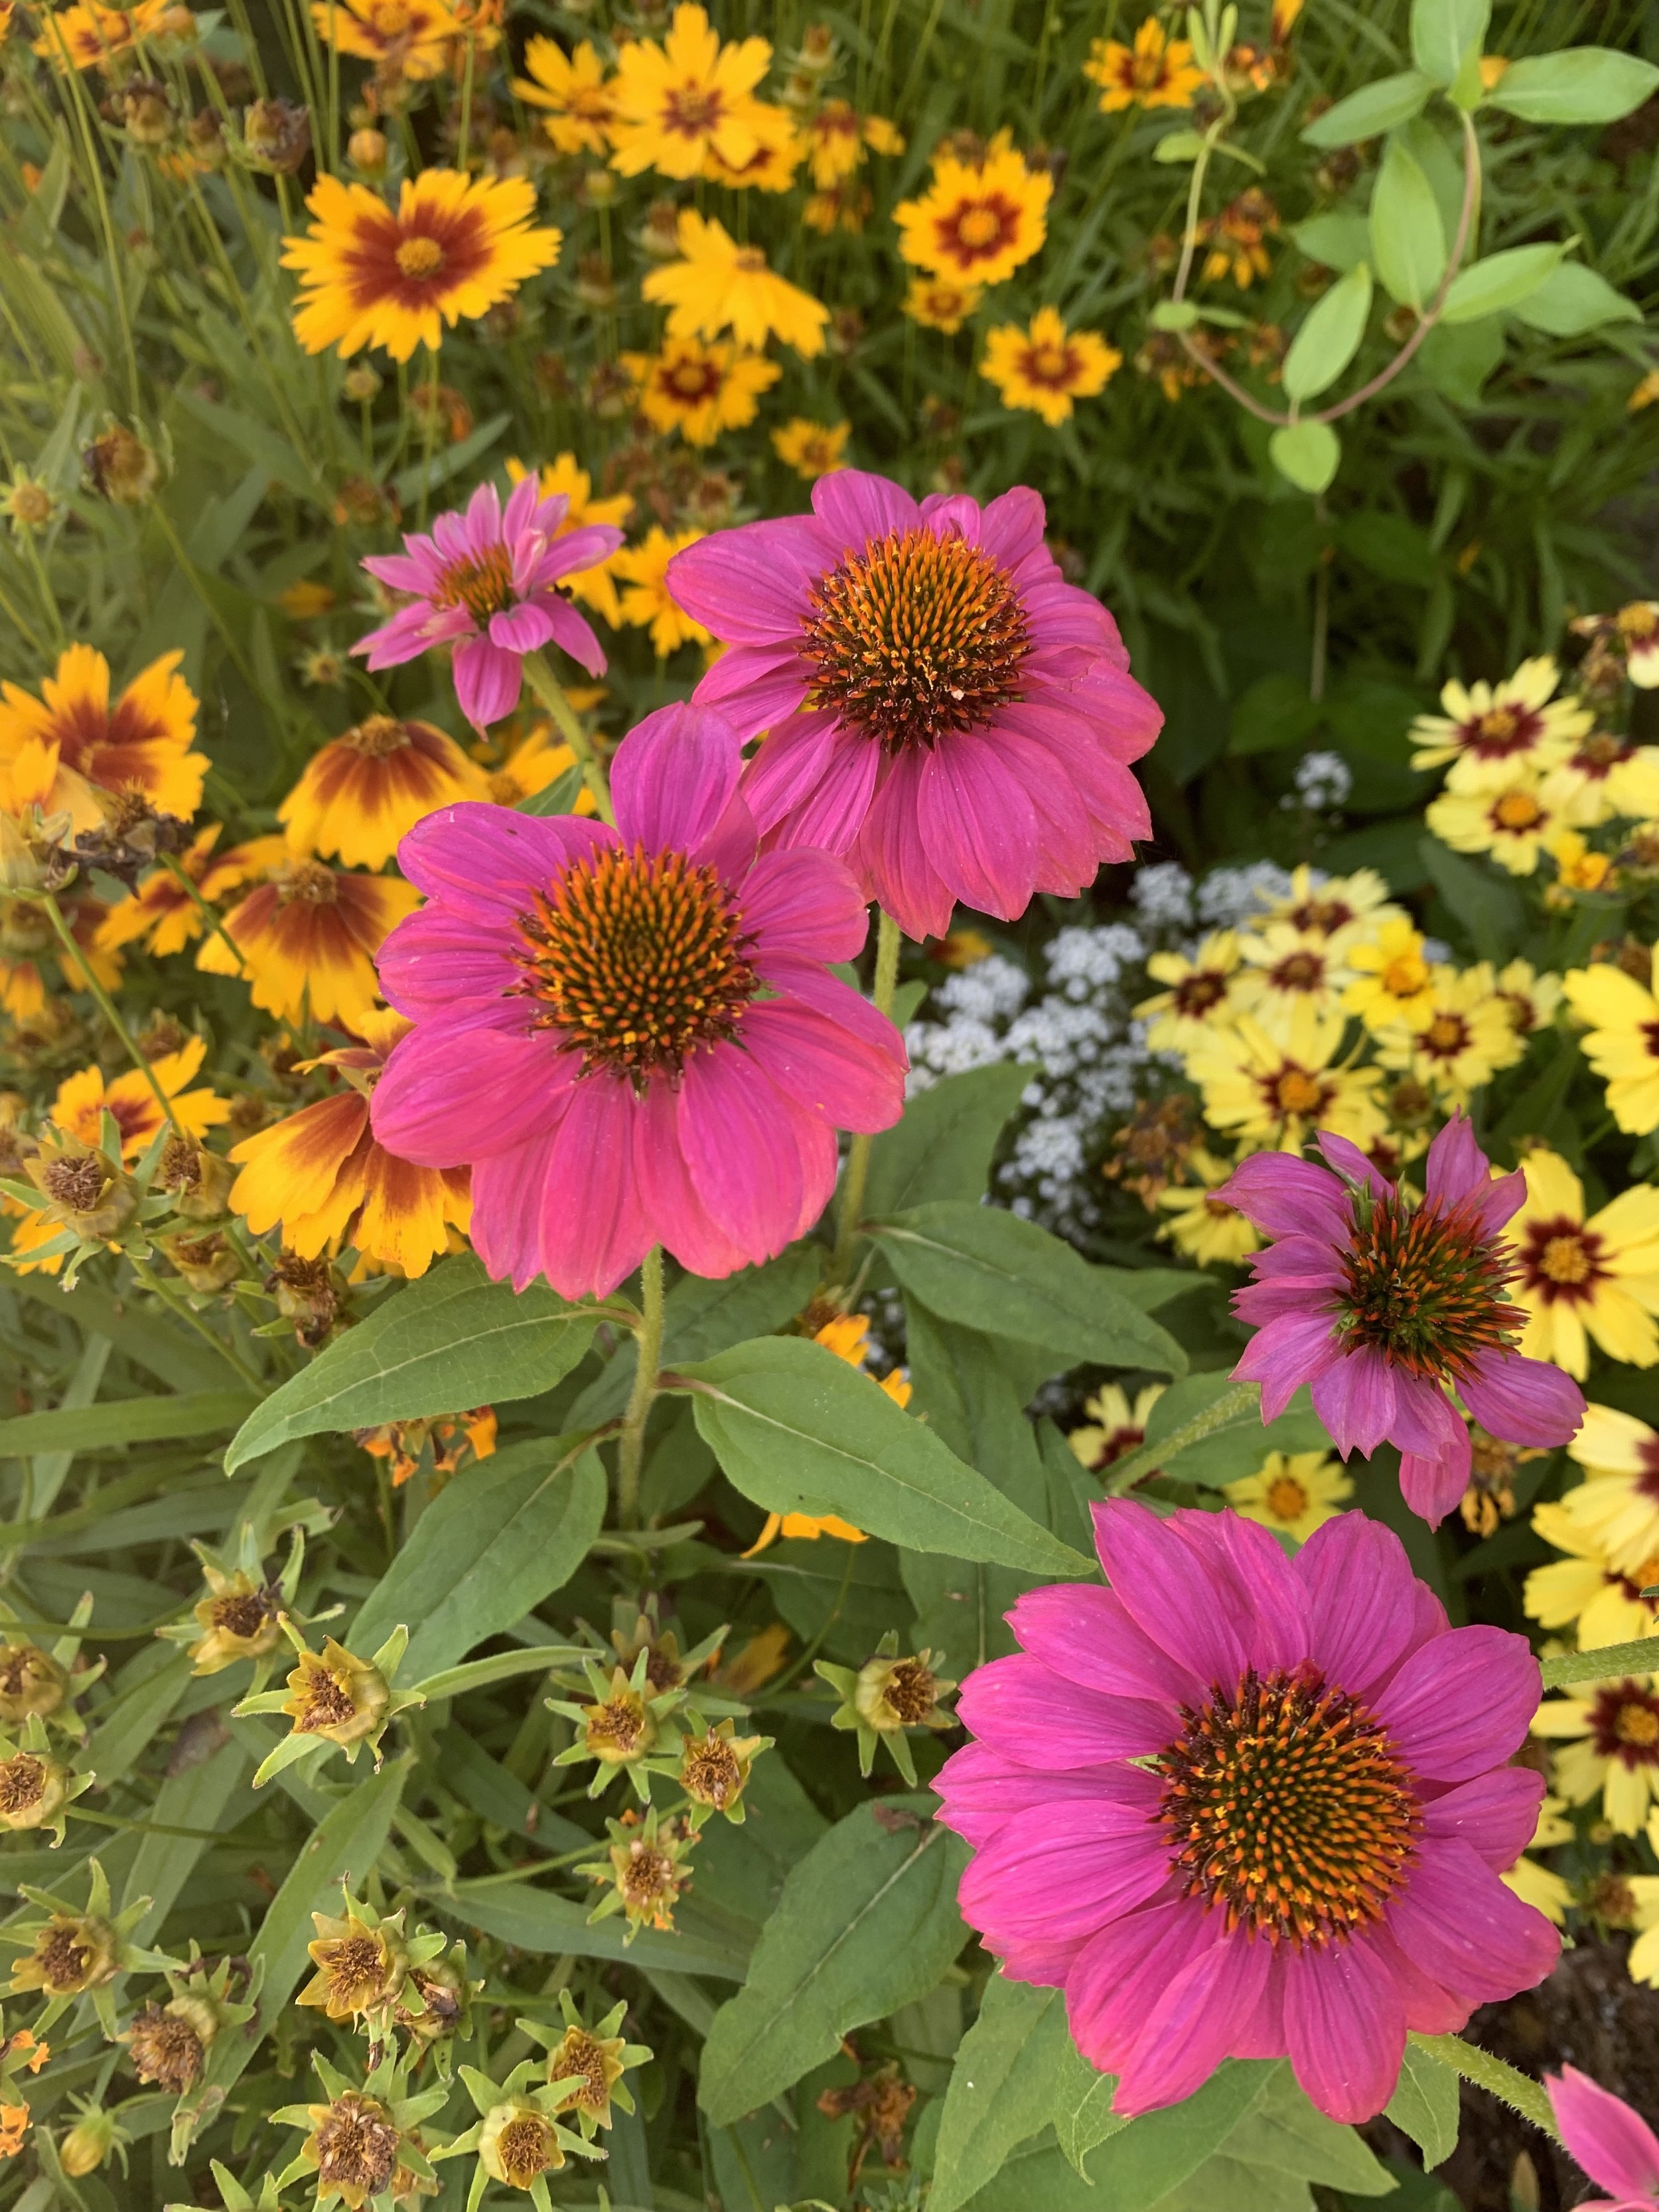
Coneflower
Coneflower (Echinacea). A native prairie plant with purple or white blooms 2-4” in diameter. Just like black-eyed Susan it reaches 2-4’ in height and spreads out 2-3’ and makes a good show planted in the back or sides of the garden. But it also works well as a single specimen. Plant in sun to partial shade. It is one of the longest summer bloomers with a show that lasts 5-8 weeks. The coarse texture of the leaves makes them well-suited near softer-textured plants such as ornamental grasses. It enjoys well-drained, fertile soil. Removing faded flowers will encourage more blooms. Remove dead foliage in the winter. Coneflower is fairly disease tolerant and responds to feeding early in the growing season, and also likes to be mulched.
Hardy Verbena (Verbena). This low-growing (4-6”) spreading (2-3’) perennial thrives in the summer heat while producing purple, pink, red, or white blooms. Verbena is not picky about soil type but requires full sun. When it gets more than 2-3 hours of shade per day, its biggest problem is powdery mildew disease increases. The low-growing nature makes it perfect for the front of beds, along walks, and cascading over walls and slopes. It also looks great in pots and window boxes. Good drainage and fertile soils are needed and with consistent irrigation blooms and spread will increase. Feed in spring and after the first flush of heavy blooms. Don’t fertilize after July. Verbena likes mulch to insulate roots and hold in moisture. Sheering the plant just below spent blooms will encourage growth and more flowering. My favorite variety is ‘Homestead Purple’.


Garden Mum (Chrysanthemum x moratorium). Typically thought of as an annual, they make a great perennial for fall color with shades of pink, red, white, and yellow. Plant height and width are both 1-3’ resulting typically in a round shape. They produce a wonderful burst of color for 2-4 weeks in late September and October. Mums will tolerate light shade but prefer full sun. To survive the winter as a perennial they need moisture and good drainage. Therefore, add an ample amount of compost when planting in our clay soils. Dormant foliage can be removed anytime during the winter or in the spring when new growth emerges. Mums will bloom a little in the spring or early summer. Once the early blooms fade, keep the plant sheared to the shape and height you prefer. Stop shearing after the first of July. When you shear a mum during the last half of the summer, you are removing the flower buds for the fall.
Hosta (Hosta). Monrovia.com lists over 78 varieties of hosta. This shade to partial sun loving plant is perfect for adding brightness to shady areas. Varieties range in size, but 12-14” tall and 30” wide is common. They prefer organic soil and regular watering when it is hot. Their leafy appearance is a great companion to ground covers. Monrovia calls them “the potato chip of plants…once you have one and watch how it lights up the shade you will want another.” One of my favorites is ‘Patriot’. I dare you to plant just one.

Hosta x 'Patriot' is a compact variety with large glossy green foliage with gleaming white edges.

King Ostrich Fern
Fern. Excellent for shade gardens and damp areas. They require frequent watering, especially in the summer heat. There are many varieties but for most gardens, ones that grow 18-30” with a 24” spread, are best. They are an easy-going plant that adds texture to the landscape. It is a great plant for filling in bare areas in the shade. Matteuccia struthiopteris ‘The King’ is a favorite Ostrich fern.
Coral Bells (Heuchera). A great shade companion to hosta and caladium, this perennial will also be happily planted in a little more sun. It makes a great border, a mass grouping, or plant a single plant as an accent. There are many varieties with colorful foliage to choose from. ‘Palace Purple’ has deep purple foliage which looks great planted with ‘Patriot’ Hosta.

Coral Bell 'Palace Purple' planted as an accent with fern in a shady raised planter.
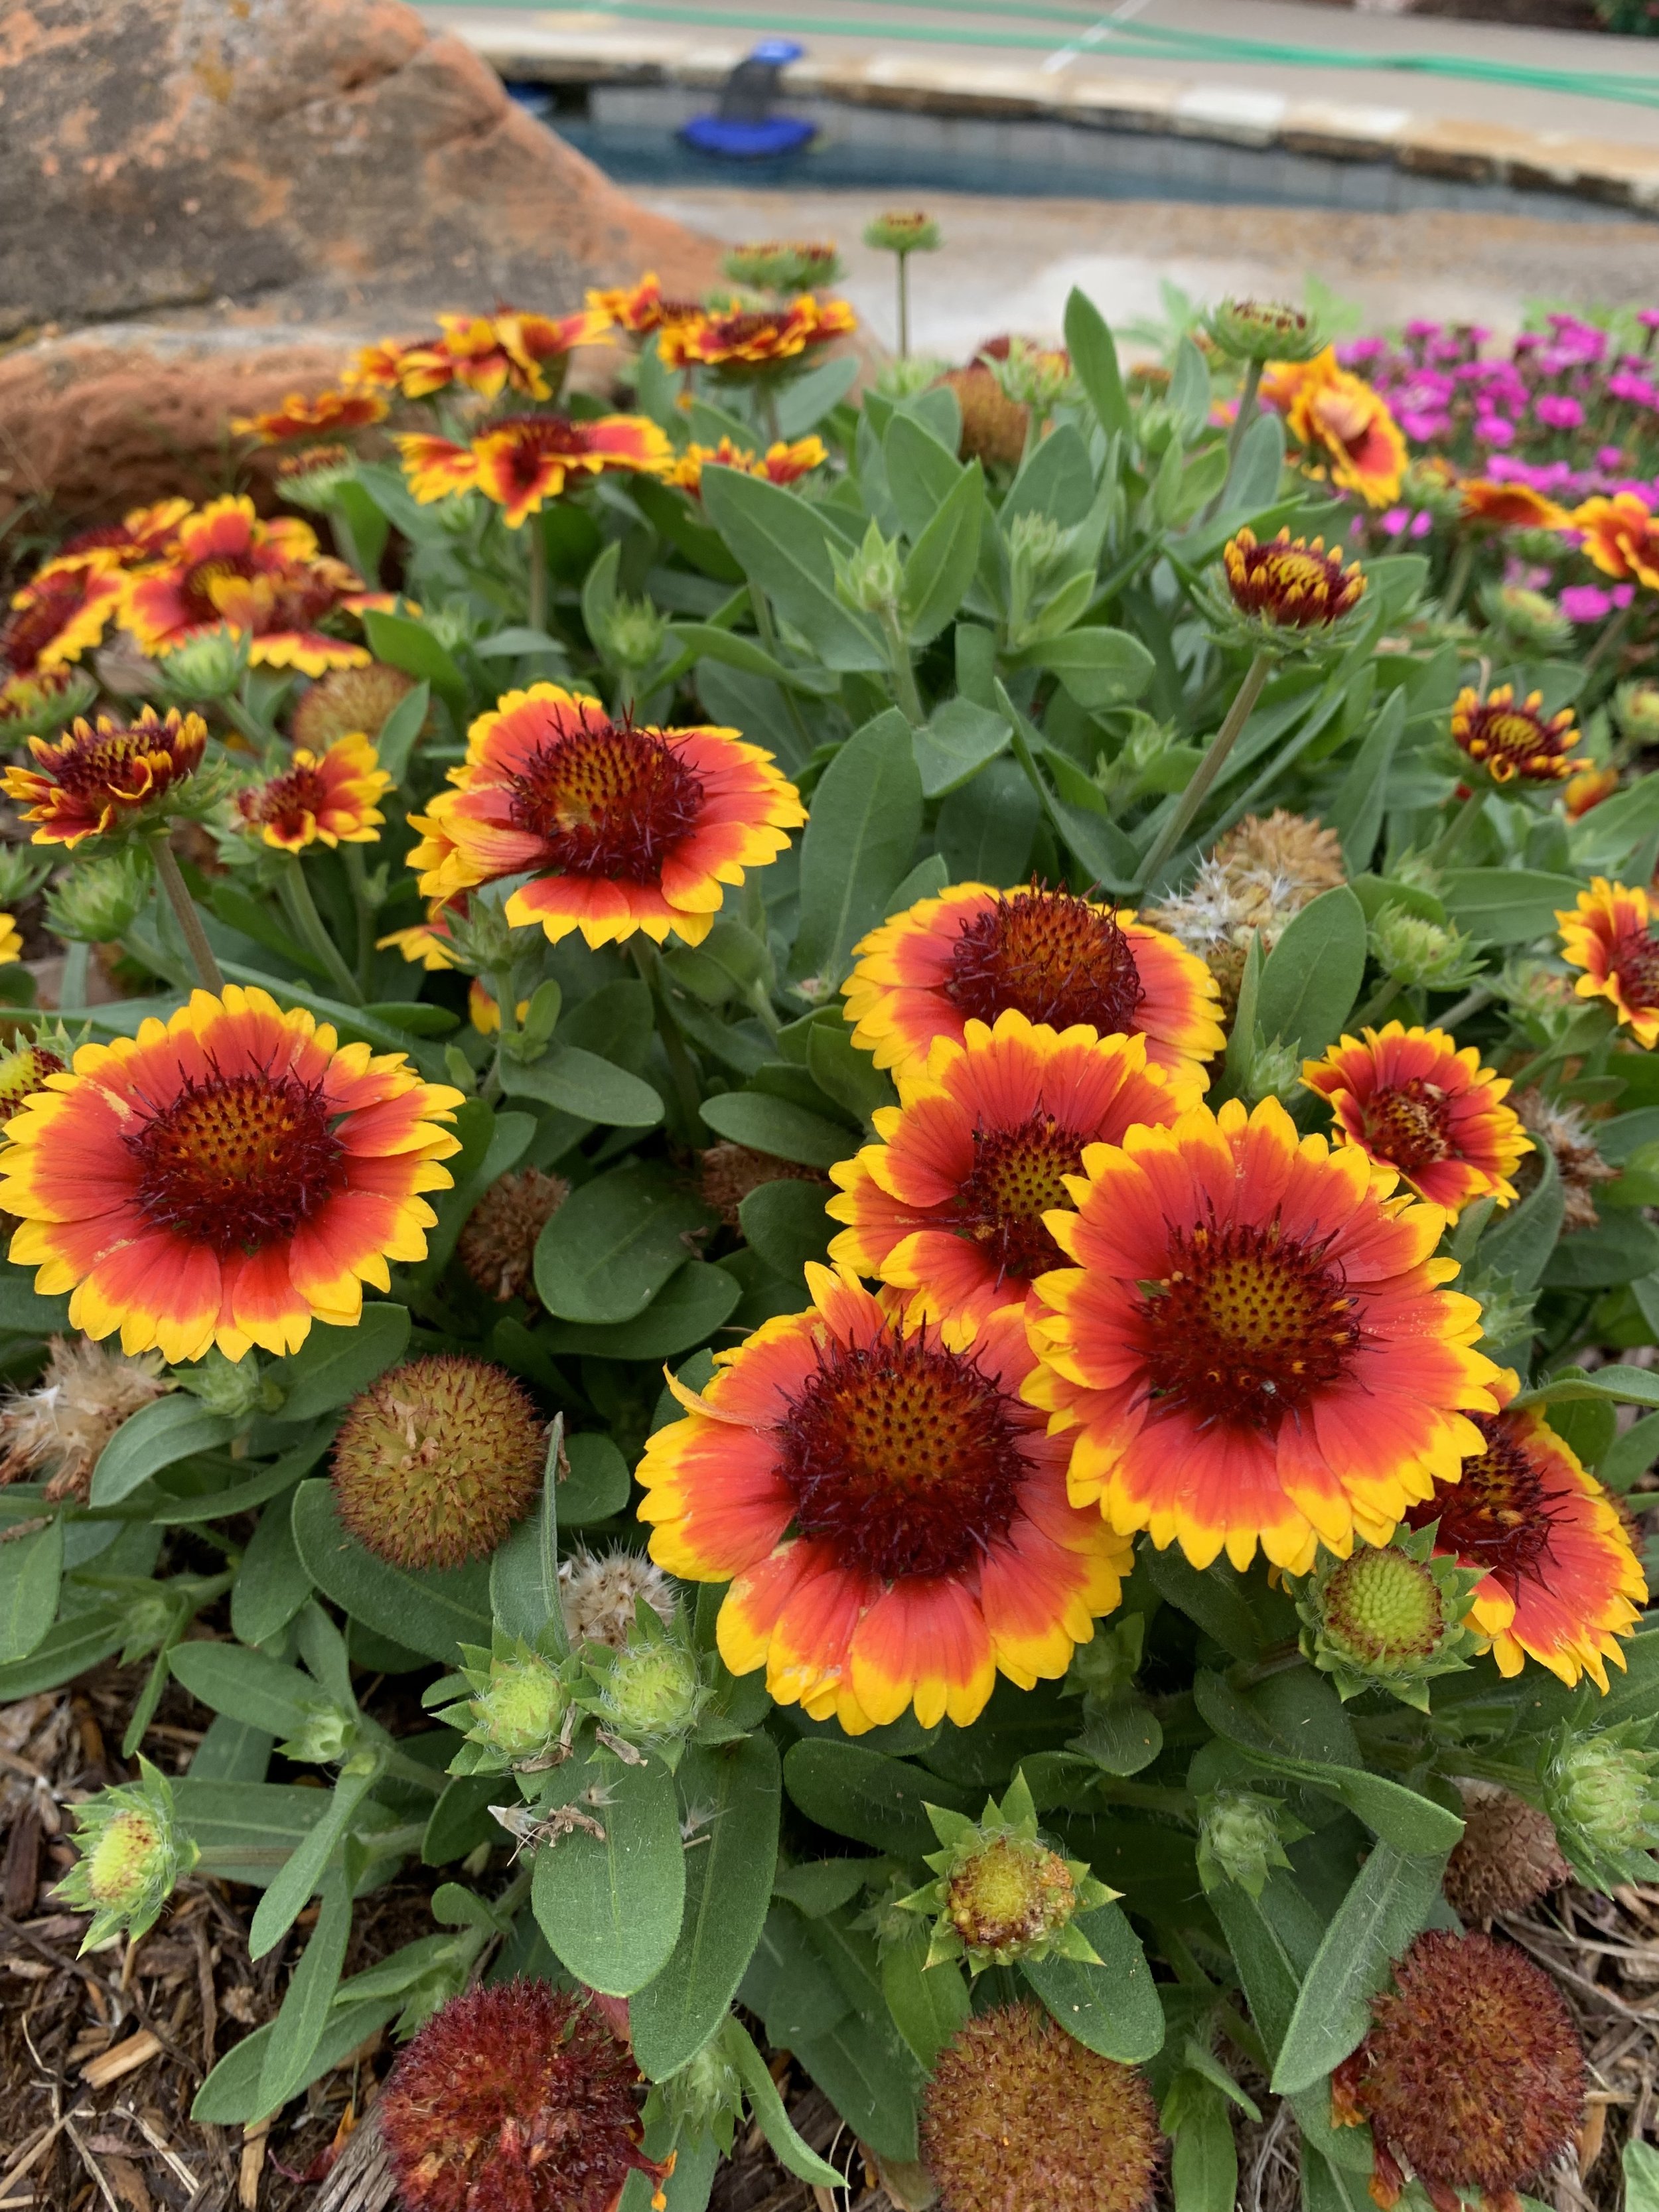
Gaillardia
The best time to add perennials to your landscape is spring and fall. But, you can find success adding perennials most anytime; just avoid the hottest days of the summer and the coldest period of the winter. My favorite time to add perennials is when I am planting my summer color at this time of the year and again in the fall when changing the summer color out for pansies.
A great resource is Monrovia.com. https://www.monrovia.com/plant-catalog/
Another great way to learn more about perennials is to take monthly walks through the Myriad Garden and Scissortail Park to see what is currently in bloom.
What are your favorite perennials?
We are always on the lookout for new ideas.
Text or email us a few pictures of perennials blooming in your landscape!
Lorne Hall
Hall | Stewart Lawn + Landscape
(405)367-3873
One Easy Way To Make A Big Difference In Your Lawn - Don’t Bag Your Clippings!

This is a lesson I learned early in my lawn and landscape career.
The Tale of Two Very Similar but Very Different Lawns
In the late 1980s, the full-service landscape management company that I started while in college provided landscape maintenance for two homeowner associations located directly across the street from each other in NW Oklahoma City.
The economics of the two HOAs were very different resulting in a big difference in services:
The HOA on the south side of the street had a contract with two fewer fertilizer applications than the one on the north side of the street.
The one on the north side also required us to bag and remove the lawn clippings. The south side HOA’s budget couldn’t afford the extra expense for bagging and waste disposal.
The HOA on the north side had an irrigation system with nearly perfect coverage that ran every other day while the one on the other side of the street had an old inadequate system that we struggled to keep operating during dry spells.
Which HOA do you think always had the greenest grass?
Not the one with more fertilizer applications and more water.
The one with the greenest grass was the one that couldn’t afford to have their grass clippings bagged and removed!
Why Does Not Bagging Your Clippings Make Such a Big Difference?
Grass clippings are 80-90% water and nutrients, mostly nitrogen. Every time you throw away a bag of clippings you are throwing away moisture and valuable nutrients.
You can gain one pound of nitrogen per growing season by returning your clippings to the lawn each time you mow. This is a significant amount considering most turf grasses require 4 to 5 pounds of nitrogen for optimal growth, density, and color. Research at the University of Missouri and Kansas State University confirms that 25% of your lawn’s needed annual nutrients are contained in your lawn clippings.

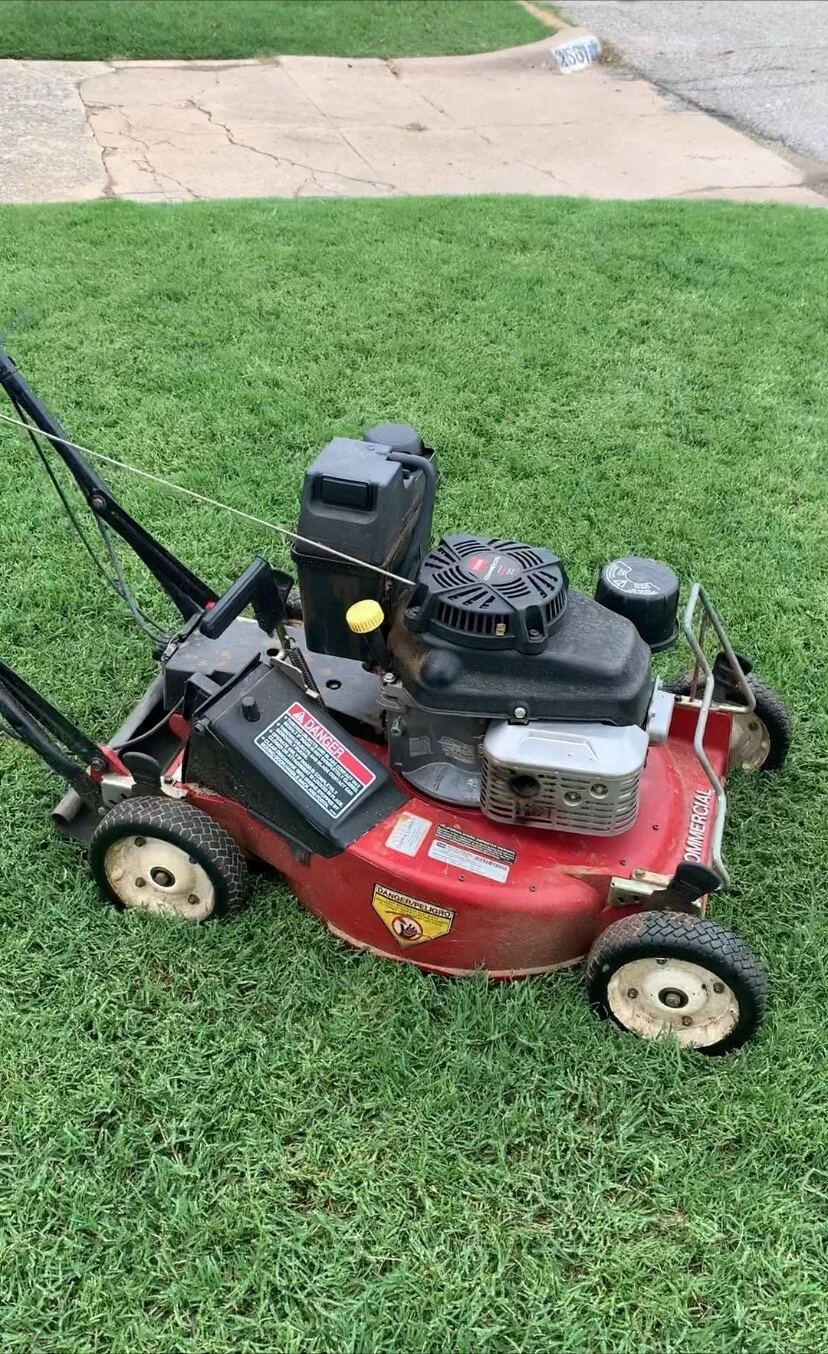
NW OKC Bermuda lawn that is mowed regularly without clippings being bagged & removed.
Freshly mowed Bermuda lawn cut tight with a reel. Clippings were not bagged but a blower was used to redistribute noticeable clippings.
Not bagging your lawn clippings is like someone offering to give you free fertilizer, and you saying, “No Thanks!”
Decaying clippings will increase organic material in the soil. As clippings break down beneficial bacteria increases. Healthy soils contain at least 5% organic material. Most lawns contain 2-3% organic material and research shows that consistently allowing your clippings to return to the soil will increase organic material by at least 1%.
Not bagging your lawn clipping is like someone offering to top-dress your lawn with compost for free, and you saying, “No thanks!”

Fescue lawn immediately after the lawn was cut. 1" of growth was removed. Clippings were not bagged.
If there you have noticeable clippings after you mulch mow, simply use your blower to redistribute clippings.

Mulch mowing leaves in the fall is beneficial for your soil.
Keys to Successfully Mulch Mowing
Mow frequently enough that you only remove 1/3 of the grass per mowing. For example: If your goal is to maintain your lawn at 2”, mow before your lawn grows past 3”. This may require you to occasionally mow every 4-5 days instead of the traditional once per week. When only cutting 1/3 of the growth you are only cutting off the leaves. Grass leaves break down very quickly and do not increase thatch on the soil surface.
If you get behind with your mowing, raise your mower up and gradually lower it back down over the next couple of cuttings. In the worst case, bag the clippings one time and then return to mulch mowing as you regain a more frequent mowing routine.
Don’t mulch mow when the grass is wet. Wet grass clippings clump and don’t break down quickly.
Mowers designed for mulch mowing work best since they cut the clippings multiple times. If you don’t have a mulching mower, most brands have mulching kits and/or mulching blades you can add to your mower. And there is nothing wrong with just mowing without the bag on with most mowers.
Keep your lawn mower blade sharp. A sharp blade will cut the clippings finer instead of tearing the grass leaf.
When you finish mowing if there are any noticeable clippings on your lawn use your blower to spread them out.
One last exception, if you have weeds with seed heads, it is best to bag your clippings and remove the weed seeds from your lawn.


Mulching mowers, also known as recyclers, will nourish the lawn by cutting the clippings into smaller clippings and return nitrogen, moisture, and organic material back to the lawn.
If you haven’t figured it out, I’m a big believer in not catching your clippings. It will make a huge difference in the color of your turf and the health of your lawn. And, when done correctly, you won’t even notice any clippings.
If you mow your own lawn, give it a try.
If you hire someone to mow your lawn, give them permission to not bag as long as they do not leave behind any noticeable clippings or debris.
I know you will like the difference it makes on your lawn.
Lorne Hall
Hall | Stewart Lawn + Landscape
(405)367-3873

Where Are the April Showers?

It is rare to be addressing watering practices in April. Who thinks about watering issues in April?
Regardless of the time of year, one of the best practices for your lawn and landscape is to pay attention to rainfall and supplement with good watering practices when needed.
Good watering practices start with being aware of current weather patterns and making adjustments to watering schedules.
Good watering practices are one of the biggest influences in the health and appearance of your landscape.
The west and north areas of the Oklahoma City metro are way behind on spring moisture. Lawns and landscapes that are not receiving supplemental moisture are showing signs of drought stress. Unfortunately, most people are not used to paying attention to their lawn & landscape’s moisture needs in April.
Best Watering Practices:
Your lawn and landscape need 1” of water per week during the spring.
A common question is “How long should I water?” Every irrigation system is different – different head types, different size nozzles, different head spacing, different areas, etc.
The best way to know how long you should water is to measure the amount of water your system puts out in each zone. Take a few cans and place them around your lawn in a random pattern. Run your sprinklers through a cycle and measure the amount of water in the cans. If the sprinklers ran for 15 minutes and you had .25” of water, you need 60 minutes per week.
Next, determine how long you can run your irrigation before there is excessive runoff. This will tell you how many times per week you need to water.
If you can get away with watering every 4th-day versus every other day, you will have a healthier, stronger lawn and landscape.
If you don’t have the time to audit the amount of water your system puts out, start with these settings, monitor, and adjust:
Fixed spray pattern heads with 10-15’ spacings – 15 mins per time.
Larger rotor type heads on 20-30’ spacings – 30 mins per time.
Set your controller to water with back-to-back run times.
For most of our landscapes, if we run our sprinklers long enough to get the recommended amount of water, we end up with a lot of water running down the street. Splitting zone run time in half and setting the controller to run through the zones back to back will improve the amount of water that soaks in and reduce the amount of water that runs off.
Example: Set the controller to run at 4:00 AM and 5:00 AM. When the 4:00 cycle completes, even if it is after 5:00, the controller will start the second cycle.
Moist soil will absorb more water than dry soil. Soil is just like the sponge in your sink. A dried sponge repels water before it starts absorbing water. Your landscape is the same. The first cycle moistens the soil and the second cycle soaks in.
Split, back-to-back, irrigation cycles are an old golf course trick.
I started using split, back-to-back, irrigation cycles a few years ago on lawns with slopes.
After seeing great results, I started incorporating the concept on all lawns.
It makes a difference in watering efficiency.
Water in the early morning.
Evaporation is at its lowest point in the pre-dawn hours. Also, the wind is usually at the lowest point of the day in the pre-dawn hours. I prefer to set most irrigation controllers to start at 4:00 AM with the goal of having the cycle completed by 8:00 AM.
Avoid watering in the heat of the day when much of the water will be lost to evaporation. Also, avoid watering in the evening. Watering in the evening promotes many turf diseases because the lawn stays wet too long.
IMPORTANT: Don’t water fescue in the evening during the summer. When water remains in the leaf for more than 6 hours, brown patch disease will develop.
Daily watering is not needed.
Unless you are trying to get newly planted seed to germinate or new sod to take root, there is not a good reason to water every day. Always water deep and infrequent. Daily, shallow watering creates a landscape that is shallow-rooted and more dependent on constant moisture for survival.
Fescue will benefit from a deep soaking just like Bermuda. A common myth I would love to dispel is that fescue requires a lot more water than Bermuda. Yes, it is when you are trying to get newly seeded fescue to germinate, but mature fescue doesn’t require more moisture than Bermuda.
I water my fescue the same way I water Bermuda – deep, infrequent cycles.

It’s April! Fescue should be at their best. If you have areas of fescue that are not rich green, check the soil moisture. If you can slip a large screwdriver several inches into the soil, you need to water.
Aeration improves moisture absorption.
You can’t beat aeration for improving your soil structure. A key benefit of improved soil structure is better water absorption. Lawns that receive annual aeration (or at least every other year) do not experience as much runoff.
Always pay attention to water need.
If we receive .5” of rain or more, turn your controller off for a few days. Install a rain sensor if you are not good at remembering. A rain sensor will pay for itself easily in one season. Don’t assume you can leave your controller in automatic and forget it.
Don’t stress if your lawn and landscape gets a little dry, it will rebound quickly once water is applied.
A good indicator that your lawn is needing water is the footprint test. If the grass retains your footprints instead of quickly springing back, it is time to resume watering.
Fescue growing on the top of a sprinkler head.
Watch for uneven water patterns.
If you notice areas where the lawn color is fading, you may have uneven moisture patterns. This could be the result of a broken head, a clogged nozzle, or a head that is out of adjustment.
Head to head coverage is when the water from one sprinkler head reaches all the way to the next head. Without head to head coverage, dry areas can develop around heads.
A clue to an uneven watering problem is an arc pattern matching the sweep of an irrigation head.

Even if you don’t have an irrigation system, the concepts of good watering still apply.
It is important to learn how long you need to water when you are using a hose-end sprinkler. Next time you water, set out a few cans. You will be surprised how long you need to water to get the proper amount of water on your lawn. Invest in a digital hose water timer, such as ones made by Orbit. It will make it easier for you to control the timing and frequency of watering.
A healthy landscape is an important part of our environment. A healthy turf helps clean the air, trap carbon dioxide, reduce erosion, improve groundwater quality, absorb noise, reduce temperatures, as well as, adds curb appeal and value to your home.
Let’s hope metro-wide spring moisture arrives soon.
Our environment needs it. Our lawns and landscapes need it.
But, if it doesn’t, be prepared to put the best watering practices in place.
Lorne Hall
Hall | Stewart Lawn + Landscape
(405)367-3873
Two Important March Pruning Tips

If you have overgrown evergreens, this month is the best time for major pruning.
If you have crape myrtles, now is the best time for proper routine pruning.
Evergreen Pruning
As landscapes mature, it is typical for plant material to outgrow the intended space.
Some of the biggest offenders are hollies and boxwoods. It is common to find hollies growing into eves and boxwoods crowding sidewalks. The tendency is to plant shrubs in spaces they will not fit when they reach their mature size.
But, who reads a plant label?
And, if you did read the label you were thinking: “Surely this pretty little holly will never cover up the window.”
Then, a few short seasons later, you find yourself struggling to keep the shrub contained in the space you intended.
Or, possibly you have done a great job of keeping them sheared to fit the space, but they no longer have the natural shape you fell in love with.
What do you do? Tear them out and start over?

Dwarf Burford Holly is commonly used as a foundation planting. If your row of holly have become overgrown late winter through early spring is the best time to reduce their size with major pruning.

Nellie Stevens Holly often look best when they are allowed to retain their natural shape. If your Nellies have become overgrown, or have lost their natural beauty from repeated shearing, mid-February through March is the time to regain their natural shape with major pruning.
I have a better solution - March is your opportunity to do major pruning on most broadleaf evergreens.
The broadleaf evergreen, any plant with leaves year-round, the list includes aucuba, camellia, boxwood, cherry laurel, elaeagnus, holly, mahonia, photinia, just to name a few.
Heavy pruning in the spring before new growth starts allows you the opportunity to regain the shape you intended for the plant.
Twice over the 20 years, since it was planted, I have heavily pruned a large Nellie Stevens Holly on one corner of my house. And, as I do every time, I take a broadleaf evergreen back to no leaves and only major branches, I keep asking myself,
“What if this holly doesn’t re-leaf?”
“Am I ruining a 20-year-old Nellie?”
But, once again the shrub responded just like it should, and within in one growing season, it returned to its natural beauty.

Nellie Stevens Holly
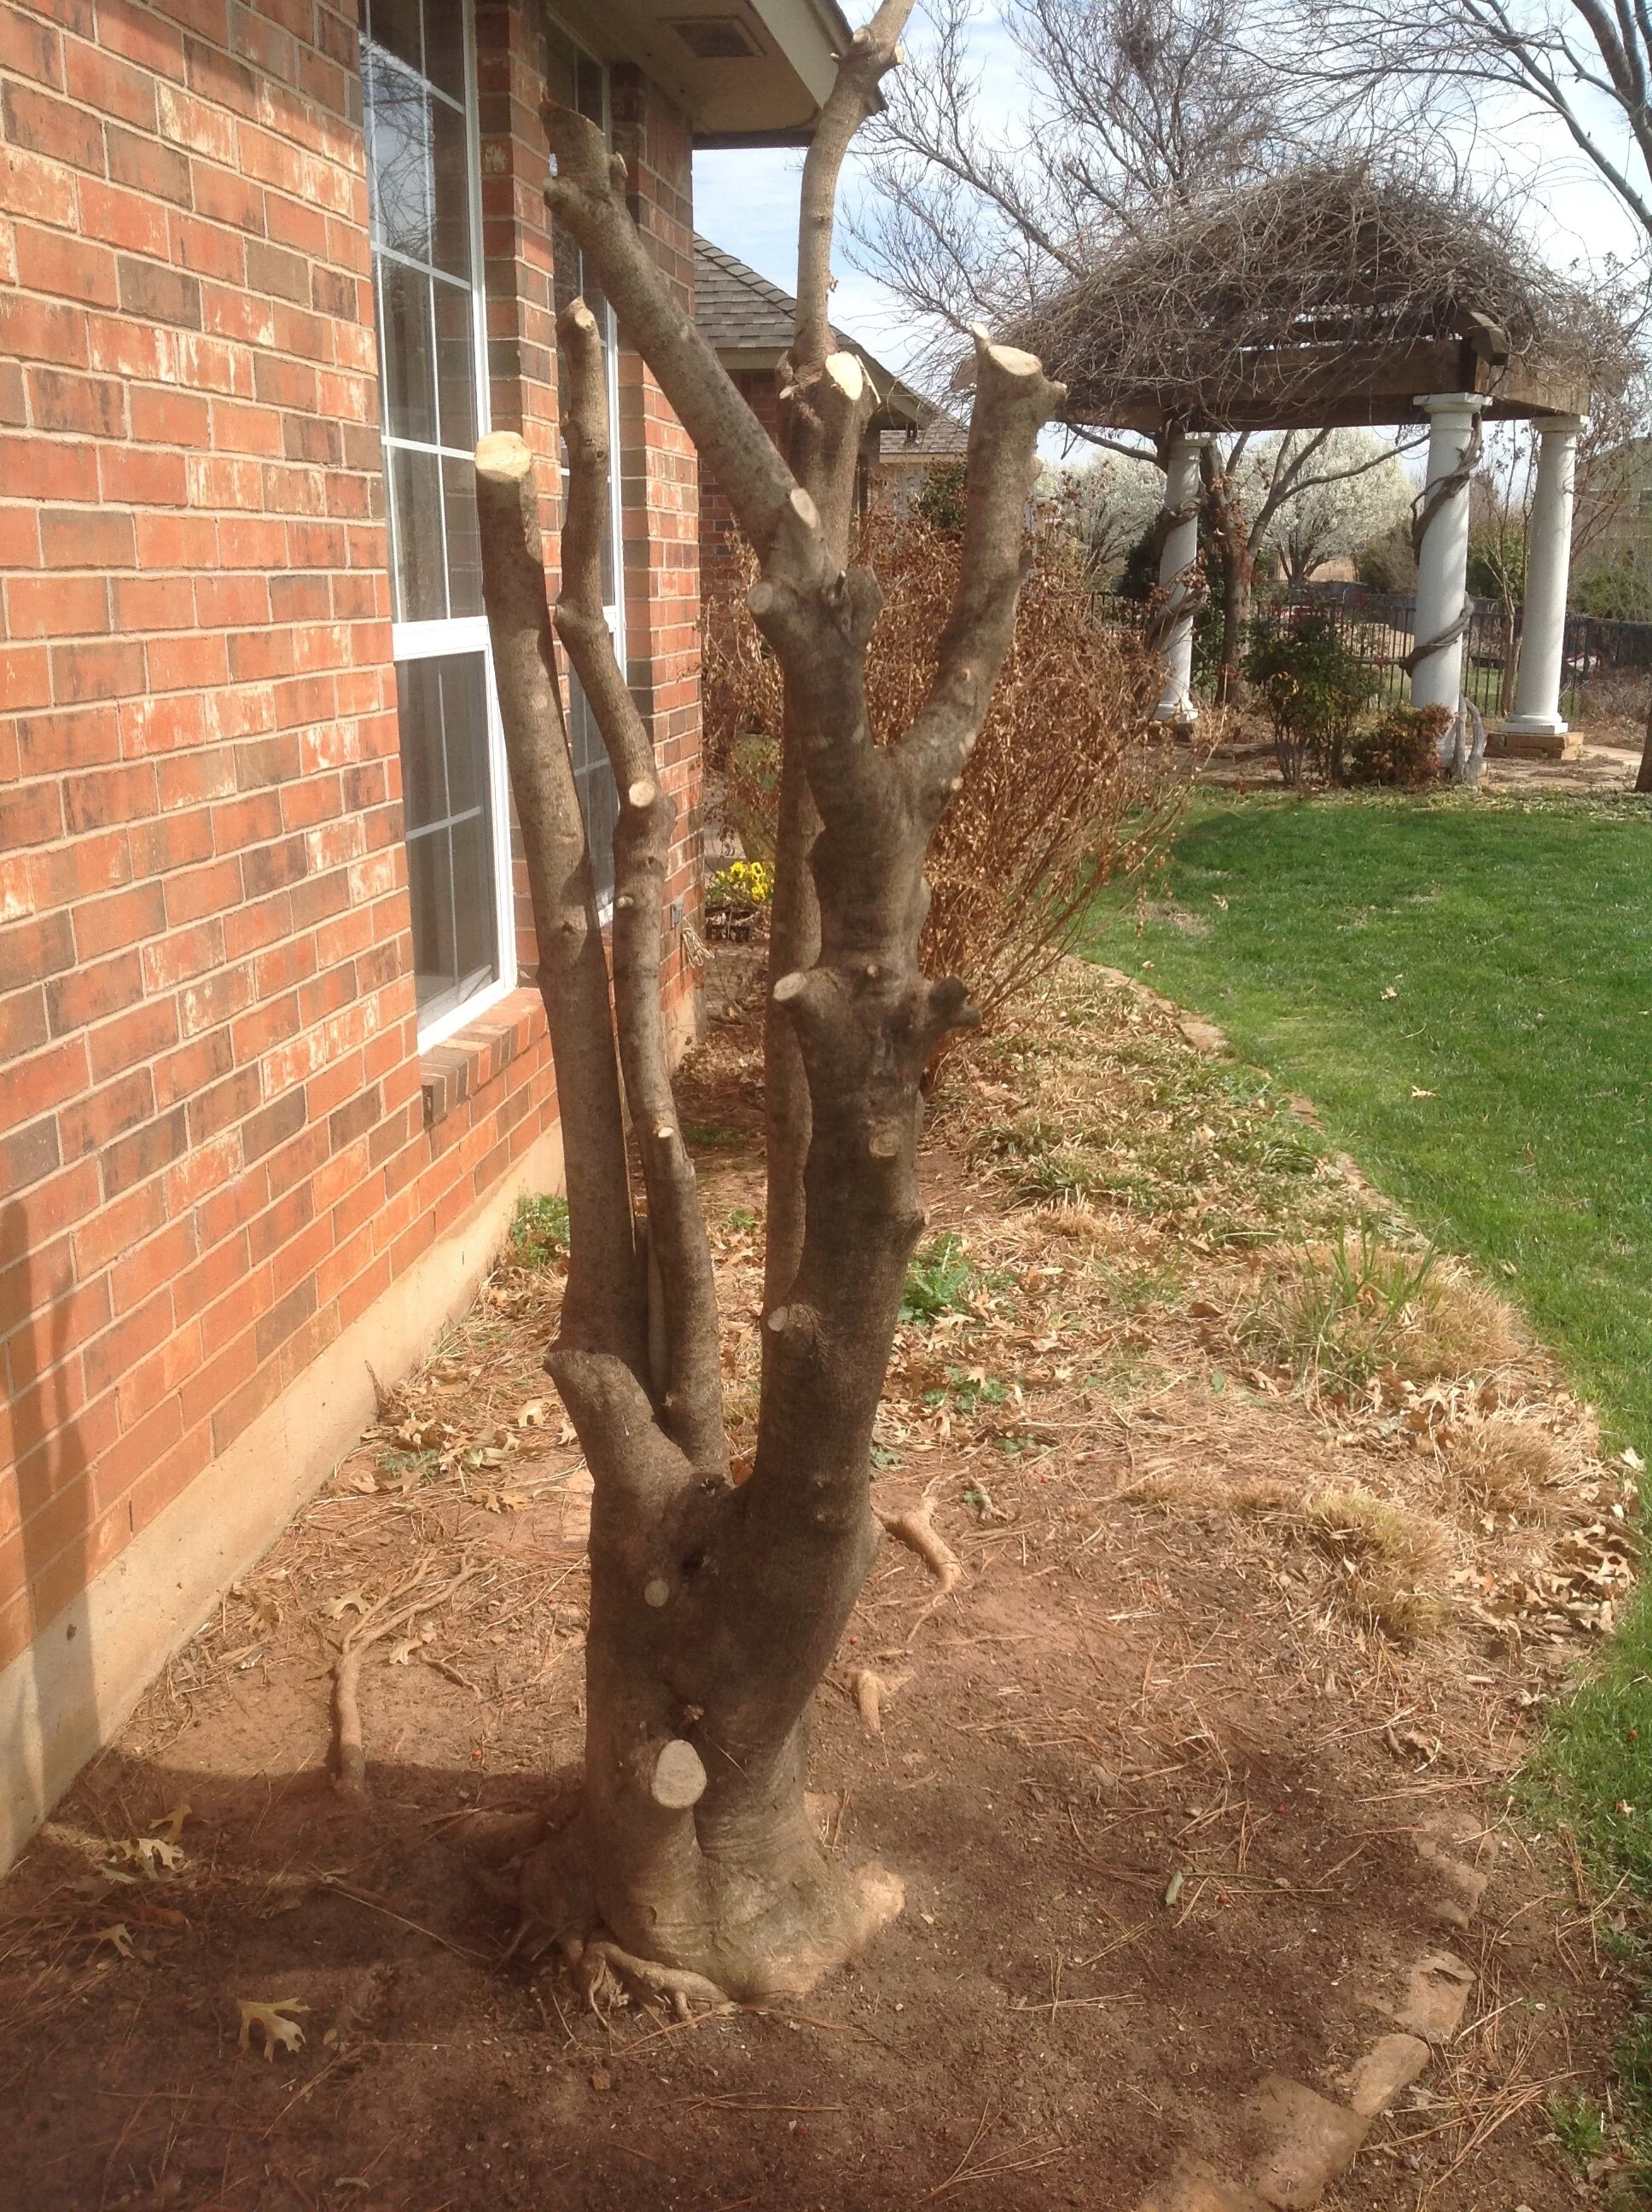

This is the same holly that was pruned back to only branches a couple of years ago.
Take time this week to evaluate your broadleaf evergreen shrubs.
Are they overgrown?
Or, do they have winter damage that needs to be removed?
Or, do they just need to be reshaped?
If so, now is the time to remove dead branches, reshape, and regain control of overgrown shrubs.
March is your best window of opportunity each year for the major pruning of broadleaf evergreens.

If you have boxwood taking over a sidewalk, mid-February through March is the best time to reclaim the sidewalk. You can trim them aggressively and they will recover during the growing season.

Nellie R Stevens Holly is a favorite foundation plant. With a mature size of 15’ tall and 10’ wide they quickly loose their natural beauty with regular sheering in an attempt to make them fit the landscape. Now is the best time to reduce the size and return them to their appearance.

BEFORE: If you have large hollies with damage from last winter, can they be saved or should they be replaced?

AFTER: As long as the evergreen has some green leaves you can remove the dead branches and reshape the plant. If the plant has a healthy root system, you will be surprised at how quickly it regains a good shape.

Why are so many crape myrtles cut back to 4-5’ every year?
Three Reasons for Bad Crape Myrtle Pruning
1. It is simply what everyone does to their crape myrtles in the spring. Have you ever wondered if it is the best practice? It pains me to see so many beautiful crapes cut back to ugly stubs every spring. This practice ruins the natural form of the plant. Southern Living termed the practice as “Crape Murder” decades ago, yet it continues as a common practice.
2. The wrong variety was selected for the location and pruning is needed to control the size. Varieties include large tree types that grow 20’ or larger, medium varieties 12-18’, 6-12’ small varieties, and dwarf varieties. When you select the right size for your planting area and are not forced to prune heavily to contain the plant, you will find you will have a healthier plant resulting in less disease and more blooms.
3. They believe the myth that crape myrtles bloom more if they are severely pruned every year. Flowers are produced on new growth every year even if they are not pruned. Without heavy pruning, you will have more branch area resulting in more summer blooms.

Crape Murder destroys the natural beauty of the plant. Mature crape myrtles have wonderful smooth and molten bark with graceful shapes. You will never experience this quality if you murder them every spring.
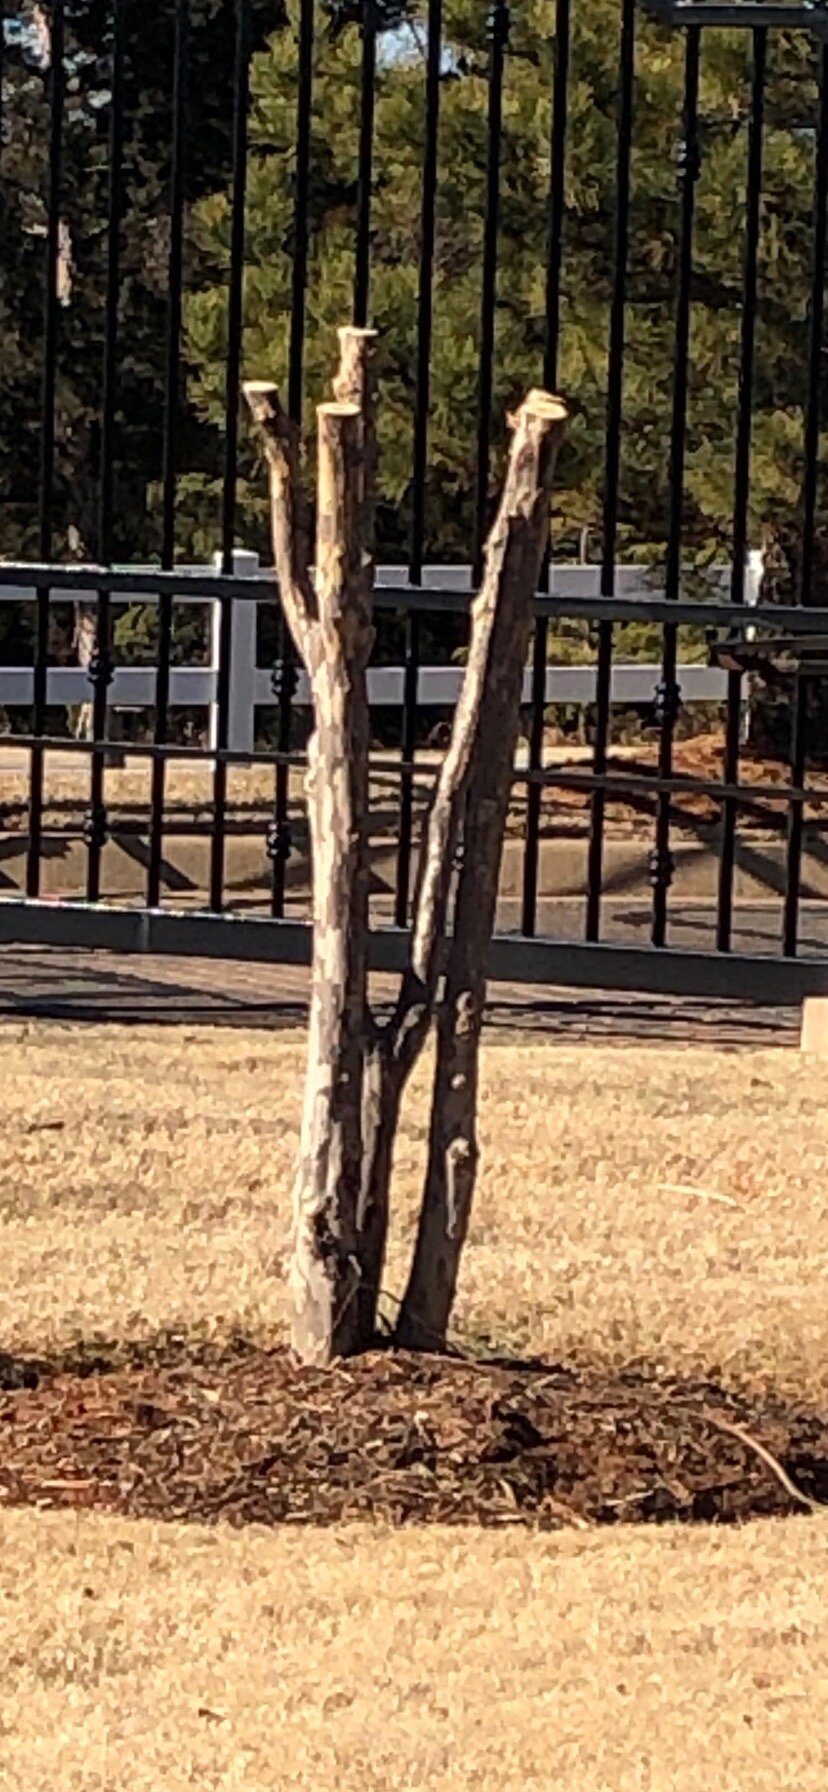
Crape myrtles in open areas should be allowed to grow to the natural shape as small trees and not pruned to 5’ every year.

When you allow crape myrtle to grow to their natural shape and size you gain the benefit of their attractive exfoliating bark.
Crape myrtles are one of the longest-blooming plants in our region, have attractive branching and bark, and provide great fall color.
Crape myrtles deserve a place in our landscape, planted in a location that allows them to grow into large shrubs or small trees they were intended to.
Lorne Hall
Hall | Stewart Lawn + Landscape
(405)367-3873
Crape Myrtle Pruning
Crape myrtle pruning is a regular topic for Hall | Stewart at this time of year. Sometimes we feel like we are a broken record on the subject and it’s time to move on, but we just can’t.
The over-pruning, the destruction of a wonderfully structured plant, never seems to stop. So, we will keep promoting the proper pruning and care of crape myrtles.
We understand that most crape myrtles require some pruning in late winter to early spring, but way too often crape myrtles are trimmed incorrectly and too severely.
There are cases where the crape myrtle variety is the wrong one for the location and the only choice is to dramatically prune. But, most crape myrtles are over-pruned for no reason.
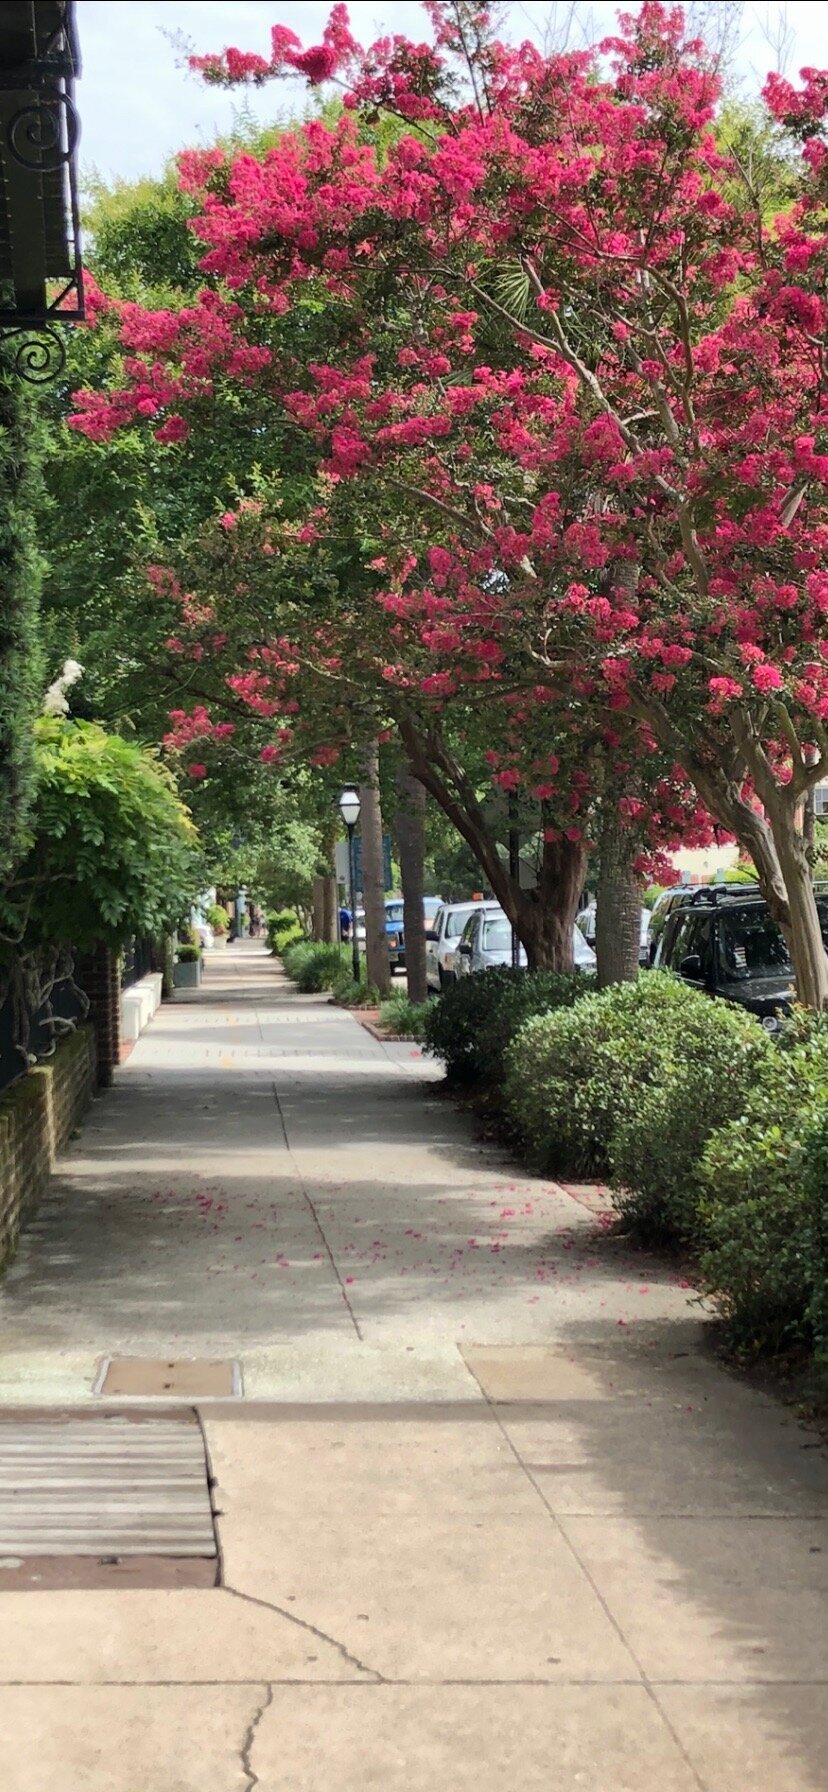
Crape myrtles create a great allee along streets when grown to their natural size.

Great pruning… this Crape Myrtle didn’t fall victim to Crape Murder.
How should crape myrtles be pruned?
Best Pruning Tips
1. Know what your goal is before you start. You can always prune more, but once you have pruned, you can never prune less.
2. Remove last summer’s seed pods from the ends of the branches with hand pruners.
3. Remove all the smaller branches growing toward the center of the plant. This will allow more air and light to reach the center of the plant which will increase blooms and reduce disease.
4. Make cuts back at the main branch and don’t leave stubs.
5. Remove any unwanted branches from the base of large shrub or tree from varieties. Typically 5-7 trunks, free of any branches for the first quarter or third of the plant results in an attractive landscape plant.
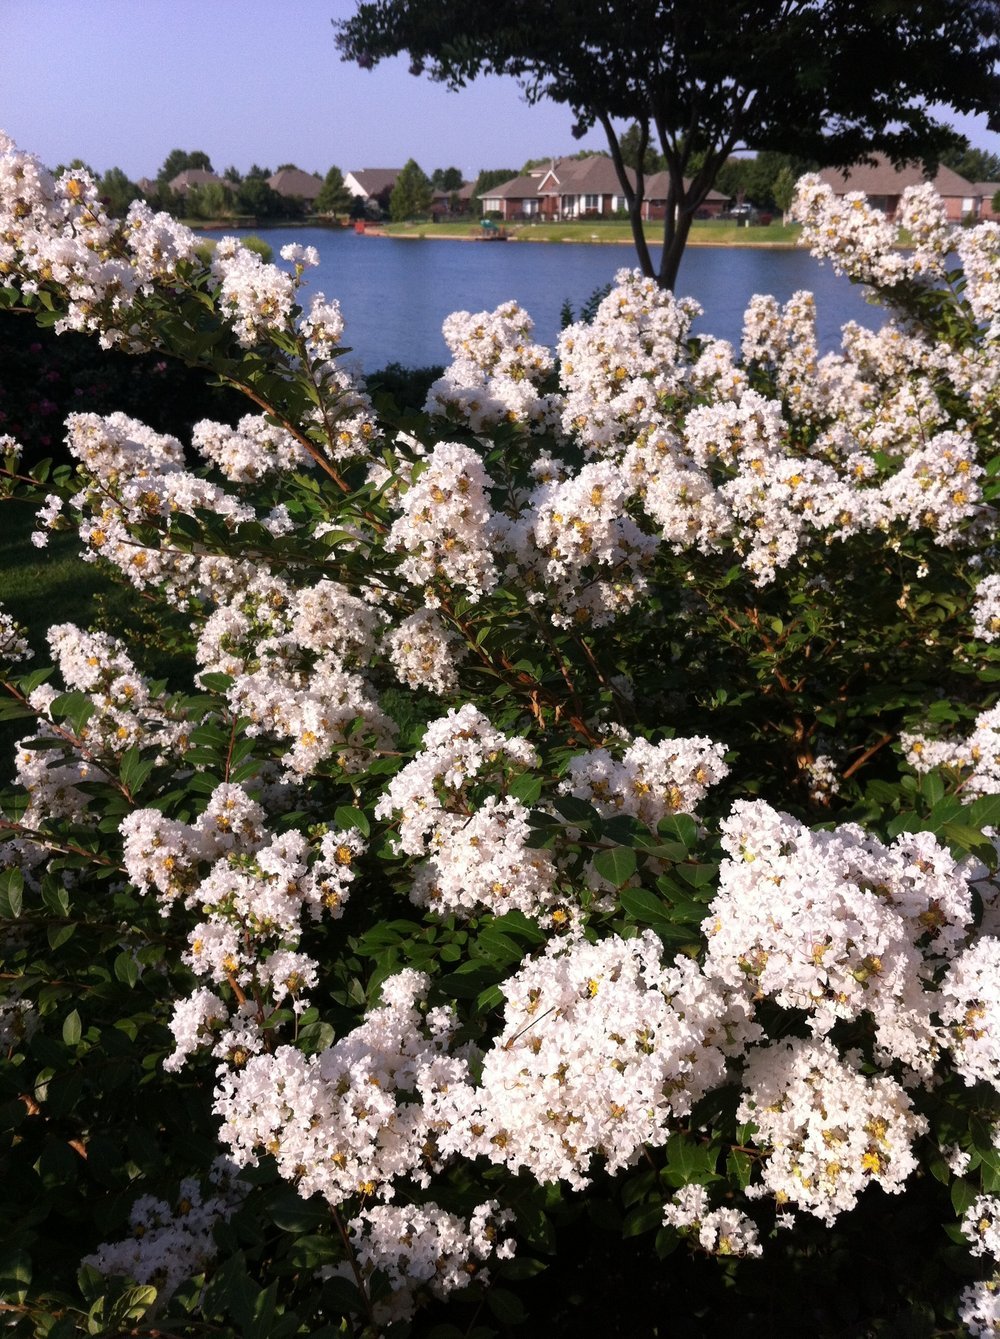
What is up with Fescue lawns this winter?

This has been a common question the past couple of weeks, along with:
“Is my fescue dead?”
“Should I reseed my fescue this spring?”
Fescue lawns always lose some color through the winter. Some winters more than others. Others not as much.
What is unique about fescue lawns this winter is how quickly they developed a brown, freeze-burned appearance.
Reasons Why Fescue Lawns Lost Color So Quickly This Winter

We are used to fescue losing some color, but not as suddenly as they did this year.
1. A Cold Snap Without Snow Cover
Anytime temperatures dip below 20 degrees, especially if it is for a few days, fescue’s rich green color starts to fade. But, if there is snow cover, the loss of color is much less.
Just before Christmas, we had a 2-degree night, followed by a 4-degree night, followed by a 9-degree night. The Oklahoma City area had a run of 60 consecutive hours without the temperature rising above freezing.
(Warning: Avoid getting trapped in a conversation at a party with anyone with this type of information.)
Most winters we will have a cold snap in December that leaves fescue a little less green, followed by one that is a little colder in January and followed by another in late January to early February. With each occurrence, a little more green is lost and gradually most fescue lawns appeared mostly brown.
Not this winter.
This winter the single-digit nights in December left fescue lawns with a freeze-burned brown color almost overnight.
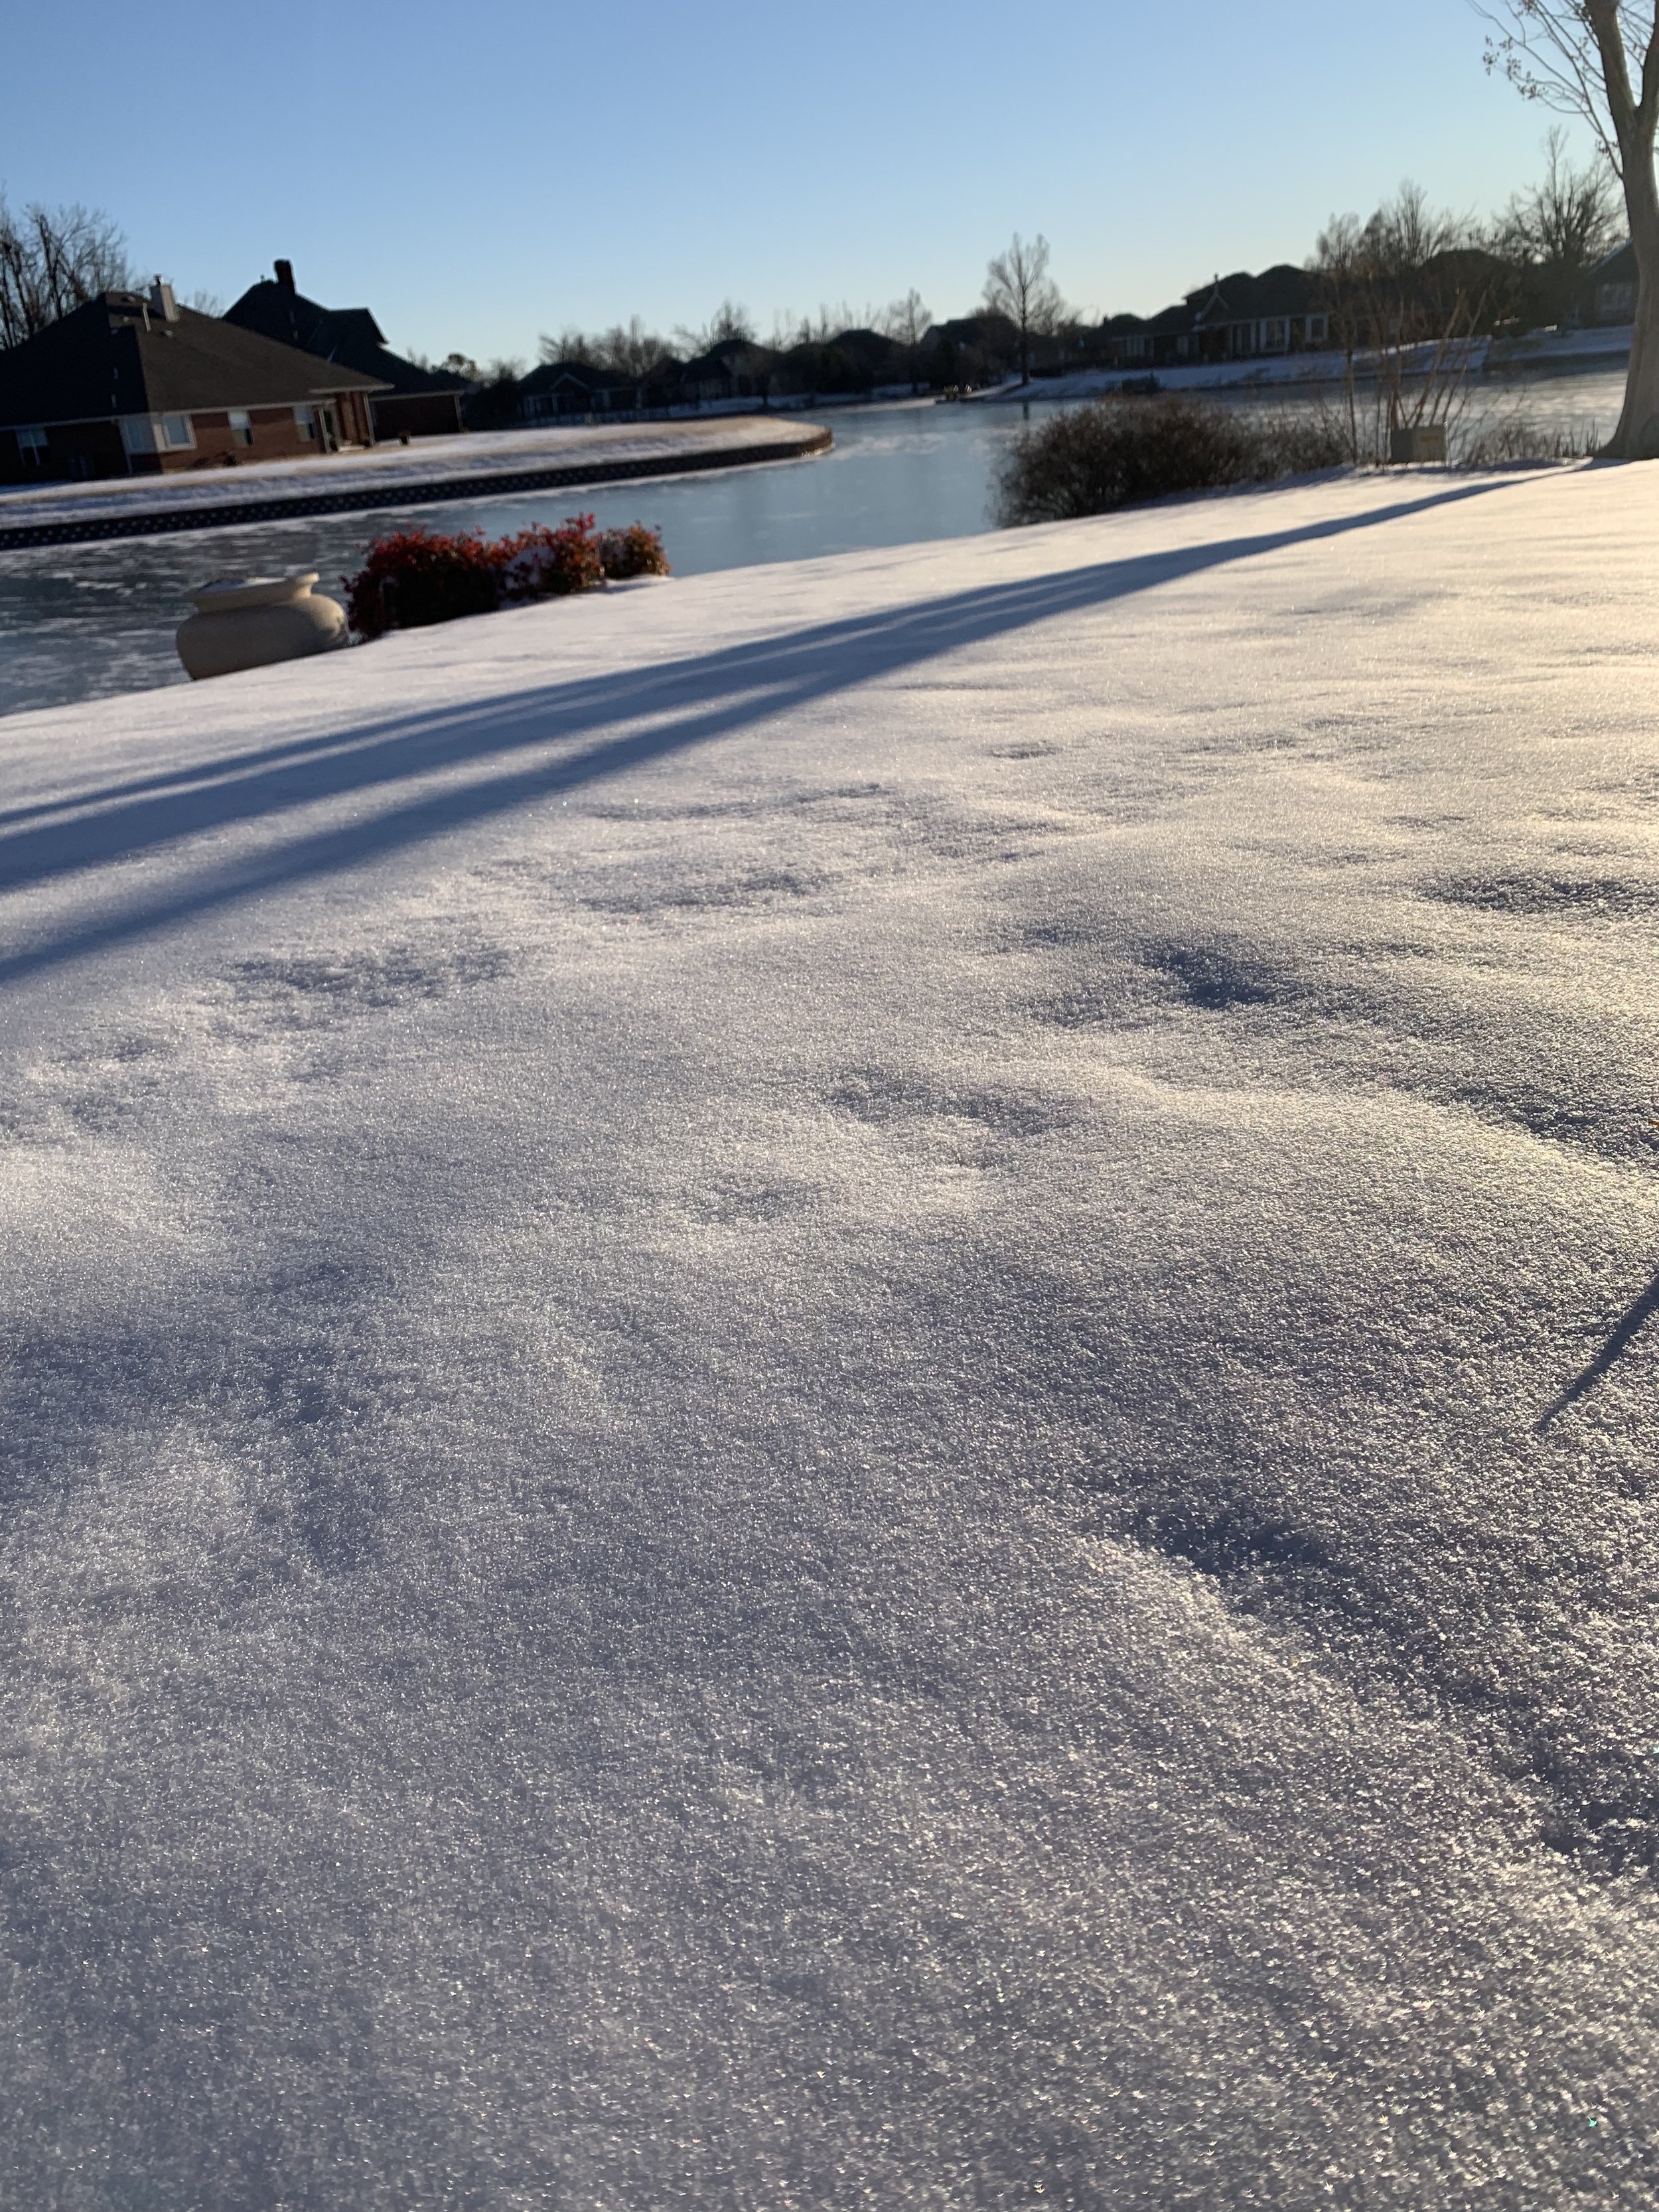
Snow cover when temperatures are below 20 degrees is beneficial because it traps warm soil temperatures below the lawn and it keeps freezing temperatures from damaging fescue leaf blades.
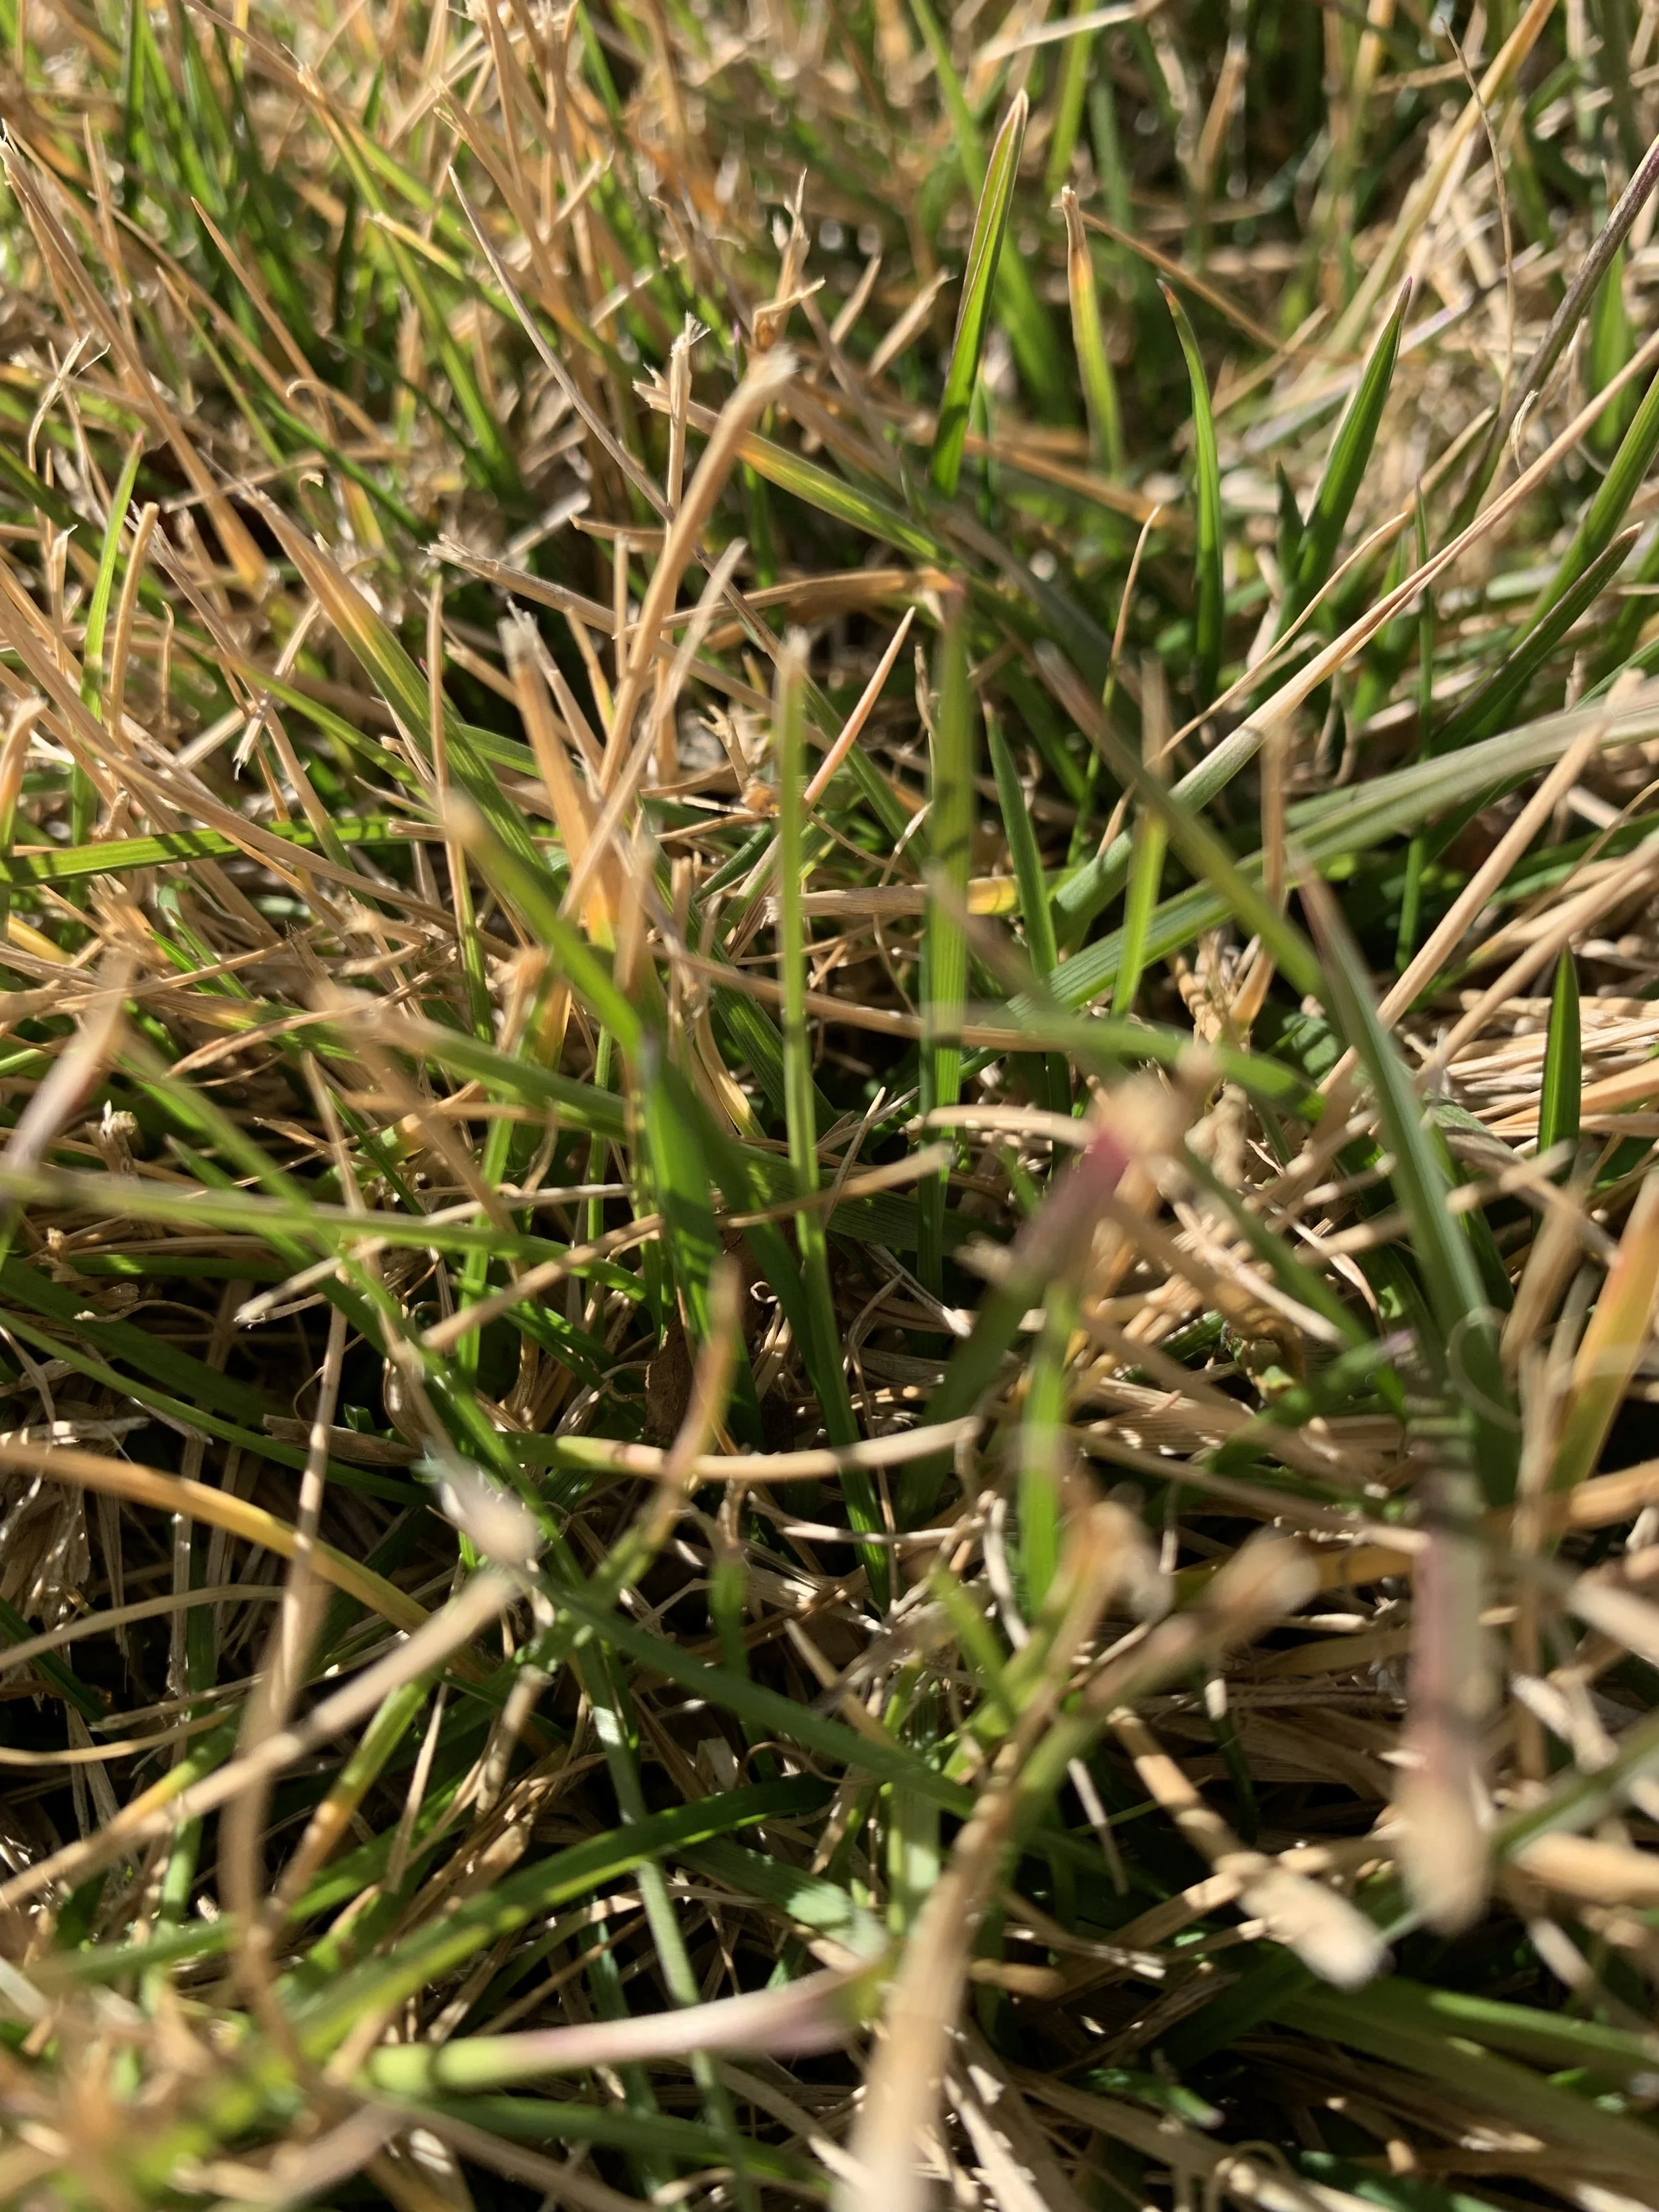
With the warm start to January and this weeks rain, fescue lawns are trying to regain their color.
Why is snow cover important? Snow acts as an insulator trapping the warmer soil temperatures below the surface while preventing cold air temperatures from reaching the leaf blades.

Reminder to keep leaves cleaned up on fescue throughout the winter. Even though the fescue isn’t growing and may have lost some color, light is still important for the health of the grass.
If there had been 2-4” of snow covering the landscape just before Christmas, fescue lawns would have had little to no color loss.
2. Dry Fall & Winter
Our lawns and landscapes have been moisture starved since last June. Most of Oklahoma ranges from a severe to extreme to exceptional drought. Over the last four months, we have received less than 50% of the normal precipitation.
(2nd Warning: Avoid getting trapped in a conversation at a party with anyone who knows these things.)
Fescue lawns that have received moisture and are in protected areas have retained more color than areas that are exposed or dry. Also, mature fescue lawns retained more color than the newly developed grass seed this fall.

Winter dissection has left the tips of fescue blades brown. Mow the lawn a little shorter soon to remove the winter damaged leaf blades.
Winter desiccation, a form of winter injury, is the reason for the loss of color in our fescue lawns this year.
Desiccation is the removal of moisture from something.
Desiccation occurs during periods of cold temperatures and drying winds.
Desiccation is minimized when a plant can move stored moisture to the leaves.
If there is a lack of stored moisture or if temperatures are below freezing, the plant is unable to replenish the moisture lost in the leaves resulting in a loss of green color.

There will be a point in late February to early March when temperatures and moisture are just right and suddenly fescue lawns will return to their rich green color.
Dormancy For Bermuda And Fescue Are Very Different.
We are used to bermuda, the most common turfgrass in our region, having one dormancy period per year – winter.
But fescue has two dormancy periods per year – late summer and winter.
Fescue dormancy occurs when temperatures are in the upper 90s or in the low 40s. For fescue, dormancy is when growth slows or completely stops.
When hot summer temperatures arrive, as long as fescue is receiving moisture, the turf retains color, but growth slows. Fescue lawns continue to need mowing, but compared to spring and fall, growth is greatly reduced.
In a typical winter, fescue will stop growing in late November to early December. While never losing all its green color, fescue will gradually turn to a dingy green starting sometime in December and remain off-color through February.
Bermuda growth slows in October as temperatures cool reaching full dormancy by the end of November. When bermuda reaches full dormancy, the leaf blades turn completely brown and become brittle. During bermuda winter dormancy, root development stops.
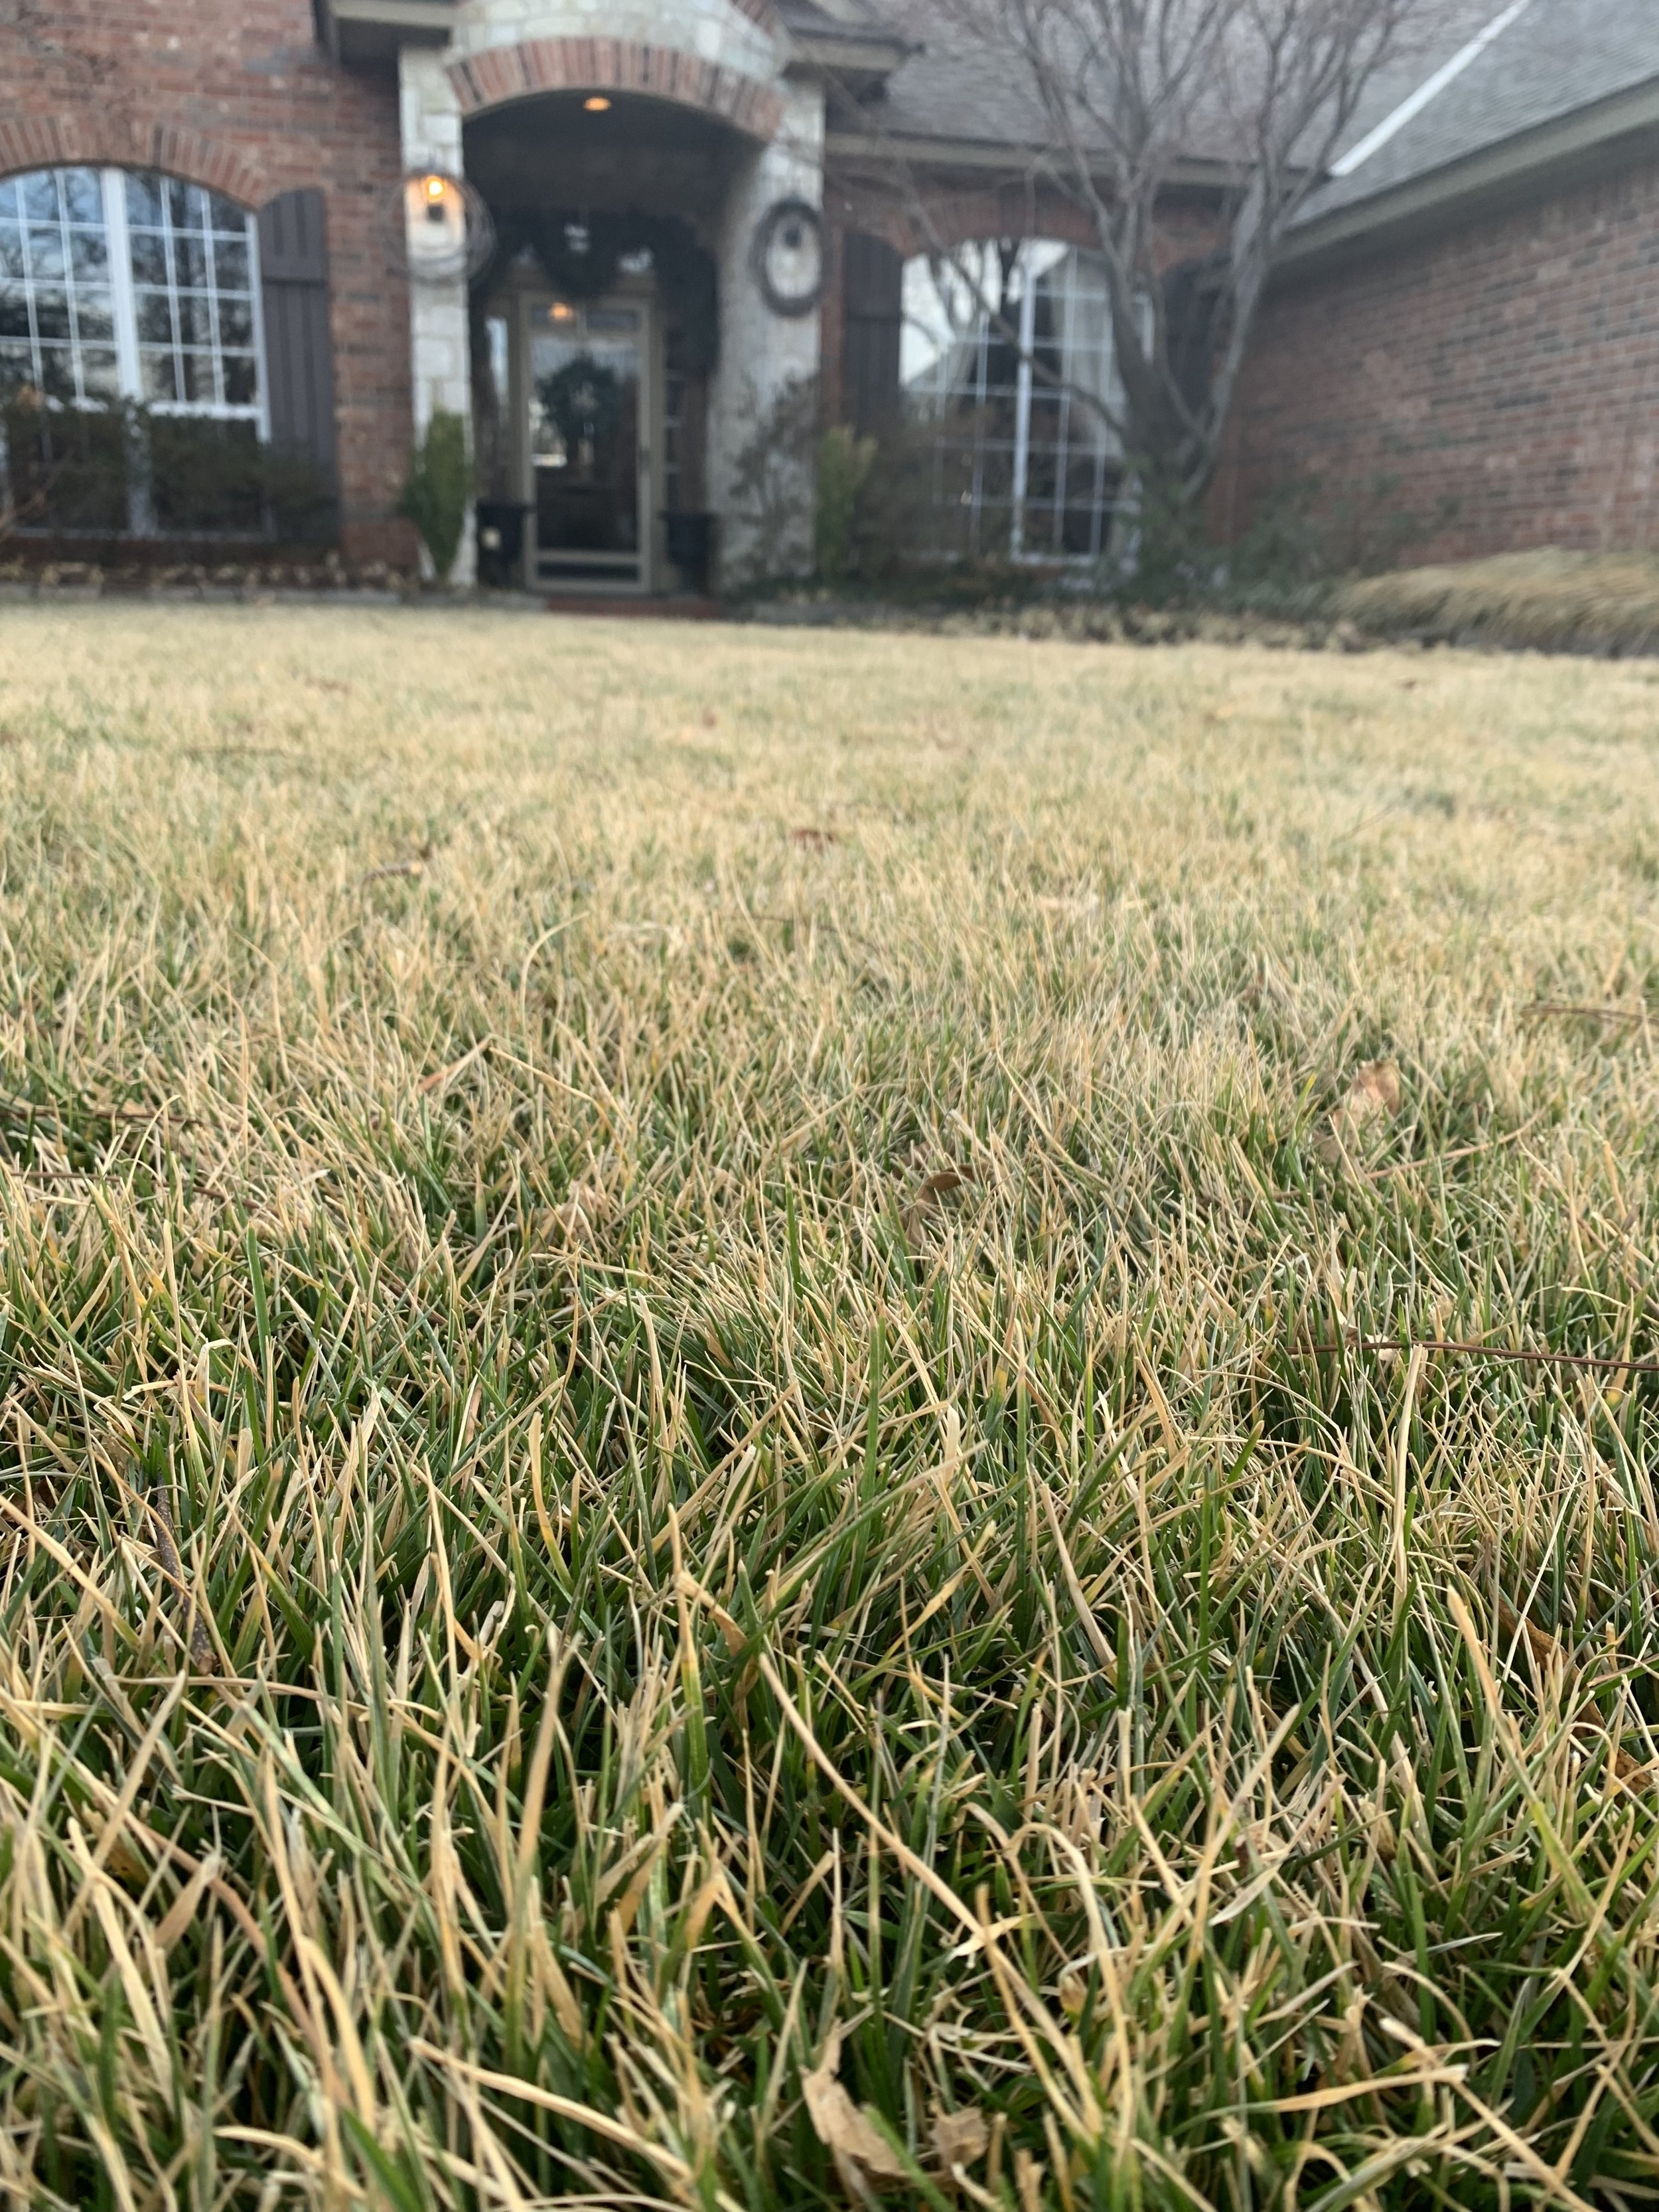
As temperatures warmed this week, so did soil temperature allowing fescue lawns to start regaining color.
Bermuda grass is like a deciduous tree, such as a maple, when it comes to dormancy. On a deciduous tree all the leaves fall off during winter dormancy and new leaves emerge in the spring.

We can’t wait for the rich green color of fescue to return.
Fescue grass is more like a broadleaf evergreen shrub, such as a holly. During dormancy, the shrub remains green, although the color may not be as rich, and the shrub stops growing. Fescue never goes into full dormancy. As a cool season turf during the winter dormant period root development continues.
When bermuda comes out of dormancy in late March to early April the brown grass left on the lawn does not green up, the plant puts on new growth coming from the roots and stolans.
As fescue comes out of dormancy, the green leaves return to a rich color and the turf starts growing.
How Can You Tell If Fescue Is Dormant Or Dead?
Take hold of grass plant and give a tug. If the plant pulls up easily, it is dead. But if it doesn’t, then the plant is not dead, it is alive. As soon as soil temperatures return consistently to the upper 40’s and there is sufficient moisture color and growth will return.
With warmer than normal temperatures the past two weeks, soil temperatures increasing into the upper 40s, and the ¼” rainfall midweek, we are seeing some color recovery in fescue.

Should You Reseed Your Fescue This Spring?
Unless the turf pulls up when you tug on it (it is dead) or you have bare areas, seeding fescue in the spring is not best. Seeding in the spring is always a band-aid approach. Spring-seeded fescue will come up great, but rarely will it develop enough roots to make it through the summer heat. You will need to reseed the areas next fall. If you need to fill in some areas of your lawn, consider fescue sod in March versus seeding.
Whenever possible, the best approach in the spring, including this spring, is to focus on pre-emergent herbicide applications to prevent weeds, fertilizer to strengthen the turf, and wait until fall to seed.

Between mid-February and early March cut fescue a little shorter than you left it the fall to remove the freeze damaged, brown tips.
When Should You Cut Your Fescue For The First Time?
Between mid-February to early March, cut your fescue lawn a little shorter than you left it last fall removing the freeze-damaged, brown tips.
If you need help determining the condition of your fescue lawn respond to this email or give us a call.
We always enjoy visiting with you about your lawns.
Lorne Hall
Hall | Stewart Lawn + Landscape
(405) 367-3873

Nandina – A Bulletproof Landscape Addition
Nandinas are making a big statement this winter.
Nandinas are an old fashion, evergreen shrub that gradually fell out of favor over the year - a result of being overplanted for decades.
But, with the introduction of new varieties and their nearly bulletproof performance,
it is time to revisit why nandinas deserve a place in the landscape.
Nandinas grow in zones 6-11 (Oklahoma City is in zone 6b) and are a mainstay in the southern landscape. They grow in both sun and shade, although because their color is more dynamic in the sun, I prefer full sun to partial shade. Nandina tolerates a wide range of soil pH from 4.0 to 7.0 as long as it drains moderately well. Once established, nandina is very drought tolerant. Best of all, they have no pest problems. Even deer don’t bother them.
Nandinas add texture and color to the landscape. Their lacy green leaves grow on cane like stems adding yet another texture. In the autumn the leaves turn burgundy and scarlet lasting through the winter and into the spring. Some varieties produce berries in the fall and winter. No plant produces a showier berry cluster than the nandina domestica.
The varieties of nandina are numerous, but here are a few favorites:

Nandinas are an old fashion, evergreen shrub that gradually fell out of favor over the years - a result of being overplanted for decades.
But, with the introduction of new varieties and their nearly bullet-proof performance, it is time to revisit why nandinas deserve a place in the landscape.
Nandinas grow in zones 6-11 (Oklahoma City is in zone 6b) and are a mainstay in the southern landscape. They grow in both sun and shade, although because their color is more dynamic in the sun, I prefer full sun to partial shade.
Nandina tolerates a wide range of soil pH from 4.0 to 7.0 if it drains moderately well. Once established, nandina is very drought tolerant.
Best of all, they have no pest problems. Even deer don’t bother them.
Nandinas add texture and color to the landscape. Their lacy green leaves grow on cane-like stems adding yet another texture. In the autumn, the leaves turn burgundy and scarlet lasting through the winter and into the spring. Some varieties produce berries in the fall and winter. No plant produces a showier berry cluster than the nandina domestica.
The varieties of nandina are numerous, but here are a few favorites:

One of the most prolific shows of fall-winter berries is found on Nandinas.

Nandina 'Flirt' 1-2' tall. Stunning, deep red, new growth accentuates the evergreen leaves of this nandina. It is an improved variety of the classic Nandina 'Harbour Dwarf'. The dwarf growth habit makes it perfect for small landscapes and borders.

Nandina 'Plum Passion' 4-5' tall. New growth in spring and summer is a deep purple-red, turning slightly redder in the winter. Versatile and durable, and highly effective as a specimen plant, in borders, or massed for intense color.

Nandina ' Tuscan Flame' 3-4' tall. A real eye-catcher in the landscape, this evergreen shrub with a compact, rounded habit provides brilliant year-round color, needs minimal care, and maintains its neat round habit without pruning. Bright coral to russet-red foliage has a lacy appearance.

Nandina domestica ‘Heavenly Bamboo’ 6-8’ tall. The largest of the Nandina family produces lacy green leaves on upright cane like stems that turn brilliant red in the fall and winter. Small flowers are followed by bright berries in the fall. Use in mass plantings to create a colorful landscape screen or as a single specimen.

Nandina make a great accent in winter container plantings.

Nandina 'Sienna Sunrise' 3-4' tall. Intensely red new foliage cools to green. Fiery red in fall and winter. Plant in mass for dramatic effect.

Nandina 'Harbor Dwarf' 1 1/2 to 2 1/2' tall. An attractive small evergreen shrub that forms a dense clump of upright, cane-like stems with soft, narrow, green leaves that emerge with a pink-copper tint in spring and turn a brilliant bronzy-red color in fall and winter. Effective when used as an accent or container specimen, in mixed shrub borders, or massed as a groundcover.

Nandina ‘Firepower’. 2-3’. New foliage has fresh green coloration, with red highlights. Brilliant red foliage develops in the fall and persists through winter. Neat, evergreen mounds work well for borders and in masses.

Nandina ‘Gulf Stream’ 3-4’ tall. New leaves emerge scarlet red in spring and mature to blue-green in summer. Intense red foliage develops as autumn temperatures arrive. Compact shape is ideal for use around structures and in front of hollies.
Landscape uses of nandina are nearly as numerous as the varieties. Nandinas add layers to the landscape when planted in the middle plant of larger beds. They are particularly showy when planted in front of dark green boxwoods and hollies, and behind groundcovers and annual color. With their lacy structure, larger varieties provide a softening effect when planted in front of fences, structures and utilities. Dwarf varieties add interest planted along boarders and in groupings. They even make a great winter accent in containers.


Most winters nandina hold bright colors creating interest in the winter landscape.
Nandinas are a low-maintenance plant. Pruning only needs to be done when a plant has become too large, irregular in shape or leggy. When pruning, use the 1/3 rule: prune back 1/3 of the tallest canes to the ground, prune another 1/3 back just above a leaf approximately halfway on the plant, and leave 1/3 untouched. Nandinas should never be sheared! Shearing nandina ruins the natural beauty of the plant. If nandinas are planted where they need to be sheared regularly, they are planted in the wrong location. It would be better to remove them than to shear them because a sheared nandina adds no value to a landscape.

One of the most prolific shows of fall-winter berries is found on Nandinas.
Pick a sunny, mild January day and take a walk through your neighborhood. You are sure to find a few nandinas brightening up the winter landscape.
Lorne Hall
Hall | Stewart Lawn + Landscape
(405)367-3873

Nandina should never be sheared. Shearing destroys the natural shape and beauty of the plant.

Espalier -- The Landscape Solution for Small Areas

Espalier is the art, or process, of controlling plant growth in a flat plane, usually against a wall, or fence, or trellis. It is the process of training through pruning and tying to create a two-dimensional plant.
Espalier dates to the early Romans and was developed in Europe in the 16th century as a practical way to increase fruit production. Today espalier remains very popular in Europe and is gaining popularity in the US.
The technique of espalier is a great way to use larger trees and shrubs in smaller gardens and narrow spaces. Ideal locations are courtyards, patios, and narrow beds between walks and walls. In areas where homes are closer together and often with windows facing a fence or wall, an espalier is the perfect solution to improve a less-than-attractive view. Espalier also comes in handy when you need to screen a view or hide utilities but there isn’t enough area for shrubs to grow to their normal width.
What types of trees and shrubs work best for espalier?
Nearly all trees and large shrubs are candidates, but the best choices are ones that have long, flexible branches.
Fruit trees are a great choice and easy to train because of their soft wooded branches. Pear, apple, peach, and cherry trees are great choices.

Espalier techniques used to incorporate Golden Deodar Cedar and Blue Atlas Cedar into a narrow space between a walk and a wall.
Pyracantha, commonly known as firethorn, is a large shrub that doesn’t get much attention in our smaller landscapes. . But with a mature size of 8-10’ tall and 6-8’ wide, it is most commonly used as barrier hedge in larger landscapes.
The attraction of pyracantha is the abundance of red to orange berries it produces during the fall and through winter. With a showy fall to winter appearance, it really deserves more attention and is a perfect selection for an espalier.
Other great choices for an espalier are yaupon holly, rose of sharon, magnolia, and hydrangea. But, don’t limit your imagination, most any plant can be grown as an espalier.

Pyracantha adds interest with white flower clusters in the spring and orange to red berries in the fall.

Candelabra

Fan
Prune the plant’s central leader 2” above the first tier of the design. As new buds appear select a new central leader and buds that are facing the direction of your wire. As the new buds grow into branches tie them into place while they are young, soft, and easy to manipulate. During the growing season make minor prunes monthly to maintain the design. The best time to make major prunes to the espalier is in late winter to early spring. Remove ties as the branches grow and mature.
The only negative to an espalier is they are not suitable to the low maintenance landscape. They do require frequent attention and care to maintain the design.

Espalier is the perfect way to enjoy a fruit tree in a smaller landscape.

This pyracantha was planted this wall for the purpose creating an espalier on the fence. Over the winter wire will be installed on the fence. Next spring training and pruning will be used to develop the design.


Pear tree. Europe developed the practice of espalier fruit trees as a practical way to increase fruit production in the 16th century.
How do you create an espalier?
Once you have chosen your plant and your location, you need to decide the pattern. A few common designs are the candelabra, horizontal cordon, fan and Belgian fence. Again, imagination is a good thing. Any pattern you can imagine is good.
Use eye hooks, wire and turn buckles to create the pattern.
Plant the tree or shrub approximately 6-8” away from the structure. Remember, most plants desire well drained, organic soil.

Horizontal Cordon

Belgian Fence

Let your imagination run. There is no limit to espalier designs.


Even shade trees, such as this ginkgo, can be used as an espalier to create a focal point.
As you evaluate your landscape this fall and winter, if you have a narrow space, a fence you want to soften, or something you want to screen, consider a favorite large shrub or tree in the form of an espalier.
Espalier is a good way to add decorative accents to the landscape. When well done, espaliers become focal points of living sculpture adding a structural elegance to an otherwise drab garden location.
Lorne Hall
Hall | Stewart Lawn + Landscape
(405)367-3873
Trees -- the pillars of our landscapes!

“Trees are the truly the pillars of our landscapes…
Think of trees as an investment for future generations…”
These are the words of Steve Dobbs as he introduces you to trees in his book Oklahoma Gardener’s Guide.
I am thankful previous generations took “investment in future generations to heart” and planted trees in the Oklahoma City area.
Trees are worth it.
Trees make a difference in the appearance of our communities.
There is not a better way to improve the appearance of an area than to plant a tree.
Trees make a difference in the way we feel.
Trees increase the value of a property.
Trees, trees... trees just make the world a better place!

You can count on Autumn Blaze Maples to be one of the first trees to add dynamic fall color to the landscape.

Every tree has its strength and weaknesses. Sweetgum gives us unique fall colors with a mix of yellow, purples and reds. But, it is also know for its large and obnoxious seed balls that litter the lawn.

Chinese Pistache is a medium sized tree with an oval top that is the perfect size for a city sized lot.

Too often we think of trees for their spring flowers or fall color, but when planning for your next tree don’t over look summer flowering trees such as the Golden Raintree.
So, if trees are worth it, what characteristics make for the best tree?
There is not a perfect tree for every location. But there is a perfect tree for each location.
Here are a few things to consider when selecting a tree:
First – the intended purpose is important.
Are you looking for shade, fall color, spring or summer flowers, screening, attracting wildlife, windbreak, etc.?
Second – the size of the area.
Large trees that grow over 35’ or taller are better suited for larger lawns and taller structures. Large trees planted on traditional-sized residential lots often result in the need for heavier pruning.

Silhouette Sweetgum couldn’t help but burst with color this week.

Trees remove carbon dioxide from the atmosphere and release oxygen providing for a cleaner, healthier climate. Per year a mature tree can consume 22 lbs of carbon dioxide and release enough oxygen for one person to breathe for 2 years.
Third – the shape of the tree.
Larger trees typically have a strong central leader and spreading branches that create a lot of shade. Trees with oval tops are often small to medium-sized. There are also columnar-shaped trees perfect for smaller areas.
Finally – consider the advantages and disadvantages of a particular tree.
Are they susceptible to disease or insects? Do they prefer wet or dry soils? It is important you select a tree that is suitable to your type of soil – sand, loam, or clay. Do they have seeds, fruit, or nuts that are obnoxious? Do they have soft or brittle wood that is easily damaged by wind or ice? Fast-growing trees typically have weak wood, and some trees have narrow branching angles that are susceptible to storm damage.

Japanese Maples with their bright spring colors are a great tree for small areas.
Where do you go to find the best trees for your landscape?
Let me give you three sources of information:
Oklahoma State University Fact Sheet HLA-6456 Selecting Deciduous Trees for Oklahoma
http://pods.dasnr.okstate.edu/docushare/dsweb/Get/Document-11113/HLA_6456web.pdf


The article breaks trees down into varieties that tolerate or prefer dry locations, tolerate or prefer wet locations, tolerate or prefer shade, tolerate or prefer alkaline soils, winter interest, showy bark of unusual form, interesting or showy fruit, showy flowers, fall color, planting under power lines, attract wildlife, native species, and undesirable trees. There is also a table of trees listing the region of the state, growth rate, height, and comments.

Some varieties of Japanese Maples have yellow fall color.
Consider the Silhouette Sweetgum for areas where you want great fall color in a tight space.

Autumn Blaze Maple

Crape Myrtles in our area are too often grown as large shrubs, but they actually are great small trees when they are not pruned to 5-6’ every year. Grown as a tree they are the longest blooming tree, have great fall color and their unique bark adds winter interest.
Oklahoma Proven!
http://www.oklahomaproven.org/welcome
A program by the Department of Horticulture and Landscape Architecture at Oklahoma State University. The program evaluates and recommends plants well-adapted for use across Oklahoma. Since 1999 the program has recommended trees, shrubs, perennials, and annuals.
Oklahoma Gardener’s Guide by Steve Dobbs
https://www.amazon.com/Oklahoma-Gardeners-Guide-Guides/dp/1591861241
A must-have book for anyone interested in Oklahoma landscapes. Steve’s book has been a great resource for me for years.
Something I learned from the Oklahoma Gardener’s Guide: Oklahoma is the only state in the nation that has four ecoregions. The ecoregions of the desert southwest, great plains, continental east, and humid south meet in Oklahoma City! (Facts like this usually earn me the most boring person at a party.)
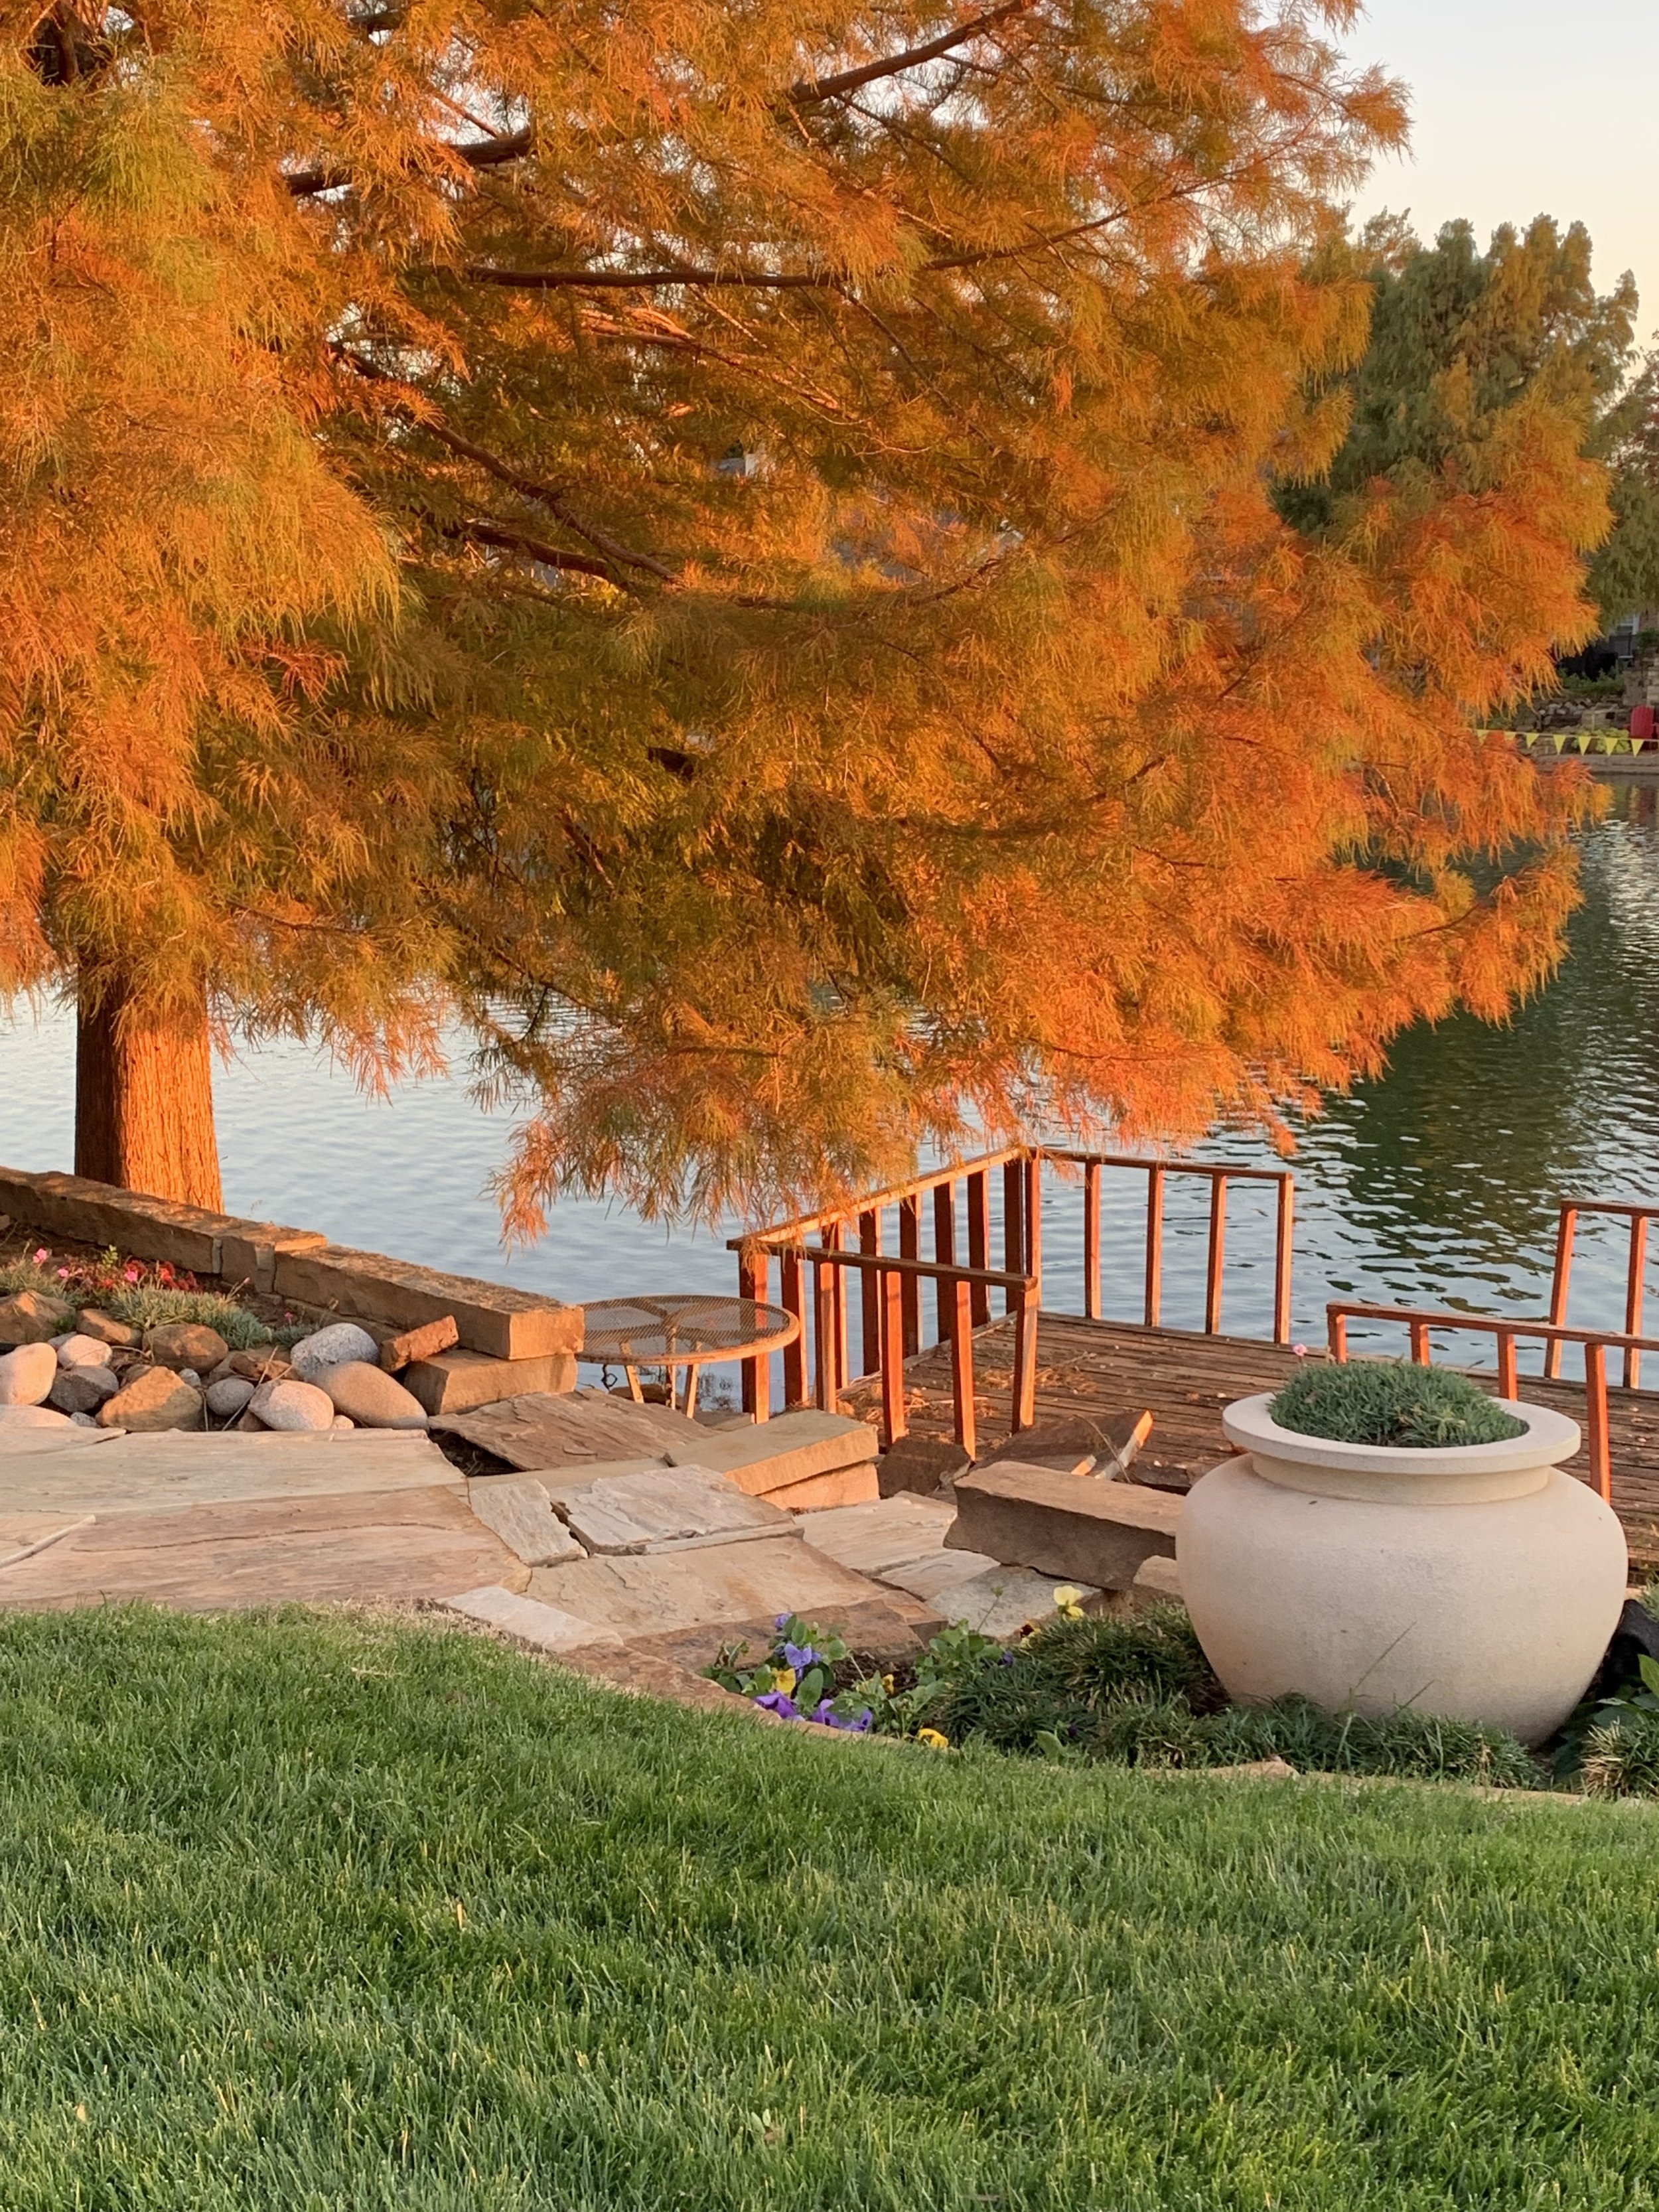
Bald Cypress is a deciduous needle tree grows well in wet, clay soils. It is a large tree that really needs more space than most lawns provide.
When is the best time to plant trees?
The best time to plant a tree can vary with the type of plant and the growing method. The two most common growing methods are balled and burlap (B&B) and container grown. A B&B tree is grown in the ground, dug and the root ball is wrapped in burlap. A container tree is grown from a sapling in a container often using a lightweight growing mixture of mulch and soil amendments. Both are acceptable, but B&B is the most common method.
As a general rule of thumb, the best time to plant a B&B tree is during winter dormancy. B&B trees are harvested after the first hard freeze and before leaves bud out in the spring, while they are dormant. When they are dug and replanted while dormant the tree will go through less transplant shock.
The best time to plant a container-grown tree is during the fall when daytime temperatures are cool, but soil temperatures are still warm.
These are the best times to plant trees, but most trees can be planted year-round in Oklahoma. Just keep in mind that trees planted during the summer growing season will need extra care until they are well established.
The best answer to the question: “When is the best time to plant a tree?” is answered by a Chinese Proverb:
The best time to plant a tree was 20 years ago.
The second-best time is now.
Lorne Hall
Hall | Stewart Lawn + Landscape
(405)367-3873

Saucer Magnolia is a deciduous, small tree that brightens the early spring flowers landscape with large flowers.
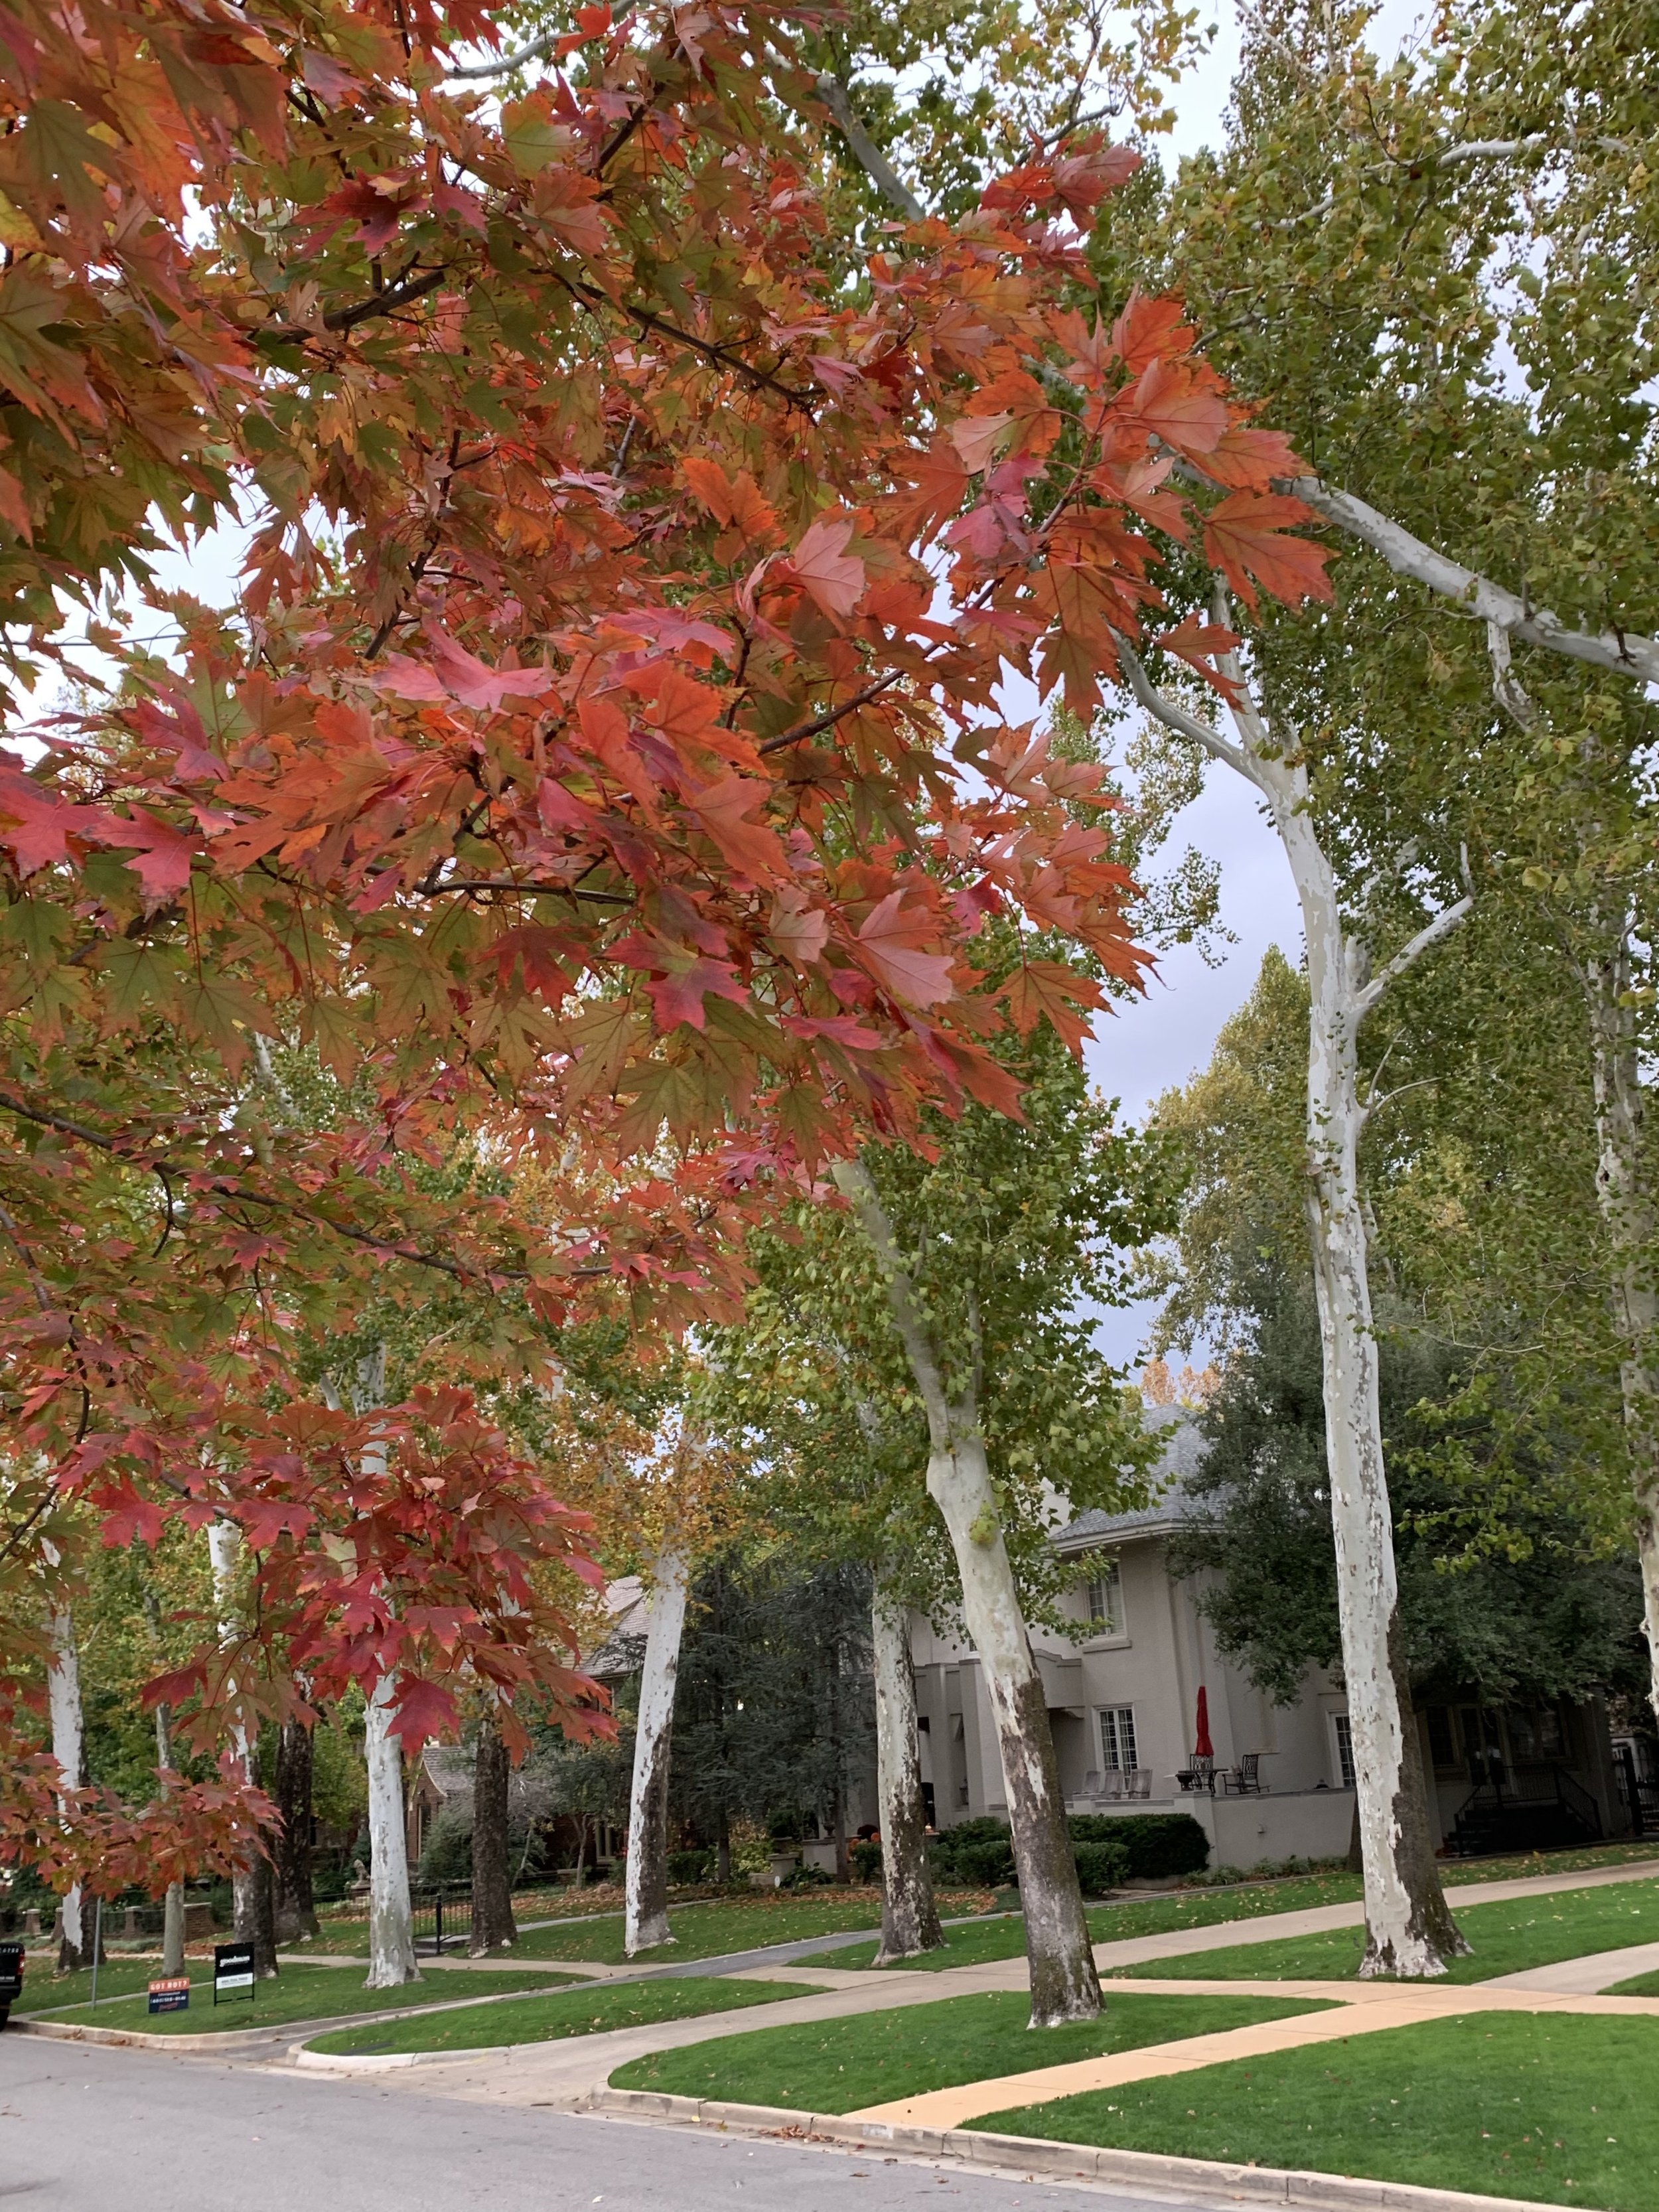
Very thankful for the vision of previous generations who planted an allee of London Planetrees in early Oklahoma City neighborhoods.

The Oklahoma State tree, Redbud, is a small tree perfect for many residential lawns.


USDA Forest Service reports healthy, mature trees in a well-landscaped yard add an average of 10% to a property’s value.
Ornamental Grasses... adding interest to your late summer & fall landscape!

As the landscape transitions from summer to fall a common plant in the most dramatic landscapes will be ornamental grasses. As many plants begin to fade, many varieties of ornamental grasses fill the void with dramatic plumes. But, the interest they add to the landscape doesn’t end this fall. Ornamental grasses add texture to the winter landscape as their leaves and plumes rustle in the wind. As the landscape emerges from winter new growth appears from the freshly cut back grasses gradually reaching the perfect height for summer breezes to add movement to the landscape.
What is an ornamental grass?
Ornamental grasses come in two forms: medium to large upright grasses and groundcovers. Simply, they are any grass used in the landscape as a plant instead of as turf.
The ways to use ornamental grasses in your landscape are nearly endless:
They can be used as a single specimen plant to add color and texture to the landscape year-round,
They can be used as a screen to hide undesirable objects or views,
They make great landscape borders,
They can be planted in small groupings to a splash of texture and color to a bed, and
They can create a field of interest when mass planted.
Most ornamental grasses are very adaptable to heat, drought, and humidity. They also grow in most soils.
There are both cool season and warm season ornamental grasses. Cool or warm season refers to the time of the season they bloom. The cool season grasses start growing earlier in the spring and look stunning in early summer. But, warm-season grasses emerge later in the spring and add interest to the landscape as they flower in late summer to fall.
Ornamental grasses require little maintenance, needing attention only once per year. Grasses do best when their dormant top is removed in early spring before new leaf blades emerge. For upright grasses, cut them back to 12-18” while liriope growing as a ground cover needs to be cut back to 2-3”.
Tools and tips for your once-per-year ornamental grass maintenance:
For upright grasses use either hand shears or power hedge trimmers. Tying up the foliage with twine before you make the cut will make clean-up a lot quicker.
For liriope, a string trimmer makes the job quick and easy. Or, if you have a large area, set your mower in the highest setting, and simply mow over the liriope.
Every 3-5 years it is a good idea to divide grasses in the spring after you have cut them back. Use a sharp shovel to slice through the clump dividing it into 2 or 3 clumps adding the clumps to other areas of your landscape or to give to friends. Liriope can also be transplanted after cutting back in the spring by simply digging up clumps and replanting.
Dividing and transplanting ornamental grasses is an inexpensive way to expand your landscape.


Pink Muhly Grass has an attractive thin leaf blade during the growing season that burst with pink-purple soft plumes in late September to early October.
There are too many varieties of ornamental grasses to cover them all, but here are just a few favorites:
Pink Muhly Grass – Pinkish-purple lacy plumes in the late summer to fall. As a warm season grass it is often one of the last to start to grow in the spring and one of the later bloomers. Pink Muhly grows in full sun to partial shade and reaches 3-4’ in height.

Pink Muhly Grass has an attractive thin leaf blade during the growing season that burst with pink-purple soft plumes in late September to early October.
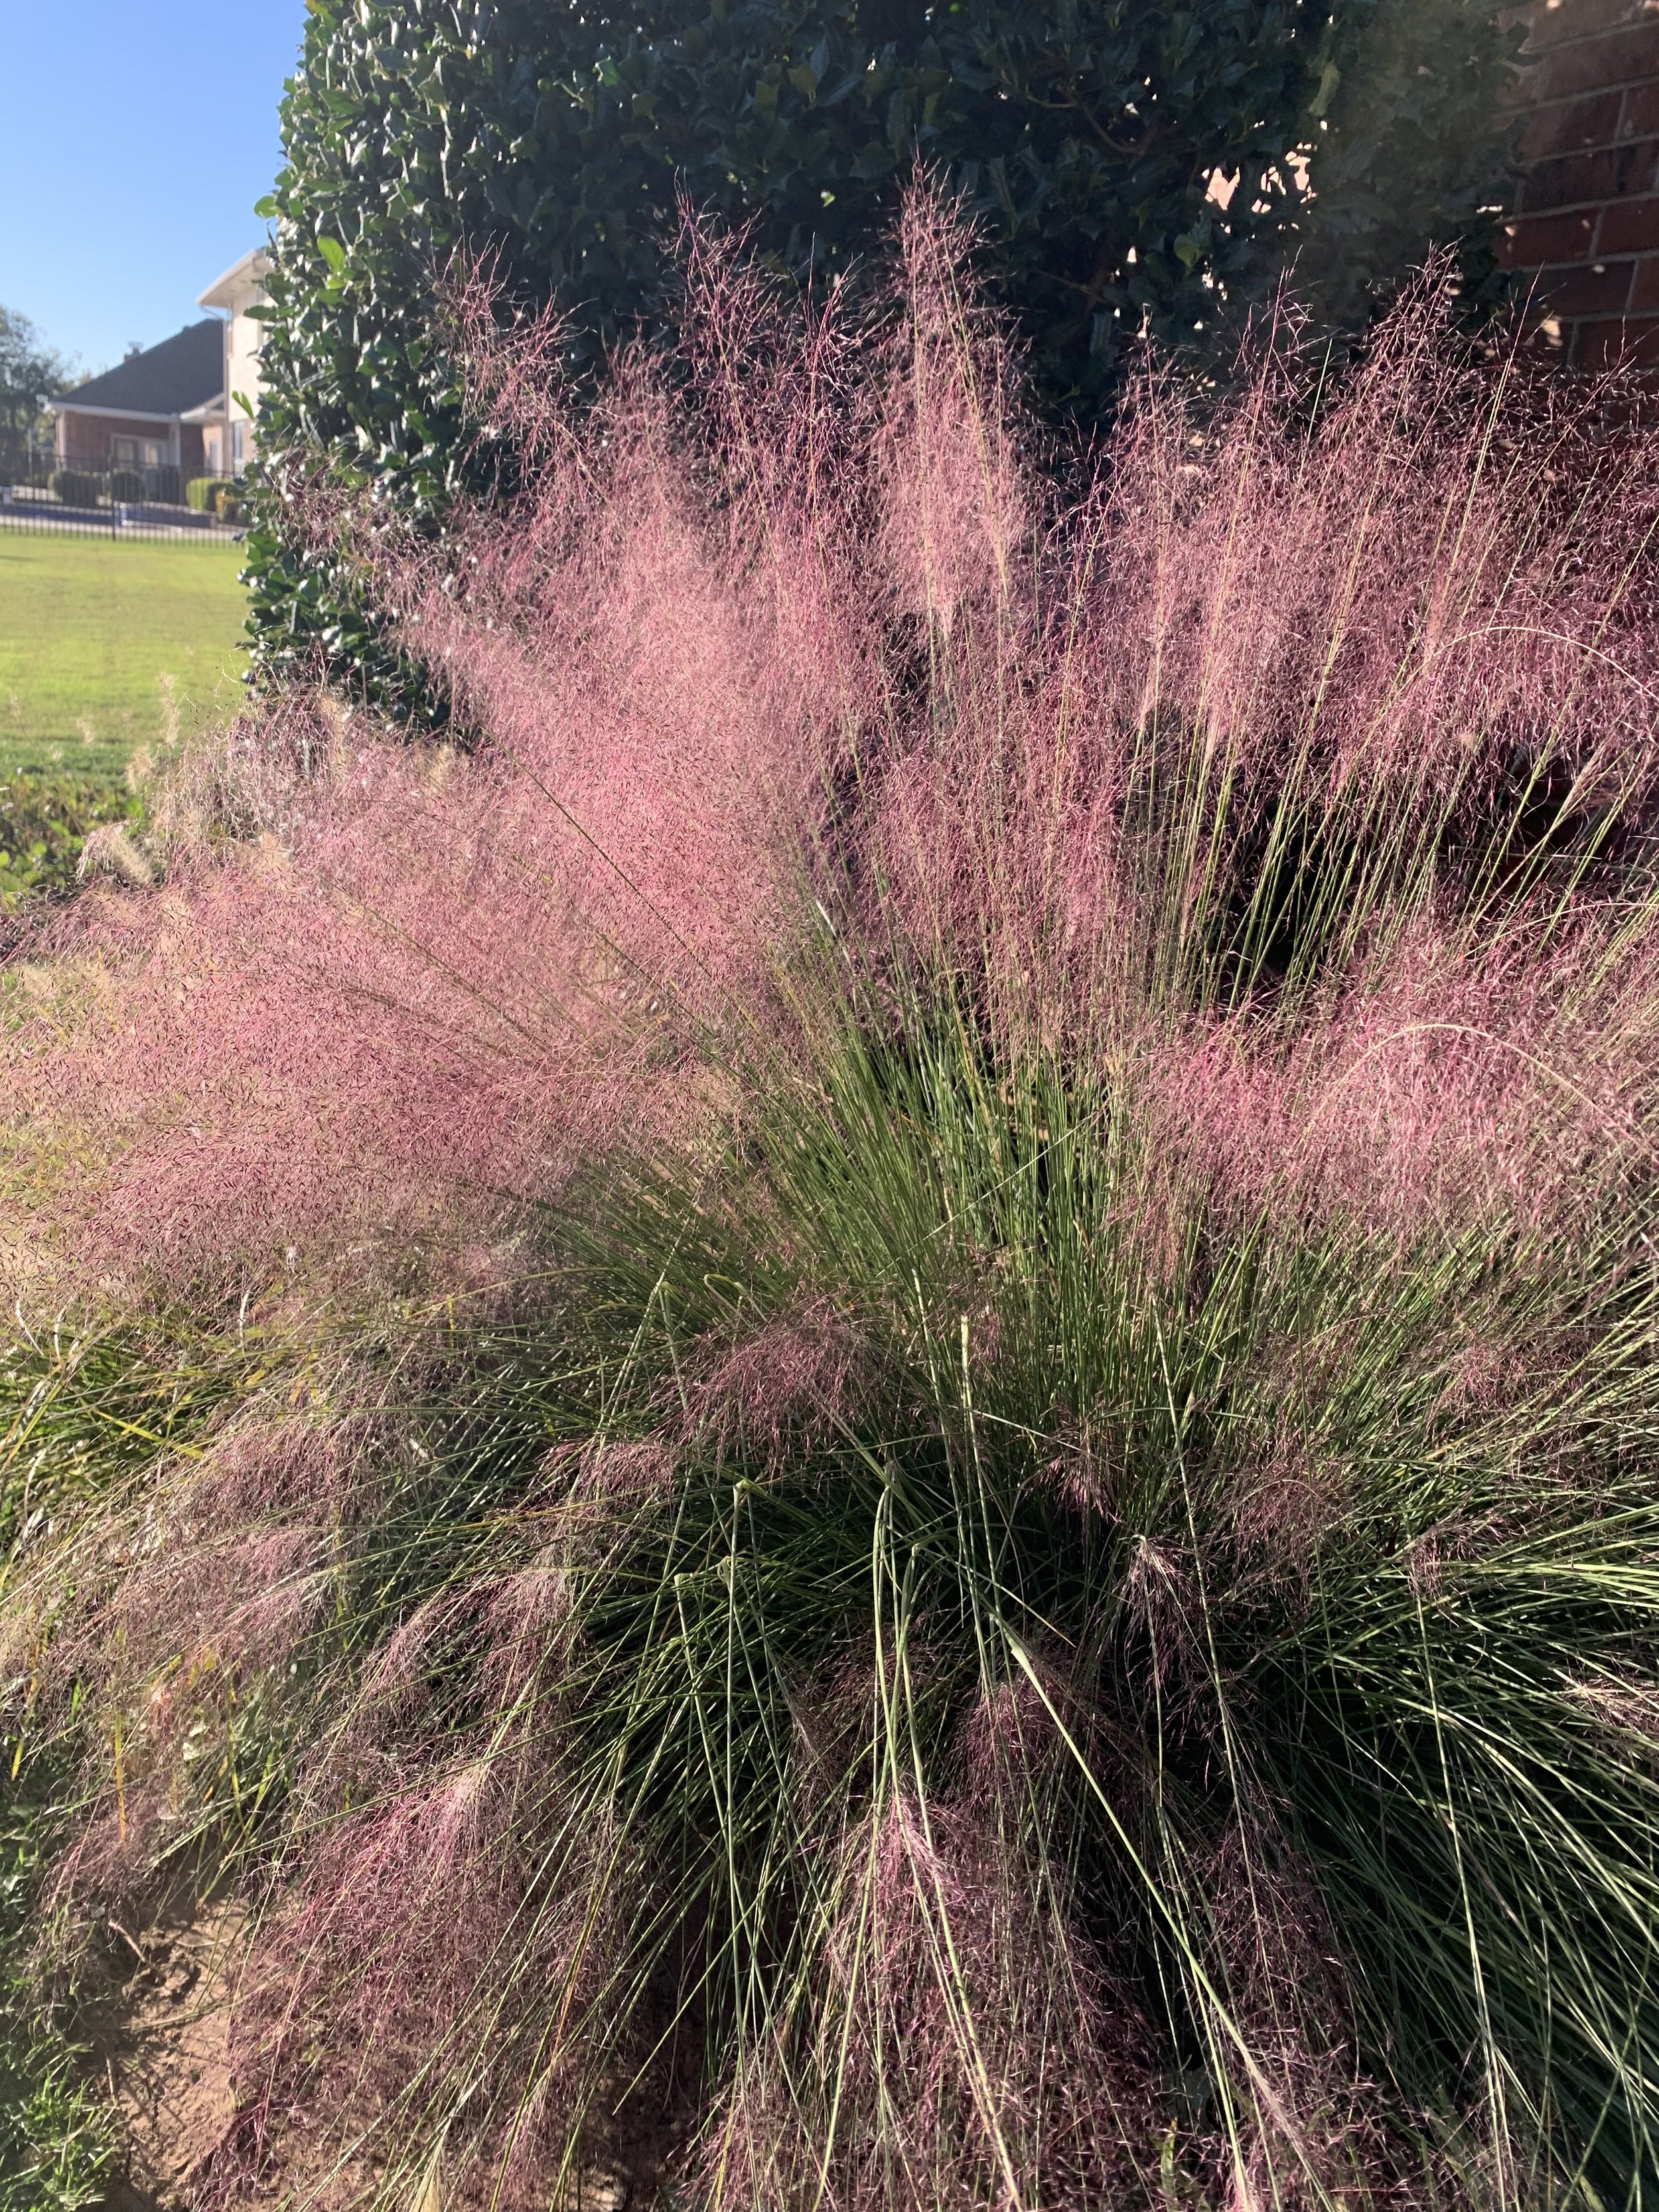
Pink Muhly Grass
Maiden Grass – Slender blades with creamy white to shimmering silver small plumes. 5-6’ tall. Plant in partial to full sun.

Maiden Grass creates a wonderful statement with its shimmer plumes when planted as a focal point. There are several varieties of Maiden Grass, I’m sure there is one just right for your landscape.


Blue Grama Grass – Native grass with golden summer flower on stiff stems. Great for adding texture to the landscape. Plant in full to partial shade. Once established this grass does not require much water. Grows about 3’ tall.
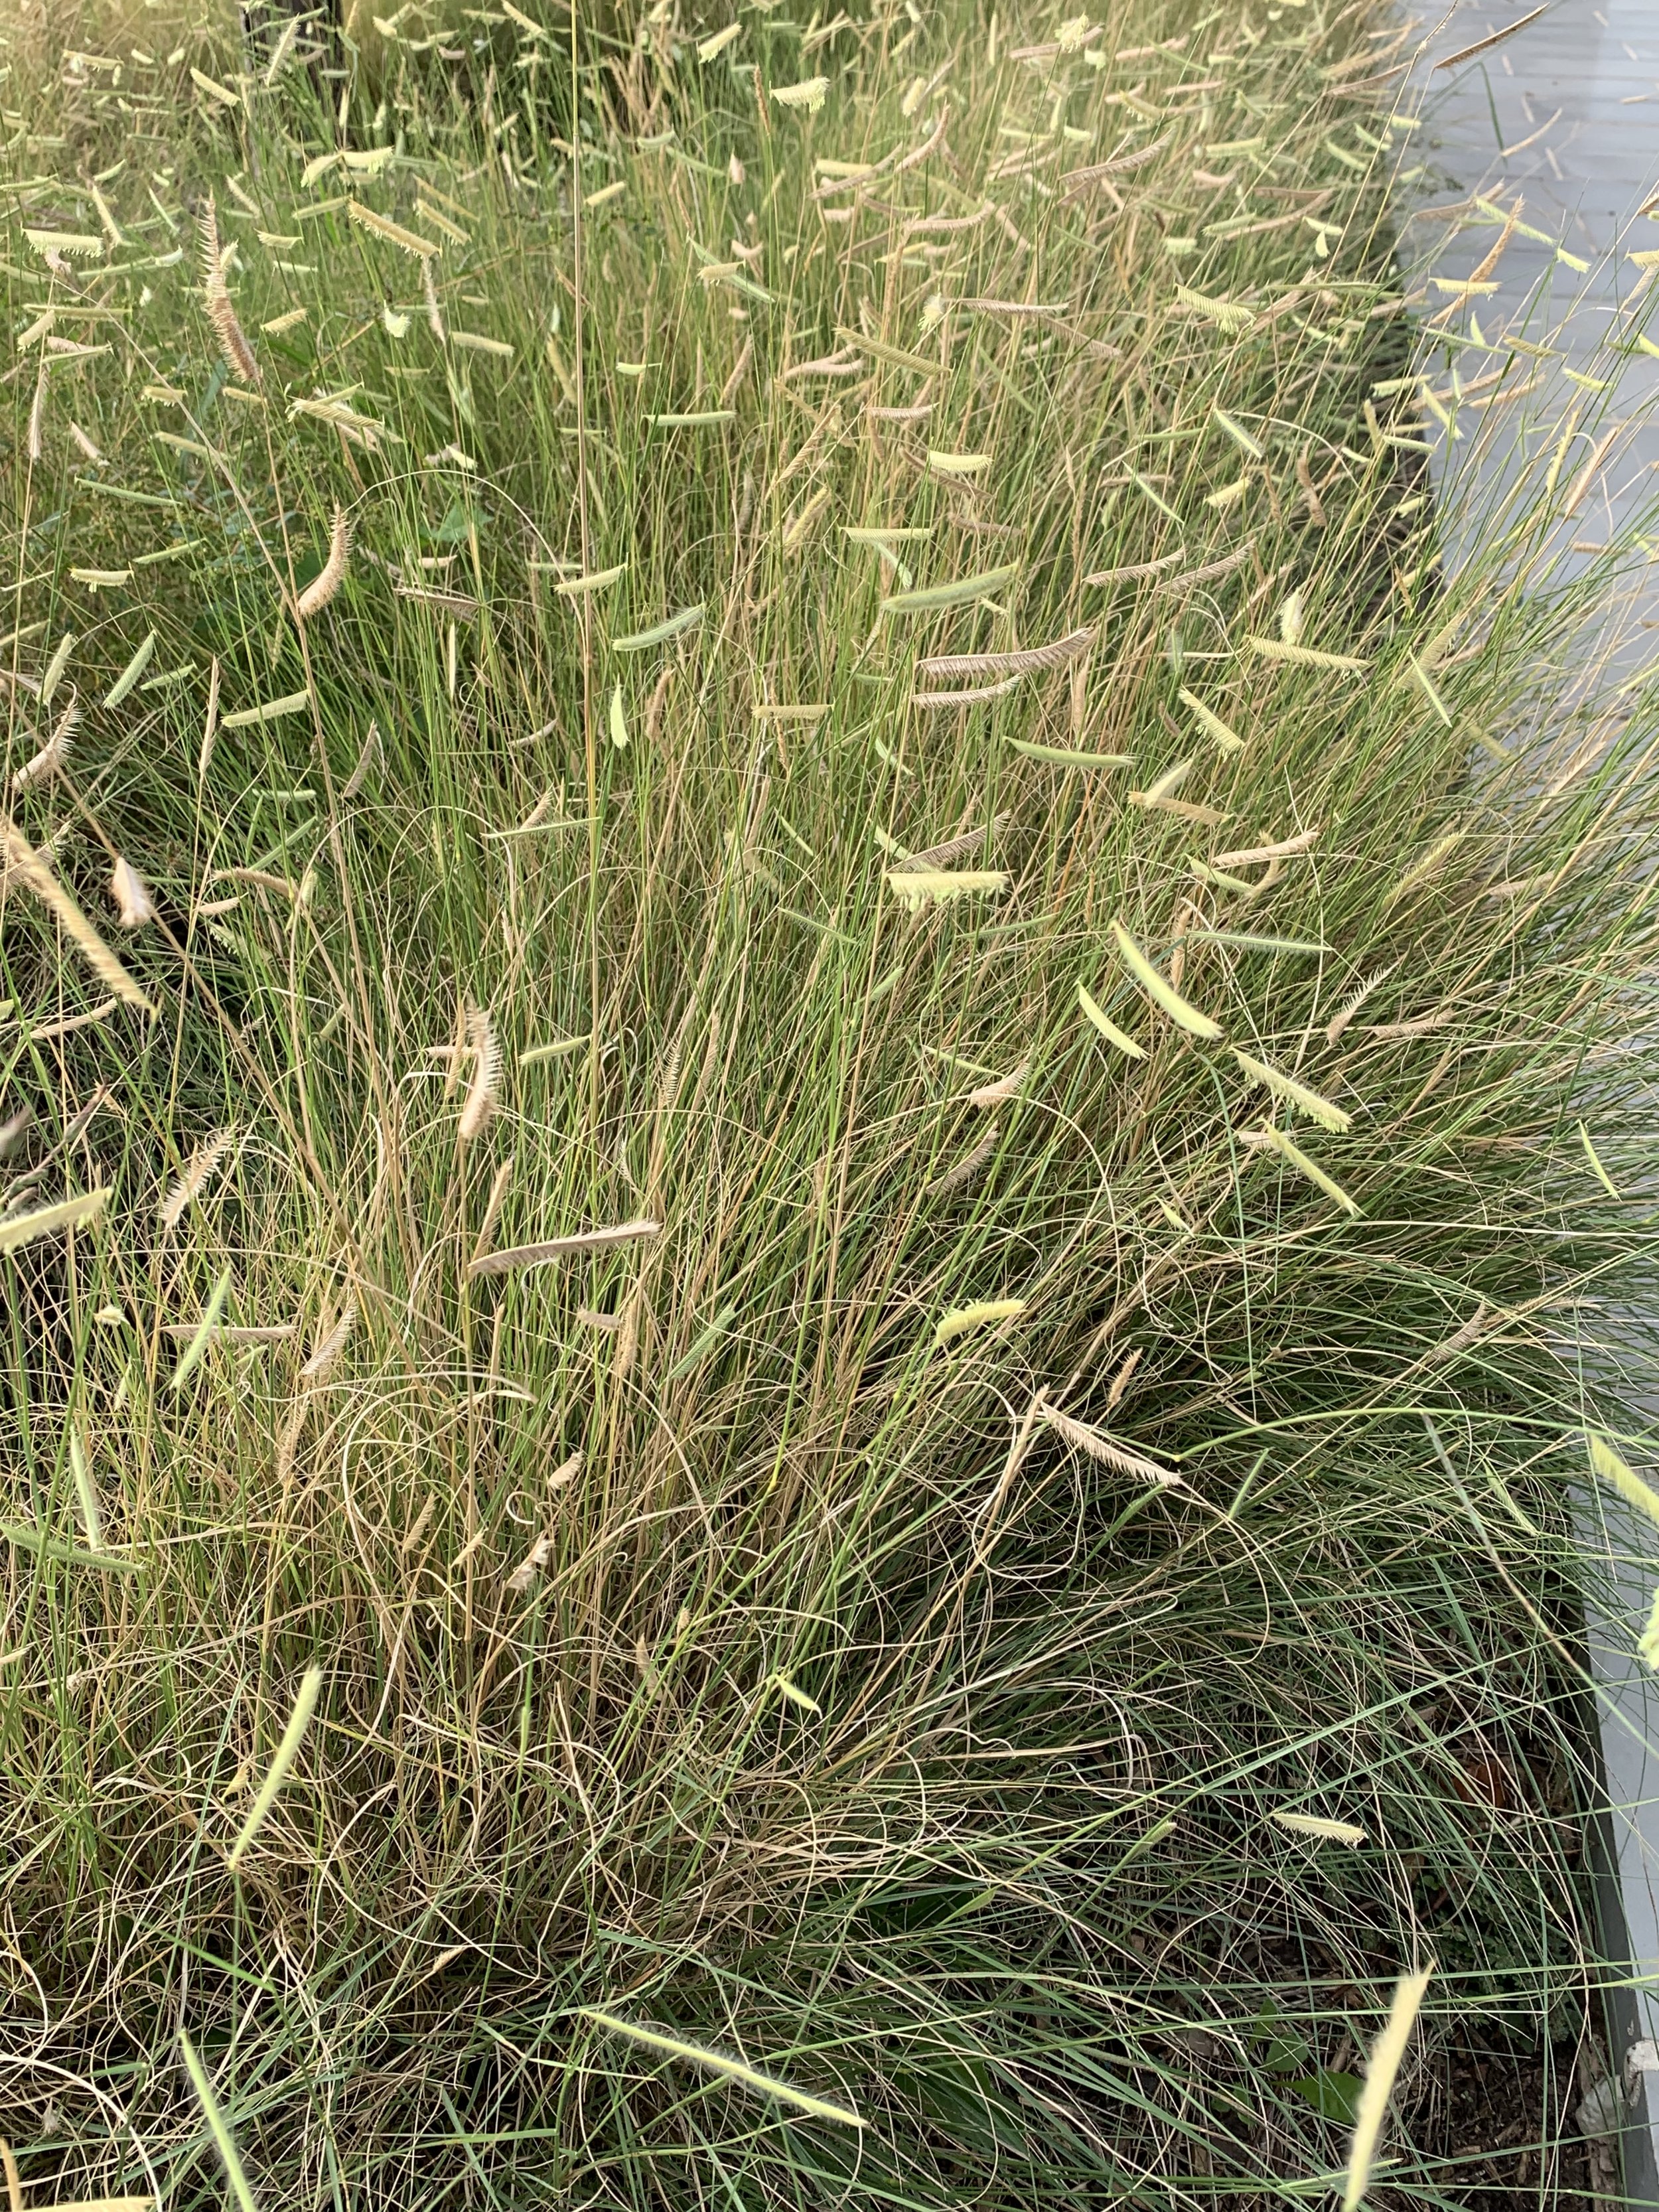
Blonde Ambition Blue Grama Grass is a great choice for a low maintenance mass planting.
Little Bluestem – Blue to pink to burgundy hues in the late summer and rich copper tones in the fall. Requires full sun. A native grass that is loved by birds. Grows 3-4’ tall.


Little Bluestem adds a rich copper tone to the fall landscape.

Switch Grass – An Oklahoma Proven perennial grass that grows in full sun to partial shade. It has lacy sprays with a purplish cast in the fall. There are several cultivars and great used as a single accent or in groups. Reaches 6’.

Switch Grass is known for lacy small plumes that grace its purple leaf blades in the fall.
Mexican Feather Grass – Another Oklahoma Proven grass with a feather like, graceful fine texture and silver flowers. Best grown in a grouping in full sun to partial shade. It prefers well drained soil and is very drought tolerant once established. Different from most grasses in that it prefers to not be cut back in the spring. Only grows 2-3’.
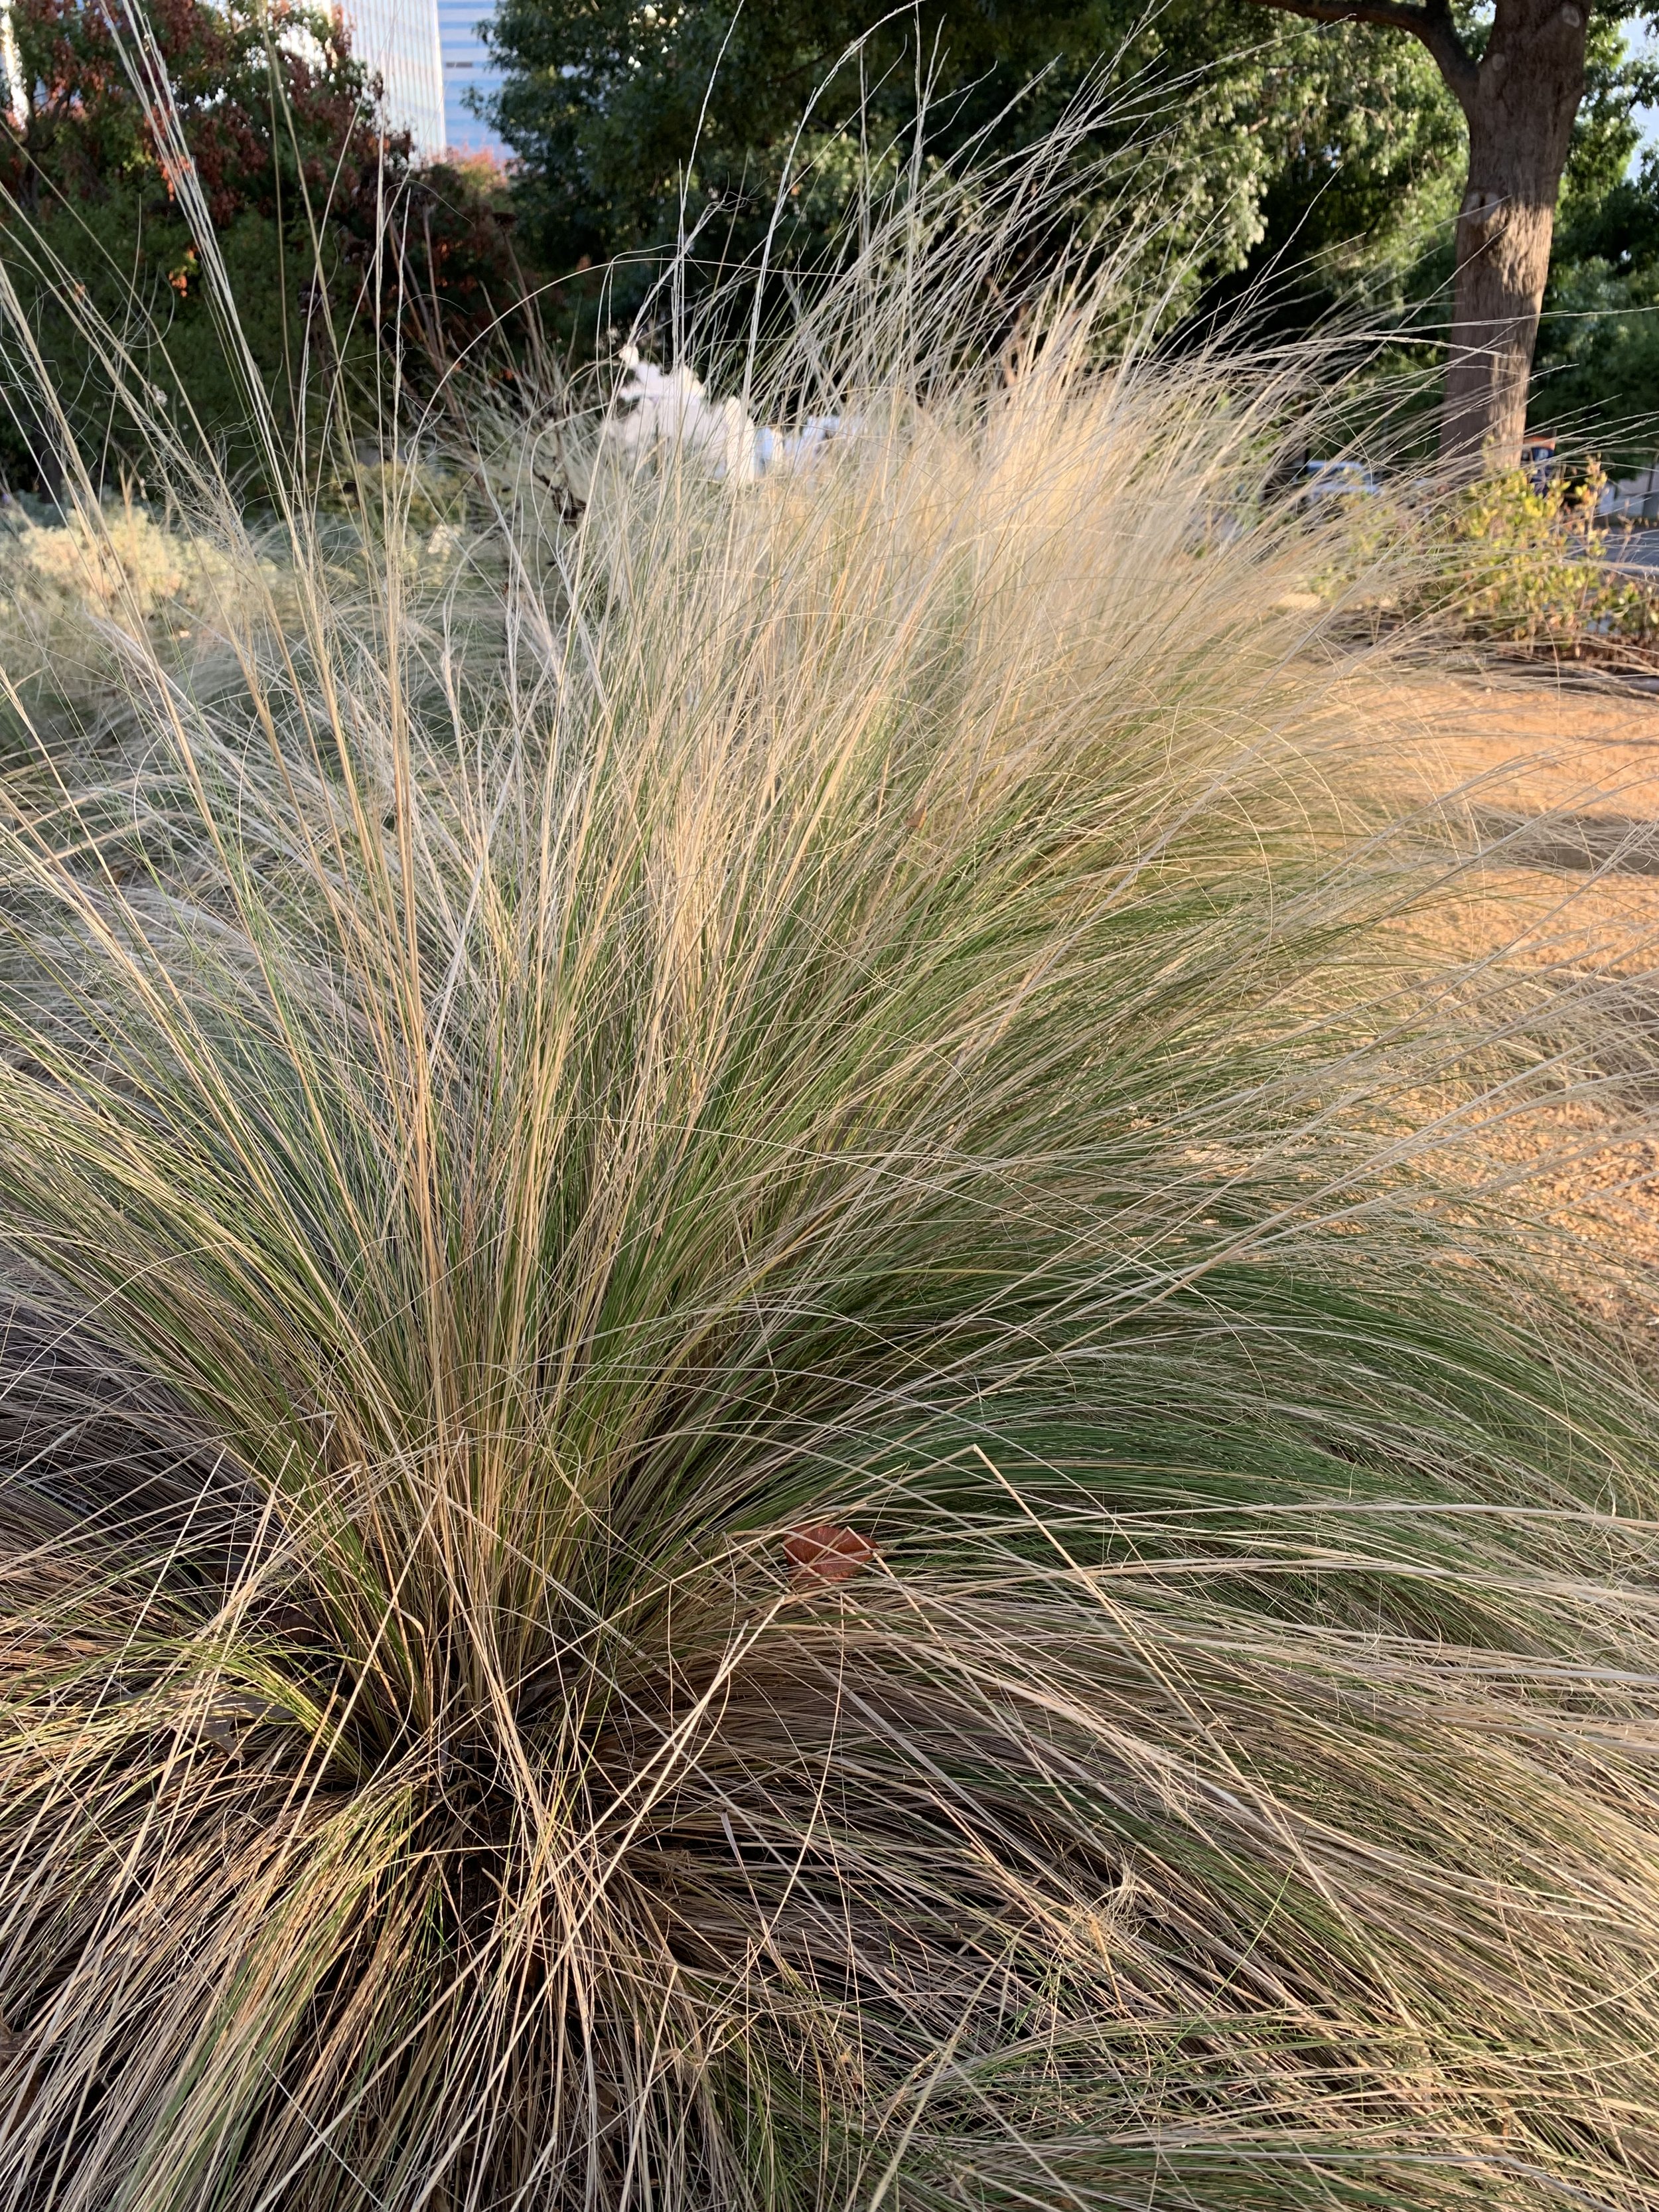
Mexican Feather Grass planted in groupings create a feather like feeling as they sway in the breeze.


All Gold Japanese Forest Grass – Best planted in shade to partial shade, the light green color is a great accent to dark green shrubs in a shade garden. Grows 1-2’ with a cascading habit. Requires rich, loamy soil and does not do well in tight, clay soils.
Karl Foerster Feather Reed Grass – One of the most common cool season grasses with reddish bronze plumes in early to mid-summer. Grows 4-6’ tall in full to partial sun.

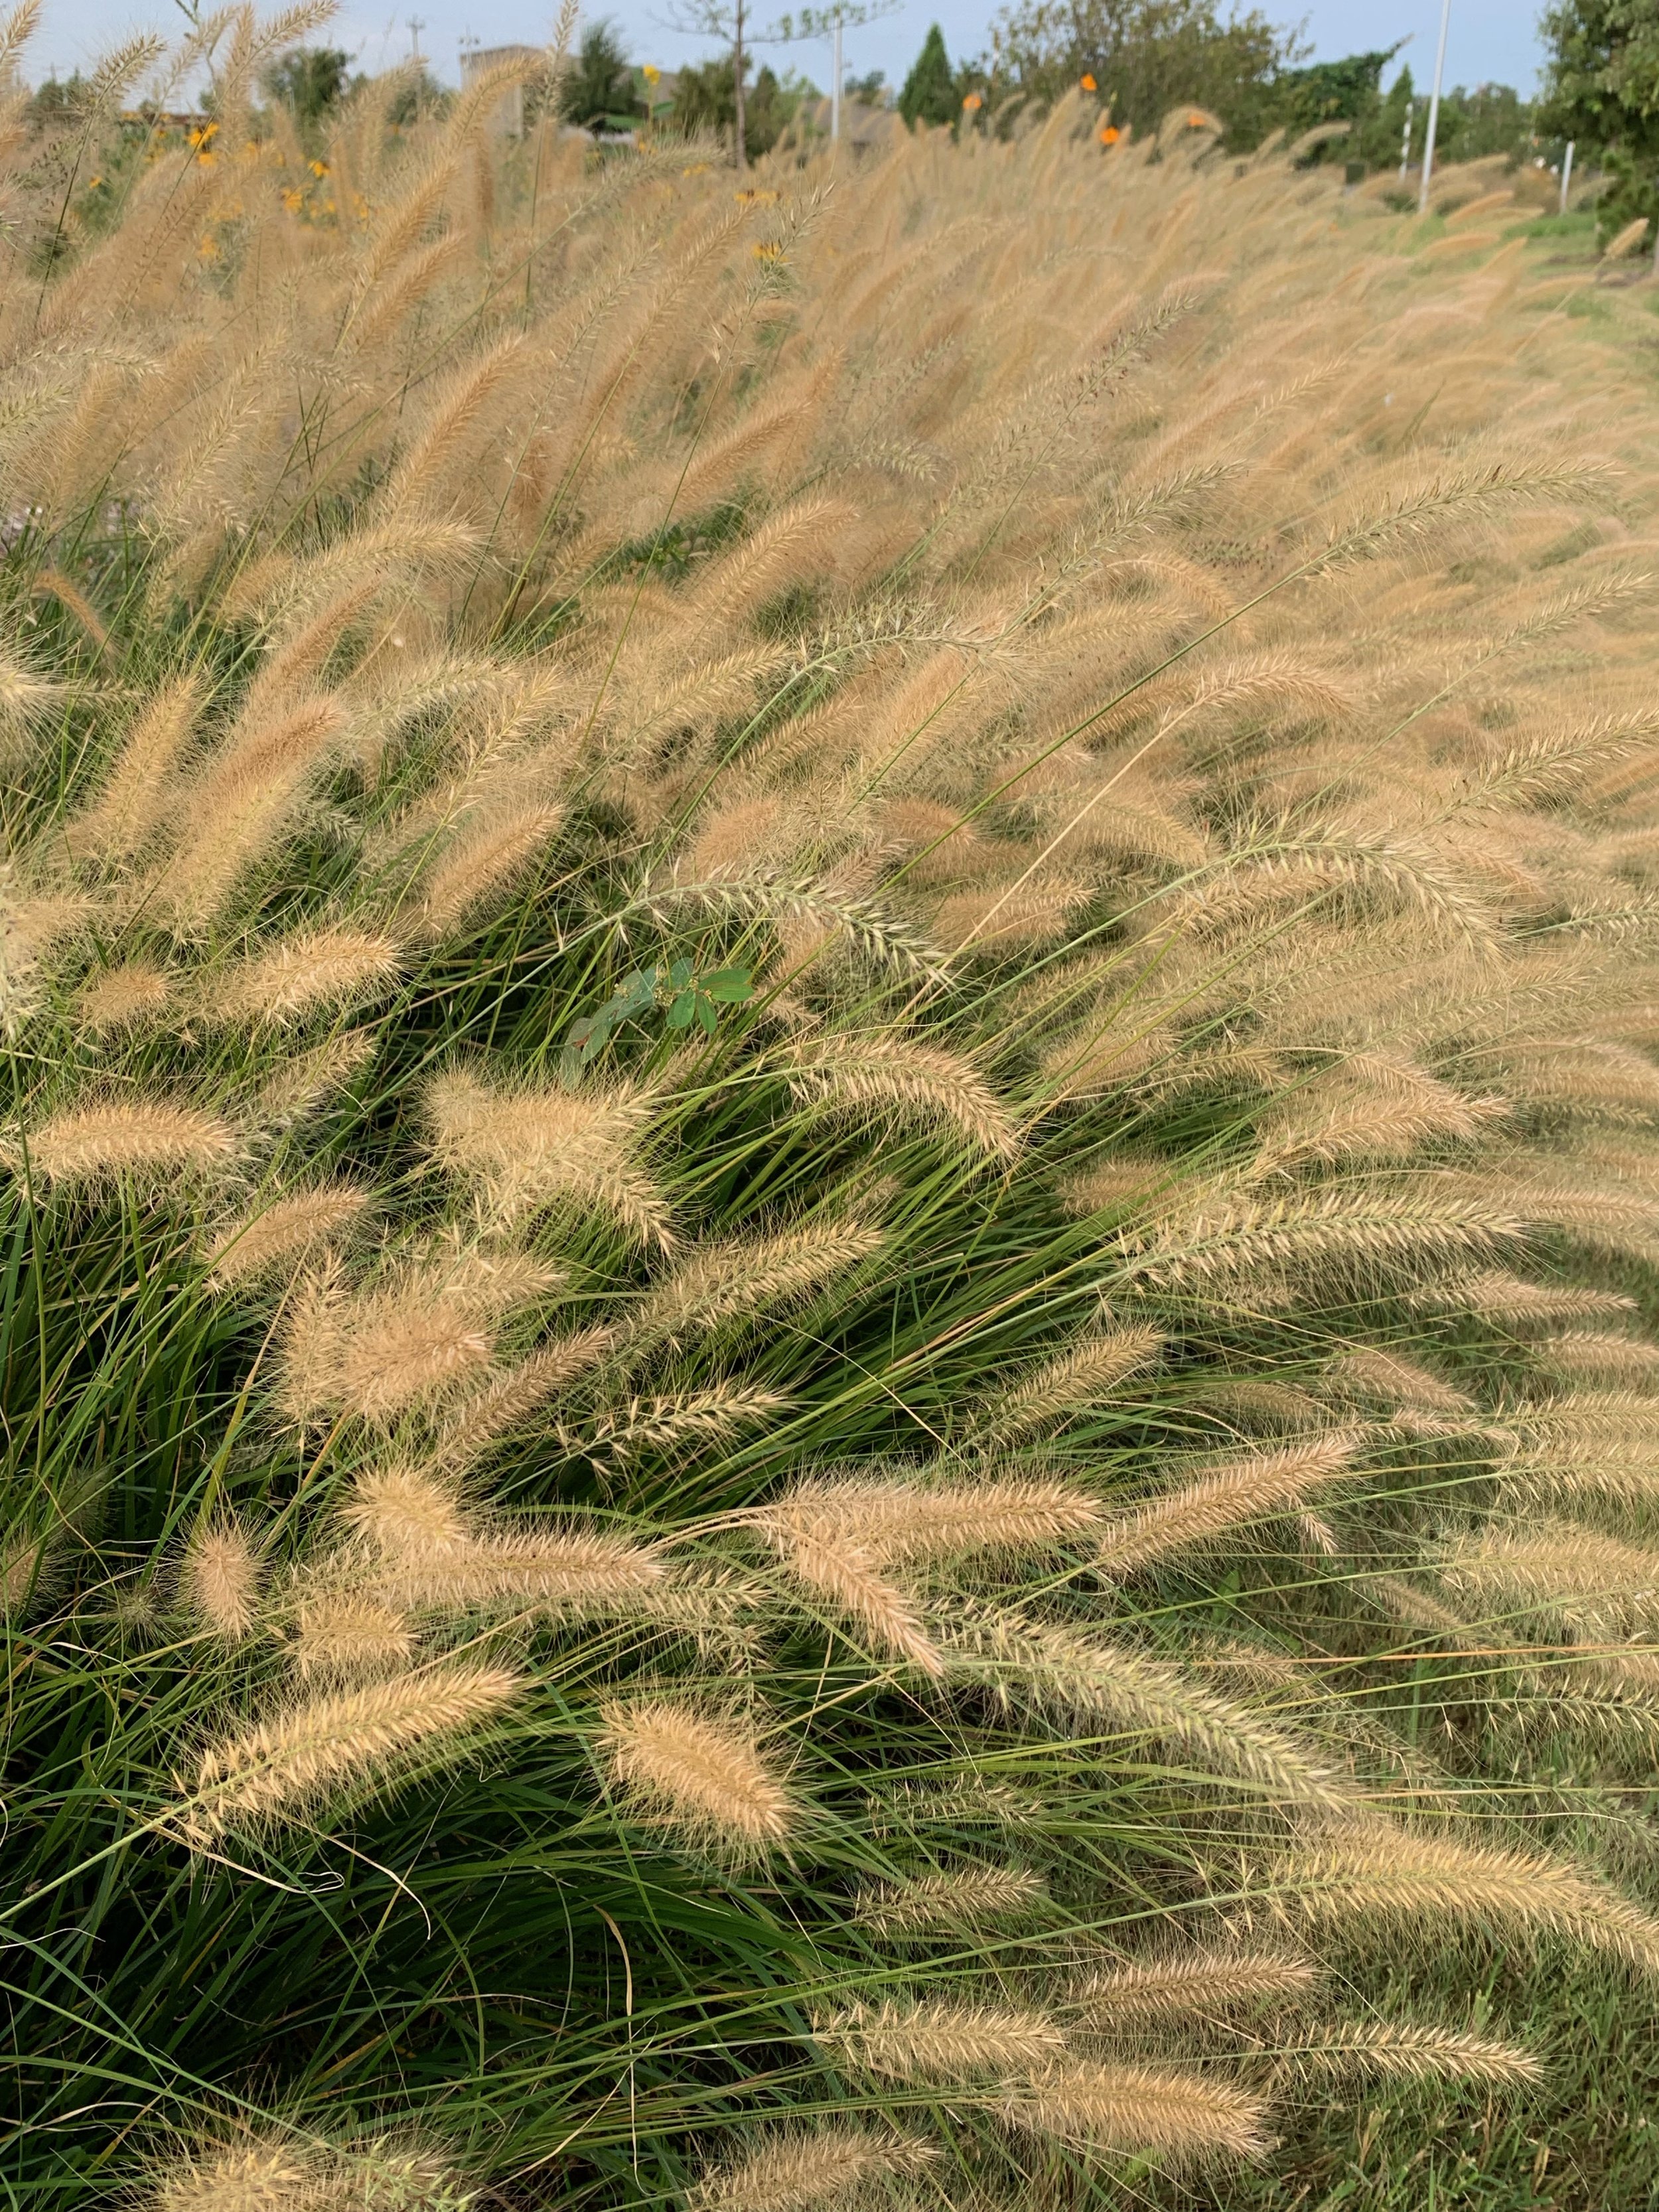
There are many varieties of Fountain Grasses. A favorite Dwarf Fountain Grass is ‘Hameln’. It has rich green foliage in the summer that turns a golden color in the fall with buff colored plumes in the late summer and fall.
Fountain Grass – Graceful arching shaped grass that will reach 5’ with tuffs of green seed heads on rich green grass blades. Little Bunny, a dwarf variety, only reaches 1-2’. Little Bunny is great for borders and smaller landscapes. Grows in full to partial sun.
Zebra Grass – A great accent grass with bands of yellow on green foliage. Grows 4-5’ tall in full to partial sun.


Purple Fountain Grass – An annual ornamental grass (does not come back next season) with rich dark purple color. It reaches 3-4’ tall and looks great planted as a single accent plant with yellow or pink summer annual flowers.
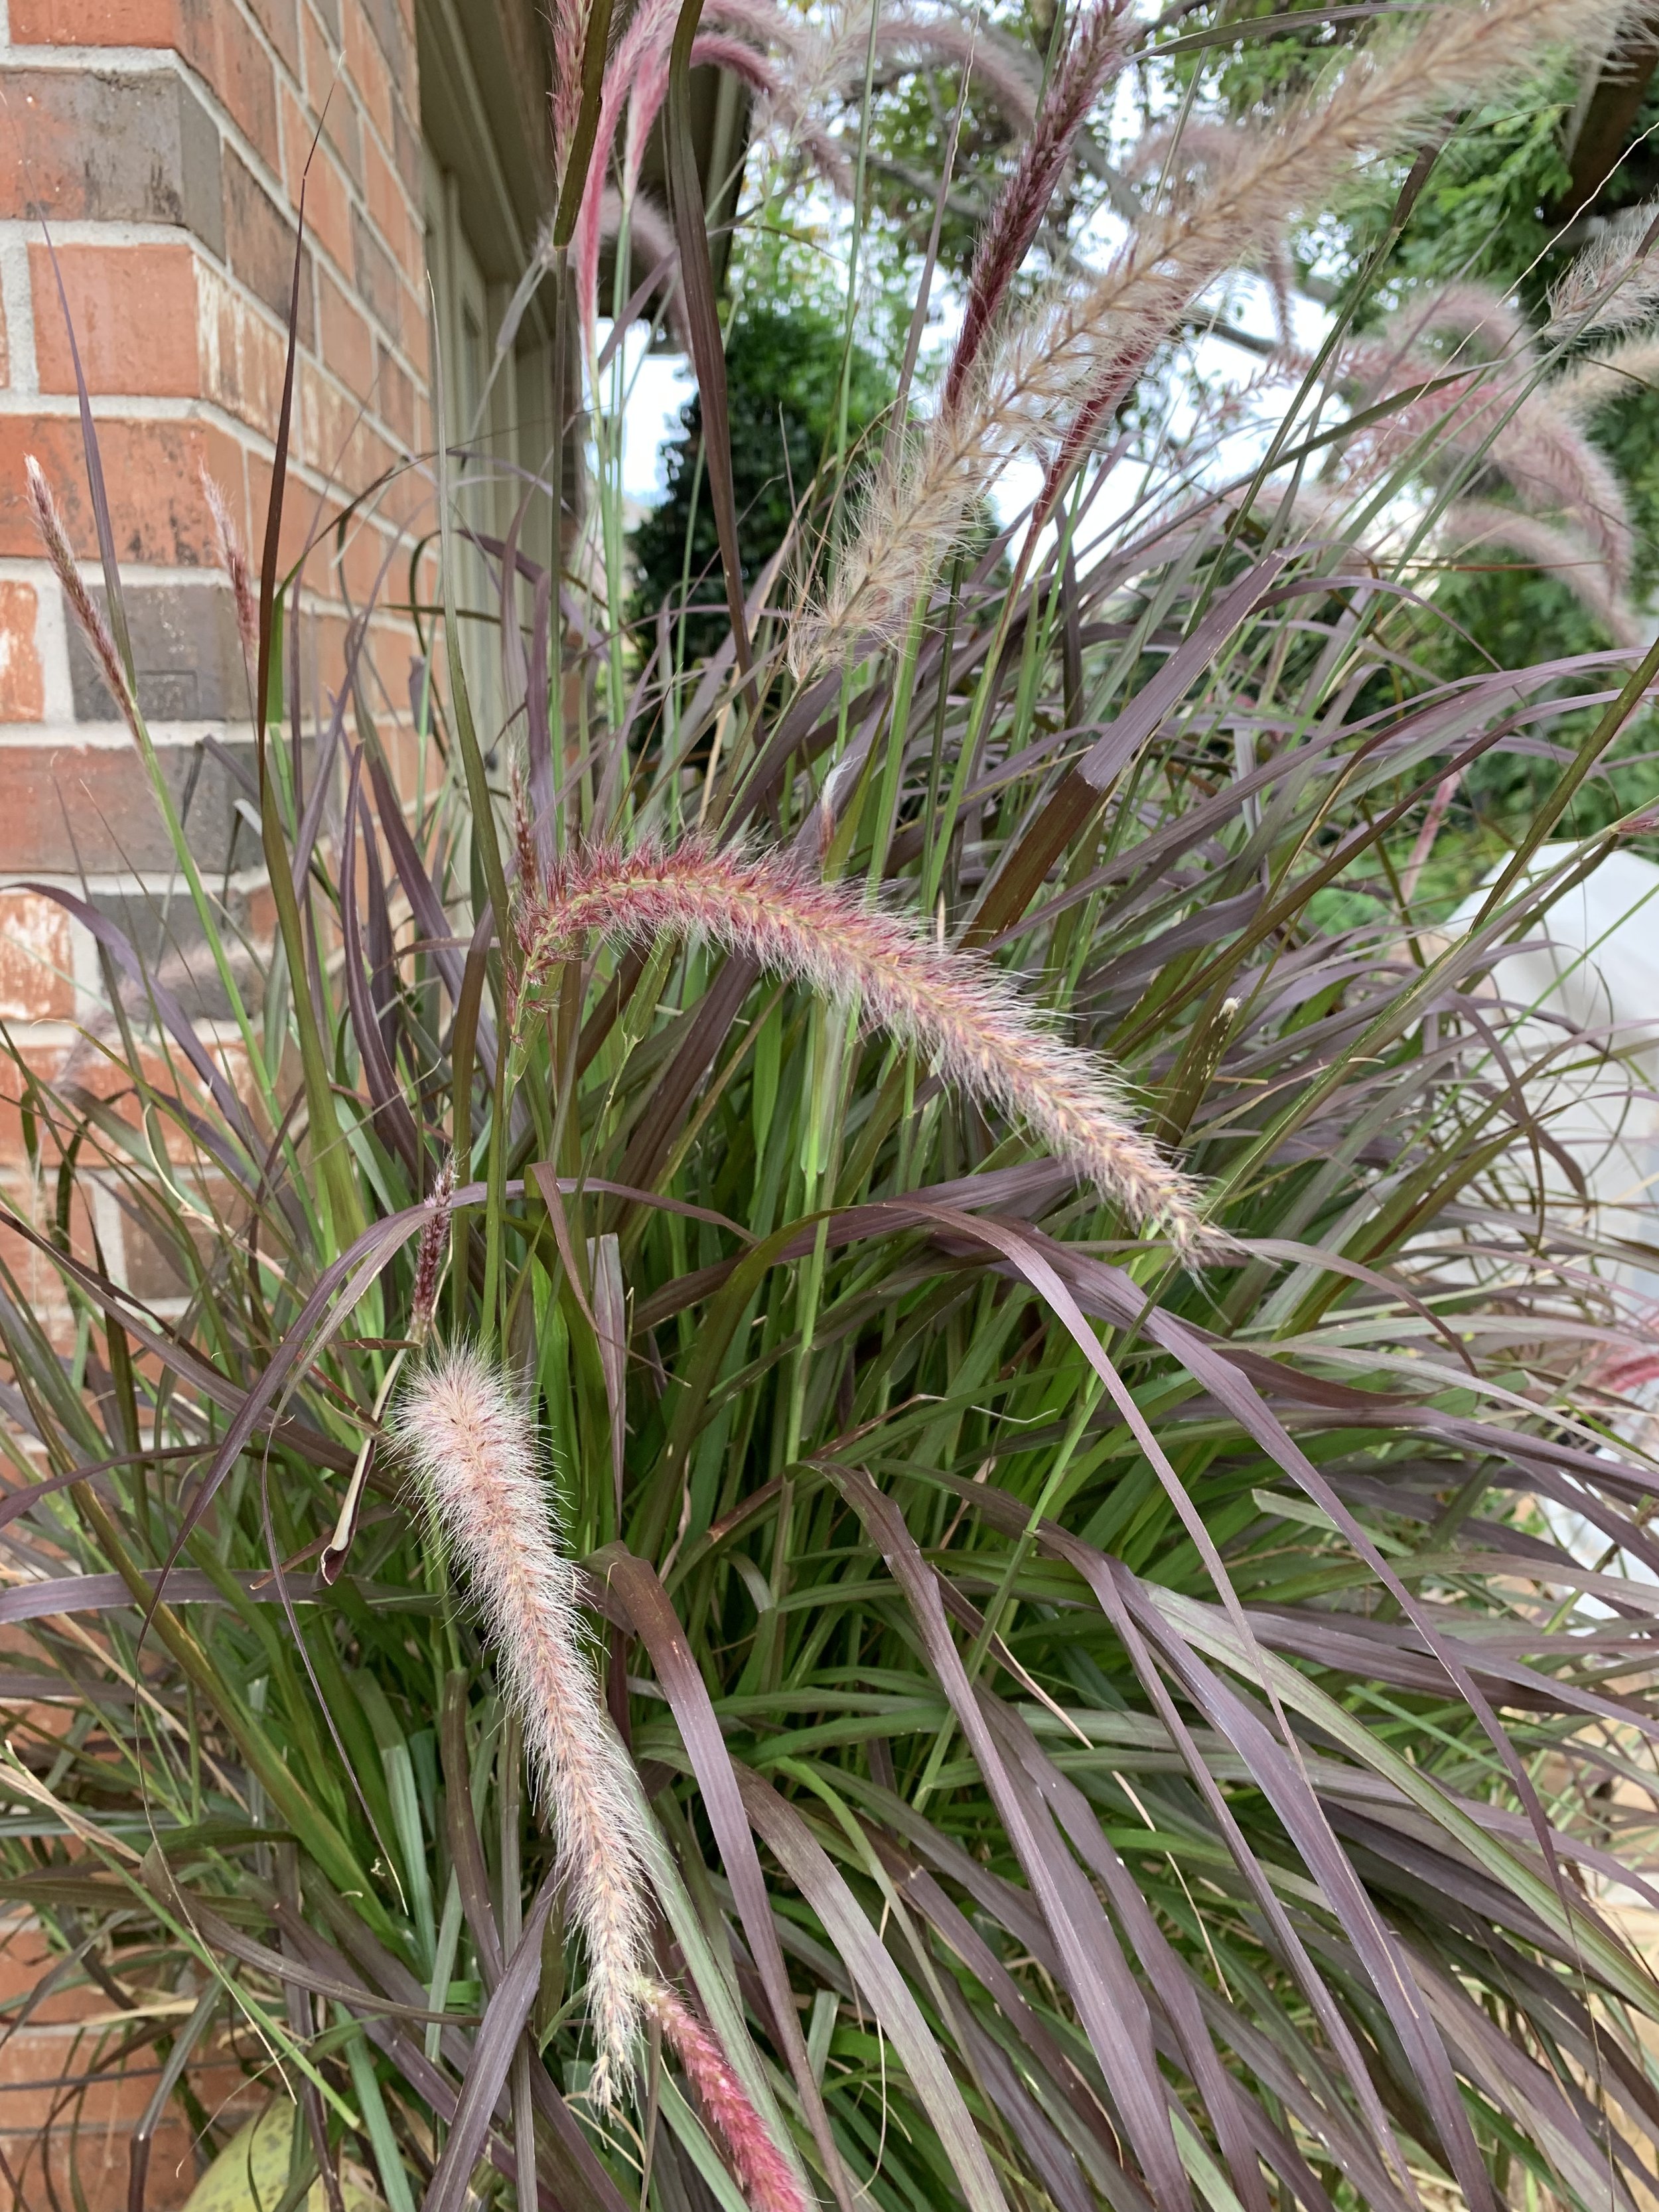
Purple Fountain Grass is an annual ornamental grass (only lasts one season) that you can always count on for brilliant purple leaf blades and plumes even in the hottest of summers.
Blue Fescue – A small silvery-blue grass that makes a great boarder or mass planting. Prefers well drained soil in full sun. Only reaches 12”.

Blue Fescue is a small blueish gray grass that is great used with seasonal color plantings or planted in a mass.


Dwarf Pampas Grass – Don’t let “dwarf” fool you, this grass reaches 4-5’. One of the most common ornamental grasses with large, showy white plumes in late summer. Giant Pampas Grass can reach 10’ and best used as a screen in large landscapes.

Dwarf Pampas Grass adds a big splash to the late summer and fall landscape with large showy plumes. Don’t be fooled by the ‘dwarf’. They will reach 4-5’ and make a great screening plant.

Often over looked as an ornamental grass, Liriope is a one time per year maintenance ground cover, you simply mow it short early in the spring and then just let go for the rest of the season. Oh, there are many varieties, but the ones with big blueish to purple flower spikes in the late summer are my favorites.
Both the Myriad Gardens and Scissortail Park are full of ornamental grasses and most are labeled. Go for a walk in both of our downtown parks over the next few weeks and pick out a favorite grass to add to your landscape.
A good source for more information on ornamental grasses:
Landscape Design with Ornamental Grasses: Top 5 ways (monrovia.com)
Do you have a favorite ornamental grass? (If you don’t, you should.)
Lorne Hall
Hall | Stewart Lawn + Landscape
(405)367-3873
Drought Stress on Trees

It has been 6 weeks since most of the Oklahoma City metro area has received a ¼” rainfall.
If the lack of rainfall wasn’t enough stress for your landscape, the number of 100+ degree days is now into double digits.
Lawns and landscapes are looking tired and tattered.
Lawns are struggling. Shrubs are struggling. Trees are struggling.
A lot of attention has been given to keeping lawns green, but what about your trees?
Your trees represent an enormous value to your landscapes.
Mature trees increase property values on average by 7%.
Trees are a critical component in our efforts in creating a healthy environment.
Trees reduce energy consumption.
Trees make the places we live, work, and play more attractive and enjoyable.
Afternoon wilting and drooping leaves is the first signs of drought stress.
Every effort to reduce stress and protect a tree is worth it.
Stress? What is stress for a tree? Stress is anything that keeps a tree from growing.
Your trees are feeling the stress of the drought and heat of 2022!
Drought stress on trees typically follows these steps:
Temporary Wilting – Wilting and drooping leaves in the afternoon on a 95+ degree day isn’t a problem as long as the following morning the leaves have returned to normal.
Permanent Wilting – Wilting and drooping leaves in the morning and all day long.
Yellowish and/or Fall Color Leaves – Fall color is not a good thing in July!
Leaf Scorch – Leaf margins have a brown or burned appearance.
Defoliation – Leaves begin dropping from the top of the tree and the ends of branches.
Long-term drought results in dead branches, thin canopies, unusually small new leaves, increased pest problems, and trees that are slow to close wounds.
Supplemental watering during periods of drought and heat is very important
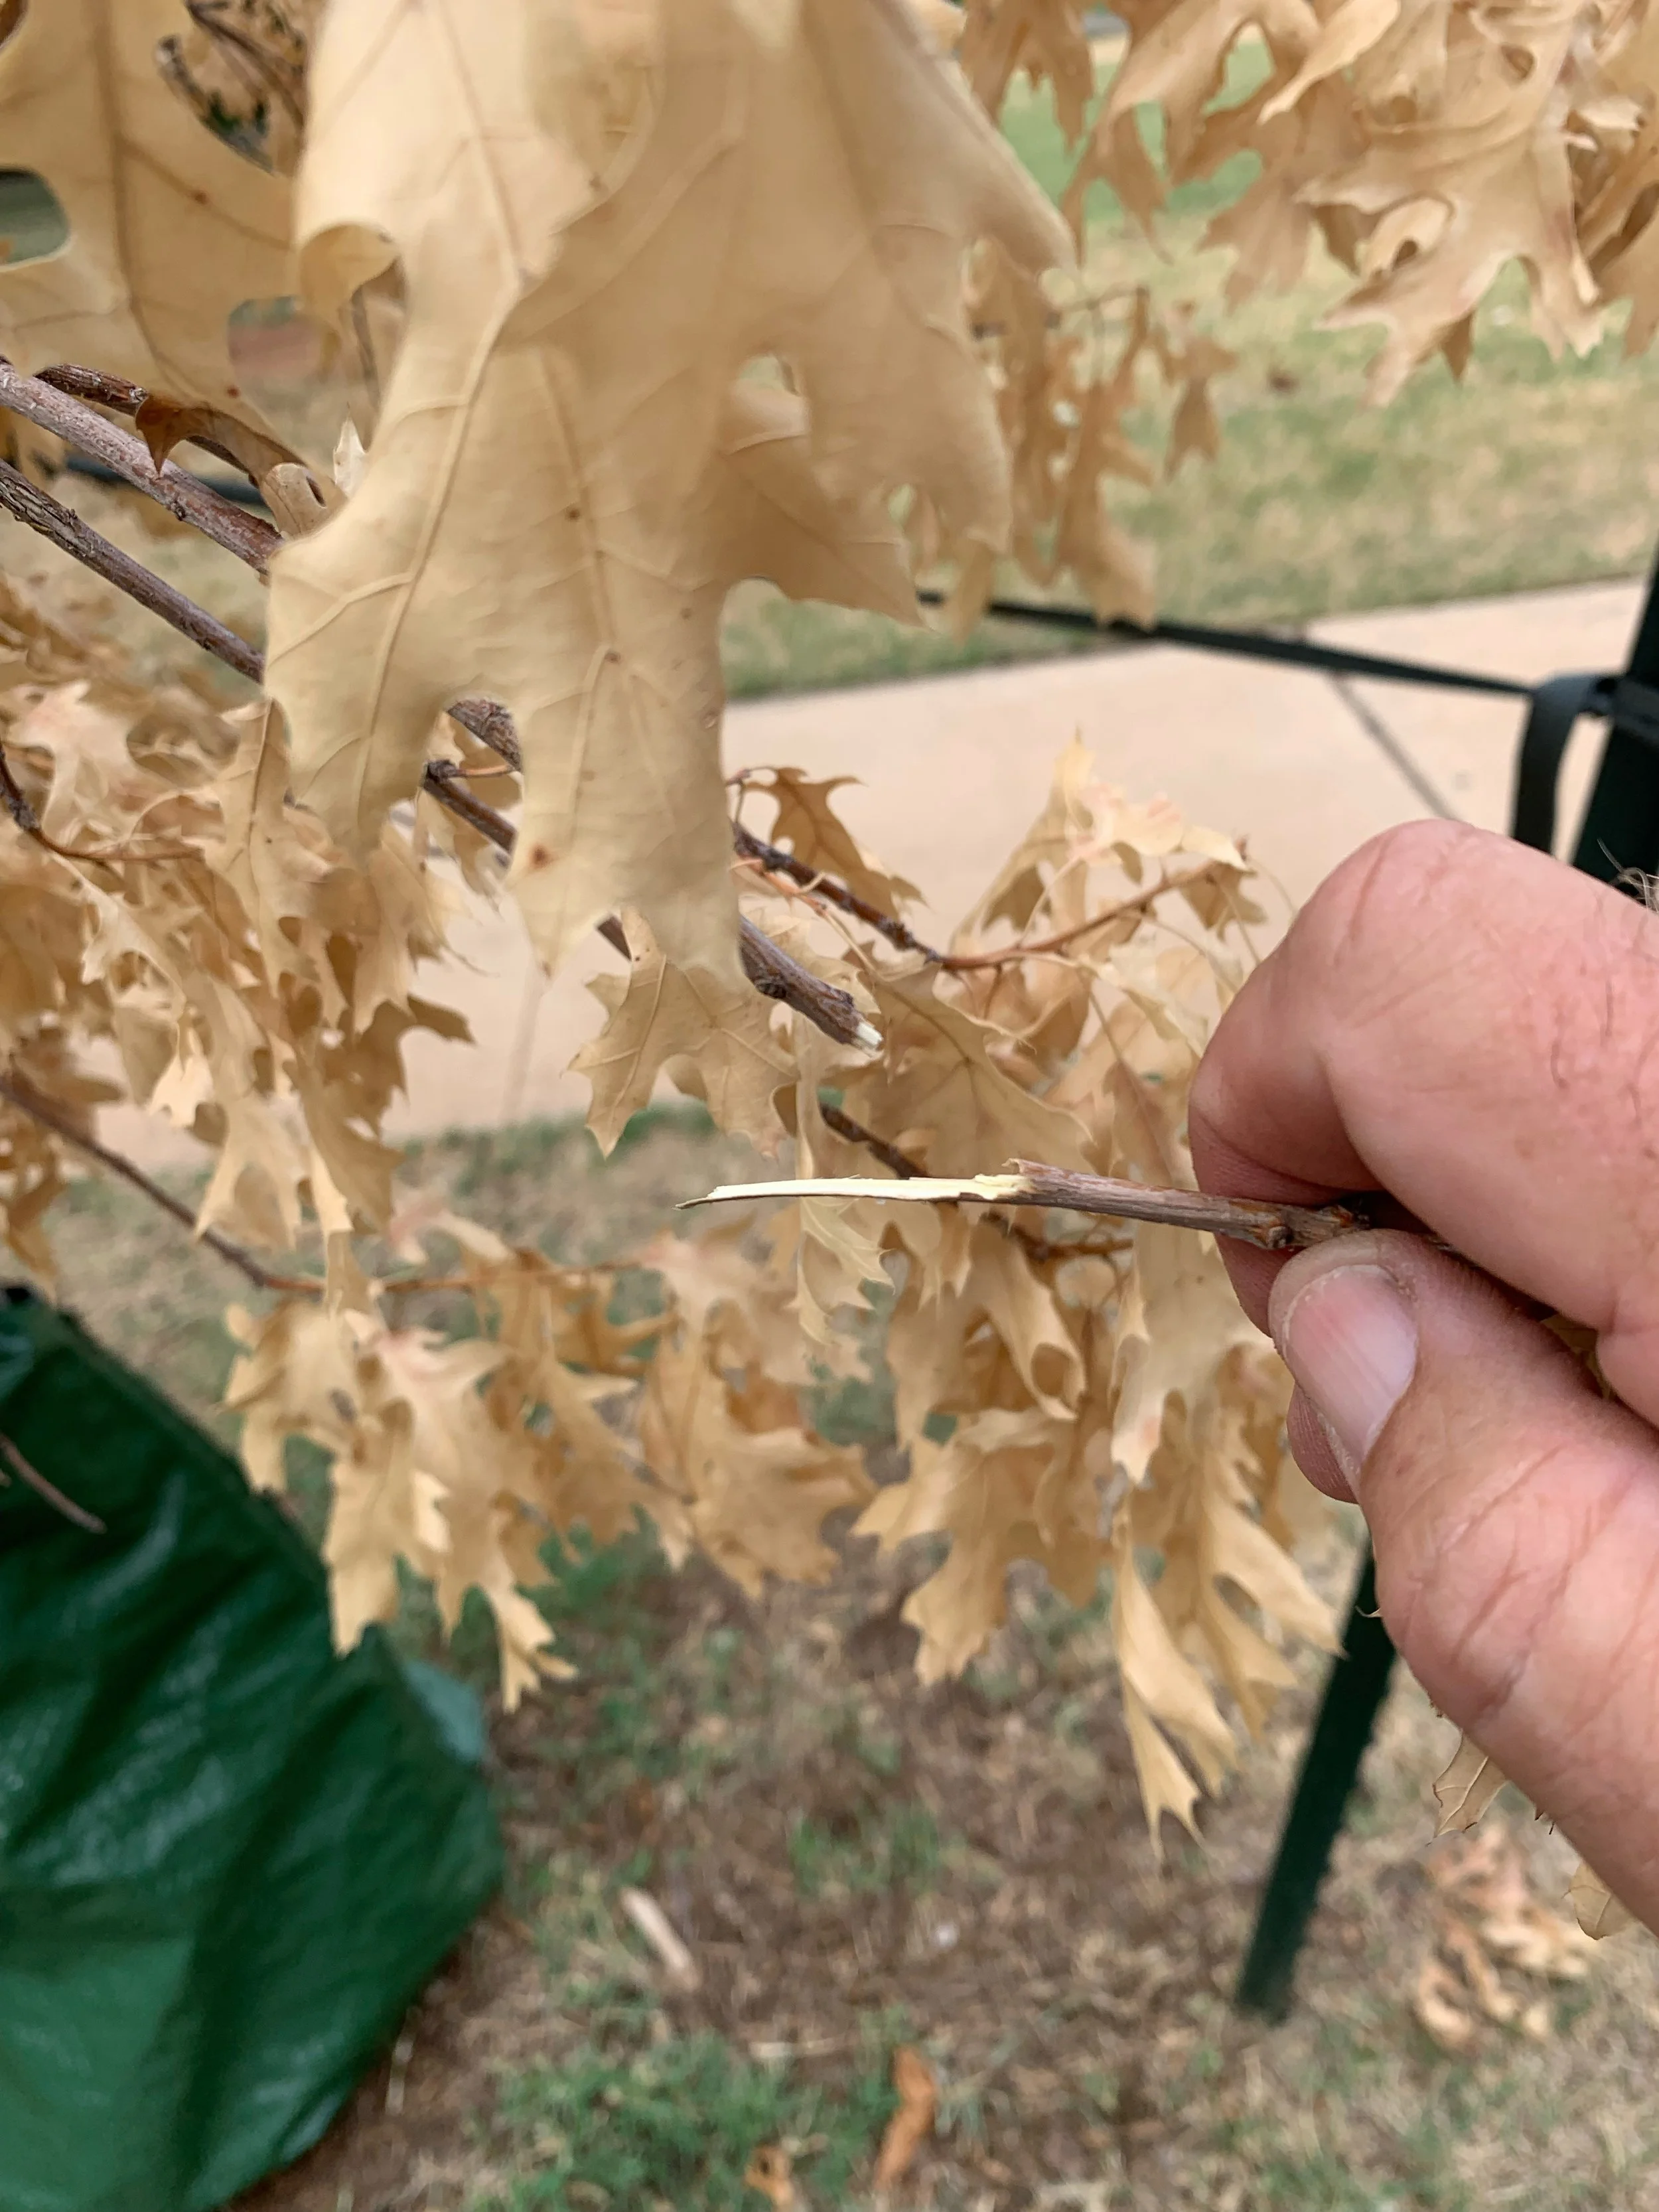
Often when leaves turn brown during a drought and the leaves remain on the tree it is a sign the tree does not have enough moisture to put on new buds. In this case the ends of the branches are brittle and the chances of recovery are slim.
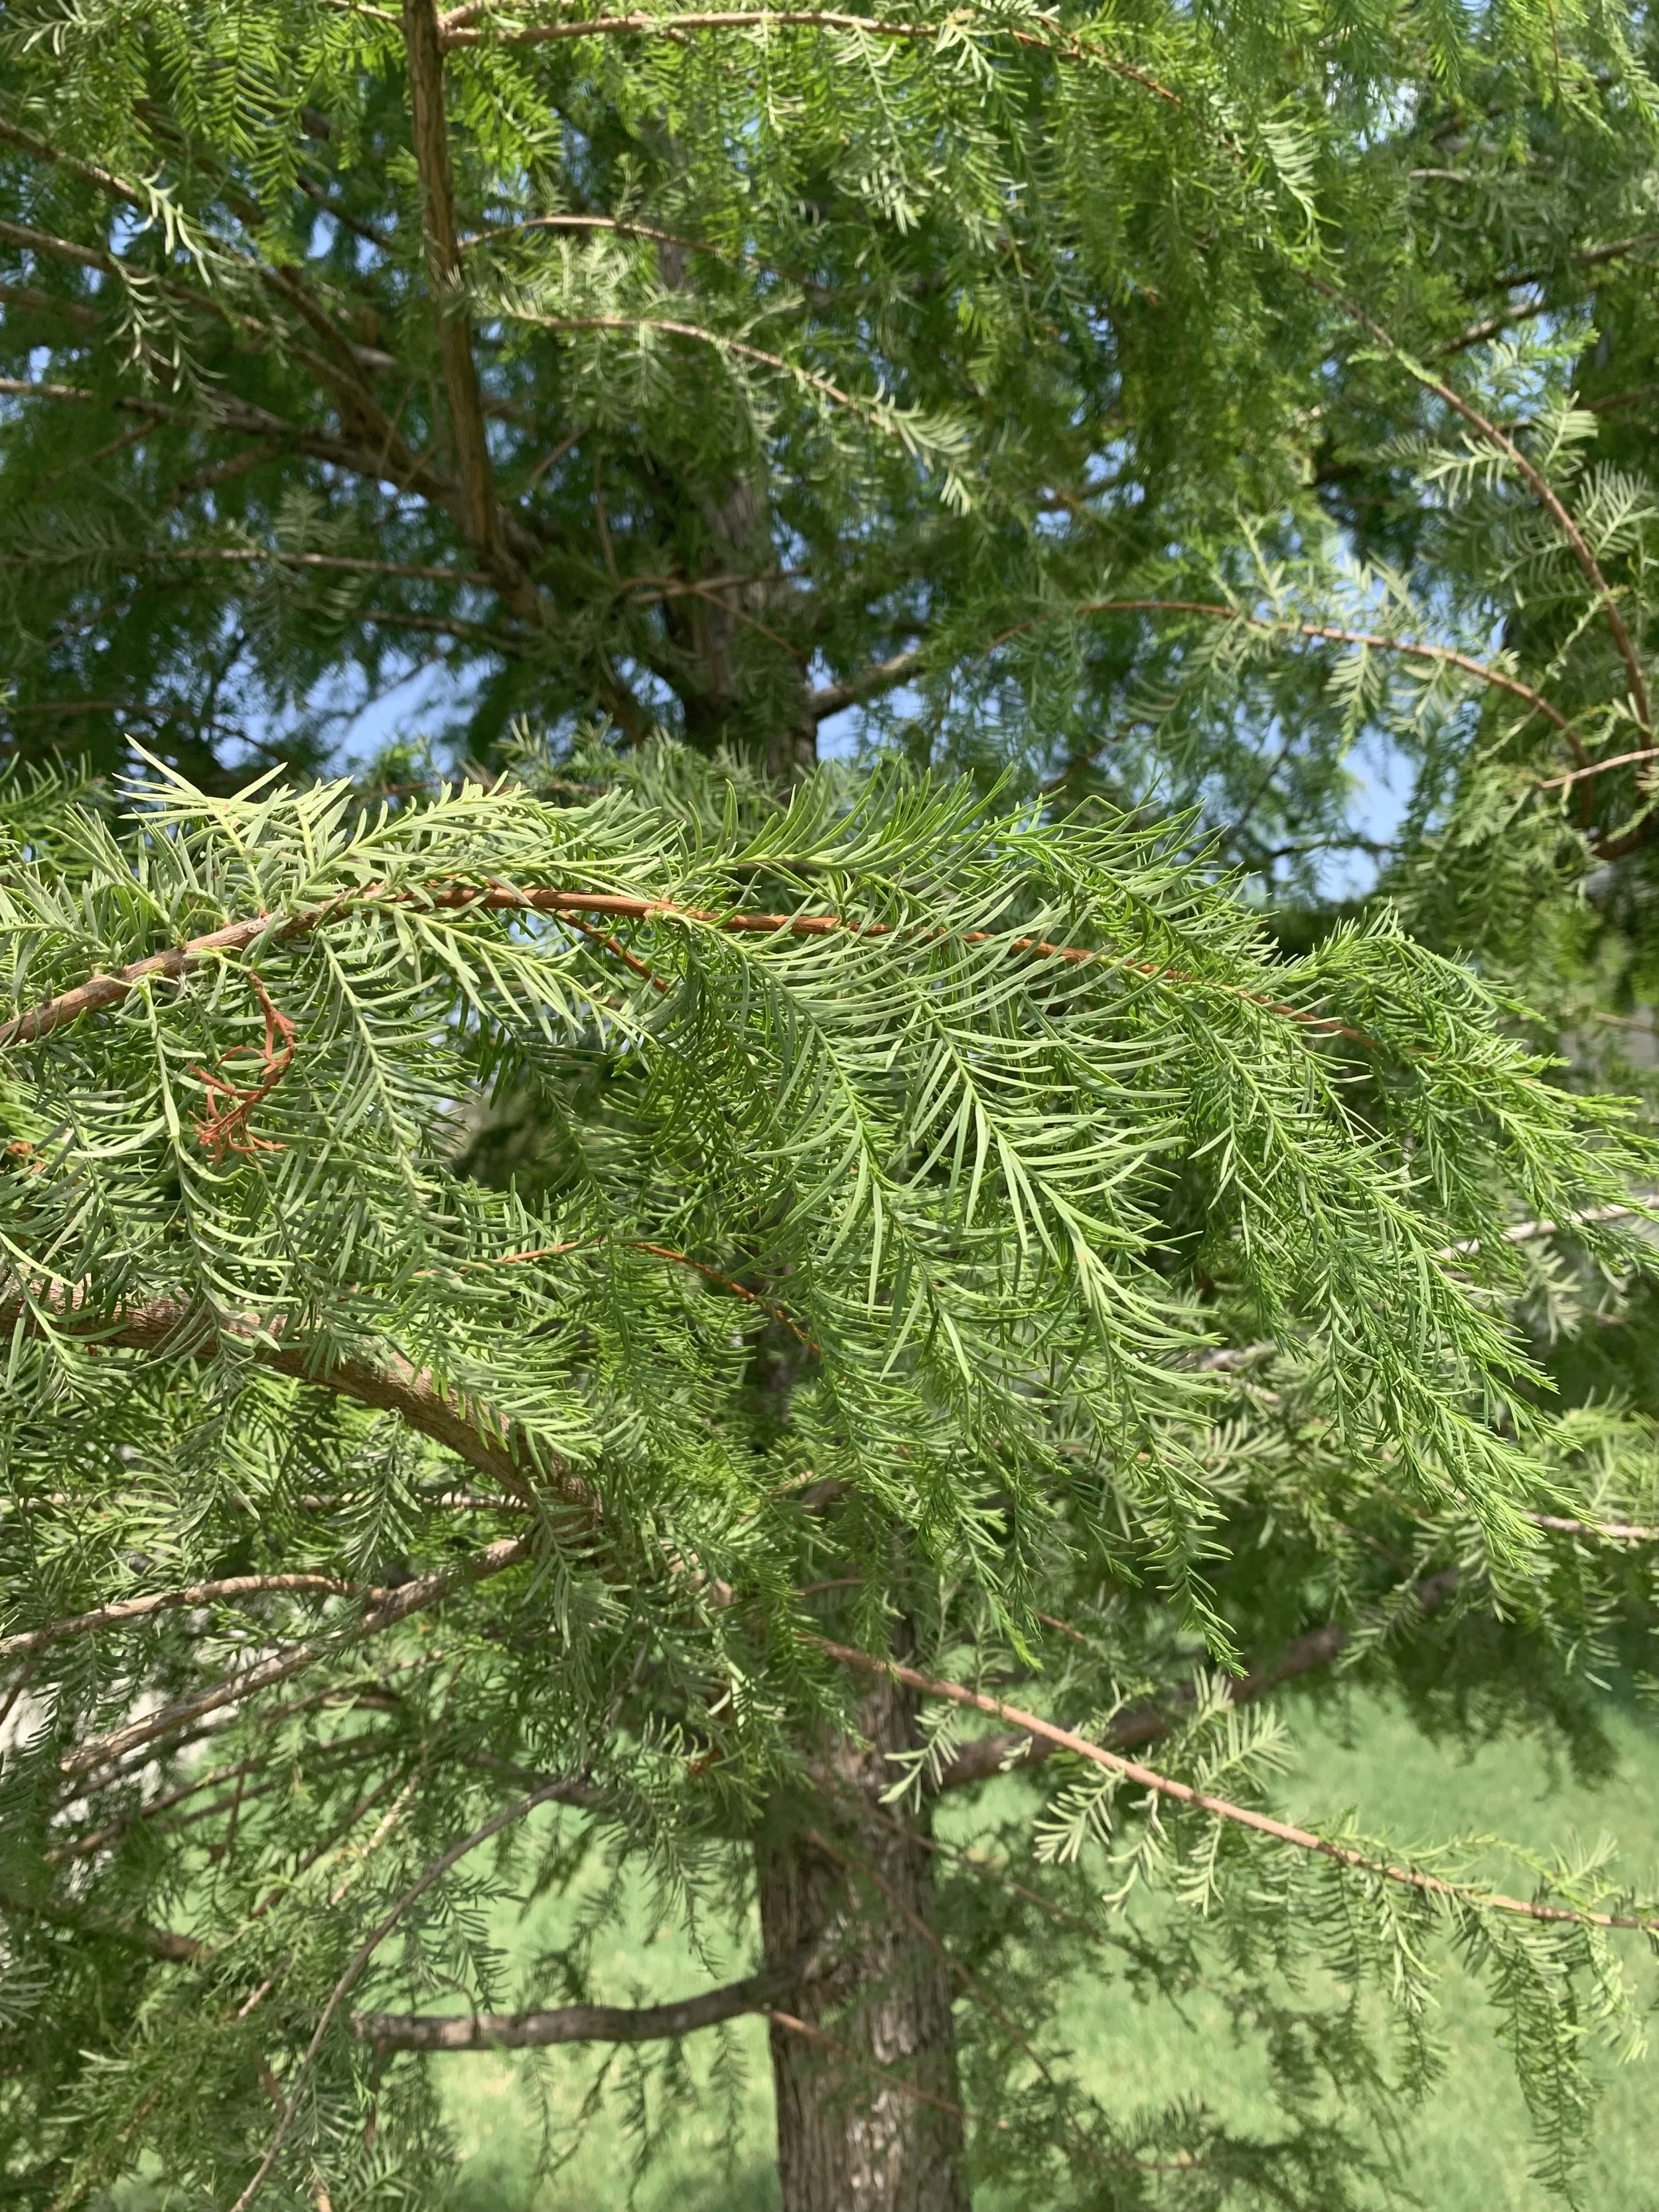
An early indication of drought stress is drooping or wilting leaves in the afternoon, such as the needles on this bald cypress are doing. If the next morning the needles look normal, no extra watering is needed.
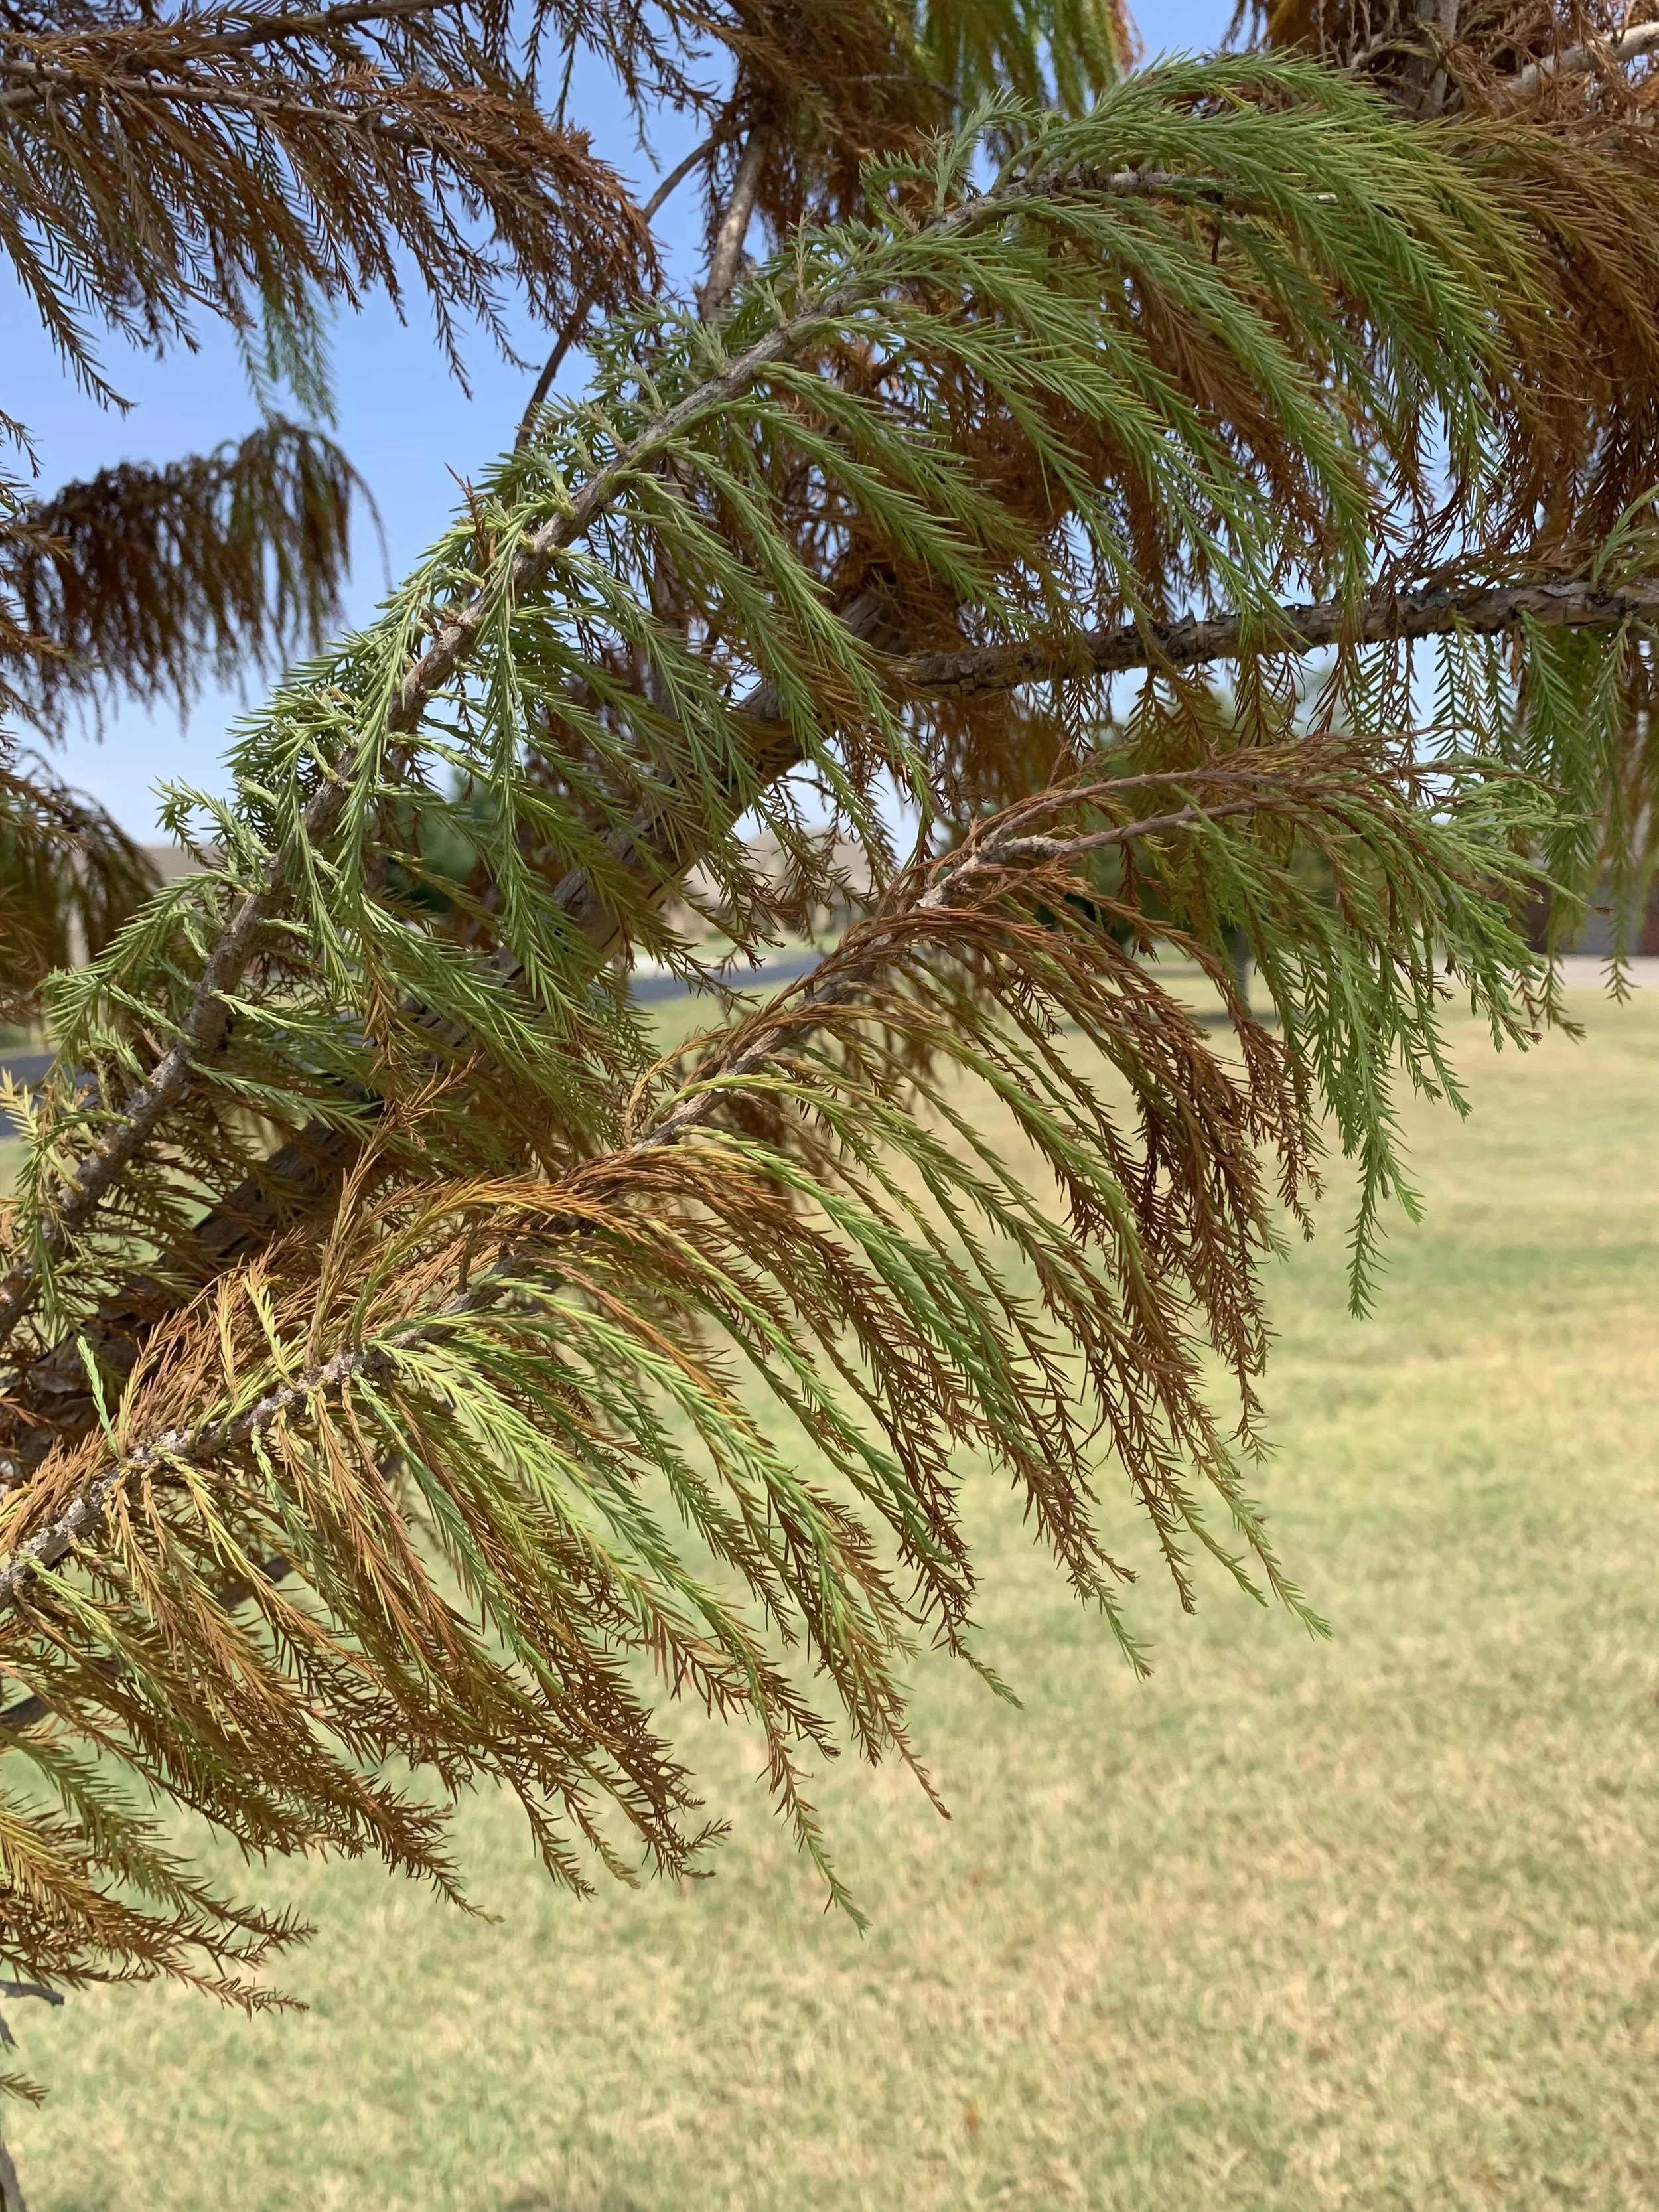
Permanent wilting is underway on this bald cypress. Supplemental watering is needed to reverse drought stress.
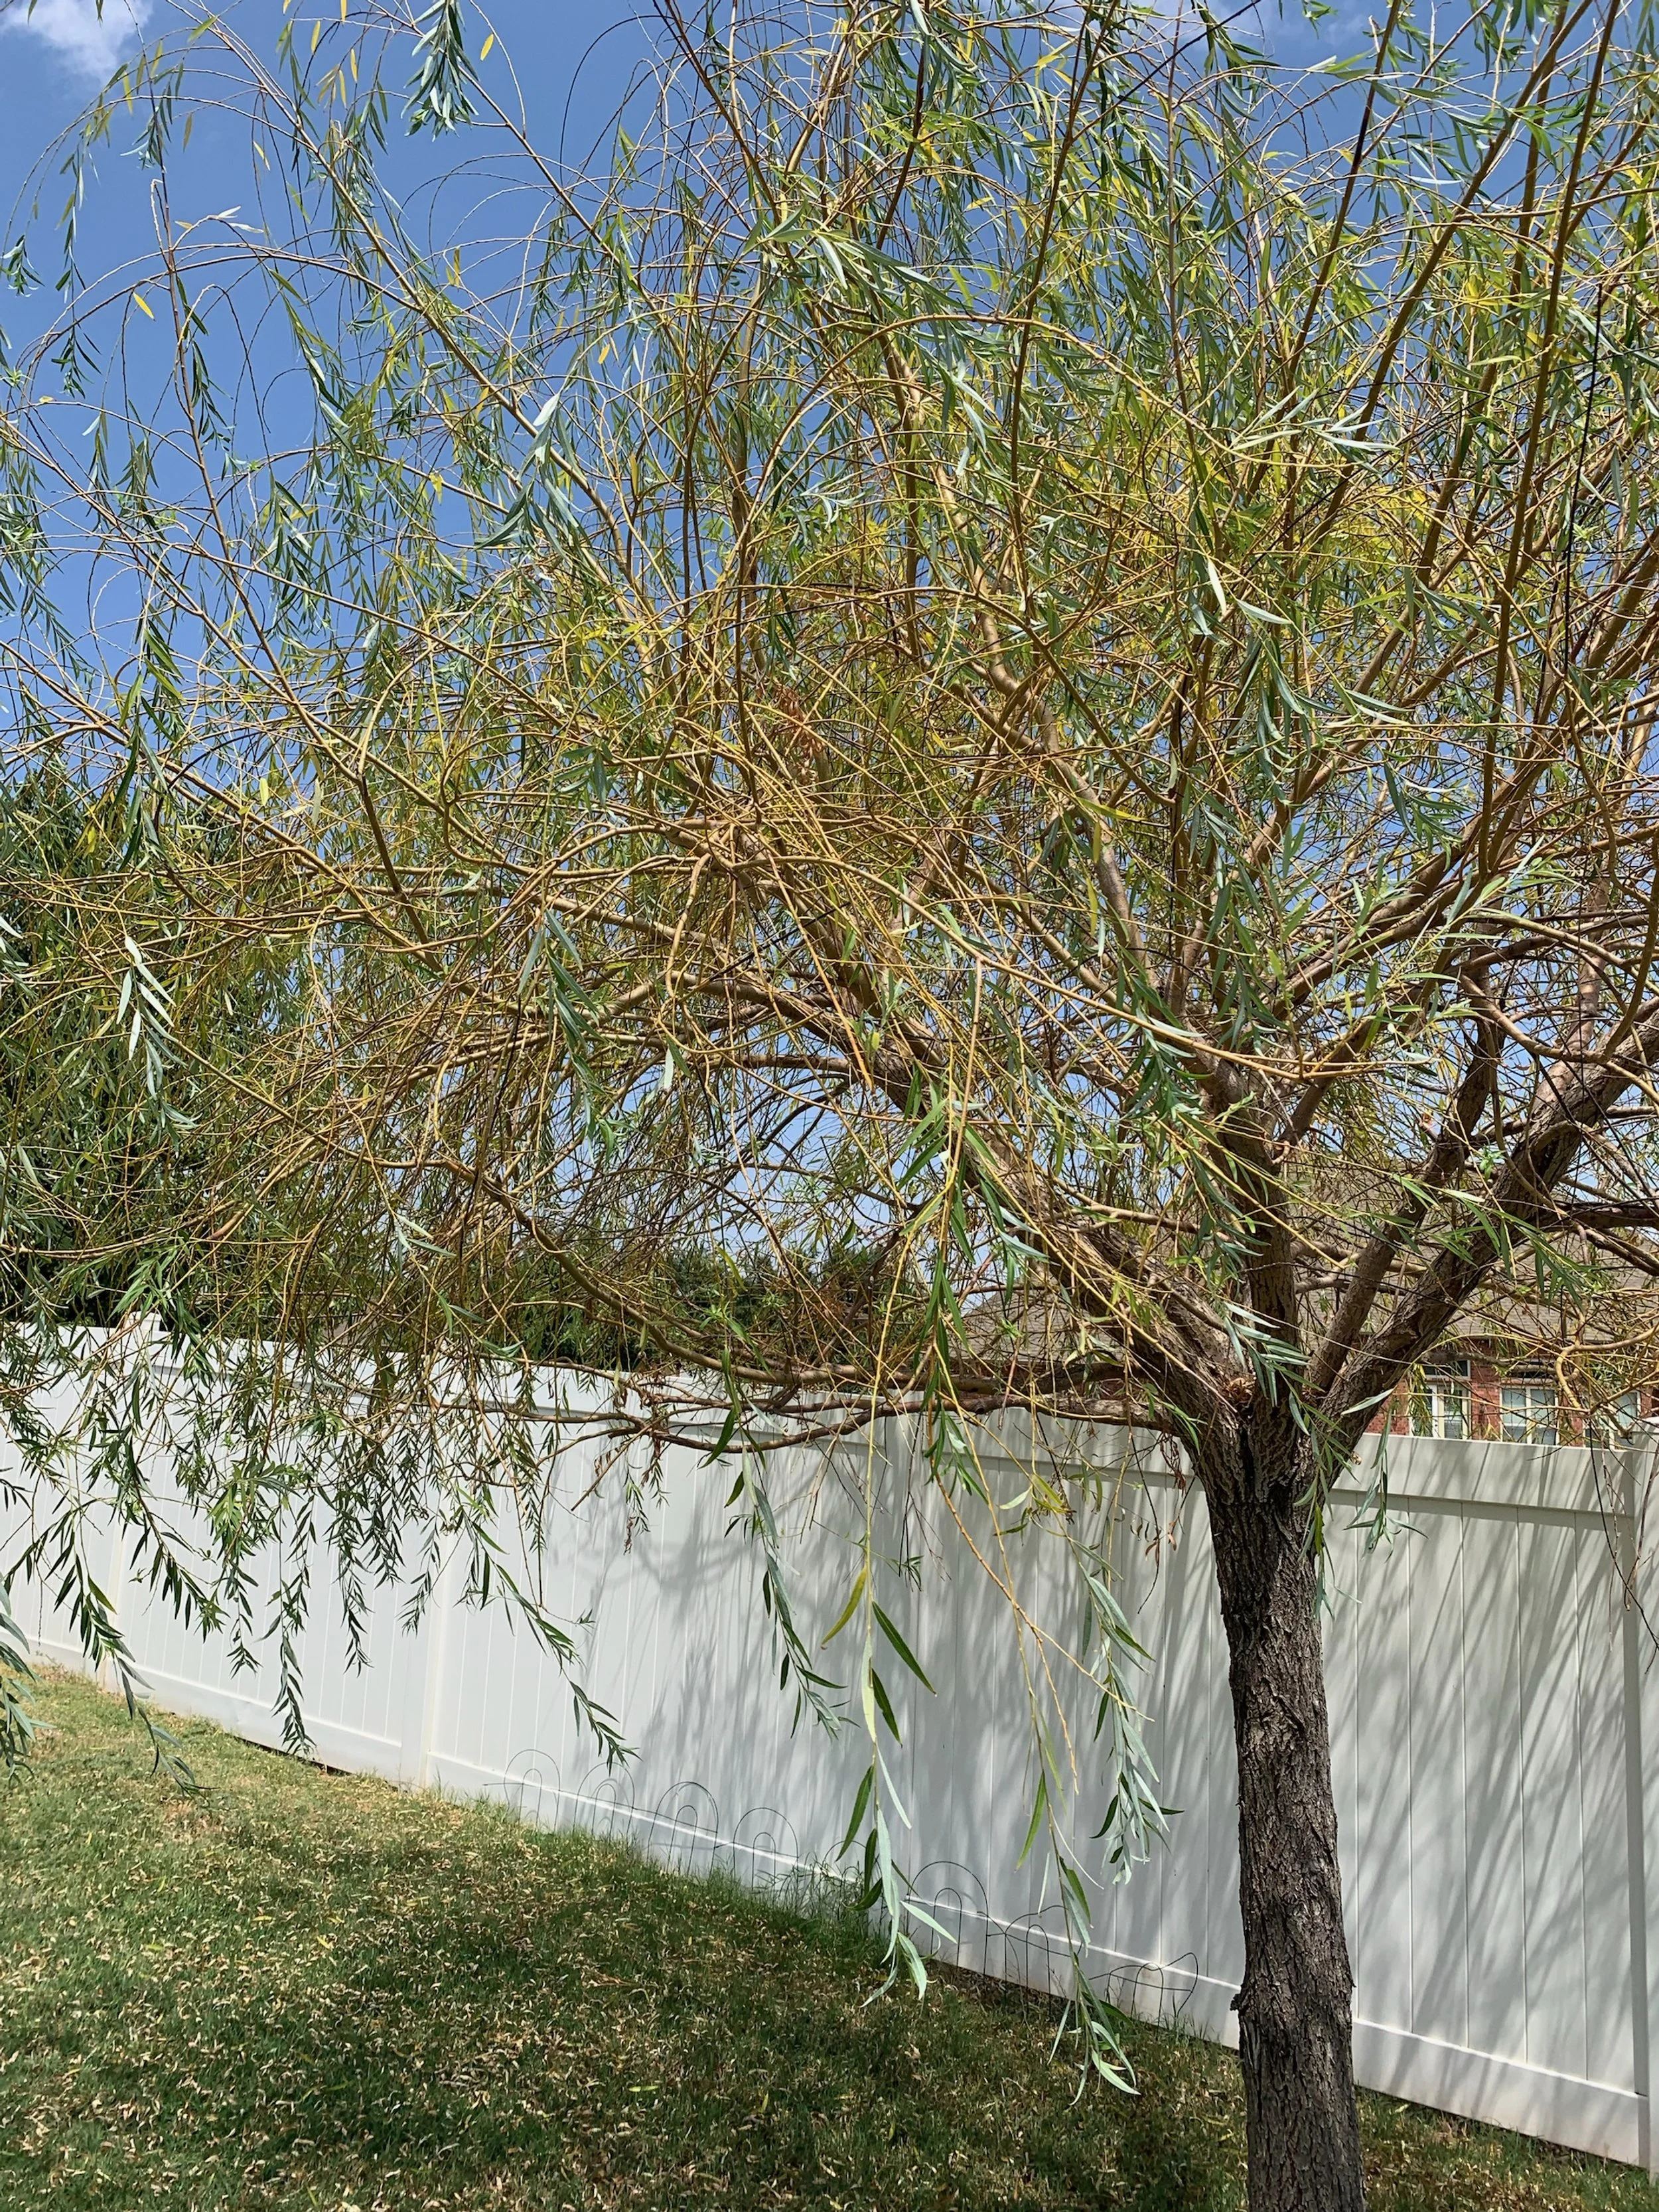
Willow trees love moisture. It is not uncommon for willows to be one of the first trees to show drought stress by dropping excess leaves. Some leaf drop is good during a drought and part of a trees defense system to survive.
Depending upon the species, a full-grown tree can use up to 250 to 500 gallons of water per week when temperatures are high.
A 10-year-old tree in your landscape is looking for 50 gallons of water every day.
A tree’s need for water is high on hot days because 90% of the water a tree takes in is being lost through transpiration.
What is transpiration? Water is absorbed by the roots, and moves up the trunk to the branches out to the leaves where the water is released as water vapor. Transpiration is not all bad. The water vapor cools the leaves 10-15 degrees as it is released.
Do not assume if your grass is green that the trees in your lawn are receiving enough water. Trees and grass are competing for the same water. Deep soaking is required to get enough water for both the turf and tree roots.
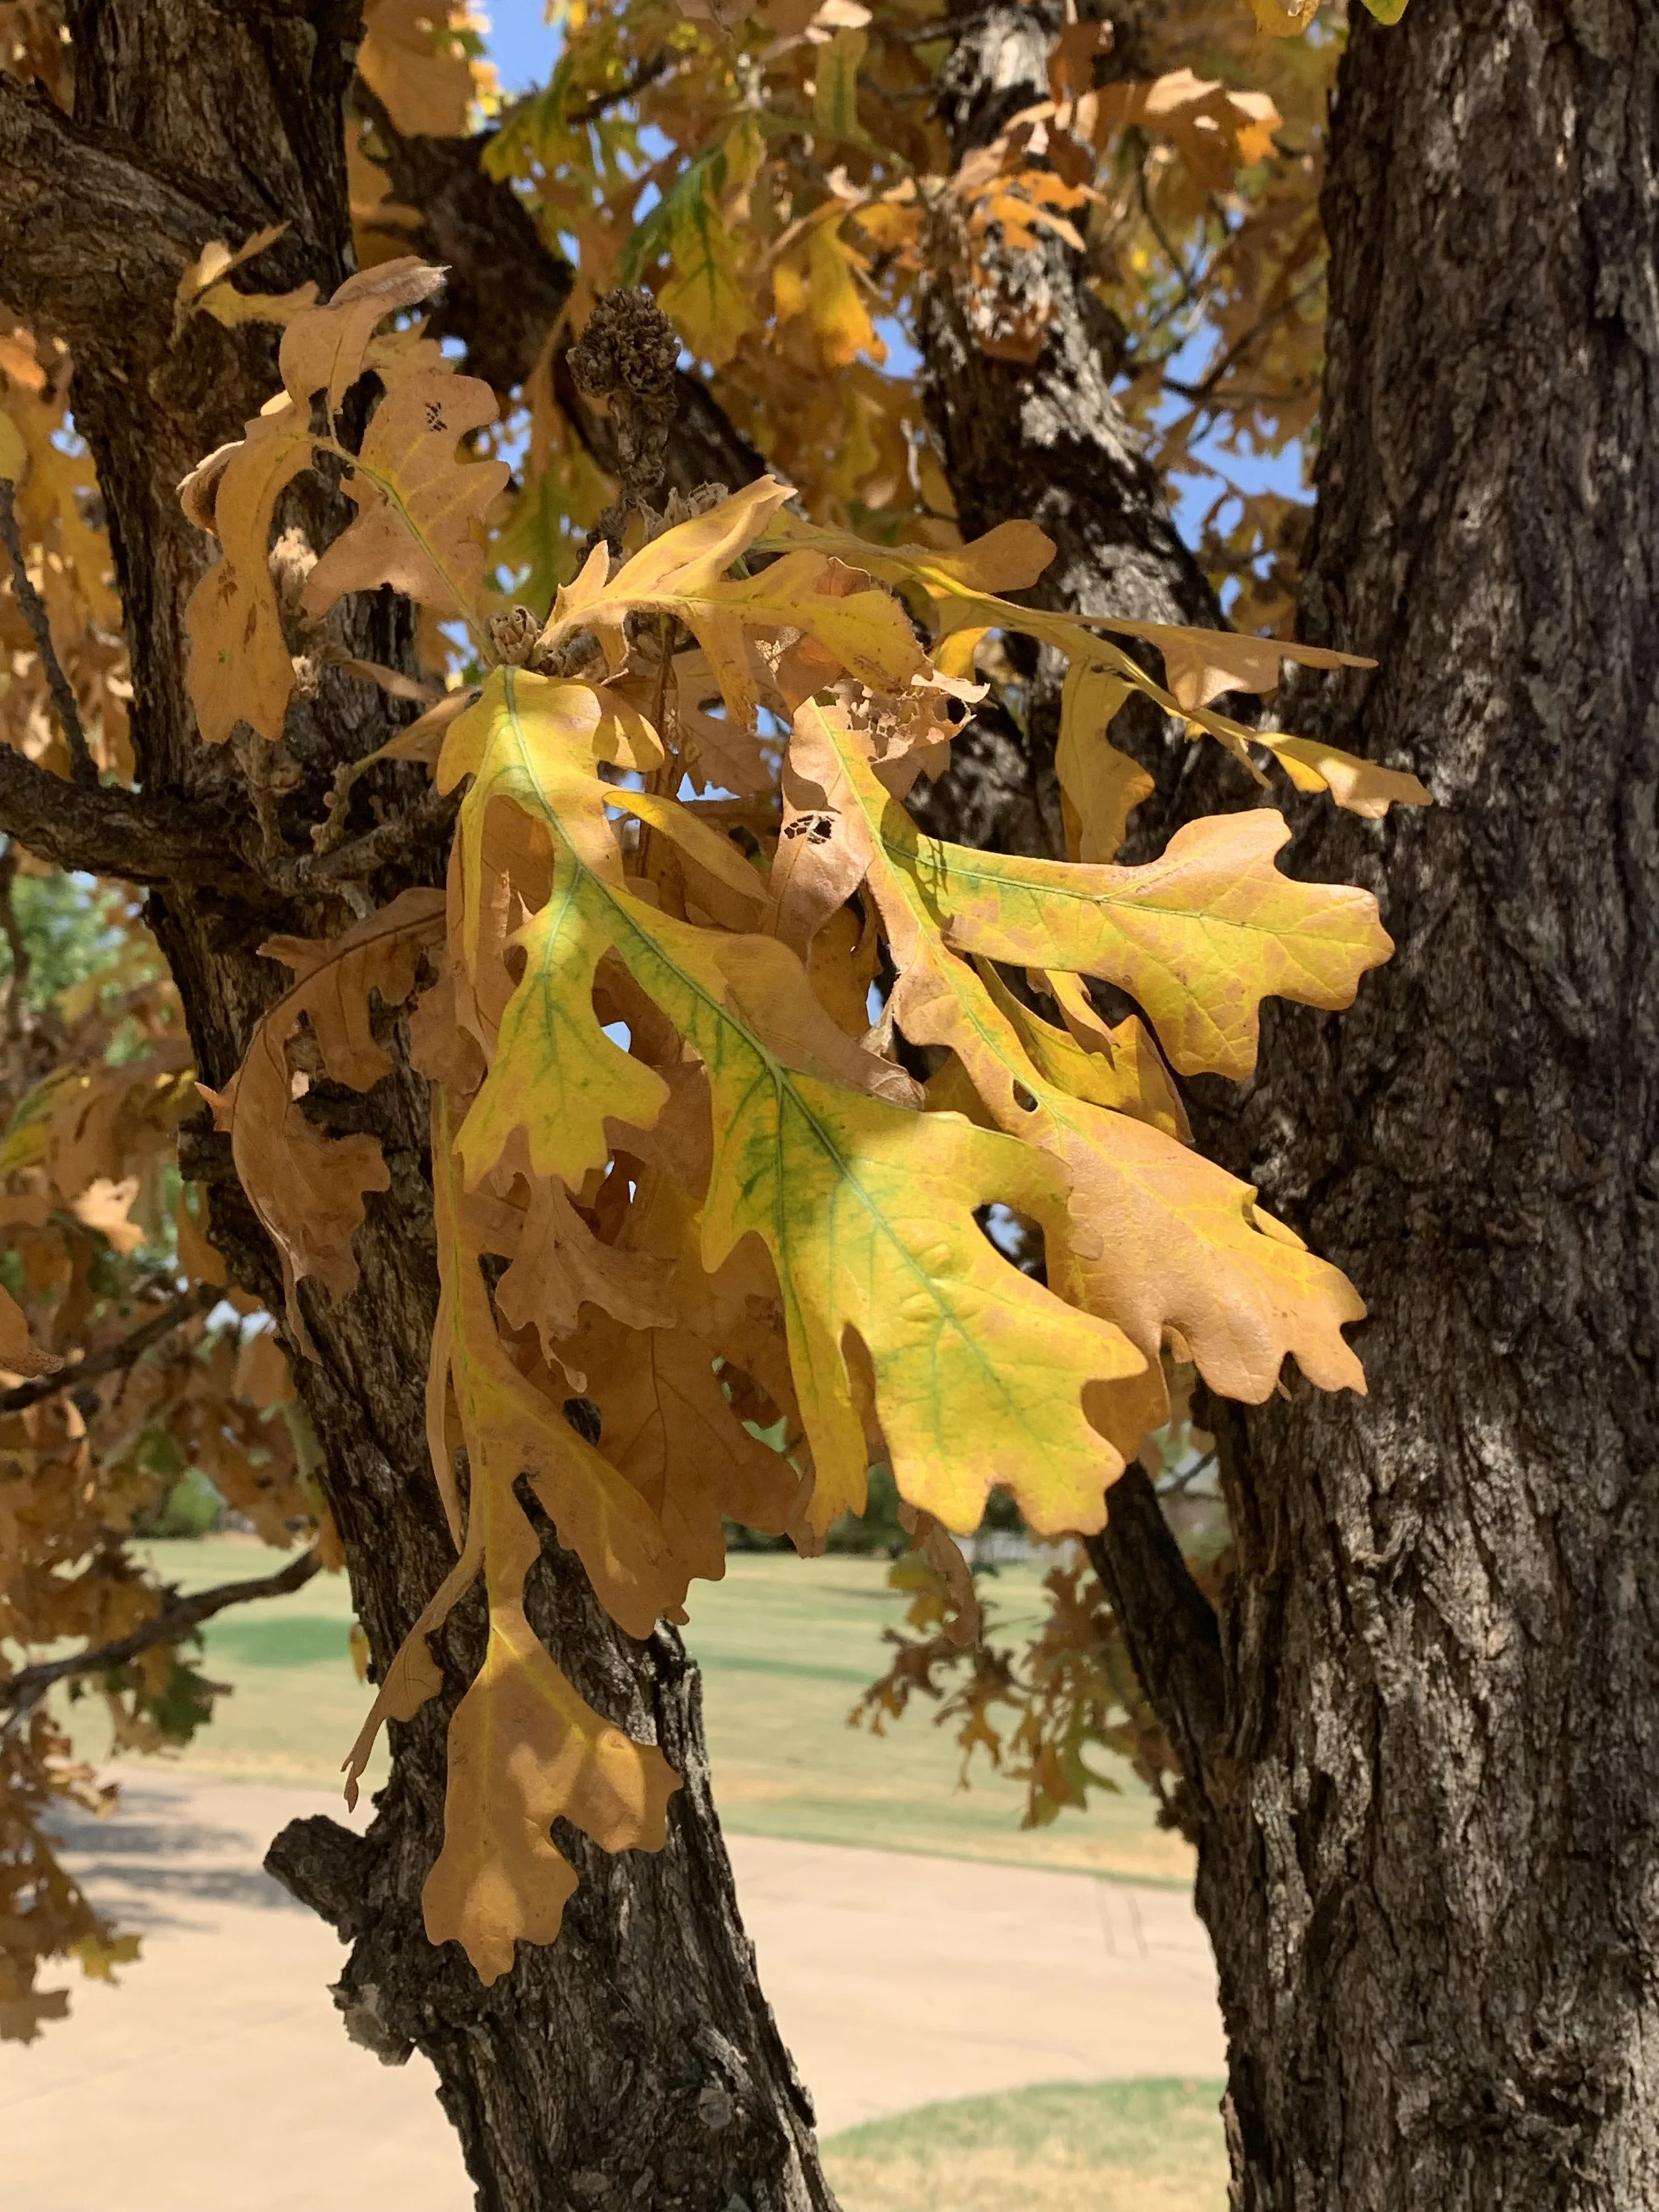
Yellowing or fall-colored leaves during the growing season is a sign that drought stress is advancing. Deep soaking of the entire area under the canopy of the tree every other day should be started immediately.
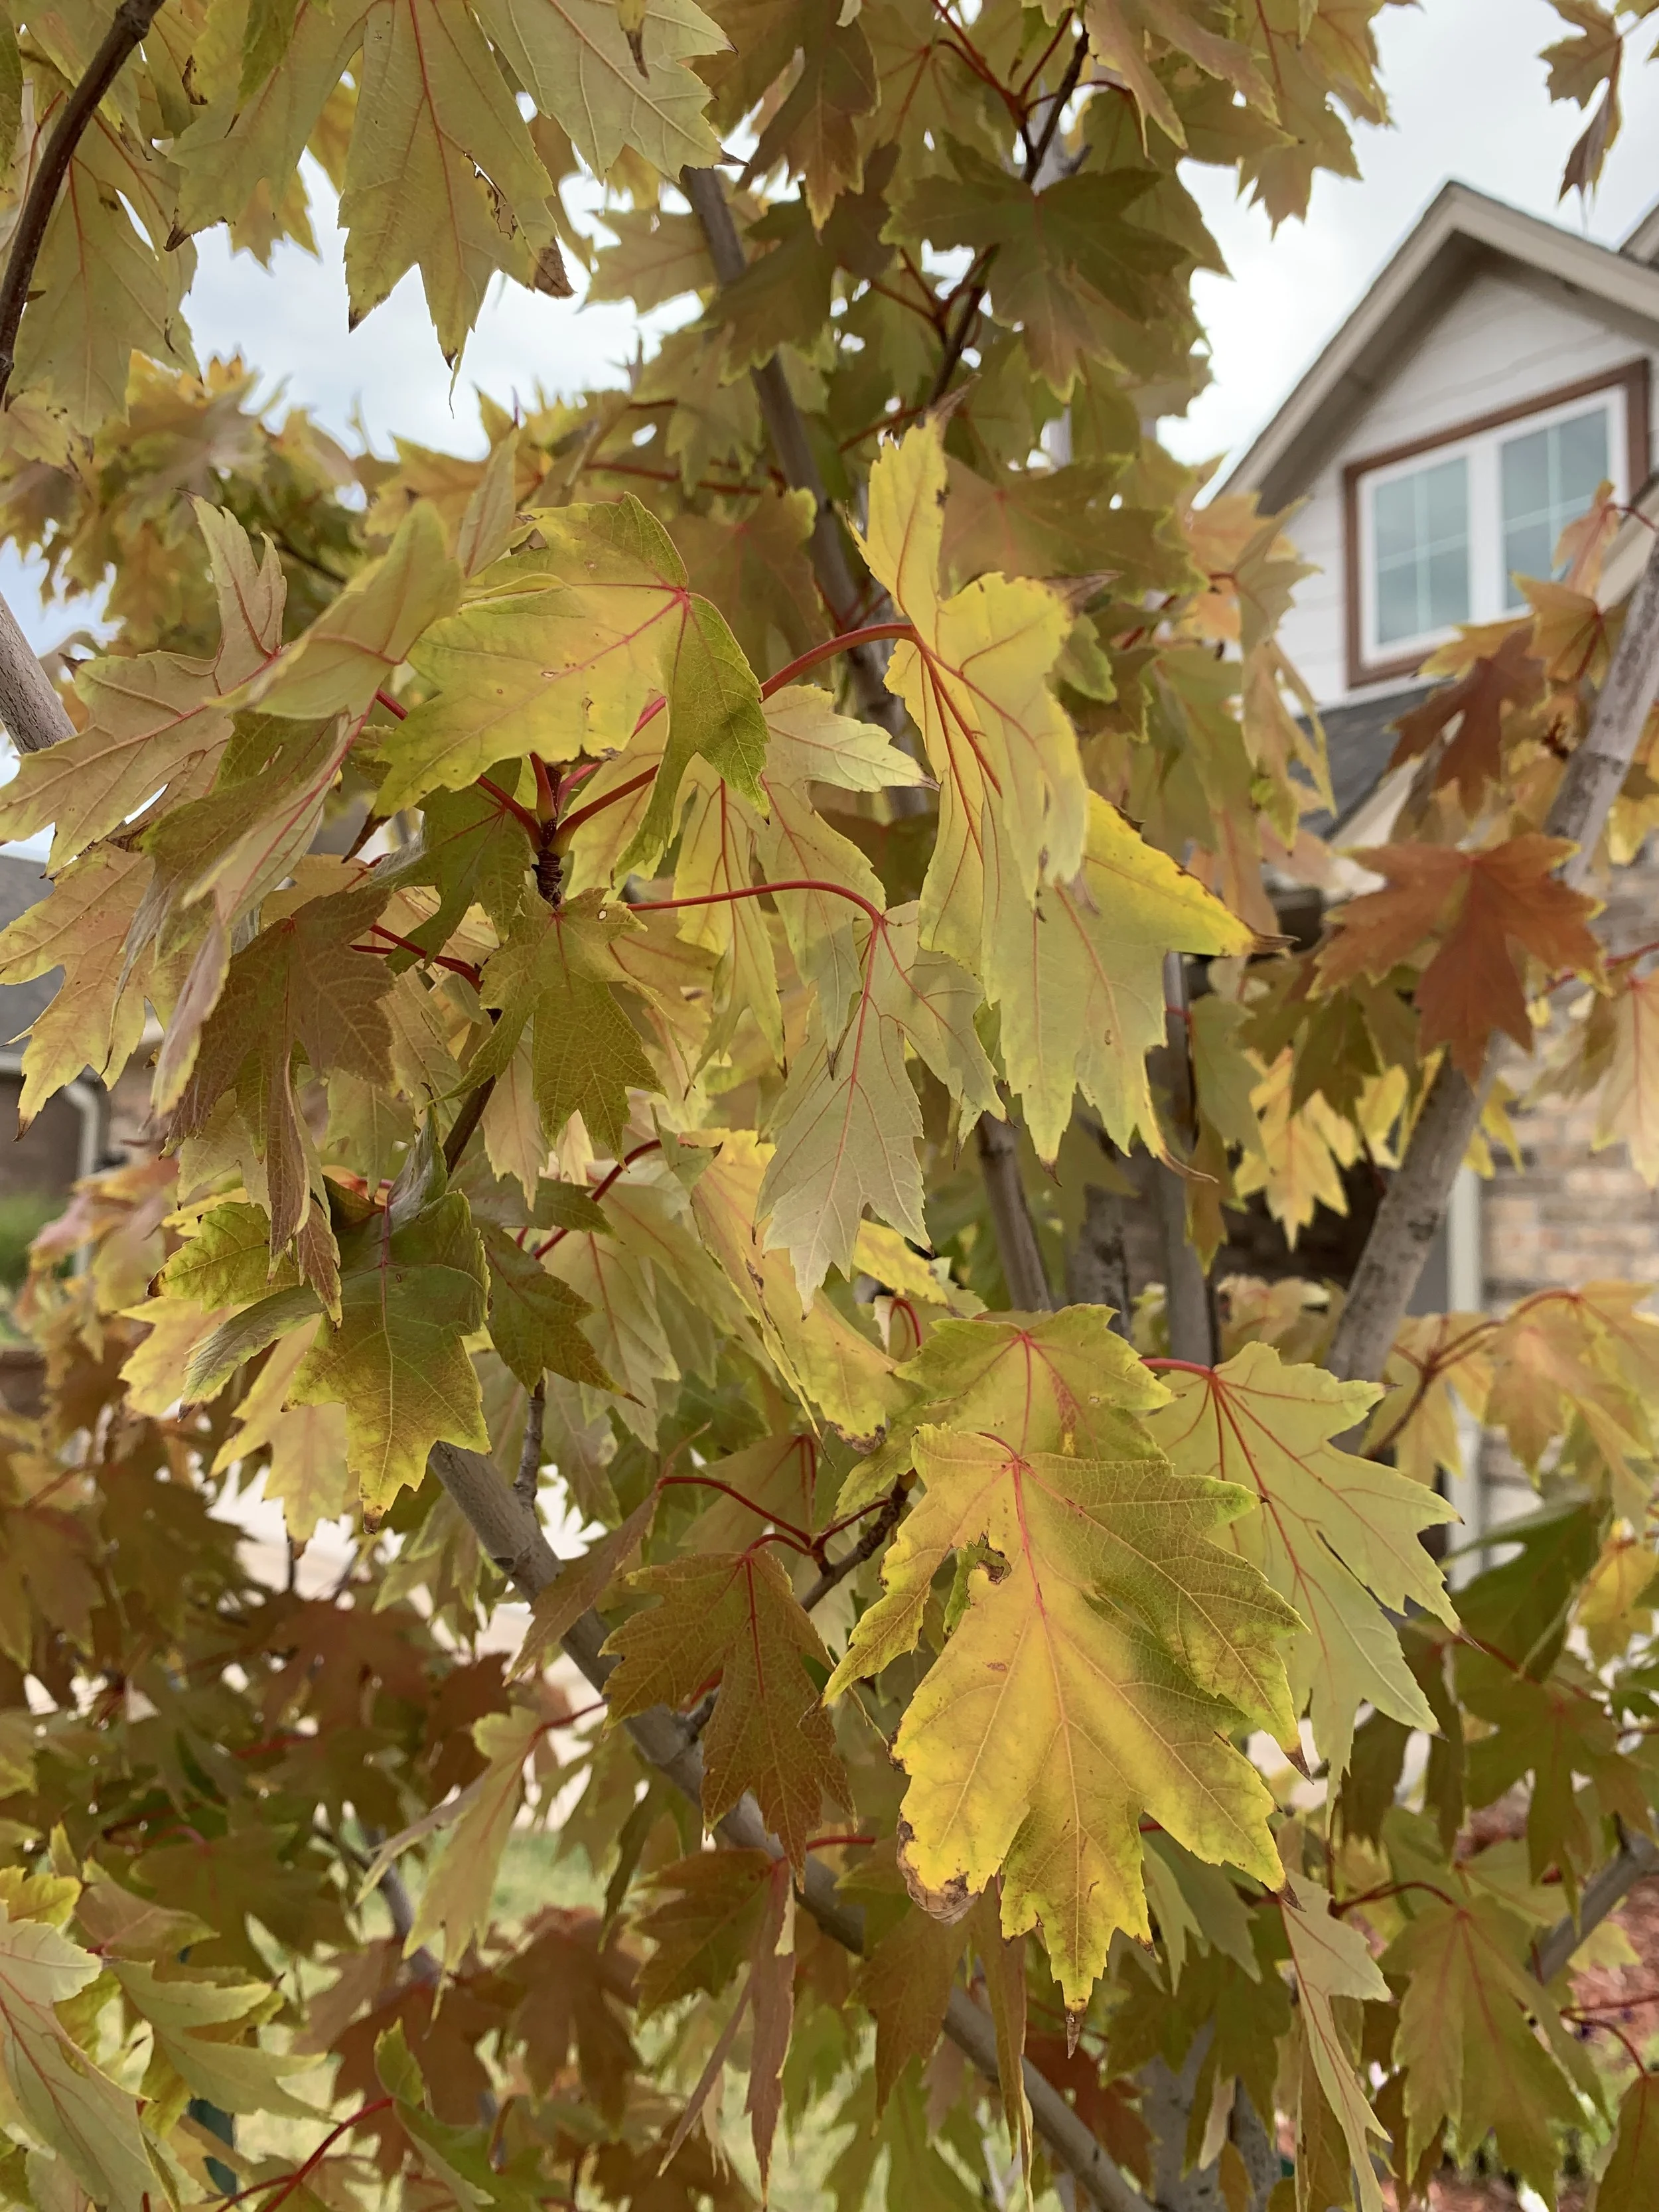
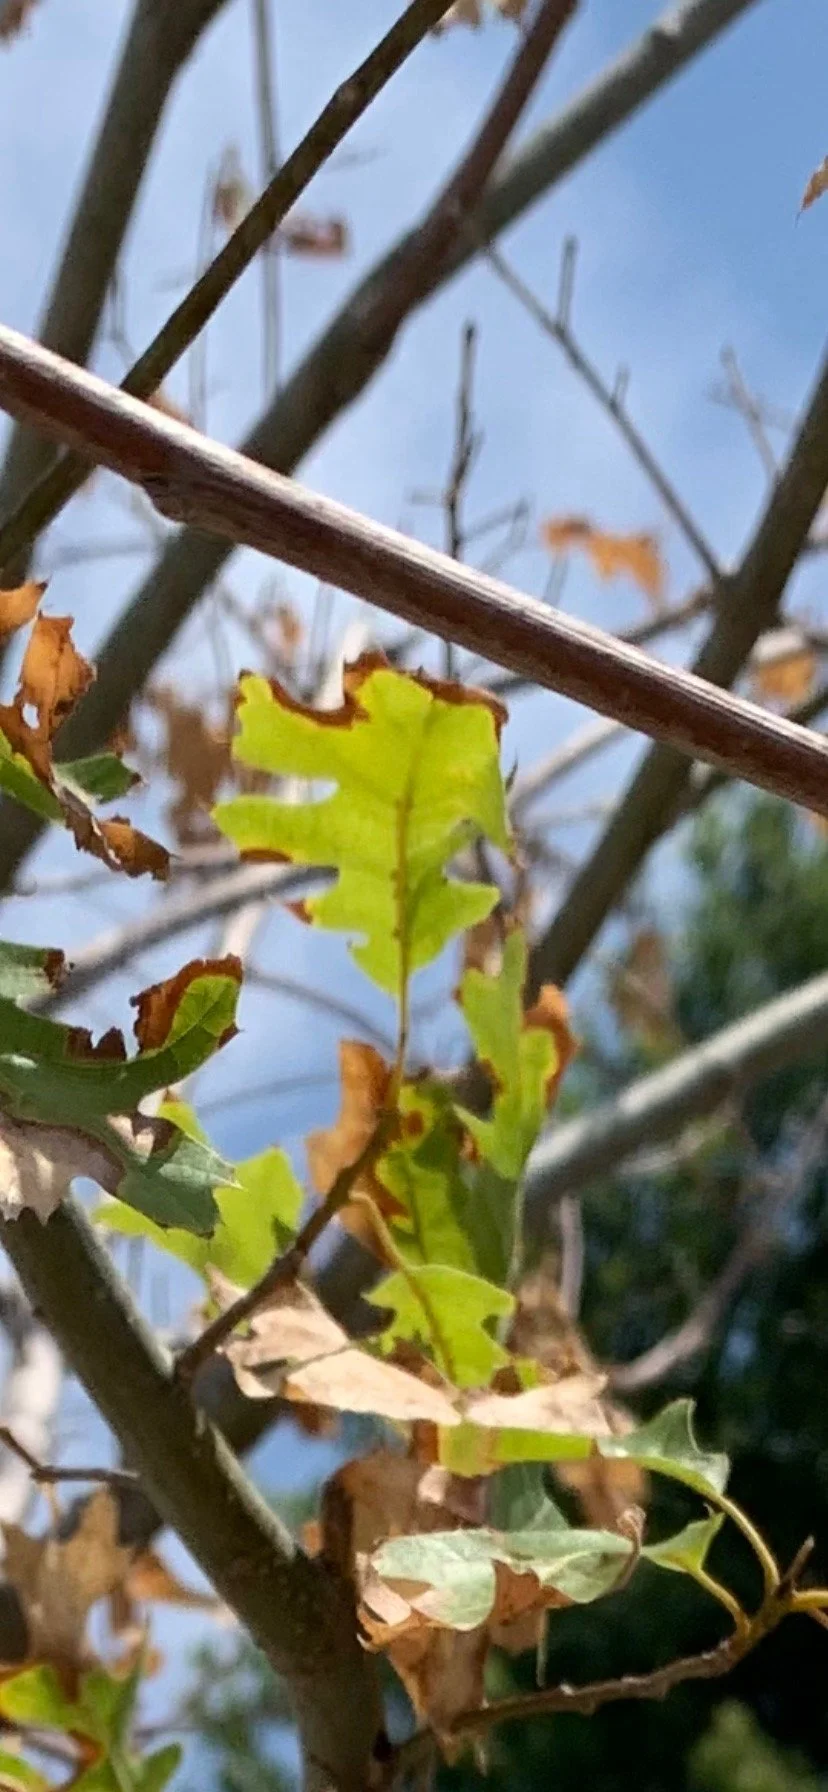
When the edges of the leaves are brown or have a burned appearance the tree will soon begin to defoliate.
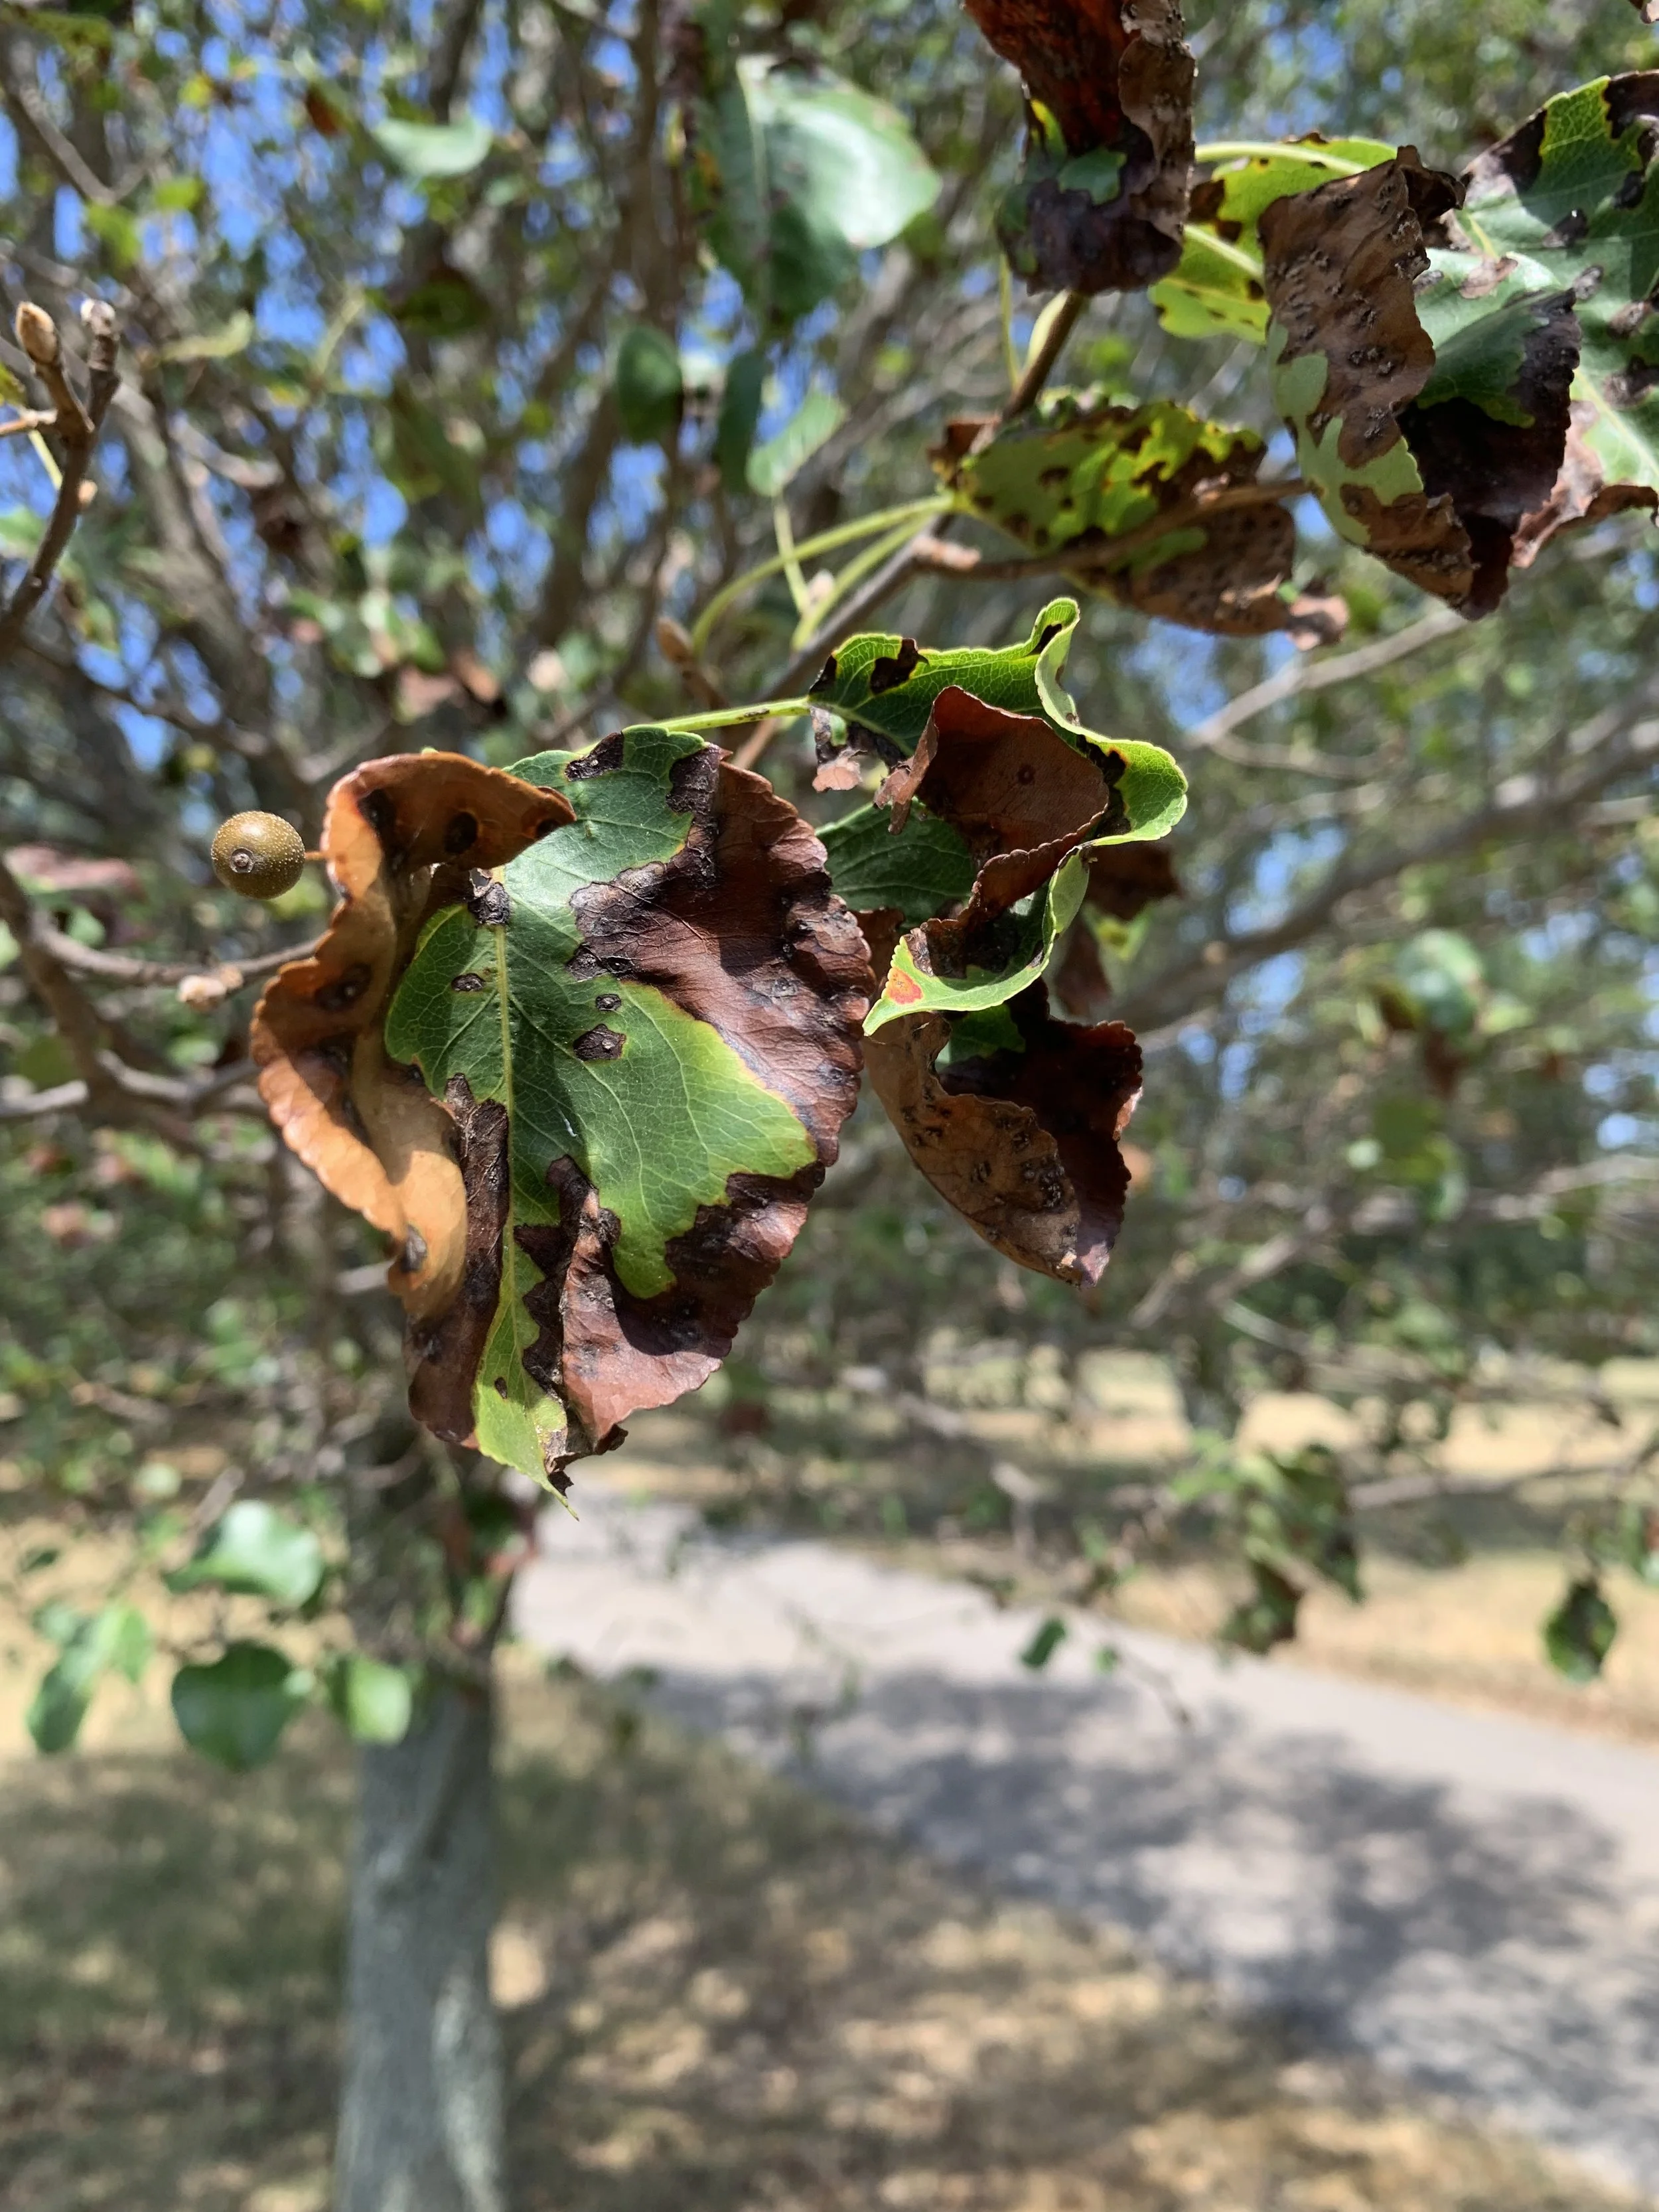
Browning or burnt edges are a signal you need to start deep soaking the area under the trees canopy now.

As long as the buds located at the end of the branch remain soft and supple, the tree will put on new leaves as soon as it receives sufficient moisture.
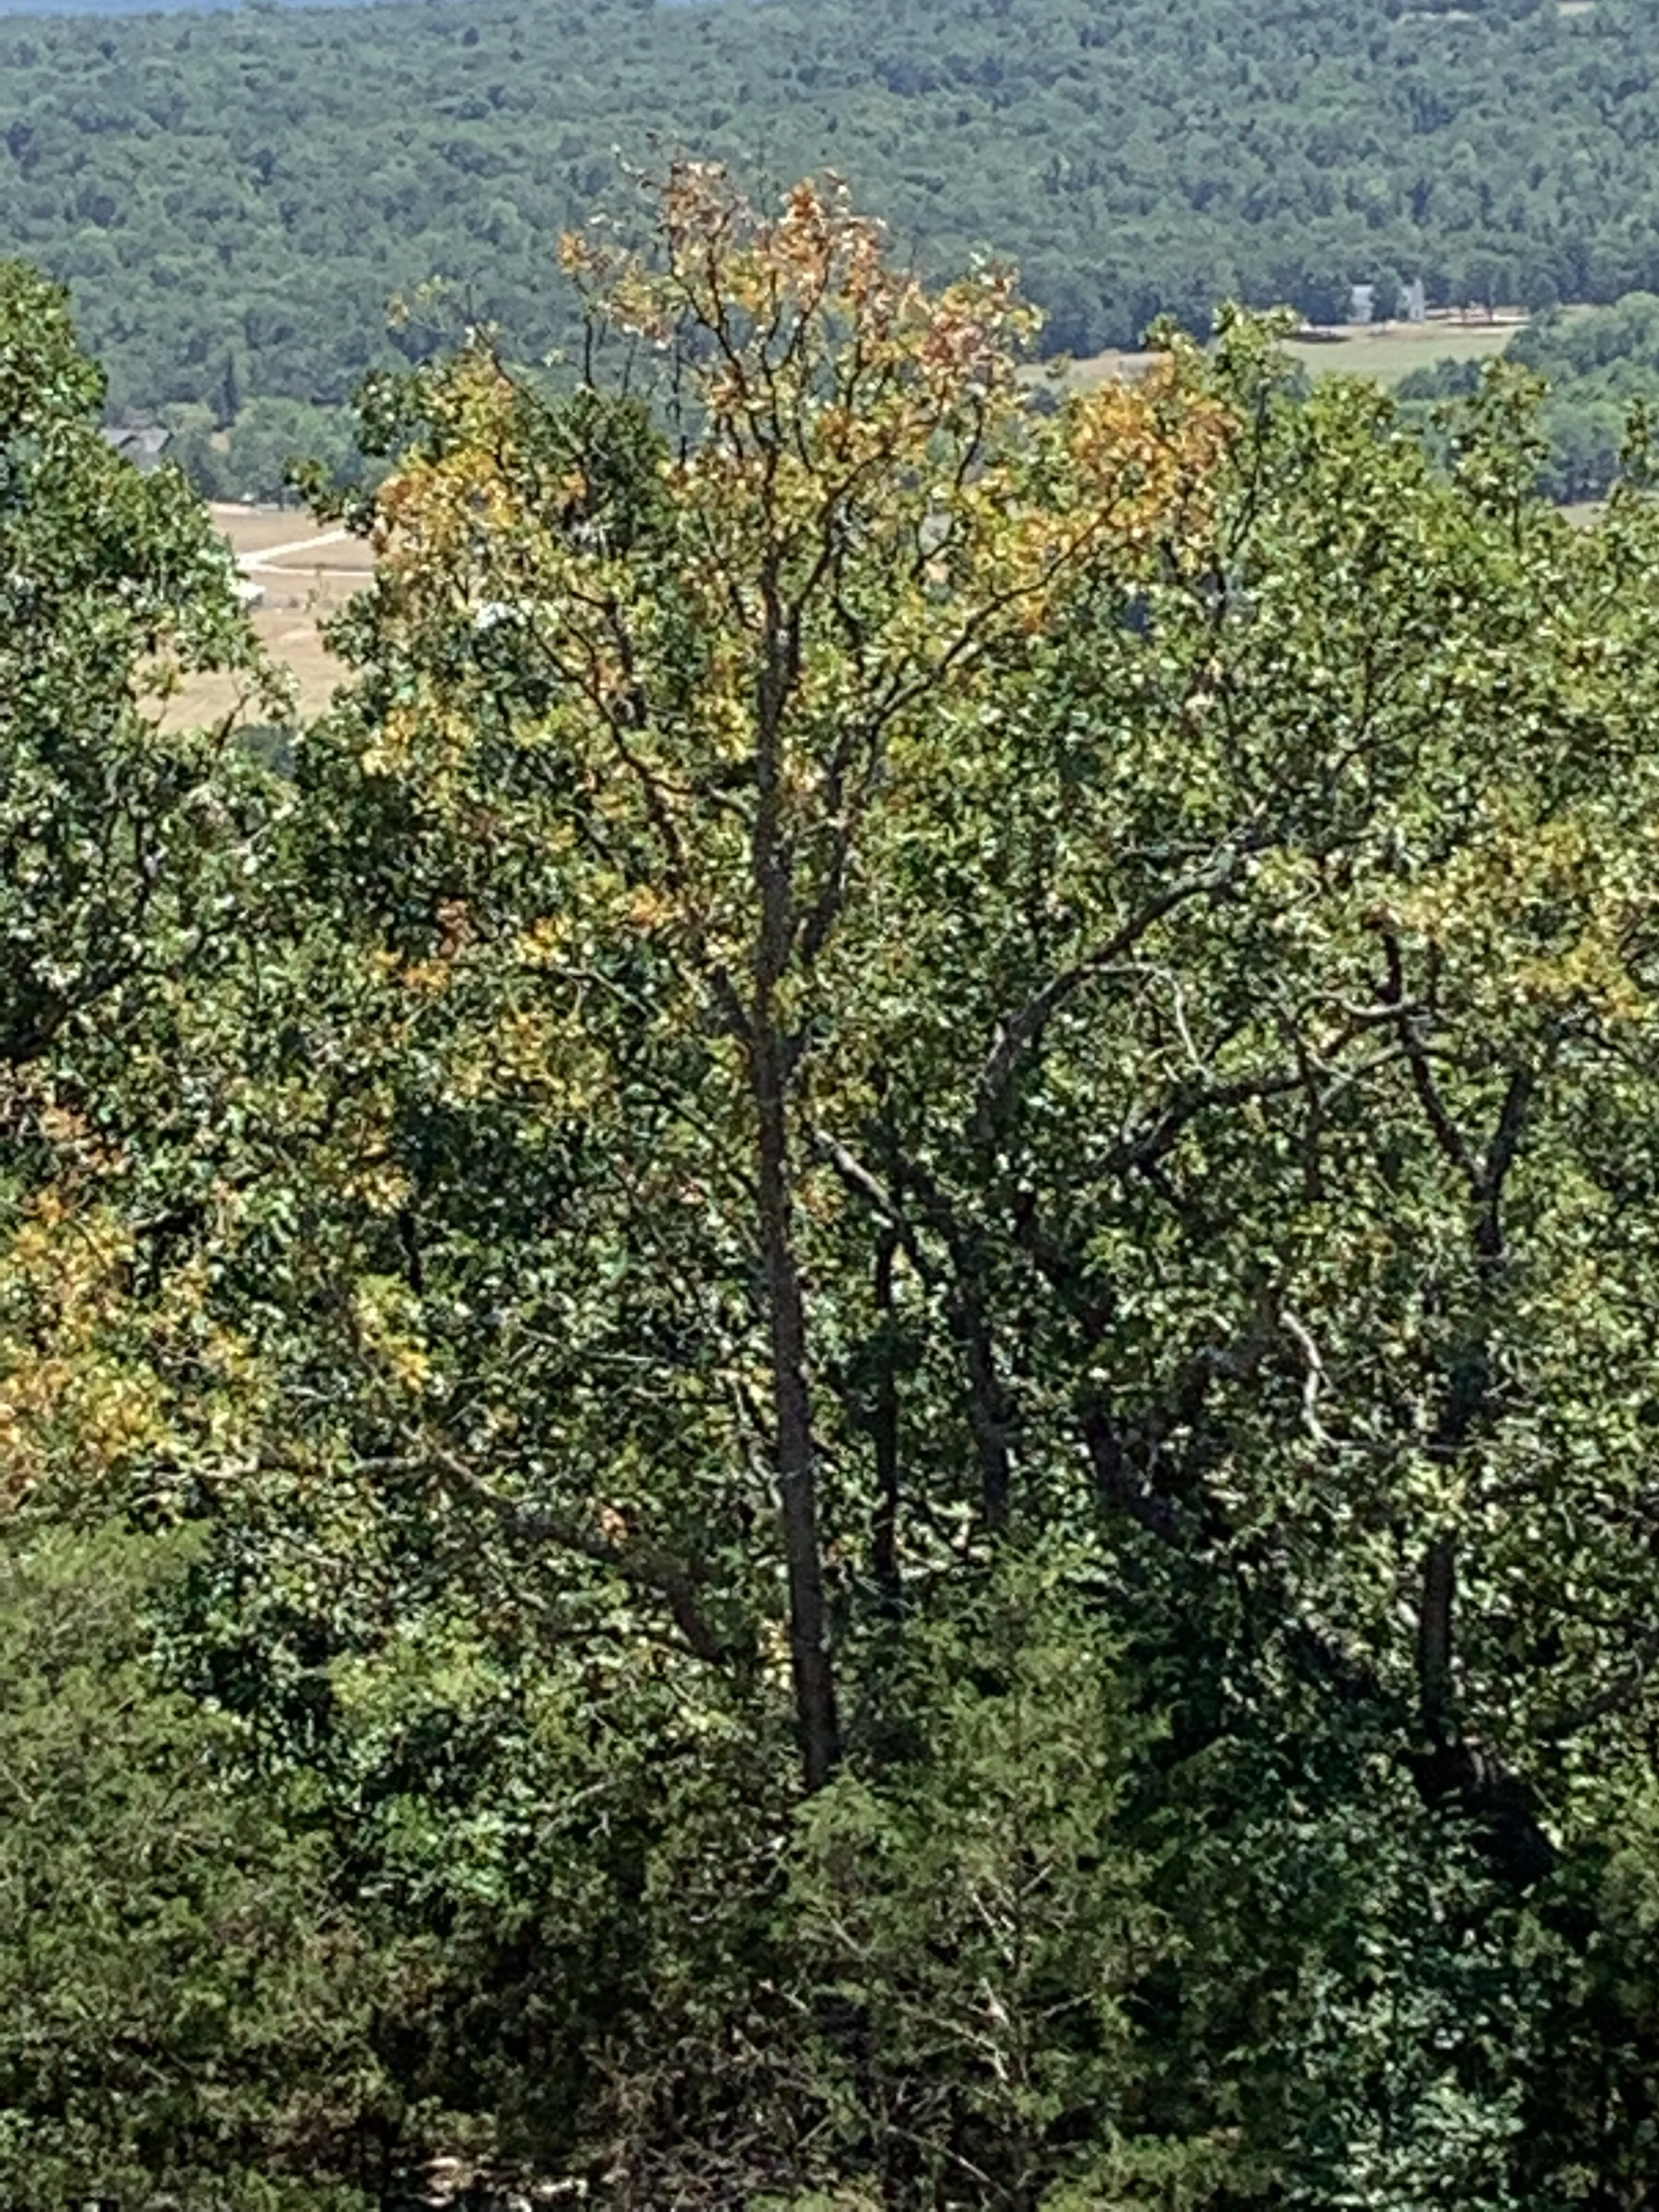
It is common for mature trees suffering drought stress to start yellowing in the top of the tree first.
Mature Tree Survival
Most healthy, mature trees (trees with at least a 6” wide trunk and have been planted for at least 2 years) can sustain a drought without supplementary water because of their large root system. Trees that are weak because of previous stress will be the first trees to show signs of drought stress.
How do you know if your mature trees need supplementary watering during a drought?
Water if there are visible signs of drought stress.
Water if the area under the tree canopy is dry. A good way to test dryness is to take a large 6-8” screwdriver and press it into the soil in a few locations under the canopy of the tree. If the screwdriver doesn’t easily slip into the soil, it is time to start watering.
Even during a drought soil around a tree should be moist enough you can easily slip a 6-8” screwdriver into the soil.
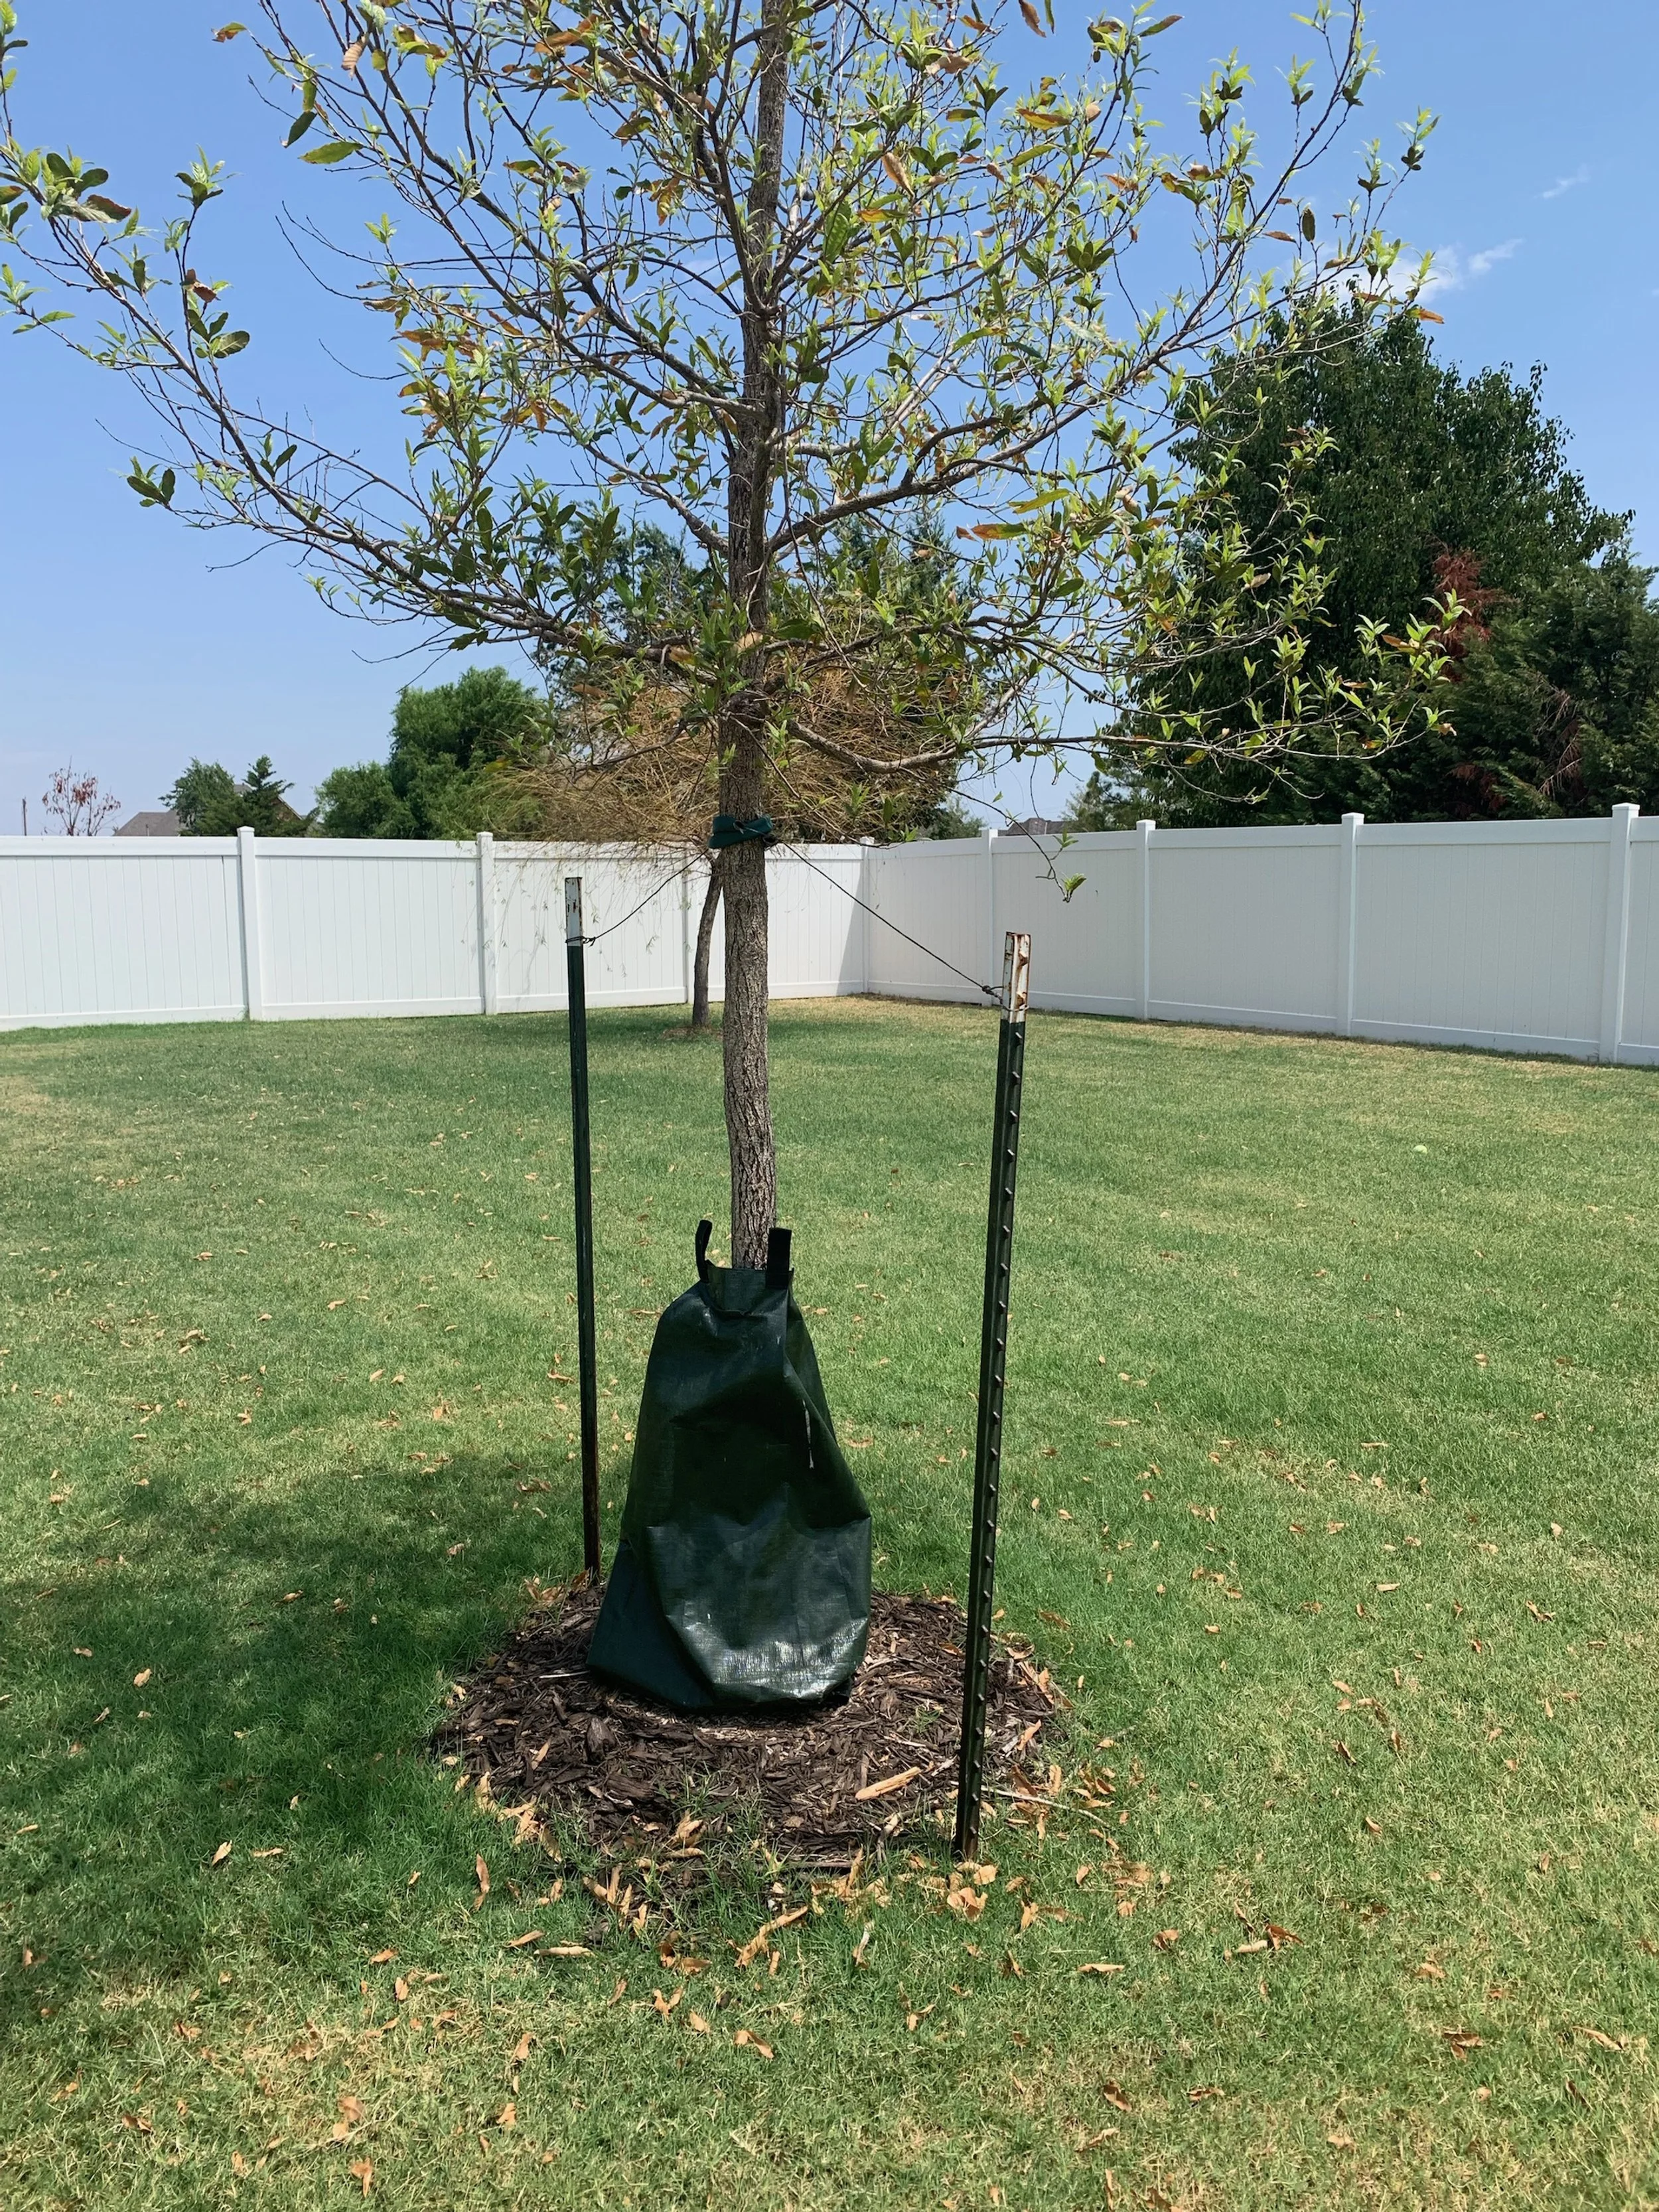
A 20 gallon Treegator bag is a good tool for deep soaking any tree planted in the last two years. The bag will slowly release water for two days. Refill the bag every 3-4 days during hot weather.
Watering mature trees:
Water the entire area under the canopy of the tree.
Water deeply every 3-5 days in 95+ degree weather.
Allow 1-2 days between deep soakings for the area to dry. Roots need air as much as they need water. When the soil is saturated all the air is replaced with water and root damage will occur.
Daily shallow watering is not helpful. The most active tree roots are in the top 12” of the soil. The goal is to get water 12” deep.
Place small containers around the area to measure the amount of water. Water long enough to get at least 1-2” of water on the area per week.
Young Tree Survival
Trees with trunks that are smaller than 6” in width or have been planted in the last two years are showing signs of drought stress if they have not received supplementary water the past few weeks.
Watering young trees:
In excessive heat and drought trees that have been planted in the last 30 days, need to receive at least 10 gallons every other day. Even if you have an irrigation system, additional watering is required during the heat of the summer.
Trees planted anytime in the last two years need at least 10 gallons of water every 2-3 days during our current weather pattern.
Treegator bags are a good tool for watering new trees. The original Treegator holds 20 gallons of water that slowly drips out over two days.
During the first two years of a tree’s life, maintain a grass-free 2-3” thick mulched area around the tree.
Two weeks ago this one year old tree began defoliation. The owner placed a Treegator bag around the trunk of the tree allowing water to slowly drip over the top of the root ball. The tree rebudded and now is producing leaves.
Most tree varieties, if healthy, can drop all their leaves during a drought and rebud once rain returns.
Once rain moisture returns energy stored in the roots is used to produce new leaves. As the tree gains leaves, the photosynthesis process starts again rebuilding energy in the root system.
A tree has a good chance of survival if enough energy can be stored in the root system before the tree endures more stress. An extreme winter, insect, or disease stress before the tree has a chance to replenish energy could be detrimental to the tree.
Drought alone may not kill your trees, but it may be the final blow to a tree that is already under stress. Most trees die from a combination of stressors, such as drought followed by pest or disease issues, or drought followed by winter injury.
Finally, increase inspection of trees the rest of the season, through the fall and next spring. Drought-stressed trees are prone to insect damage.
Remember, your trees and your lawn are competing for the same moisture. And right now, there may not be enough for both. Each week the drought continues, the need to supplement water your trees increases.
Protect your investment in your trees.
Protect the value of trees in our environment.
Do all you can to reduce the stress on your trees by inspecting for drought stress and supplementing water as needed.
Lorne Hall
Hall | Stewart Lawn + Landscape
(405)367-3873
Where Do Weeds Come From?

Ask a homeowner what their number one lawn concern is, and the most common response is “weeds.”
When a lawn care professional is asked what their number one lawn concern is for a client’s lawn, the most common response is “turf health.”
Both the homeowner and the lawn care professional have the same goal in mind: A thick, healthy turf.
Where do weeds come from and what is their relationship to a healthy lawn?

Developing a healthy, thick turf is 75% of battle in the fight against weeds.
Let’s start with defining a weed. A weed is anything growing where it is not wanted.
We automatically think of weeds in lawns or flower beds, but any plant in an unwanted location is a weed by definition. A weed is any unwanted, undesirable plant.
Some weeds can be pretty. Fields of henbit with their purple flowers are attractive. But, henbit growing in a Bermuda lawn is not desirable.
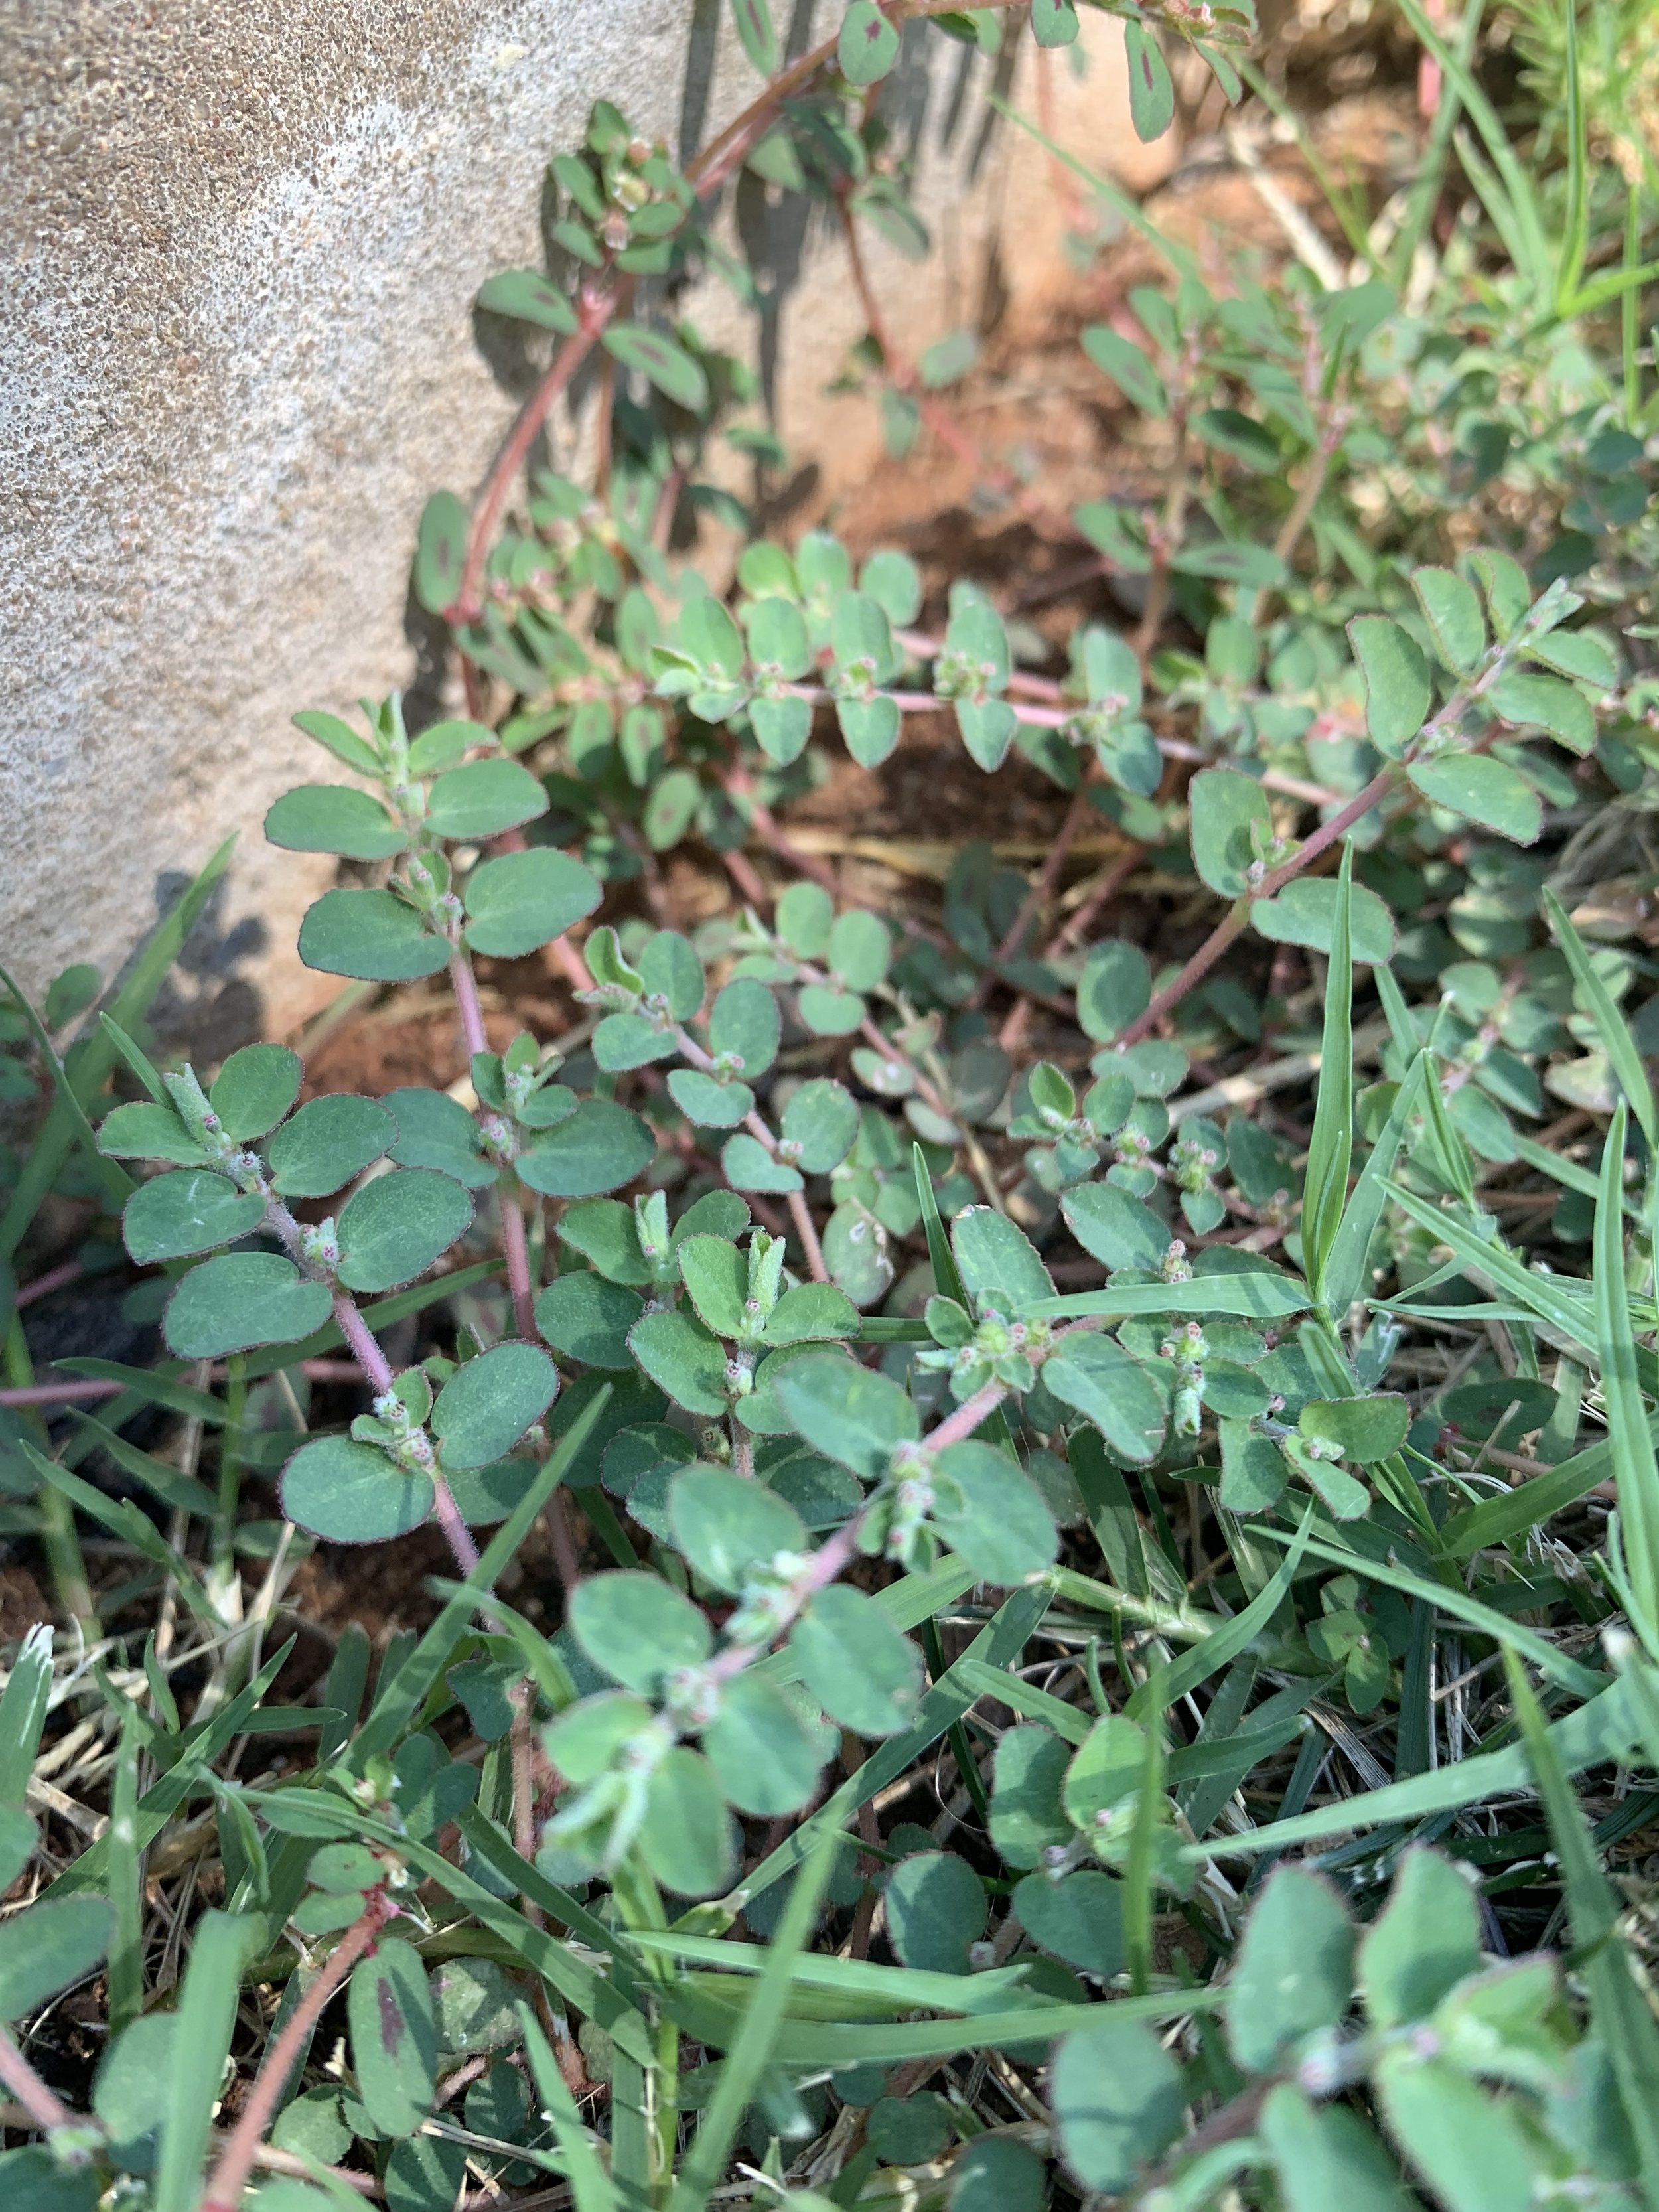
Spurge is a summer annual broadleaf weed that thrives in compacted dry soil. During periods of drought, it is common to find spurge growing along the edges of drives and walks where the soil is often compacted and dry.

Crabgrass is the most prolific summer annual weed. A single crabgrass plant will produce thousands of seeds. It is a weed that you are guaranteed to have in your lawn every summer if you do not apply a spring pre-emergent.
Weeds are not desirable because they compete with the desirable plant, your lawn, for resources. They steal water and nutrients. They rob the lawn of what is needed to be healthy. They interfere with the cosmetic appearance of your lawn. They spread rapidly when left unattended. And, one weed can produce thousands of seeds.
Weeds seem suddenly to appear. You can have a perfect lawn and all of the sudden it is as if weeds just magically showed up out of nowhere.

Weeds are very opportunistic. Give them a thin, bare area in a lawn and they will magically fill the void very quickly.
Weeds are the ultimate opportunist!
They grew wherever there is an opportunity!
Where do weeds come from?
Wind spreads weed seeds the most. April and May this year was one of the most consistently windy periods we have experienced. During the summer of 2020, the southern US experienced a massive Saharan dust storm. All those windy days and rare dust storms from the other side of the planet bring more than just dust. Wind distributes weed seeds from regions around the world into our lawns and landscapes. And, then on top of that there is an ordinary Oklahoma windy day scattering weed seeds from around your neighborhood or the native fields close to your home into your lawn.
Bird poop is another very common source of weed seeds. Birds’ primary food source is seeds and they are very good at depositing seeds around. Side note: Did you know the only way a seed from an Eastern Red Cedar can germinate is if it has passed through a bird. The blue-green berries (seeds) of Eastern Red Cedar attract birds, they devour them and scatter the seeds.
Rain is very good at distributing weed seeds, especially around the edges of the lawn as raindrops splash dust and weed seeds from the surrounding hard surfaces onto the lawn.
Seeds are also commonly carried onto the lawn by equipment, shoes, and pets.
This summer we have encountered a weed that we previously have not seen, marsh parsley. We have also had conversations with horticulturists about new weeds they are seeing this year. The common belief is they are a result of the excessive winds of April and May.
Environmental conditions and maintenance practices often bring about more weeds:
Seeds can also lay dormant for years and then germinate when the conditions are just right. A warmer than normal winter, a cooler than normal summer, an extended wet period, or even an extended dry period followed by heavy rain can change the environment just enough for dormant weed seeds to start growing.
Cultivating the soil in preparation for a new lawn or cultivating the soil in landscape areas can bring seeds to the surface where they will receive enough sunlight and water to germinate.

Marsh Parsley is a summer broadleaf weed that is new to our area. Most likely the consistently windy days of April and May delivered the wind seed to the area.
Pre-emergent herbicide applications with a quality product at the correct time are an important part of preventing the spread of weeds. But more importantly, is a healthy turf.

Poa Annua is the most common winter annual grassy weed. Pre-emergent herbicides help but don’t always prevent all poa annua from germinating. The best defense against poa annua is a healthy thick turf. Under trees, if you don’t have a healthy stand if fescue, most likely you will have poa annua.

Yellow rocket is a summer annual weed that was rarely seen in our area until just a few years ago. Now, it is very common in thin lawns, flower beds, and hardscape areas.
The best way to deal with weeds is to make sure your lawn has what it needs to grow and thrive:
Climate – Growing a turf best suited for the climate is important. If you are attempting to grow a type of grass that is marginal in central Oklahoma, you will most likely have a thinner turf and more weeds.
Soil – Very important to having a healthy turf. If the soil isn’t healthy, the turf will be weaker. With our tight clay soils, reduction of soil compaction through annual aeration is a big first step toward healthy soil.
Light – Attempting to grow a turf that needs at least 5 hours of direct sunlight, such as Bermuda grass, in shade will result in a thin tuft. It is important to grow the best turf for your light levels.
Water – An actively growing, healthy turf requires moisture, 1 to 1.5” of water per week during the heat of the summer. If you choose not to water and allow your lawn to go dormant during periods of drought, it doesn’t necessarily mean the lawn will die, but it often results in a thinner turf that is more prone to weed growth in the future.
Fertilizer – A thick, healthy, weed-free lawn requires a lawn that is properly fed during the growing season. If you apply pre-emergent herbicides at the right time but fail to feed your lawn, you can still expect to have weeds because of thin turf.
Mowing Frequency and Height – Lawn health is best when the lawn is mowed often enough that you are never removing more than 1/3” of the leaf blade and the lawn is mowed at the best height for the type of grass. For Bermuda in the heat of the season, 2 to 2.5” is perfect. For fescue lawns, 3 to 3.5” is ideal.

This Bermuda lawn was very weedy and thin when a regular lawn care program of well-timed weed control applications and fertilizer was started last year. After a full year, the lawn was thick and nearly weed free.
We believe at least 75% of a weed-free lawn is having a healthy, thick lawn.
Fertilizer, mowing, watering, and soil health are critical to weed control.
This summer is bringing us tough conditions. Truth is it isn’t just the drought and heat of this summer. It was a dry winter. And, before that, it was an extremely cold February. All will have an impact on the health of your lawn.
Our goal is to do all we can to help your lawn and landscape not only survive but thrive.
Our goal is to help you have a healthy lawn.
A healthy, weed-free lawn.
Lorne Hall
Hall | Stewart Lawn + Landscape
(405)367-3873
Your Lawn & Landscape Summer Survival Guide

The forecast is for hot and hotter with little to no chance for rainfall.
We haven’t had a ¼” rainfall in the Oklahoma City metro area for three weeks, the abundant soil moisture of early June has faded, and much of the landscape is starting to show signs of stress.
Hey! Your grass, shrubs, flowers and trees have been whispering amongst themselves.
They want to know “What is your plan to make sure we survive the next few weeks?”
What they need is not much different than what you need in the heat… hydration, nutrition, and to avoid stressful activity.
It’s that simple… your lawn and landscape needs hydration, proper nutrition, and to avoid as much stress as possible.
Here are a few hot tips to help:

This Bermuda lawn is being maintained at 2.5”, mowing occurs 5-7 days, and clippings are returned to the lawn with every mowing. But, the amazing thing is the lawn has not been watered yet this year. A properly maintained, healthy lawn is very heat and drought tolerant.
Mowing
Mow your lawn on the recommended highest setting for your type of grass. Your turf does better in the heat at the optimal height.
Bermuda, maintain between 2-2.5”.
Fescue should be maintained at 3-3.5”.
Leaf blades are 80-90% moisture. When you increase the amount of leaf space, it is as if you are giving your lawn a water bottle to take small sips throughout your day.
Grass maintained at the optimal height will also have the strongest root system. Cutting below the leaf blade into the stem creates additional stress and results in a reduction of root density.
Additionally, taller grass will shade the soil resulting in cooler soil temperatures and moisture retention.
Sharpen your mower blade. A dull blade tears the leaf making it more susceptible to stress and disease.
Mow often enough that you are not cutting more than 1/3 of the blade off. If you are trying to maintain your lawn at 2”, mow before the lawn exceeds 3”, etc. When you cut too much off at one time the lawn will use nutrients stored in the roots to produce more leaf space. This results in a weaker root system at a time of the year when your lawn needs strong roots. If you fall behind, raise your mower up, then mow again a couple of days later at the desired height.
Don’t bag the clippings when you mow. Allow the clippings to decompose on the soil returns moisture and nutrients back to the root system. Leaving your clippings is like applying a slow-release fertilizer to your lawn each time you mow. Always remove any noticeable, excessive clippings.

A fescue lawn’s best chance to survive the summer 95+ degree heat is mowing at 3-3.5” and deep soaking every other day. Shallow watering everyday, or as some attempt, twice per day, results in a heat stress lawn.
Watering
Deep soakings are always best. Short, shallow watering is detrimental to your lawn and landscape in the heat. The healthiest landscapes are watered to the point of runoff and then allowed to dry for a day.
Except for newly planted trees, shrubs and lawns, daily watering is not beneficial, even in 100-degree heat.
Water in the early morning, not in the evening. Watering in the evening increases the potential for disease adding stress to your lawn.
Lawns need 1-1.5” of water per week.
Flowers, shrubs and trees need 1-2” of water per week.
Trees planted in the last two years need 10-20 gals per week in the hottest times of the year. This may require a slow soaking hose placed at the base of the tree once per week even if you have an irrigation system.

How long do you need to water to apply 1-1.5” of water per week? Every irrigation system is different. Head types, nozzle size, head spacing, shade/sun, etc., all make it hard to have one answer for all.
The best way to know how long you should water is to measure the amount of water your system puts out in each zone by placing a few cans around your lawn in a random pattern. Run your sprinklers through a cycle and measure the amount of water in the cans and do the math. If your sprinklers ran 15 minutes and you have .25” of water, you need to run that zone for 60 to 90 minutes each week.

All sprinkler systems need an occasional adjustment during periods of drought for lawns to look their best. A small adjustment to a nozzle would keep this lawn moist all the way to the walk.
The goal is to water deep. If you could run the zone for 90 minutes one time per week the result would be a healthy lawn with a deep root system. But, with our tight soil and sloops, you will need to divide the total run time by three and water on your designated ODD/EVEN day.
Don’t have the time to do a water audit? Start with these general settings, monitor, and adjust:
Fixed spray pattern heads with 10-15’ spacings – 15 to 20 minutes per time.
Rotor type heads on 20-30’ spacings – 30 to 40 minutes per time.
One way to water deeper with less runoff is to split the total run time into two back-to-back run times. Set the first start time to come on early in the morning with half the minutes each zone normally runs. Set a start time an hour or two later. When the system completes the first cycle, it will automatically run through the zones another time.
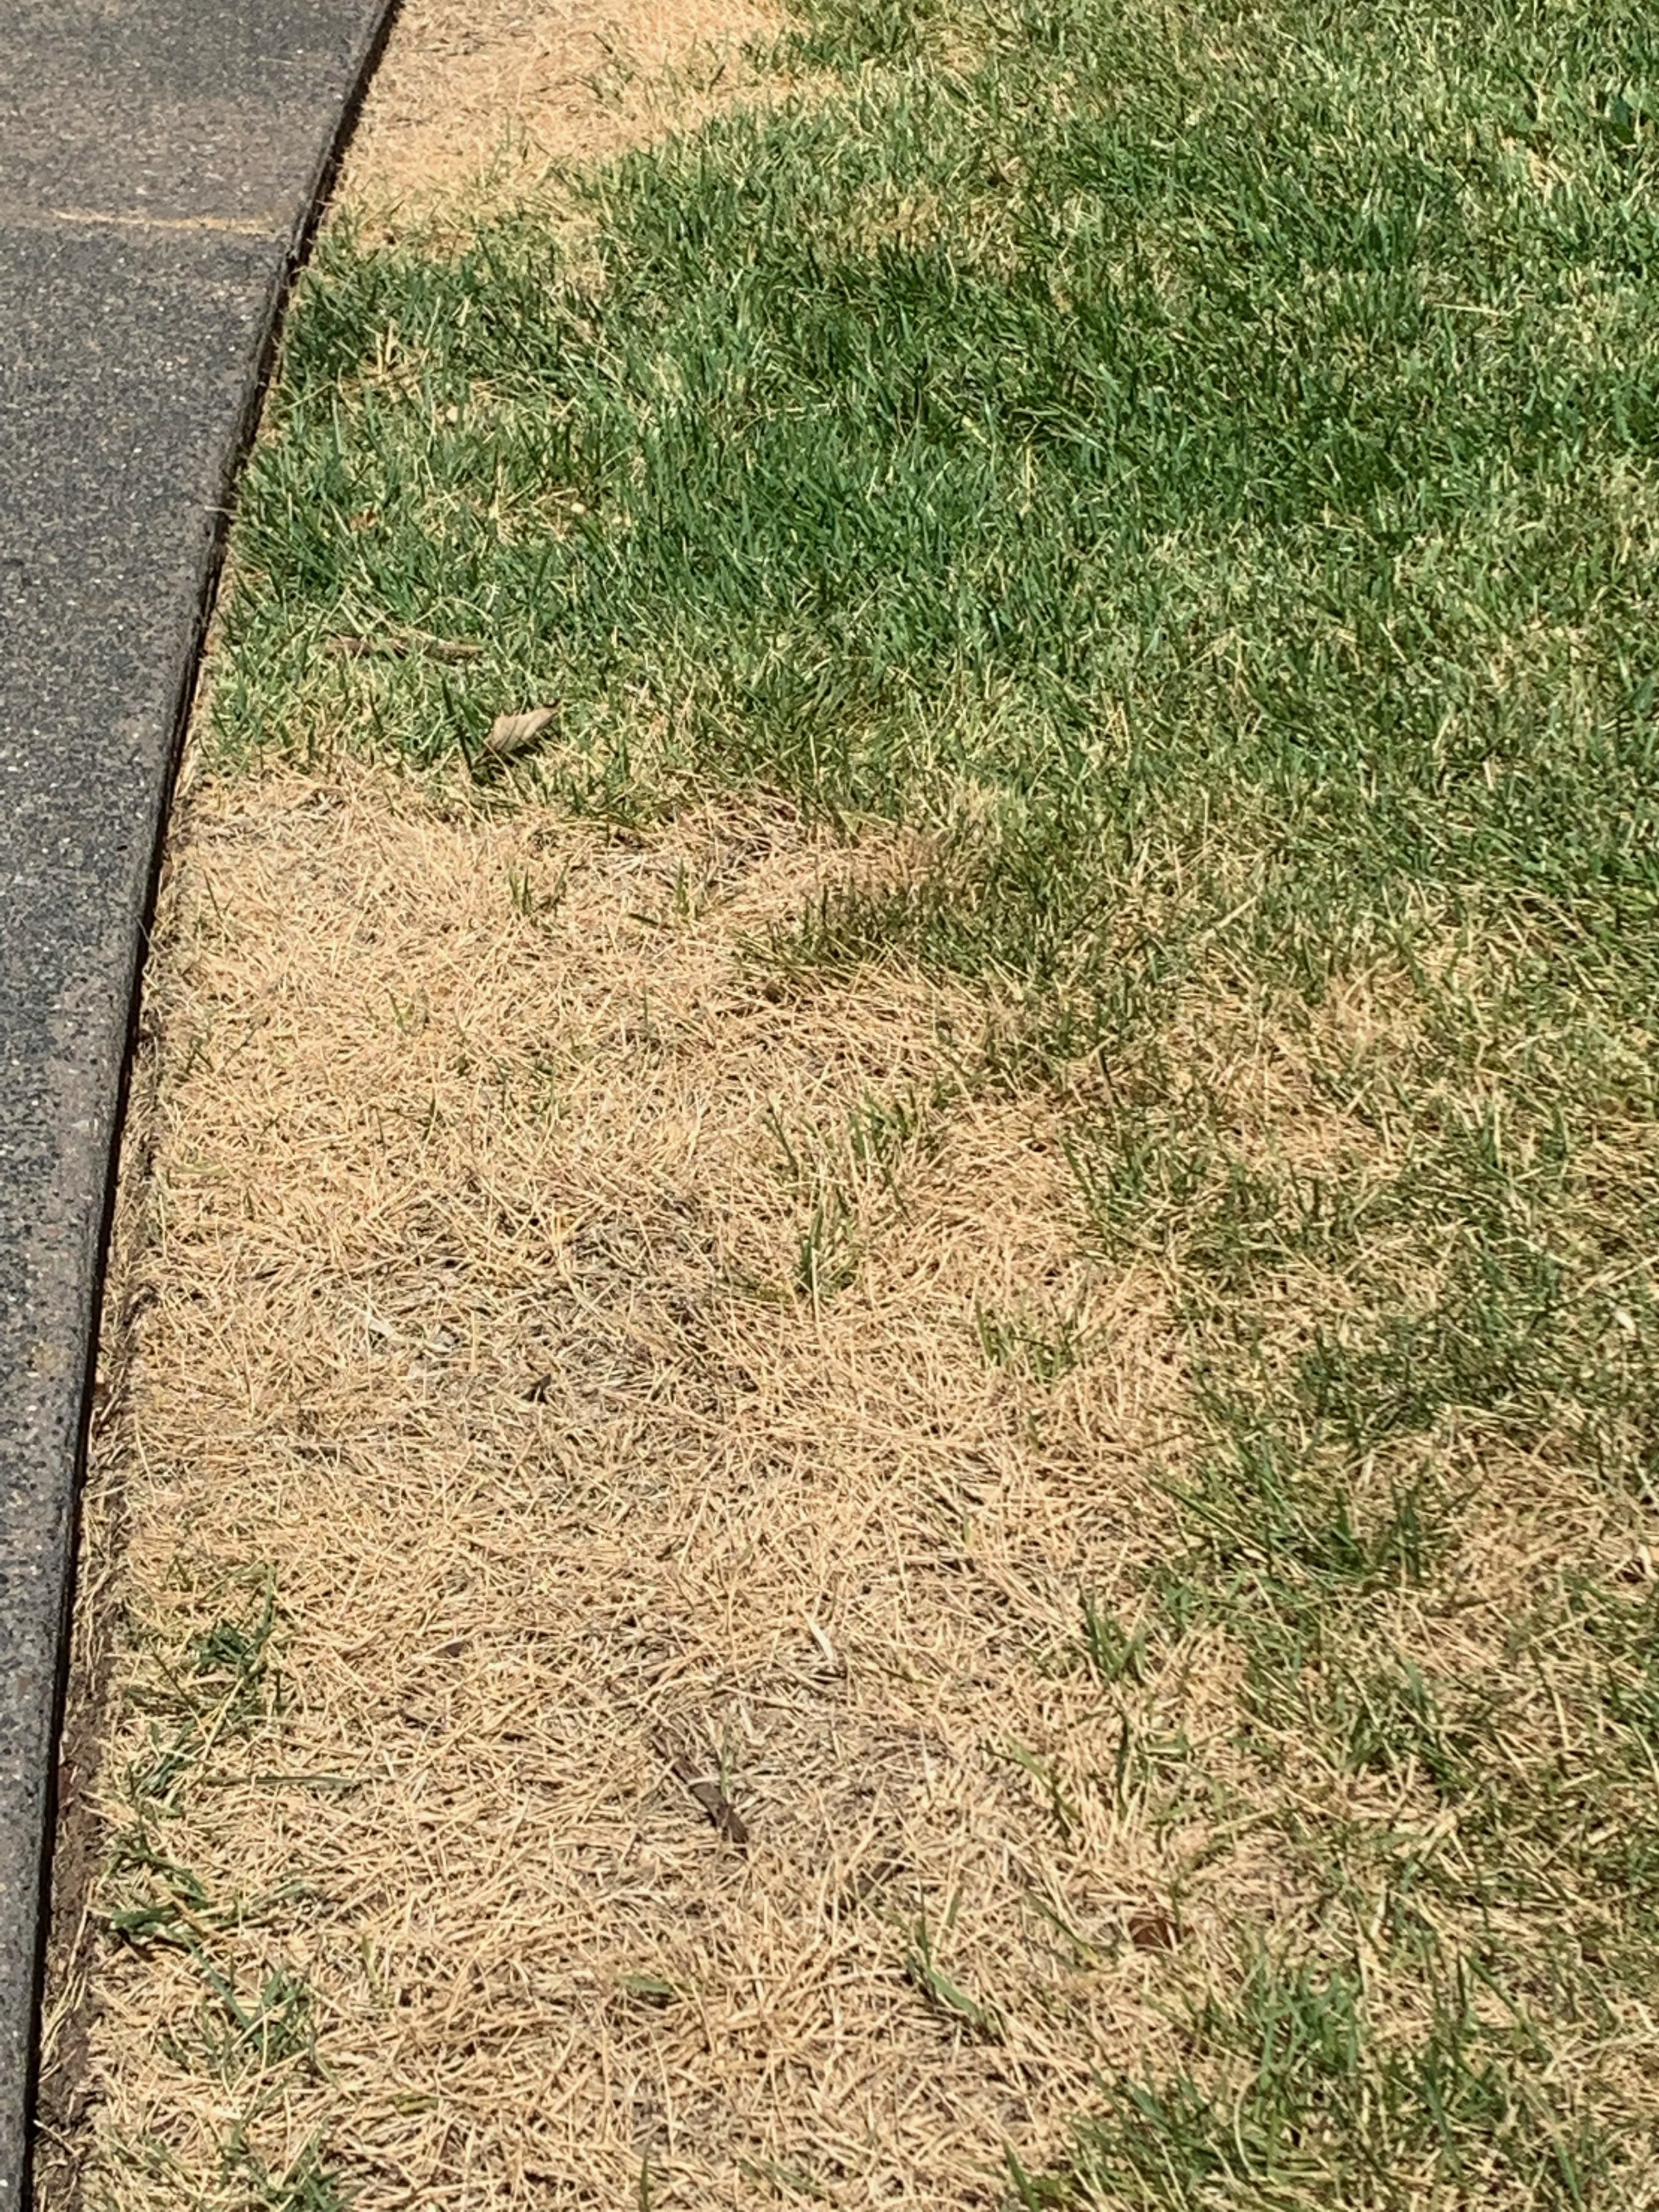
What is wrong with this picture? There is a sprinkler head located in the green turf area at obviously needs to be adjusted to properly reach the edges of the lawn.
If you are noticing areas where the lawn is losing color while areas near are keeping good color, check the soil moisture in the area and what the system run. It could be your system needs a few adjustments to improve the water distribution.
If you don’t have the ability to water, if the cost of water just doesn’t fit the budget, or if your municipality restricts watering, we understand. Healthy lawns that are not watered don’t die, they just go dormant, including fescue. Lawns with strong root systems will recover when temperatures cool and moisture returns.
Should you need to cut back on watering, continue deep soaking, just do it less often. It would be better to water every 4 days on your designated ODD or EVEN water day than to water every other day for a shorter period.
Shallow watering in an effort to reduce your water bill isn’t good for your lawn. Shallow watering promotes a shorter, weaker root system that is very dependent on frequent watering.

A clue to an uneven watering problem is an arc pattern matching the sweep of an irrigation head.

Head to head coverage is when the water from one sprinkler head reaches all the way to the next head. Without head to head coverage, dry areas can develop around heads.
Fertilizer
Bermuda lawns can be fertilized at this time of year, but only with slow-release fertilizers.
Watering the fertilizer into the soil with a good deep soaking is very important. Turf burn occurs when fertilizer is lightly watered resulting in partially dissolved fertilizer sitting on the leaf blades causing burn.
With slow-release fertilizer, no water is better than light moisture.
Fescue should not be fertilized at all in the heat.
Trees and shrubs should not be fertilized again until the fall.
Weed Control
Herbicides to control and kill weeds need special care during periods of extreme heat. Weed control products always create some stress on the lawn and during periods of high temperatures the stress is magnified. The goal is to kill the weed with minimal stress to the lawn because a healthy, thick turf is the first step toward a weed free lawn. Stressed turf, weak turf, leads to more weeds. So, while the lawn is under stress due to heat and/or drought, the first goal is to protect the turf.
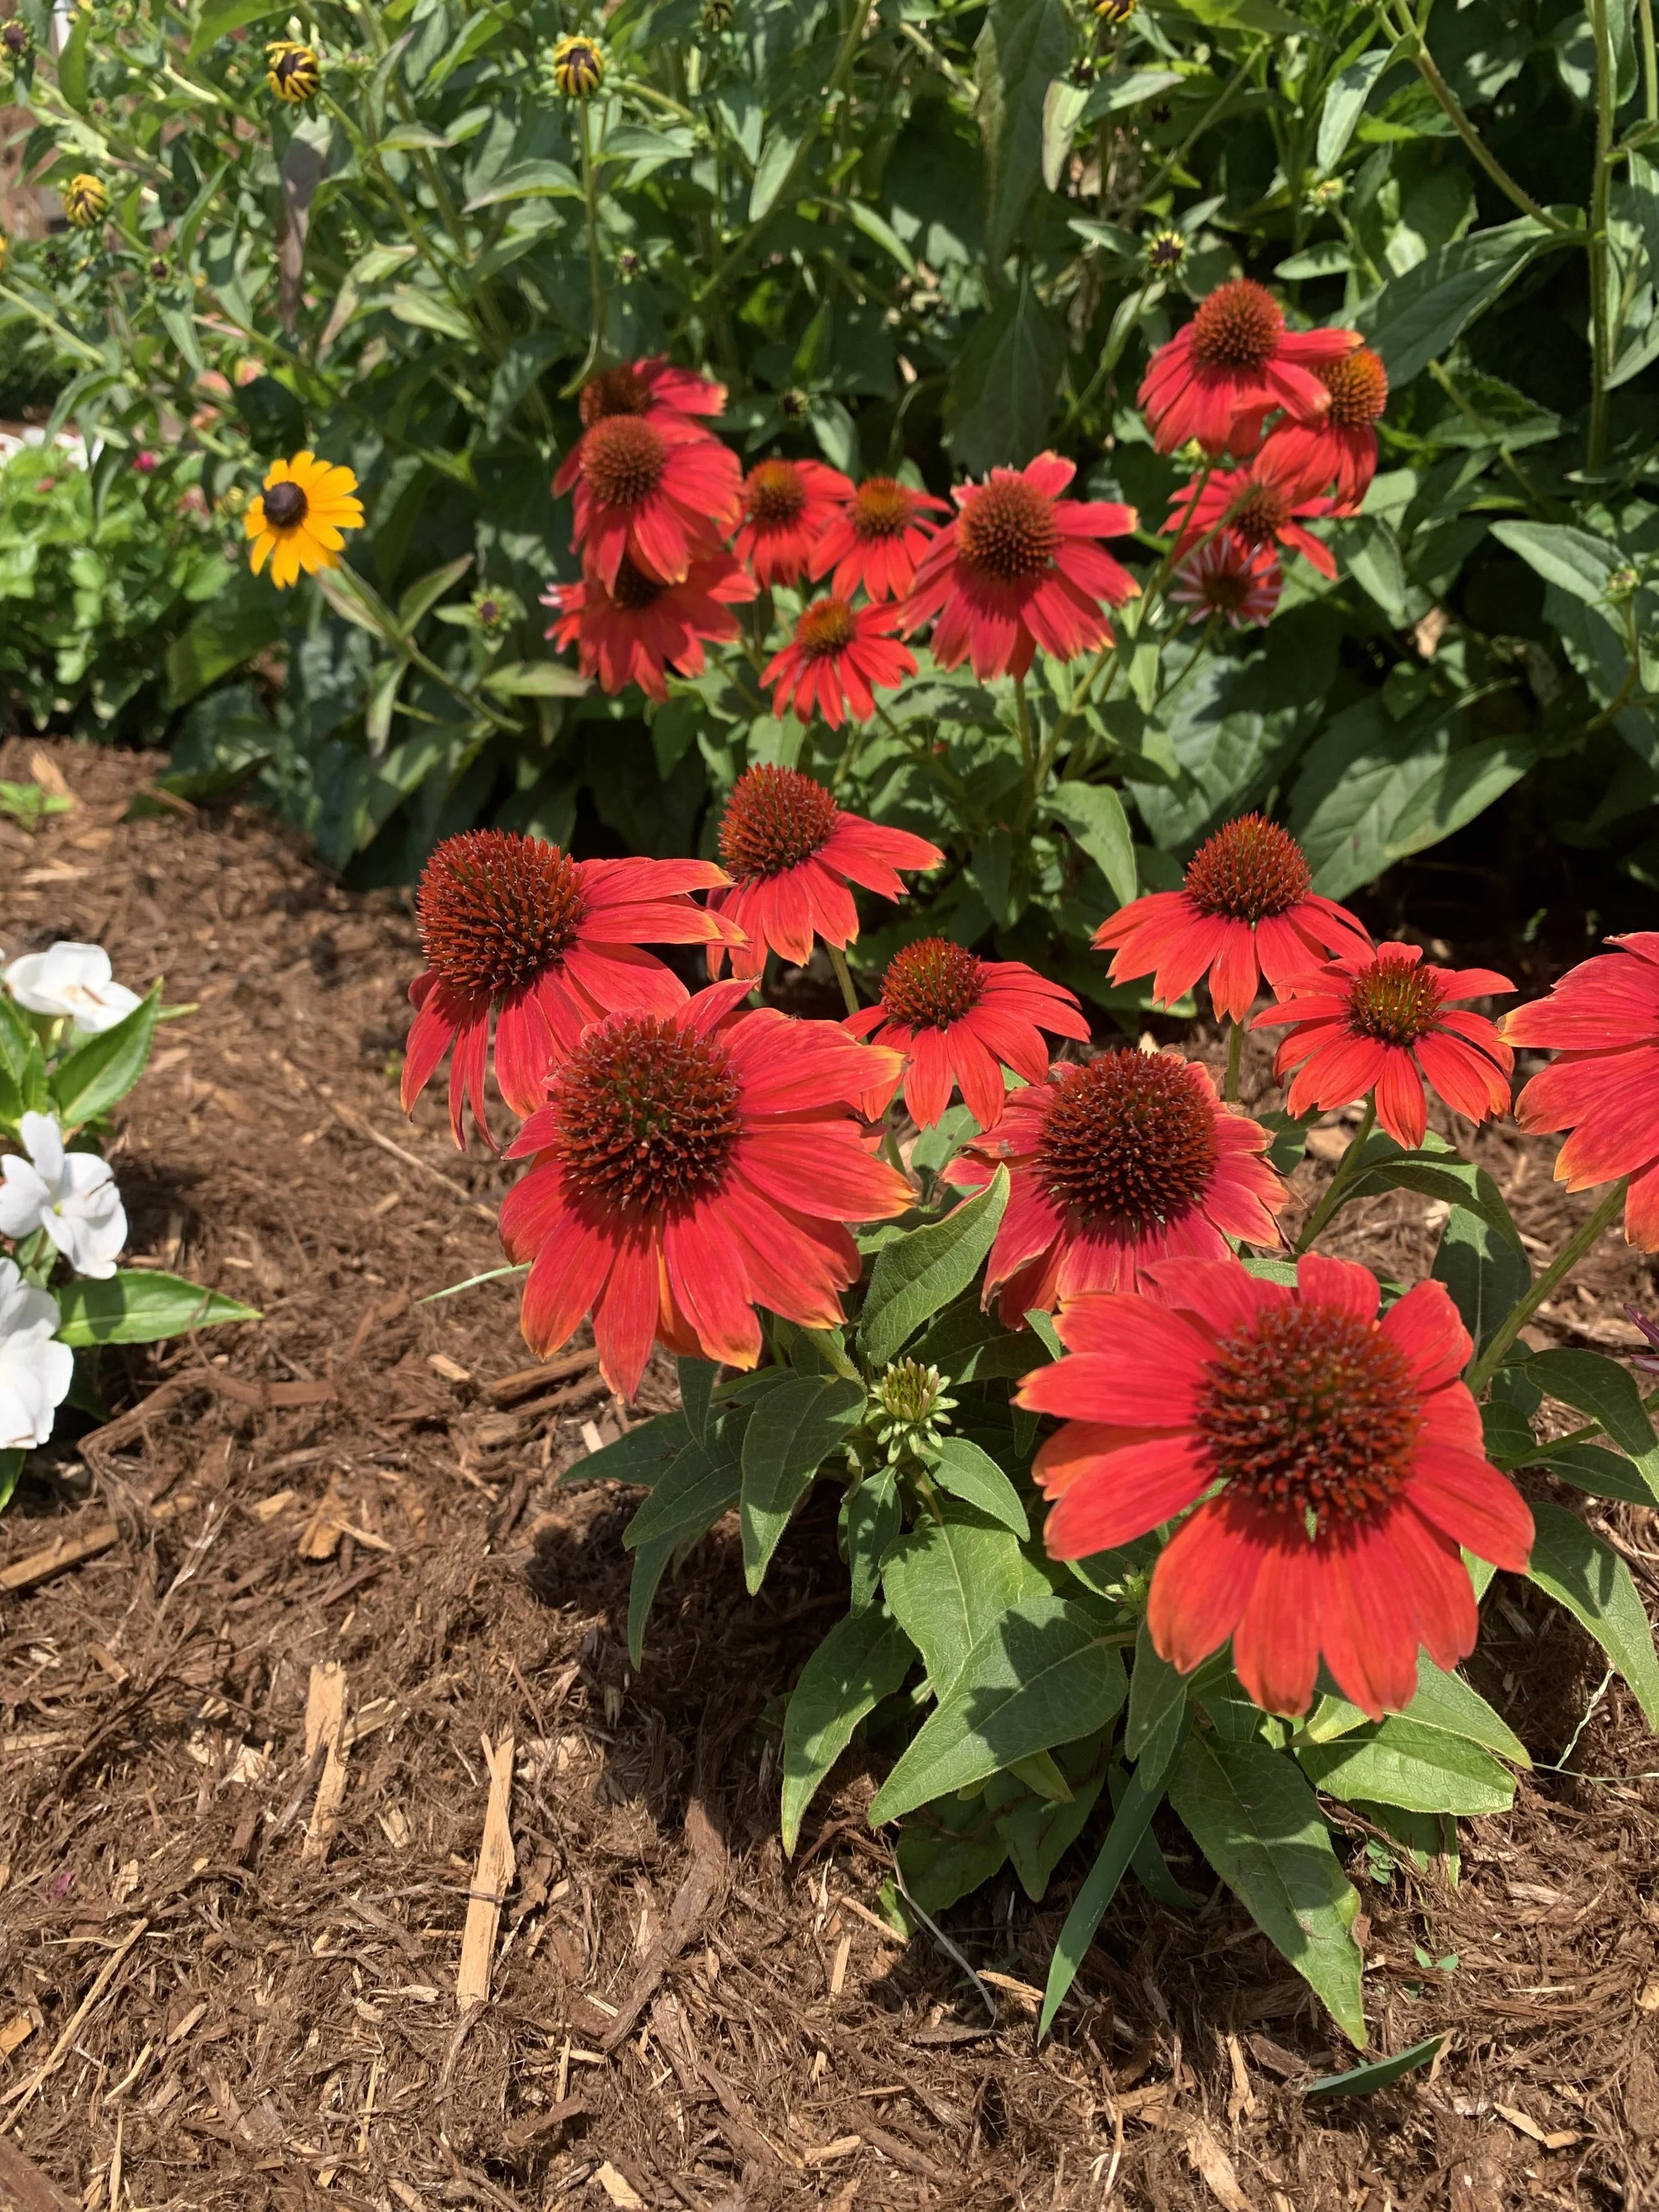
A fresh 2-3” of mulch will cool the soil and retain moisture around your landscape plantings.
This week we visited several lawns where clients were concerned about declining turf. Many were concerned last year’s army worms had returned. But, in every case, we discovered lawns suffering from lack of moisture. Some were the result of short, shallow watering habits while others had dry areas due to uneven distribution of water.
Our goal is to help your lawn and landscape survive the heat and drought of an Oklahoma summer. Your landscape represents a big investment of time and money creating an outdoor environment. Not only does your trees, shrubs, and lawn add curb appeal to your home, there is the added benefit of lower temperatures created by the green environment surrounding your home.
If you have questions or need help, give us a call or respond to this email.
Lorne Hall
Hall | Stewart Lawn + Landscape
(405)367-3873


Time To Assess Your Evergreen Shrubs!
As landscapes mature it is typical for plant material to outgrow the intended space.
Some of the biggest offenders are in the holly family. A Dwarf Burford Holly, commonly used as a foundation plant, can reach 6’ in height and width.
But who reads a plant label?
And, if you did read the label you were thinking:
“Surely this pretty little holly will never cover up the window.”
Then a few short seasons later, you find yourself struggling to keep the holly contained to the space you intended.
Or, possibly you have done a great job of keeping them sheared, but they have lost the natural shape you fell in love with.
What do you do? Tear them out and start over?
I have another solution - Mid-February through March is your opportunity to do major pruning on most broadleaf evergreens.
The broadleaf evergreen, any plant with leaves year-round, the list includes aucuba, camellia, boxwood, cherry laurel, elaeagnus, holly, mahonia, photinia, just to name a few.

There are two good reasons to assess your evergreen shrubs now…
1. Do they still have leftover damage from last winter?
2. Have they become overgrown?
If your shrubs still have damage from last year’s storms or if they have become overgrown, the next 6 weeks is the best time to take action.
As landscapes mature, it is typical for plant material to outgrow the intended space.
Some of the biggest offenders are in the holly family. A Dwarf Burford Holly, commonly used as a foundation plant, can reach 6’ in height and width.
But, who reads a plant label?
And, if you did read the label you were thinking: “Surely this pretty little holly will never cover up the window.”
Then a few short seasons later, you find yourself struggling to keep the holly contained to the space you intended.
Or, possibly you have done a great job of keeping them sheared to fit the space, but they no longer have the natural shape you fell in love with.
What do you do? Tear them out and start over?
Dwarf Burford Holly is commonly used as a foundation planting. If your row of holly have become overgrown late winter through early spring is the best time to reduce their size with major pruning.
Nellie Stevens Holly often look best when they are allowed to retain their natural shape. If your Nellies have become overgrown, or have lost their natural beauty from repeated shearing, mid-February through March is the time to regain their natural shape with major pruning.
I have another solution - Mid-February through March is your opportunity to do major pruning on most broadleaf evergreens.
The broadleaf evergreen, any plant with leaves year-round, list includes aucuba, camellia, boxwood, cherry laurel, elaeagnus, holly, mahonia, photinia, just to name a few.
Heavy pruning in the spring before new growth starts allows you the opportunity to regain the shape you intended for the plant.
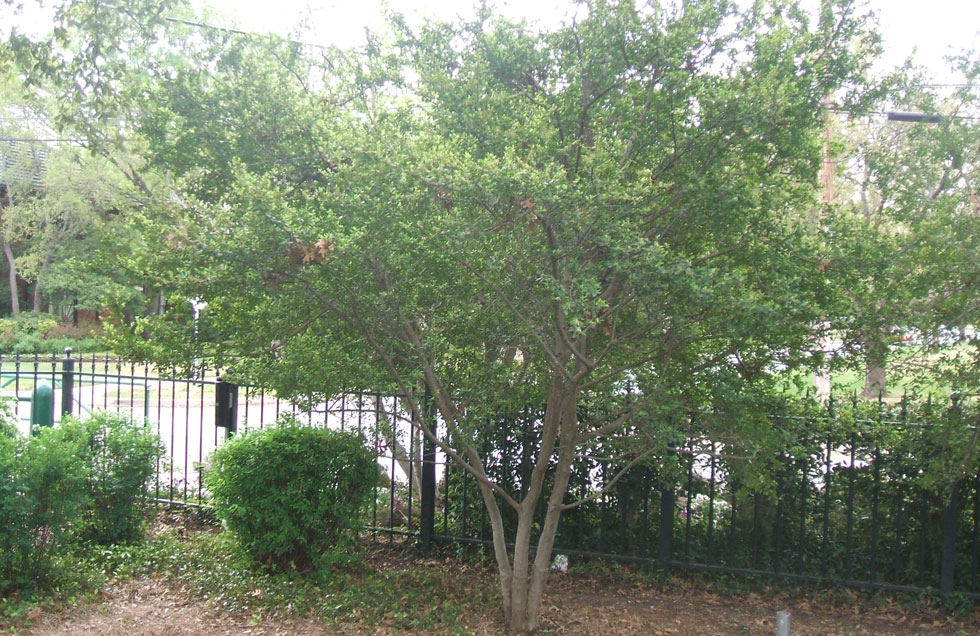
If your Yaupon Holly has outgrown its intended shape, now is the time for major pruning.
My first experience with major pruning of a holly was 30 years ago. A customer had a large overgrown, out-of-control, Yaupon Holly they really wanted to keep, but it was completely covering the front of the house. After a few hours of cutting limbs, pruning, and then pruning some more, the overgrown 15’ Yaupon was reduced to nothing but 5 major trunks 6’ tall.
With every major cut, I doubted my knowledge.
“Am I really doing the right thing? Or am I ruining a perfectly good plant that took years to develop?”
Nellie Stevens Holly
A few weeks later, I visited the site. The Yaupon Holly’s trunks were budding.
On my next visit, the branches were covered with new growth.
And, by the end of the season, the customer’s house which had been hiding behind an overgrown plant for years, was now gracefully accented by a small evergreen tree.
A couple of years ago I heavily pruned a large Nellie Stevens Holly on one corner of my house. And, as I do every time, I take a broadleaf evergreen back to no leaves and only major branches, I keep asking,
“What if this holly doesn’t re-leaf?”
“Am I ruining a 15-year-old Nellie?”
But, once again the shrub responded just like it should, and within one growing season, it returned to its natural beauty.
If you have boxwood taking over a sidewalk, mid-February through March is the best time to reclaim the sidewalk. You can trim them aggressively and they will recover during the growing season.
Nellie R Stevens Holly is a favorite foundation plant. With a mature size of 15’ tall and 10’ wide they quickly loose their natural beauty with regular sheering in an attempt to make them fit the landscape. Now is the best time to reduce the size and return them to their appearance.
BEFORE: If you have large hollies with damage from last winter, can they be saved or should they be replaced?
AFTER: As long as the evergreen has some green leaves you can remove the dead branches and reshape the plant. If the plant has a healthy root system, you will be surprised at how quickly it regains a good shape.
This is the same holly that was pruned back to only branches a couple of years ago.
Take time this week to evaluate your broadleaf evergreen shrubs.
Are they overgrown?
Do they need to have winter damage removed and reshaped?
If so, now is the time to remove dead branches and regain control of overgrown shrubs.
Mid-February through March is your best window of opportunity each year for major pruning of broadleaf evergreens.
Lorne Hall
Hall|Stewart Lawn + Landscape
(405)367-3873