Fescue’s Summer Off Season
Question: What is one of the best things about living in Oklahoma?
Did anyone say: Living in the transition zone?
I’m guessing that was no one’s answer.
What is the transition zone? It is the area across the middle of the US between where warm season turf grows in the south and cool season grasses grow in the north.
The Transition Zone is the area of the country you can choose to grow either warm season or cool season grasses.
Bermuda is the common warm season turfgrass in our region. The advantage bermuda has is it loves the summer heat and as long as it receives moisture, it will be at its best in July and August.
Fescue is the cool season option. Fescue tolerates more shade and stays green nearly year-round. You can’t beat the deep rich color in the spring and fall. Fescue stays green well into December, often keeps some color through the winter, and as soon as the winter starts to break in early March, fescue bursts back to life.
Both have their off seasons.
Bermuda’s off season starts in November and continues until April. During this time, it goes fully dormant and turns straw-brown for months.
When is fescue’s off season?
Yes, fescue loses its green color in the winter and stops growing. So, yes, fescue has an off season in the winter, but much shorter than bermuda. Fescue goes through another slump in July through August when temperatures above 95 degrees are common. During fescue’s summer off season, growth slows and the color isn’t as intense. But, when a fescue lawn is healthy and growing under the best conditions, the summer off season is barely noticeable.
In April, customers with bermuda lawns often ask why their lawn isn’t as green as the fescue lawns on their block.
And, right now with 10 consecutive 90+ degree days, customers with fescue lawns are asking questions about why their fescue isn’t looking as good as it did in June.
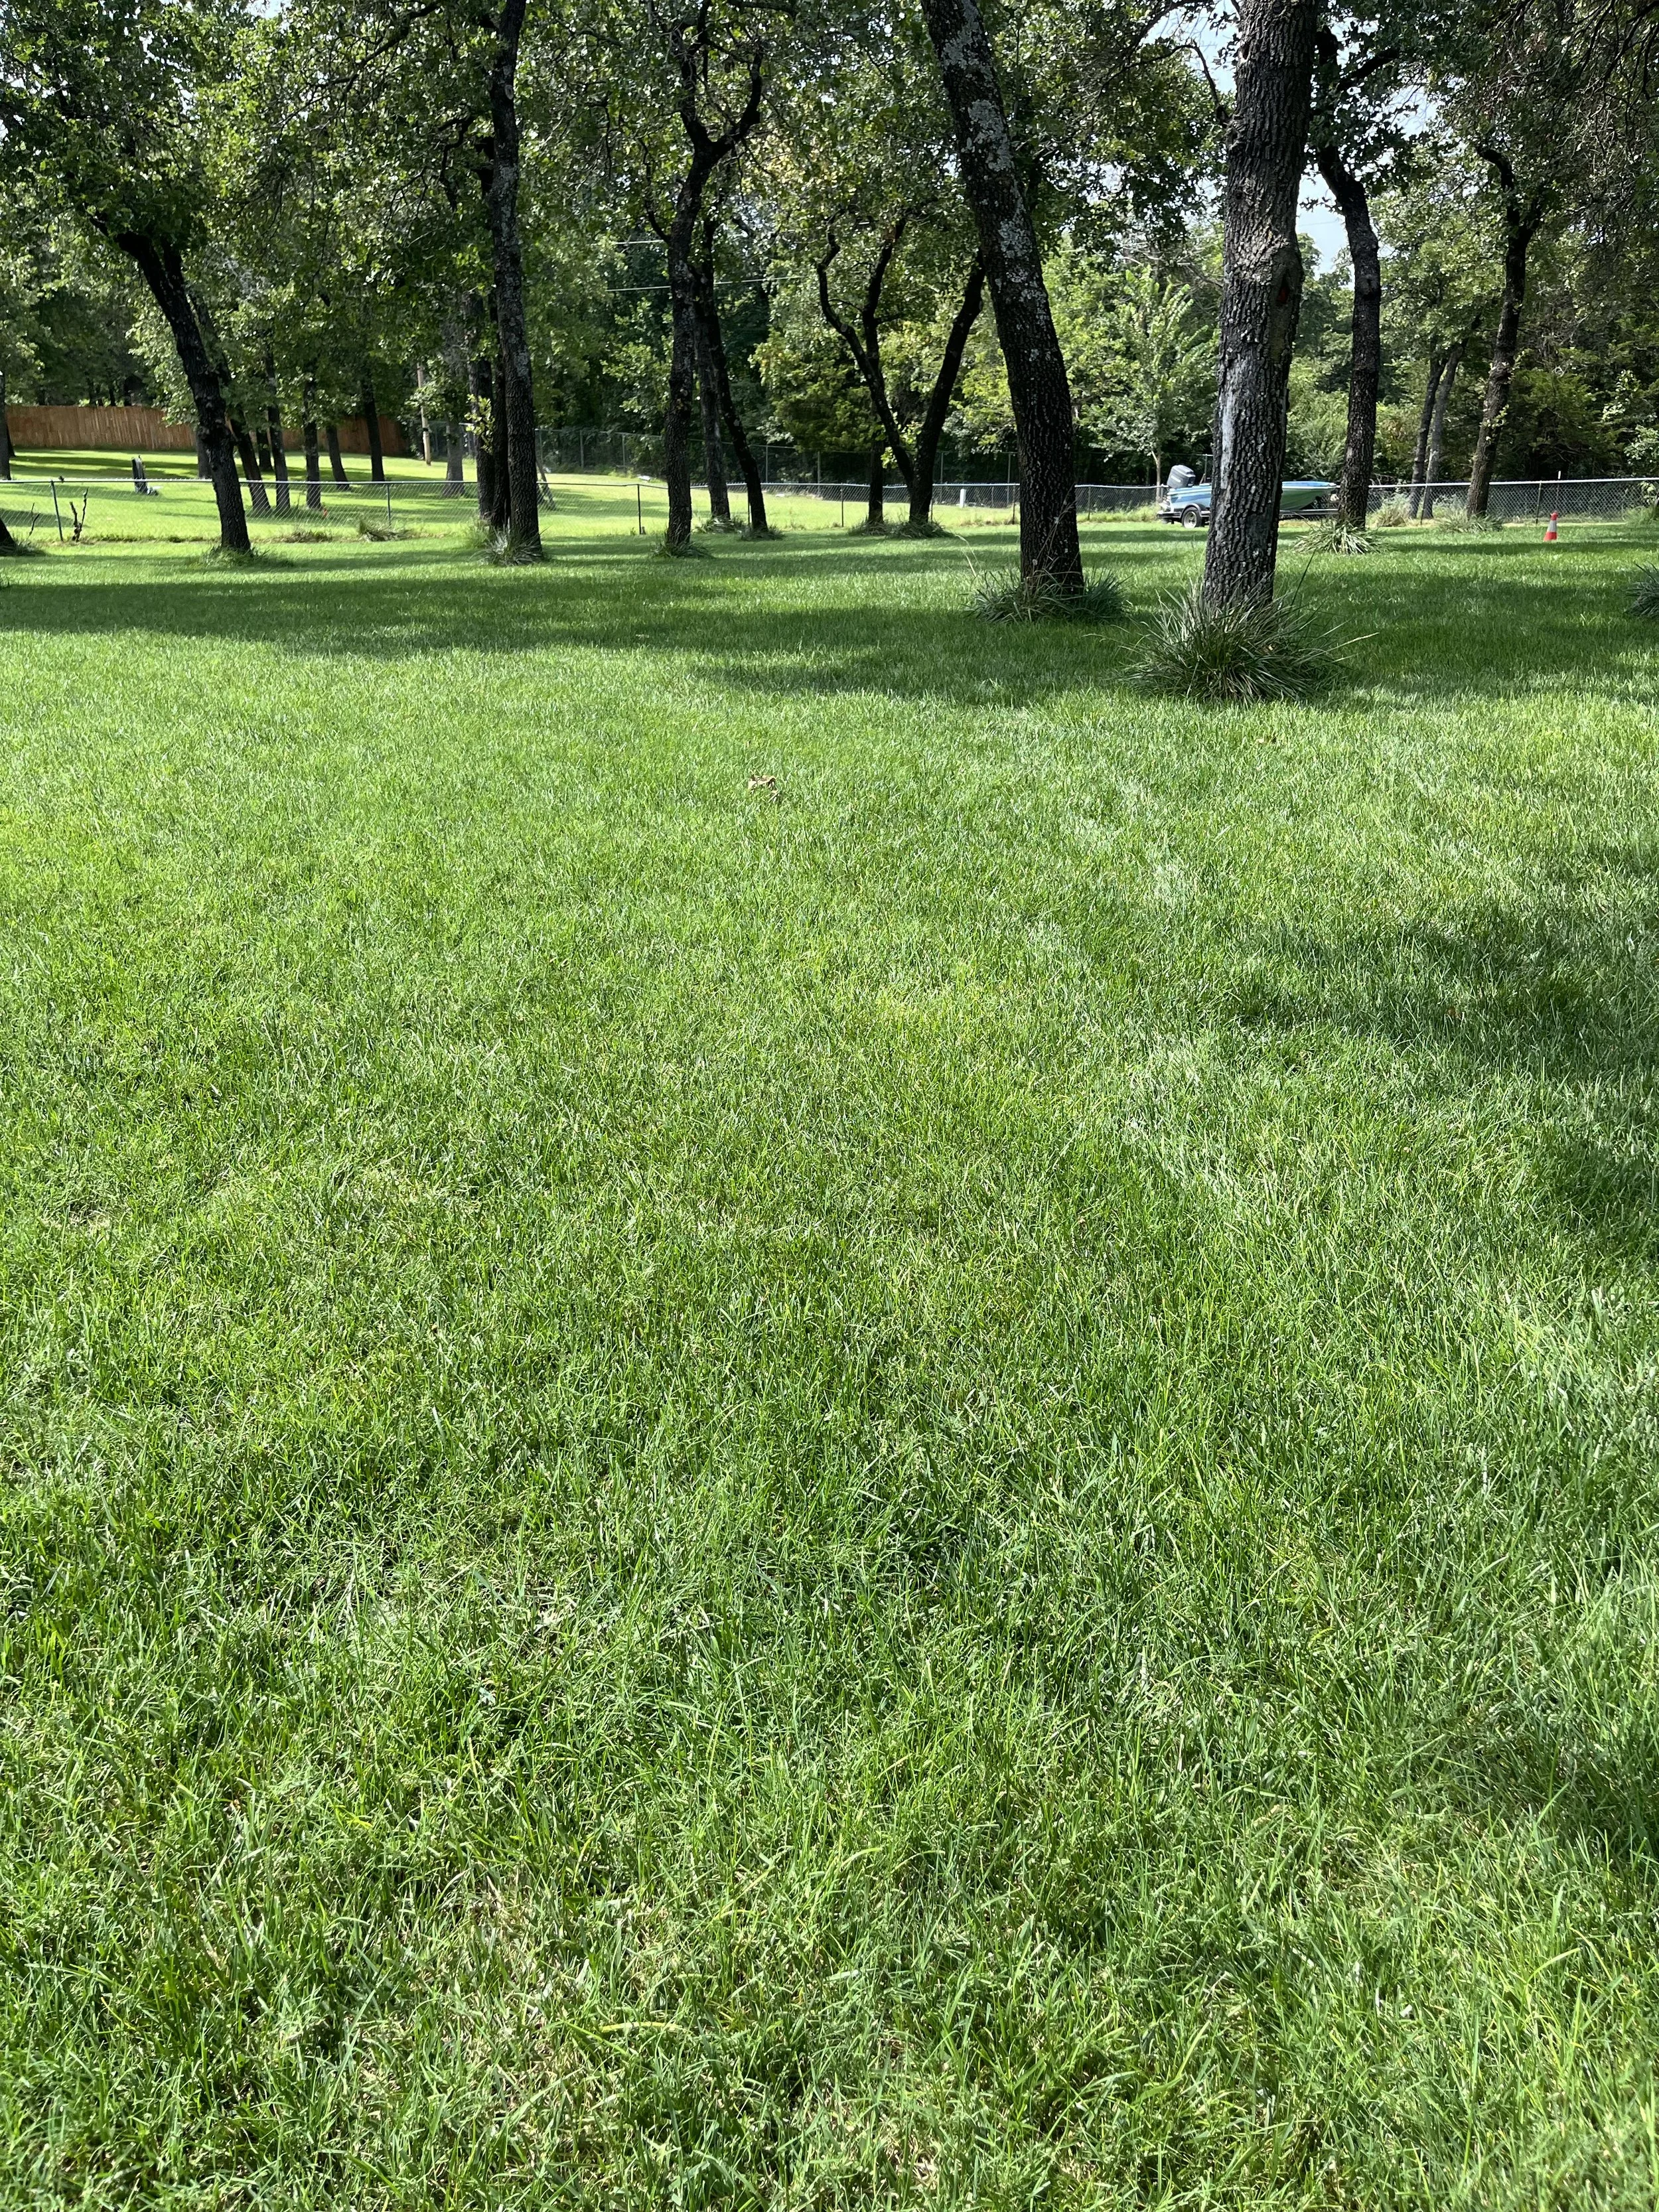
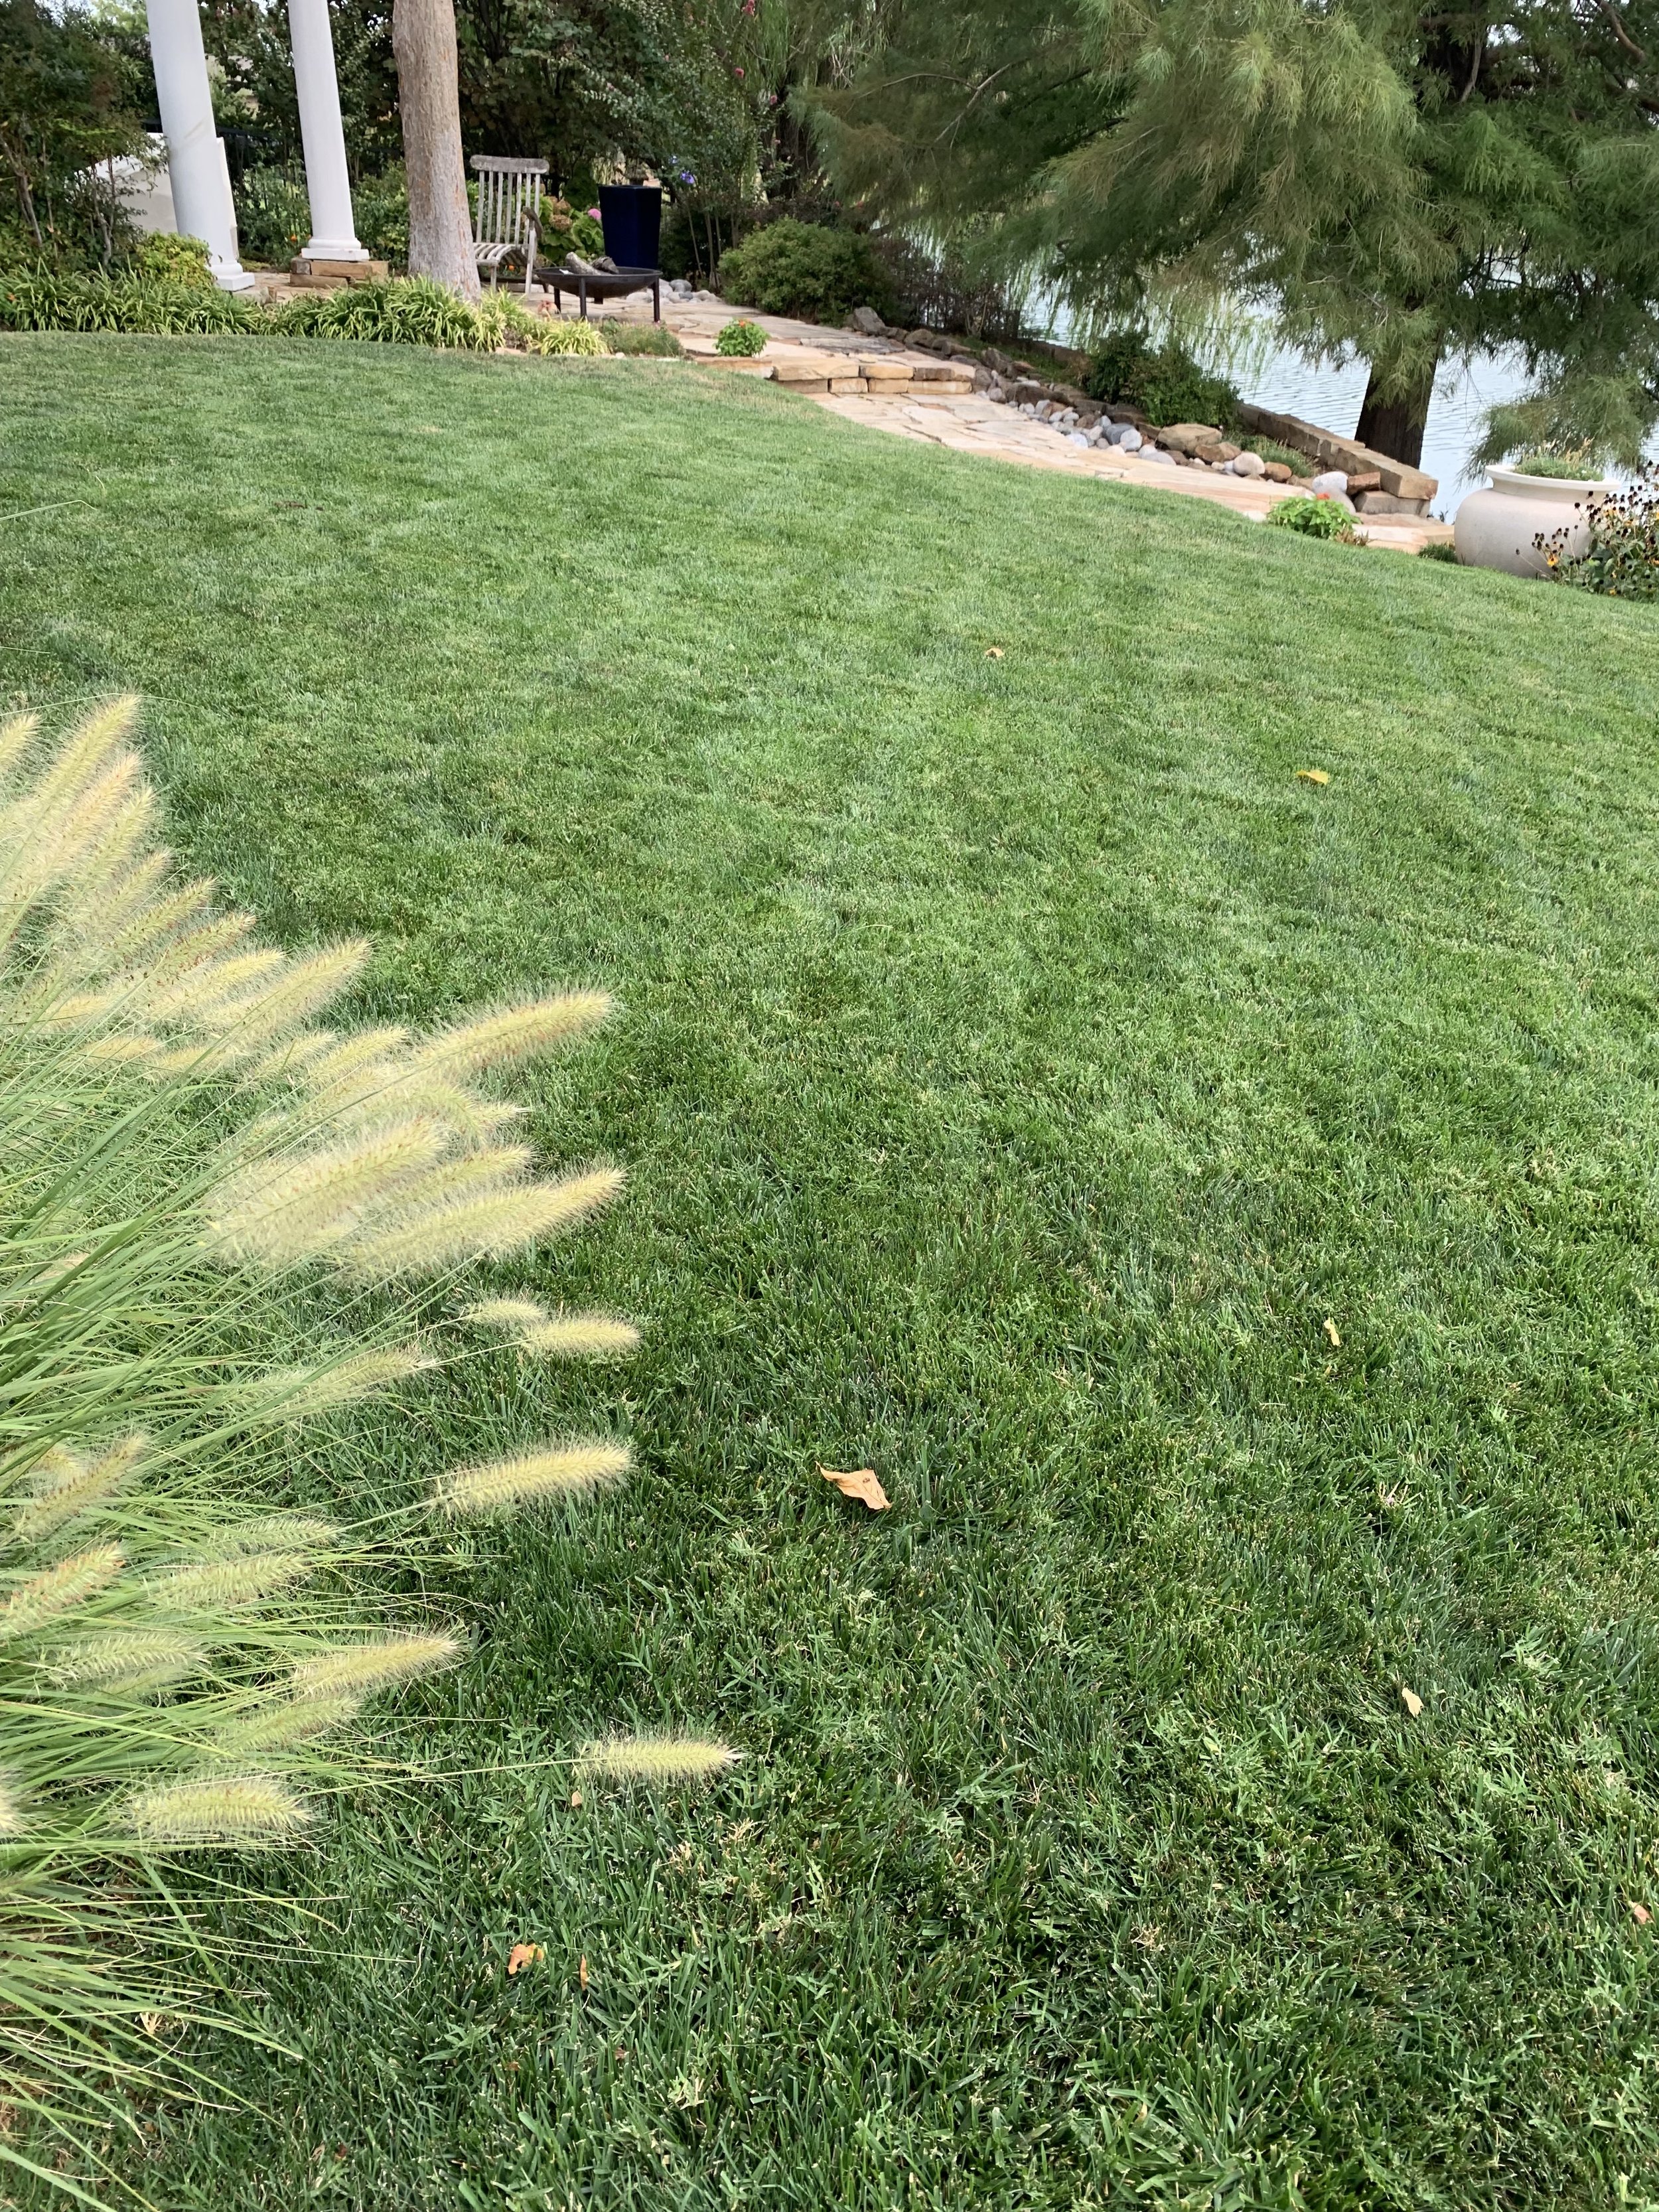
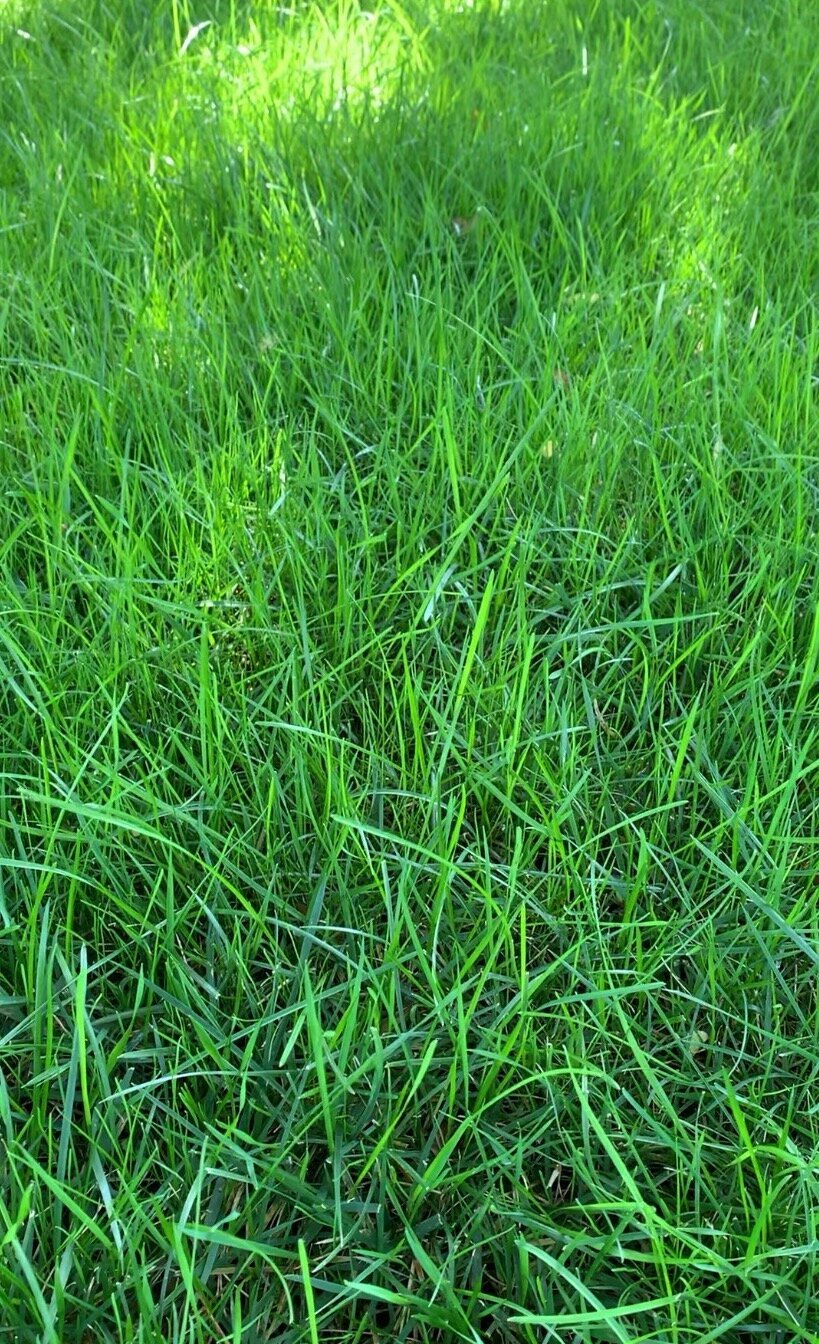
Fescue lawn with dappled sunshine.
July through August is fescue’s second off season while bermuda is at peak season!
Bermuda will always have more color than fescue in July and August, but March through June and again October into December, fescue will always win the color battle.
Fescue when watered and mowed properly in full sun in the heat of the summer.
How do you keep a fescue lawn looking its best in the summer heat?
Let’s run through a list of best and worst practices for fescue during its summer off season.
Best practices for keeping fescue looking good during July and August:
Mow fescue at 3” – 3 ½”. The more leaf space the better color and the more drought tolerant the lawn will be.
Water deep. Water infrequent. Water in the early morning. Fescue lawns that are receiving 1 ½” of moisture per week, on an every other day schedule, only in the morning, look the best in the heat of summer.
Fescue lawns that receive at least some dappled sunlight and are in areas of good air circulation look the best during the summer heat.
Fescue lawns that are aerated in the fall have stronger root systems and can better withstand hot, dry days.
A properly watered and mowed fescue lawn last year during the first week of August.
Worst practices for fescue during the summer heat:
Don’t over water. Short, frequent watering does far more harm than good. It is a myth that fescue needs watered daily during the heat of July and August. When temperatures are hot and fescue stays wet for more than 6 hours at a time, brown patch will damage the turf. When brown patch starts spreading in a fescue lawn, it looks like the lawn needs more water. The natural response is to water more which makes the problem worse. It is common when making site visits where customers are concerned about their fescue to discover brown patch is the problem. Often the homeowner has increased watering to two times per day, morning and evening, every day trying to keep the fescue alive, all the while making it worse.
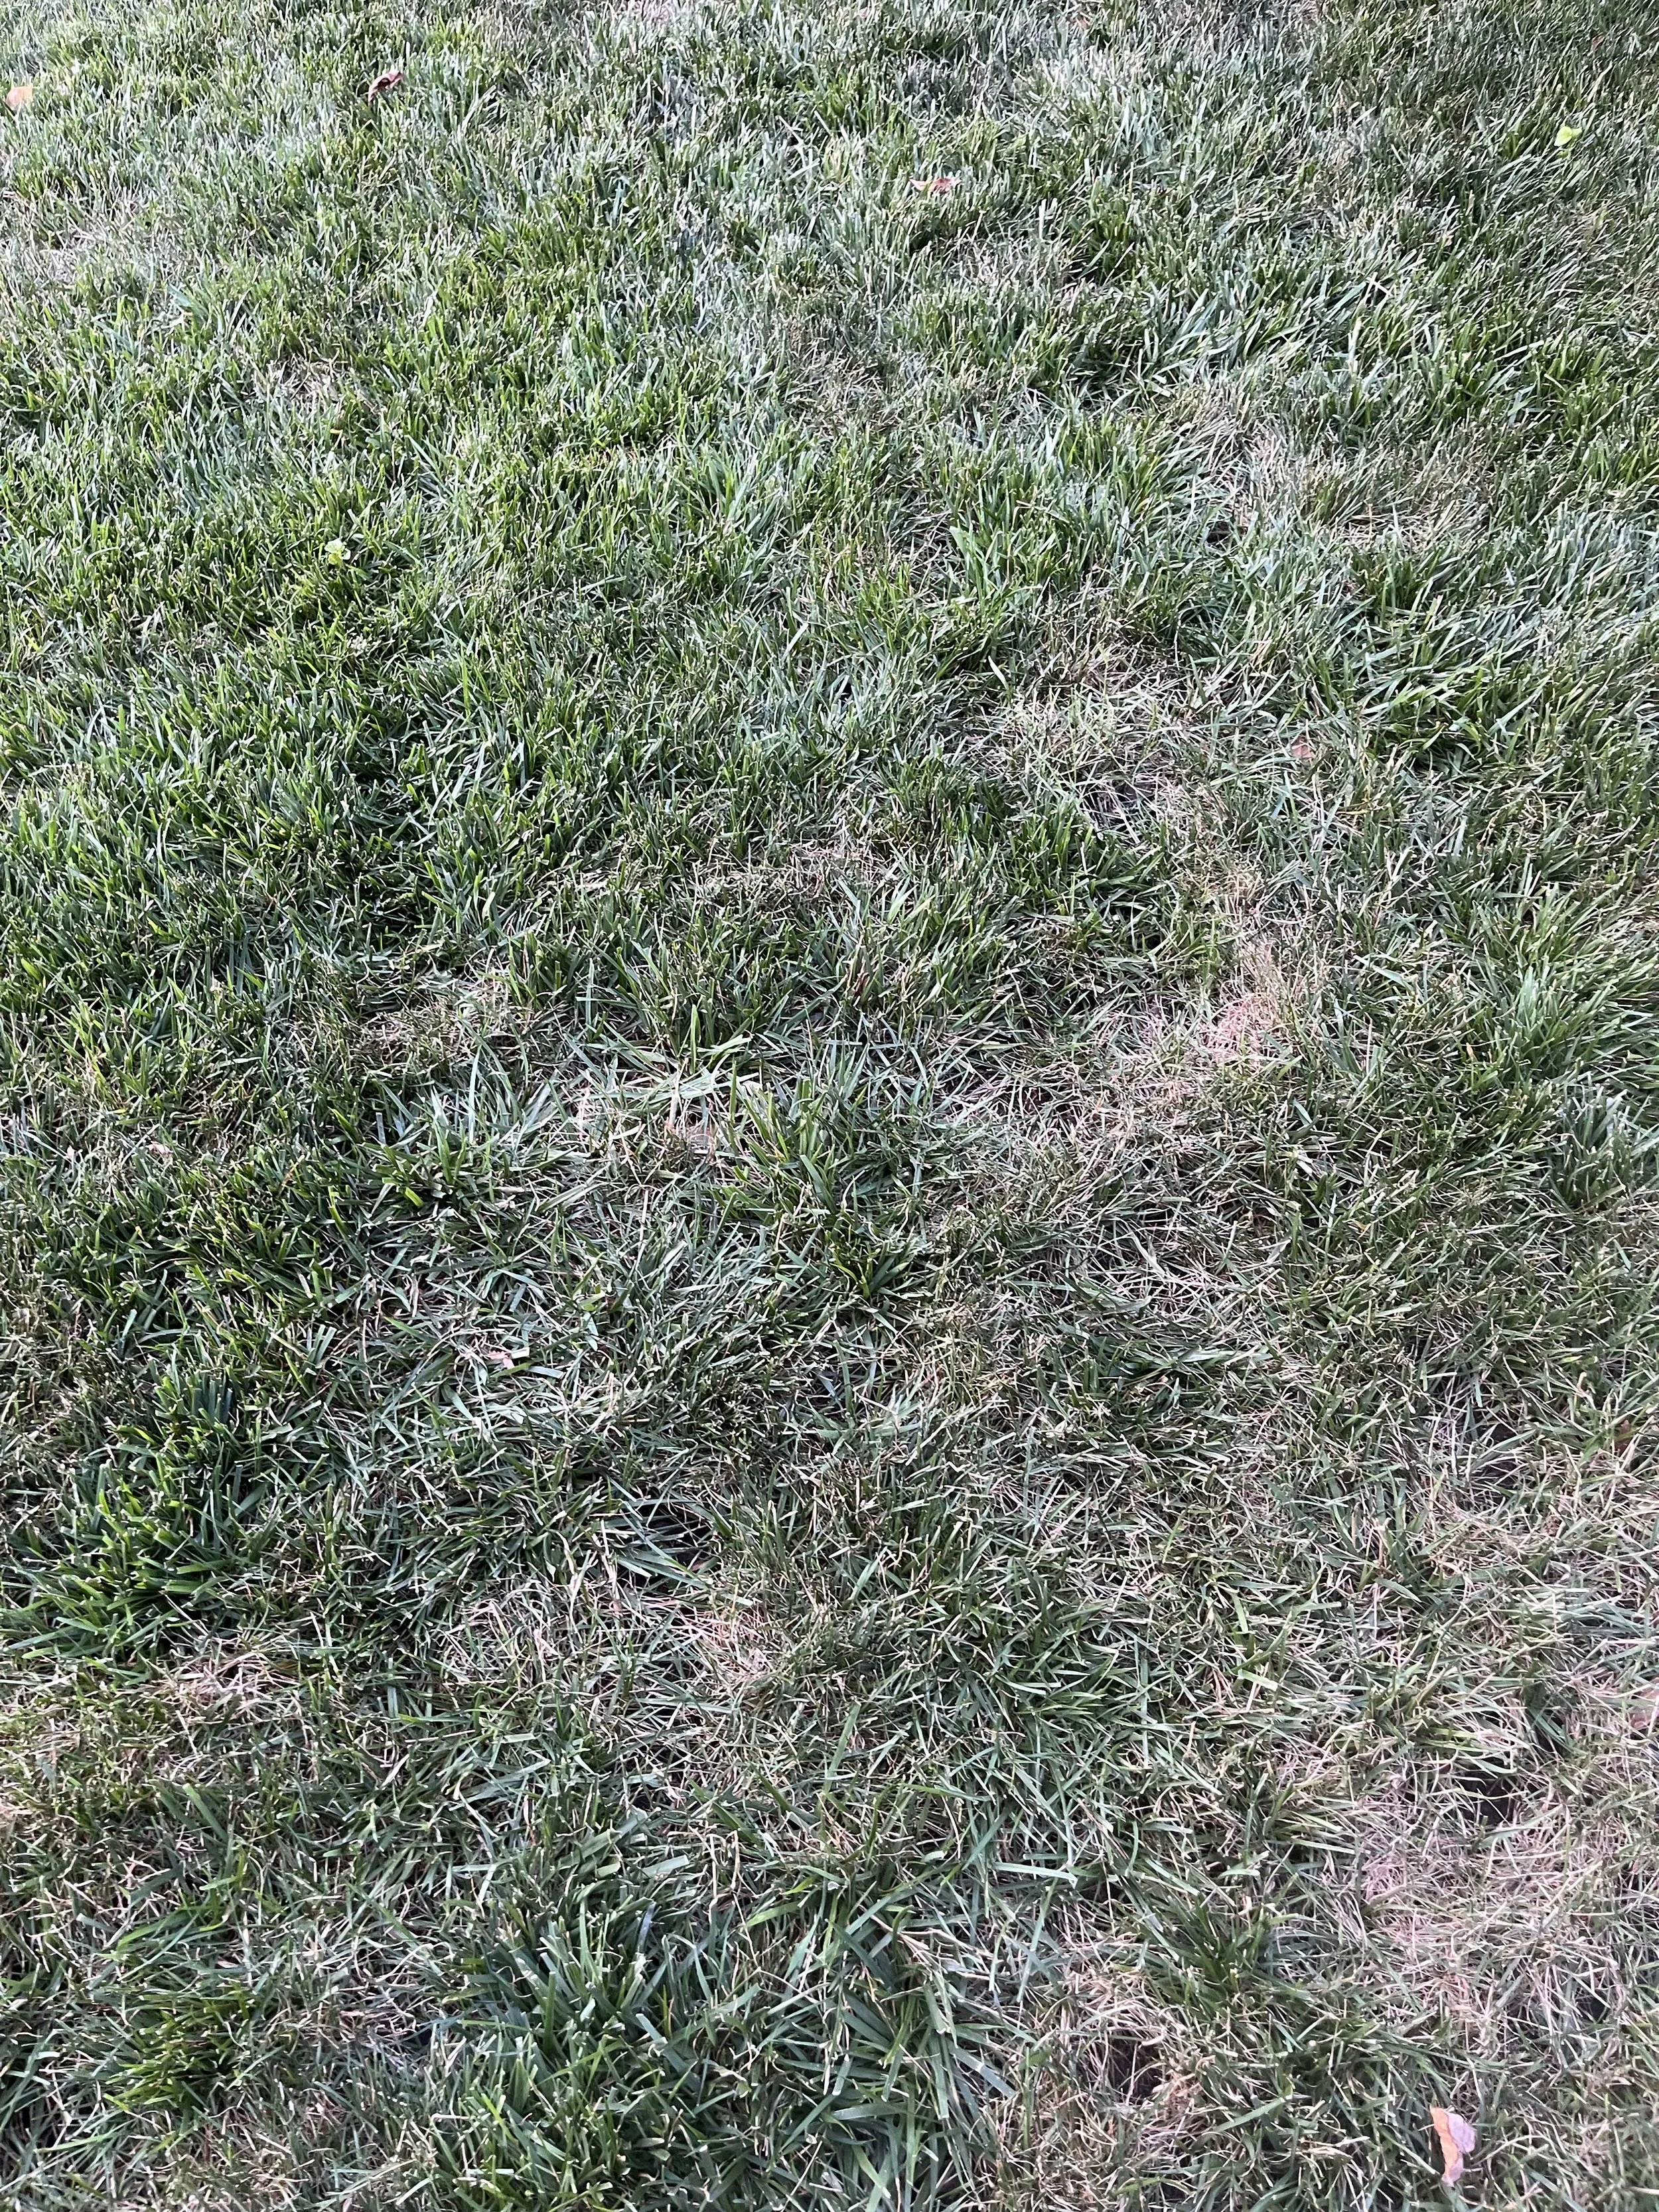
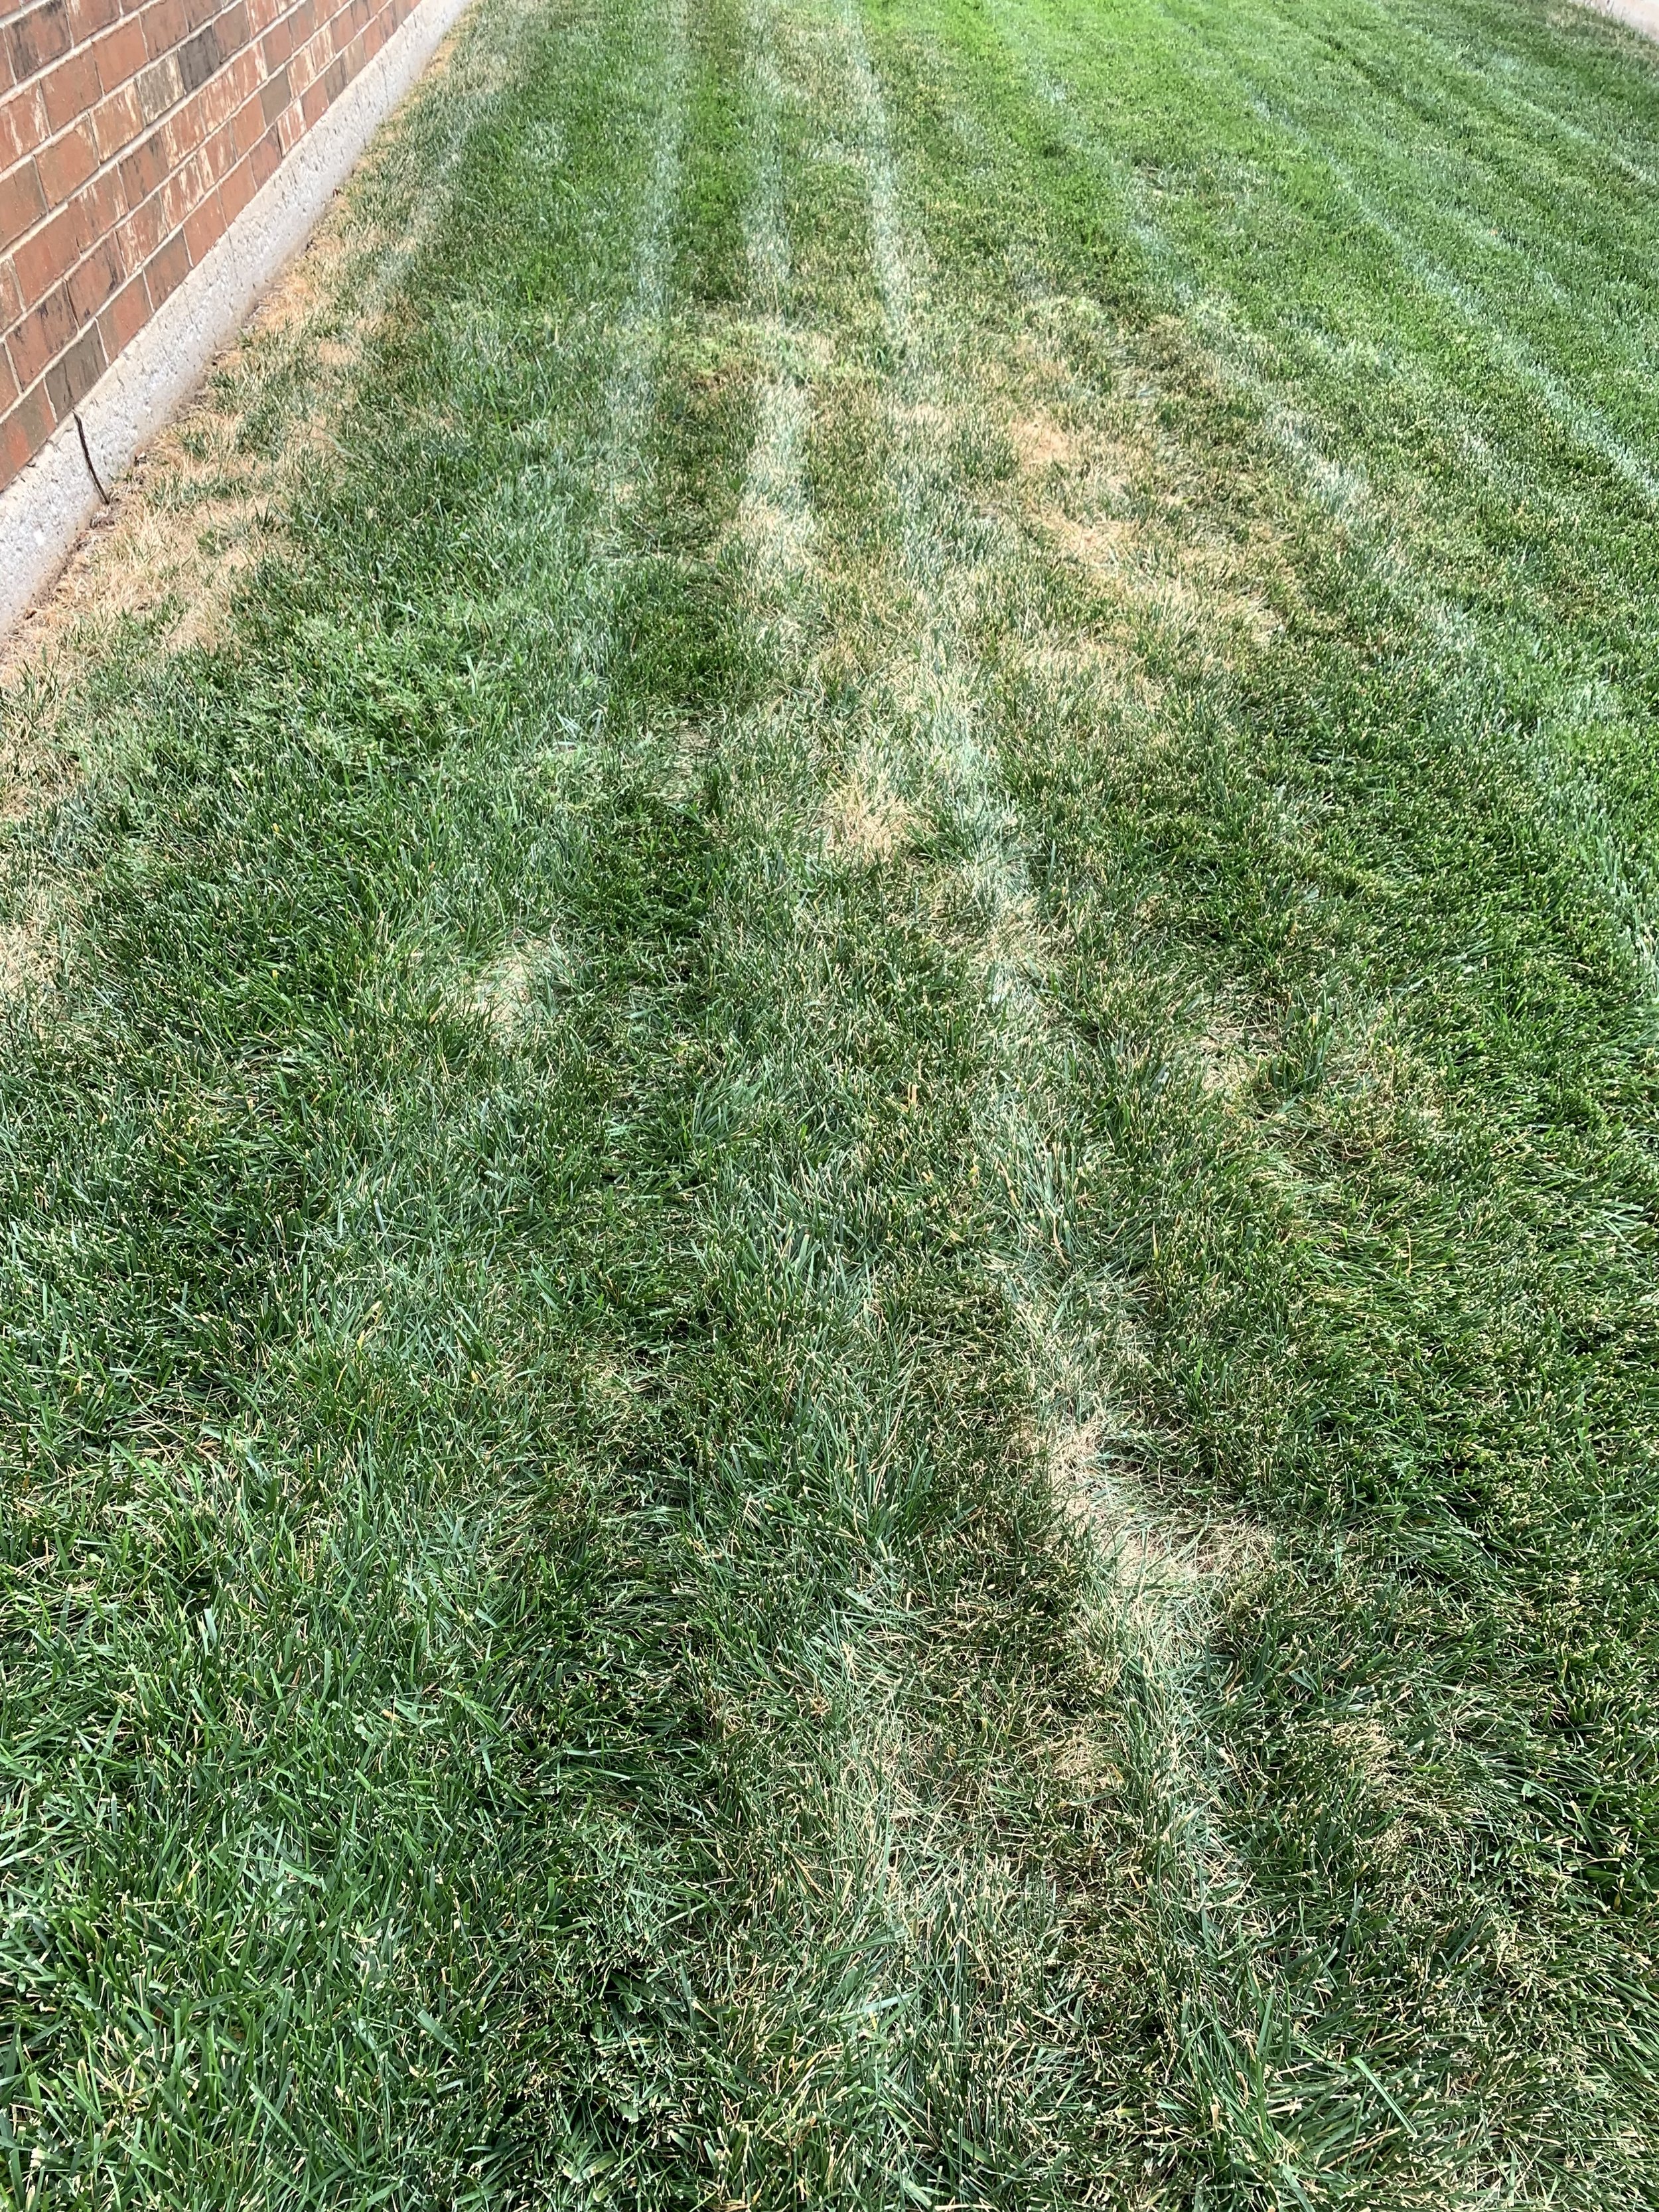
Brown patch in fescue.
Fescue with a mild case of brown patch.
Brown Patch is a result of fescue staying too wet when temperatures are warm. This year has been a perfect season for brown patch to flourish. Now that we have received two weeks of 95+ degree weather, areas weakened by brown patch in June are starting to show stress.
Heavy shade and low air circulation. Fescue performs best if it receives some sunlight every day. Fescue will tolerate more sun than most realize and does well in full sun when it is watered and mowed properly. Air circulation plays the important role of drying the leaf blades between watering cycles. Small backyards, privacy fences, and heavy shade are the hardest on fescue in July and August. This week Hall | Stewart Lawn Care Specialists have visited several fescue lawns with good air flow and dappled sun resulting in healthy fescue with good summer color while in the same lawn there is thinning/fading fescue in areas with low air circulation and deep shade.
Fescue cut too short. Remember leaf blades store moisture the plant needs to withstand the summer heat. Fescue survives through July and August best when it is cut at 3” to 3 1/2”. Every fescue lawn I have seen this week that is being maintained below 3” is struggling. If your fescue is less than 3” tall, don’t mow again until it reaches 4”, then remove only ½” to 1”.
Tight clay soil that has never been aerated resulting in shallow rooted fescue that will struggle in the heat.
Drought stressed fescue.
If your fescue is losing a lot of color check the soil. If it is dry, increase water by deep soaking in the morning every other day. If the soil is moist, then the problem is brown patch.
Fescue seeded over Bermuda in full sun in the heat of the year.
Fescue in full to dappled sun in July.
During fescue’s offseason, take a stroll around your lawn and start planning for the fall. The cooler days of September will be here soon.
Do you need to make some changes to how you are mowing and watering your fescue?
Are you trying to grow fescue in full shade, in a location where there is little wind movement?
If so, can you improve the conditions, or should you consider transitioning to a shade tolerant ground cover?
Or, are you OK with knowing the area needs to be overseeded with fescue every fall, will look wonderful for 9-10 months, fade for a couple of months, and then repeat the cycle again after fall overseeding?
If your fescue didn’t perform well due to the excessive moisture and high humidity of the early summer, or if it has struggled with brown patch in the heat, start making plans to overseed this fall.
Do you have areas of the lawn that are becoming too shady for bermuda? Bermuda starts to thin anywhere it does not get at least 6 hours of direct sunlight every day. Is this the fall to start establishing fescue in those areas?
Whether you have a full fescue lawn, or just some fescue in shady areas, don’t fret, fescue’s best season is just a few weeks away!
Lorne Hall
Hall | Stewart Lawn + Landscape
(405)367-3873
Summertime = water time!
Friday, June 20th marked the official start of summer. Known as summer solstice, it is the longest day of the year.
So, if it is officially summer, it means it is time to review best watering practices.
Wait a minute, didn’t a local weather person report this week that the past 60 was the 3rd wettest 60-day period in Oklahoma City? That is true. The metro area has received 23” of rain since mid-April. Another way to think of it… in the last 60 days we have received over 60% of our average annual rainfall or 36.5”.
Again, why are we talking about best watering practices?
Because, summer in Oklahoma means temperatures will rise and rainfall will decline.
Best watering practices start with being aware of current weather patterns and adjusting watering schedules.
Best watering practices need to be your number one focus in the landscape for the next few weeks.
Best watering practices will have the biggest impact on the health and appearance of your lawn and landscape for the rest of the summer.
Best Watering Practices:
Apply 1” to 1.5” of water per week.
Your lawn and landscape need 1” to 1.5” of moisture per week when temperatures are consistently 90 degrees or higher.
Which begs the question: “How long should I water?”
Every irrigation system is different – different head types, different size nozzles, different head spacing, different soils, different slopes, etc.
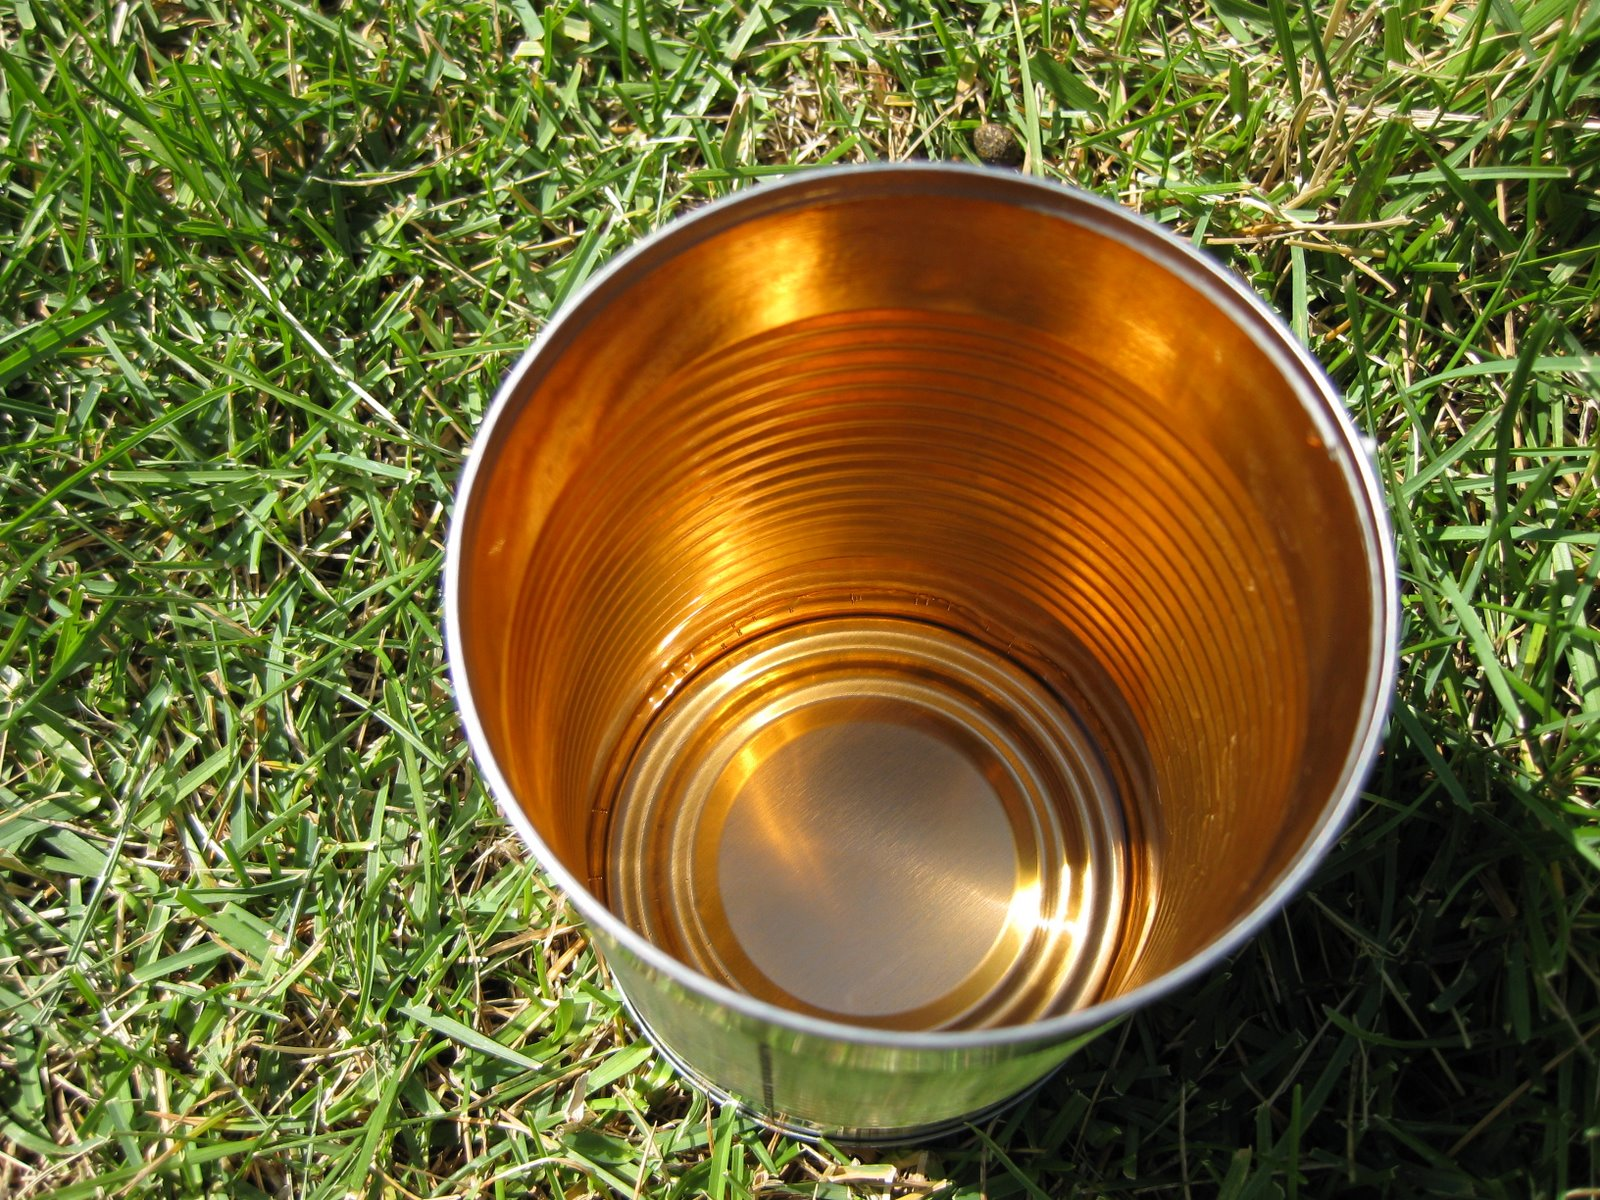
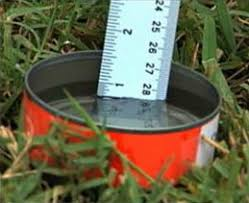
The best way to know how long you should water is to measure the amount of water your system puts out in each zone. Take a few cans and place them around your lawn in a random pattern. Run your sprinklers through a cycle and measure the amount of water in the cans. If the sprinklers ran for 15 minutes and you had .25” of water, that zone needs a total of 60 to 90 minutes of run time per week.
Next determine how long you can run your irrigation before there is excessive runoff. This will tell you how many times per week you need to water. If you can get away with watering every 4th day, you will have a healthier, stronger landscape.
If you don’t have the time to audit the amount of water your system puts out, start with these settings, monitor, and adjust:
Fixed spray pattern heads with 10-15’ spacings – 15 mins per time.
Larger rotor type heads on 20-30’ spacings – 30 mins per time.
My practice has been, using the best practices mentioned here, to water my fescue lawn every 4 days when temperatures are in the 90s and increase to every other day when the lawn shows signs of stress from lack of water.
Set your controller to water with back-to-back run times.
For most of our landscapes, if you run our sprinklers long enough to get the recommended amount of water, you end up with a lot of water running down the street. Splitting zone run time in half and setting the controller to run through the zones back-to-back will improve the amount of water that soaks in and reduce the amount of water that runs off.
Example: Set the controller to run at 4:00 AM and 5:00 AM. When the 4:00 cycle completes, even if it is past 5:00, the controller will start the second cycle.
I know from experience that moist soil will absorb more water than dry soil. Soil is just like the sponge in your sink. A dried-out sponge repels water before it starts absorbing water. Your lawn is the same. The first cycle moistens the soil and the second cycle soaks in.
Split, back-to-back, irrigation cycles are an old golf course trick. Large commercial irrigation controllers have had a run/soak cycle setting that waters a short time, delays, and then waters a longer time for years. Now, more and more smart controllers offer a run/soak cycle feature.
I started using split, back-to-back, irrigation cycles years ago on lawns with slopes.
After seeing great results, I started incorporating the concept on all lawns.
It makes a difference in watering efficiency.
Water in the early morning.
Evaporation is at the lowest point in the pre-dawn hours. Typically, wind is also at the lowest point of the day in the pre-dawn hours.
I prefer to set most irrigation controllers to start at 4:00 AM with the goal of having the cycle completed by 8:00 AM.
Avoid watering in the heat of the day when much of the water will be lost to evaporation. Also, avoid watering in the evening. Watering in the evening promotes many turf diseases because the lawn stays wet too long.
This is critical for fescue lawns. If fescue stays wet for more than 6 hours at a time and nighttime temperatures are in the 70’s, brown patch is unavoidable. Fescue performs best in the heat if it is watered deeply, and grass blades are dry by noon.
If you water your fescue lawn in both the morning and the evening during the summer because you “can’t seem to get enough water on it!”, your lawn isn’t struggling because it is too dry, your lawn is struggling because you have created the perfect conditions for brown patch, a fescue lawn’s worst enemy.
IMPORTANT: Don’t water fescue in the evening during the summer. When water remains in the leaf for more than 6 hours, brown patch disease will develop.
How much difference does infrequent, deep watering make when it comes to developing a drought tolerant lawn? This is a picture of a fescue lawn in full sun in August that is deep soaked every 4 days. The picture was taken in mid-August with less than a 1/4" rainfall in the previous 20 days.
Daily watering is not needed.
Unless you are trying to get newly planted seed to germinate or new sod to take root, there is not a good reason to water every day. Always water deep and infrequent. Daily, shallow watering creates a landscape that is shallow rooted and more dependent on constant moisture for survival.
Fescue will also benefit from deep soakings, every other day, through the summer months. Shallow, daily watering in the summer heat is very damaging to fescue. Again: Brown patch symptoms look very similar to drought stress. Typically, the more you water, the worse the fescue looks, so you add more water, and the cycle of decline continues.
A common myth I would love to dispel is that fescue requires a lot more water than bermuda. Yes, it does for a couple of weeks in the fall when you are trying to get newly seeded fescue to germinate, but mature fescue doesn’t require more moisture than bermuda.
Aeration improves moisture absorption.
You can’t beat aeration for improving your soil structure. A key benefit of improved soil structure is better water absorption. Lawns that receive annual aeration (or at least every other year) do not experience as much runoff.
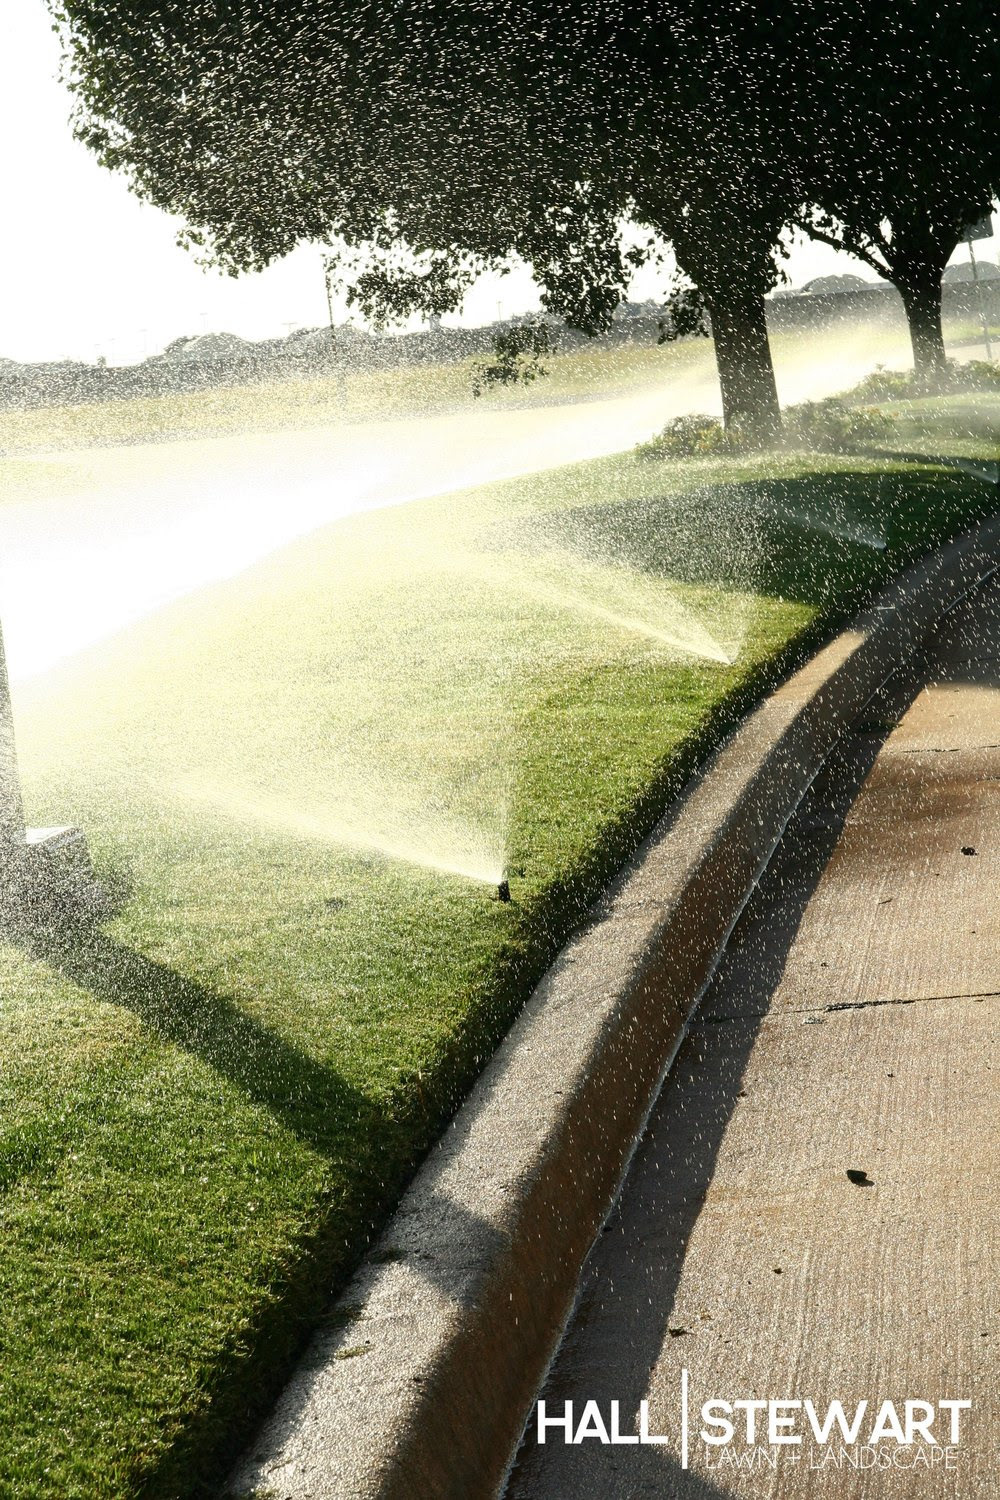
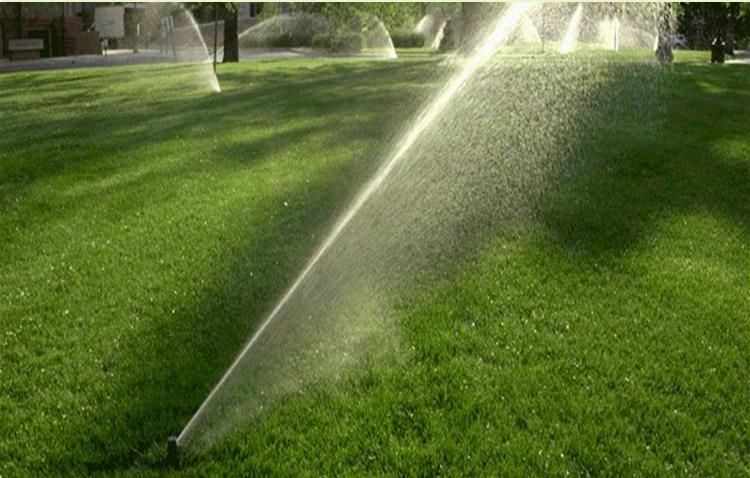
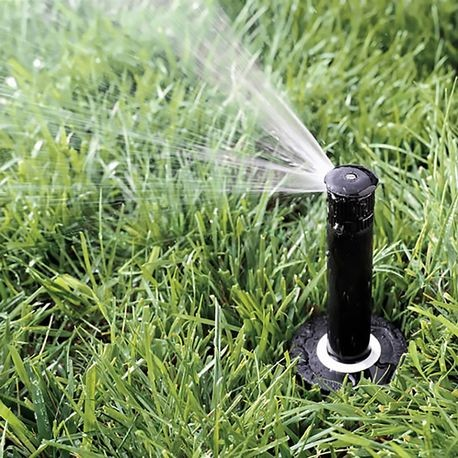
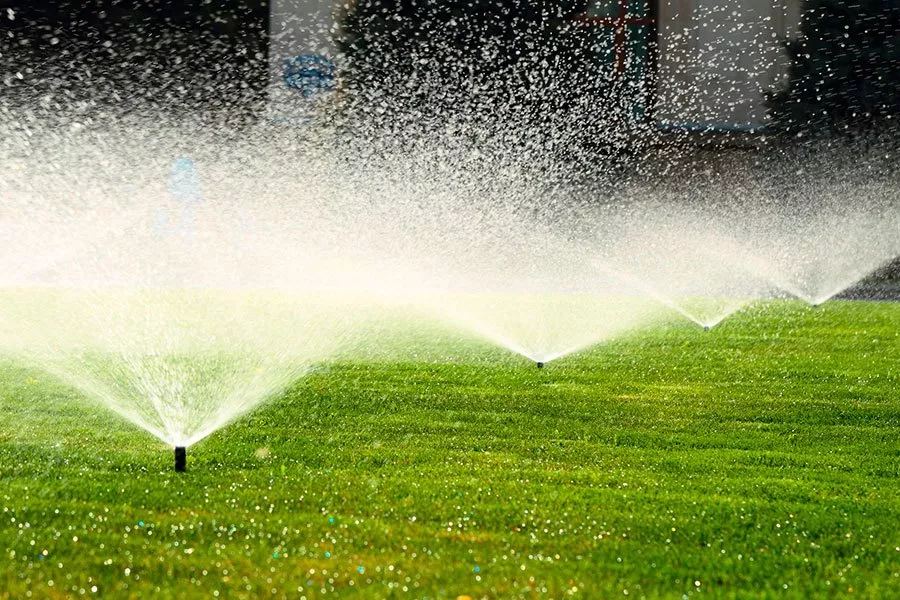
Head to head coverage is when the water from one sprinkler head reaches all the way to the next head. Without head to head coverage, dry areas can develop around heads.
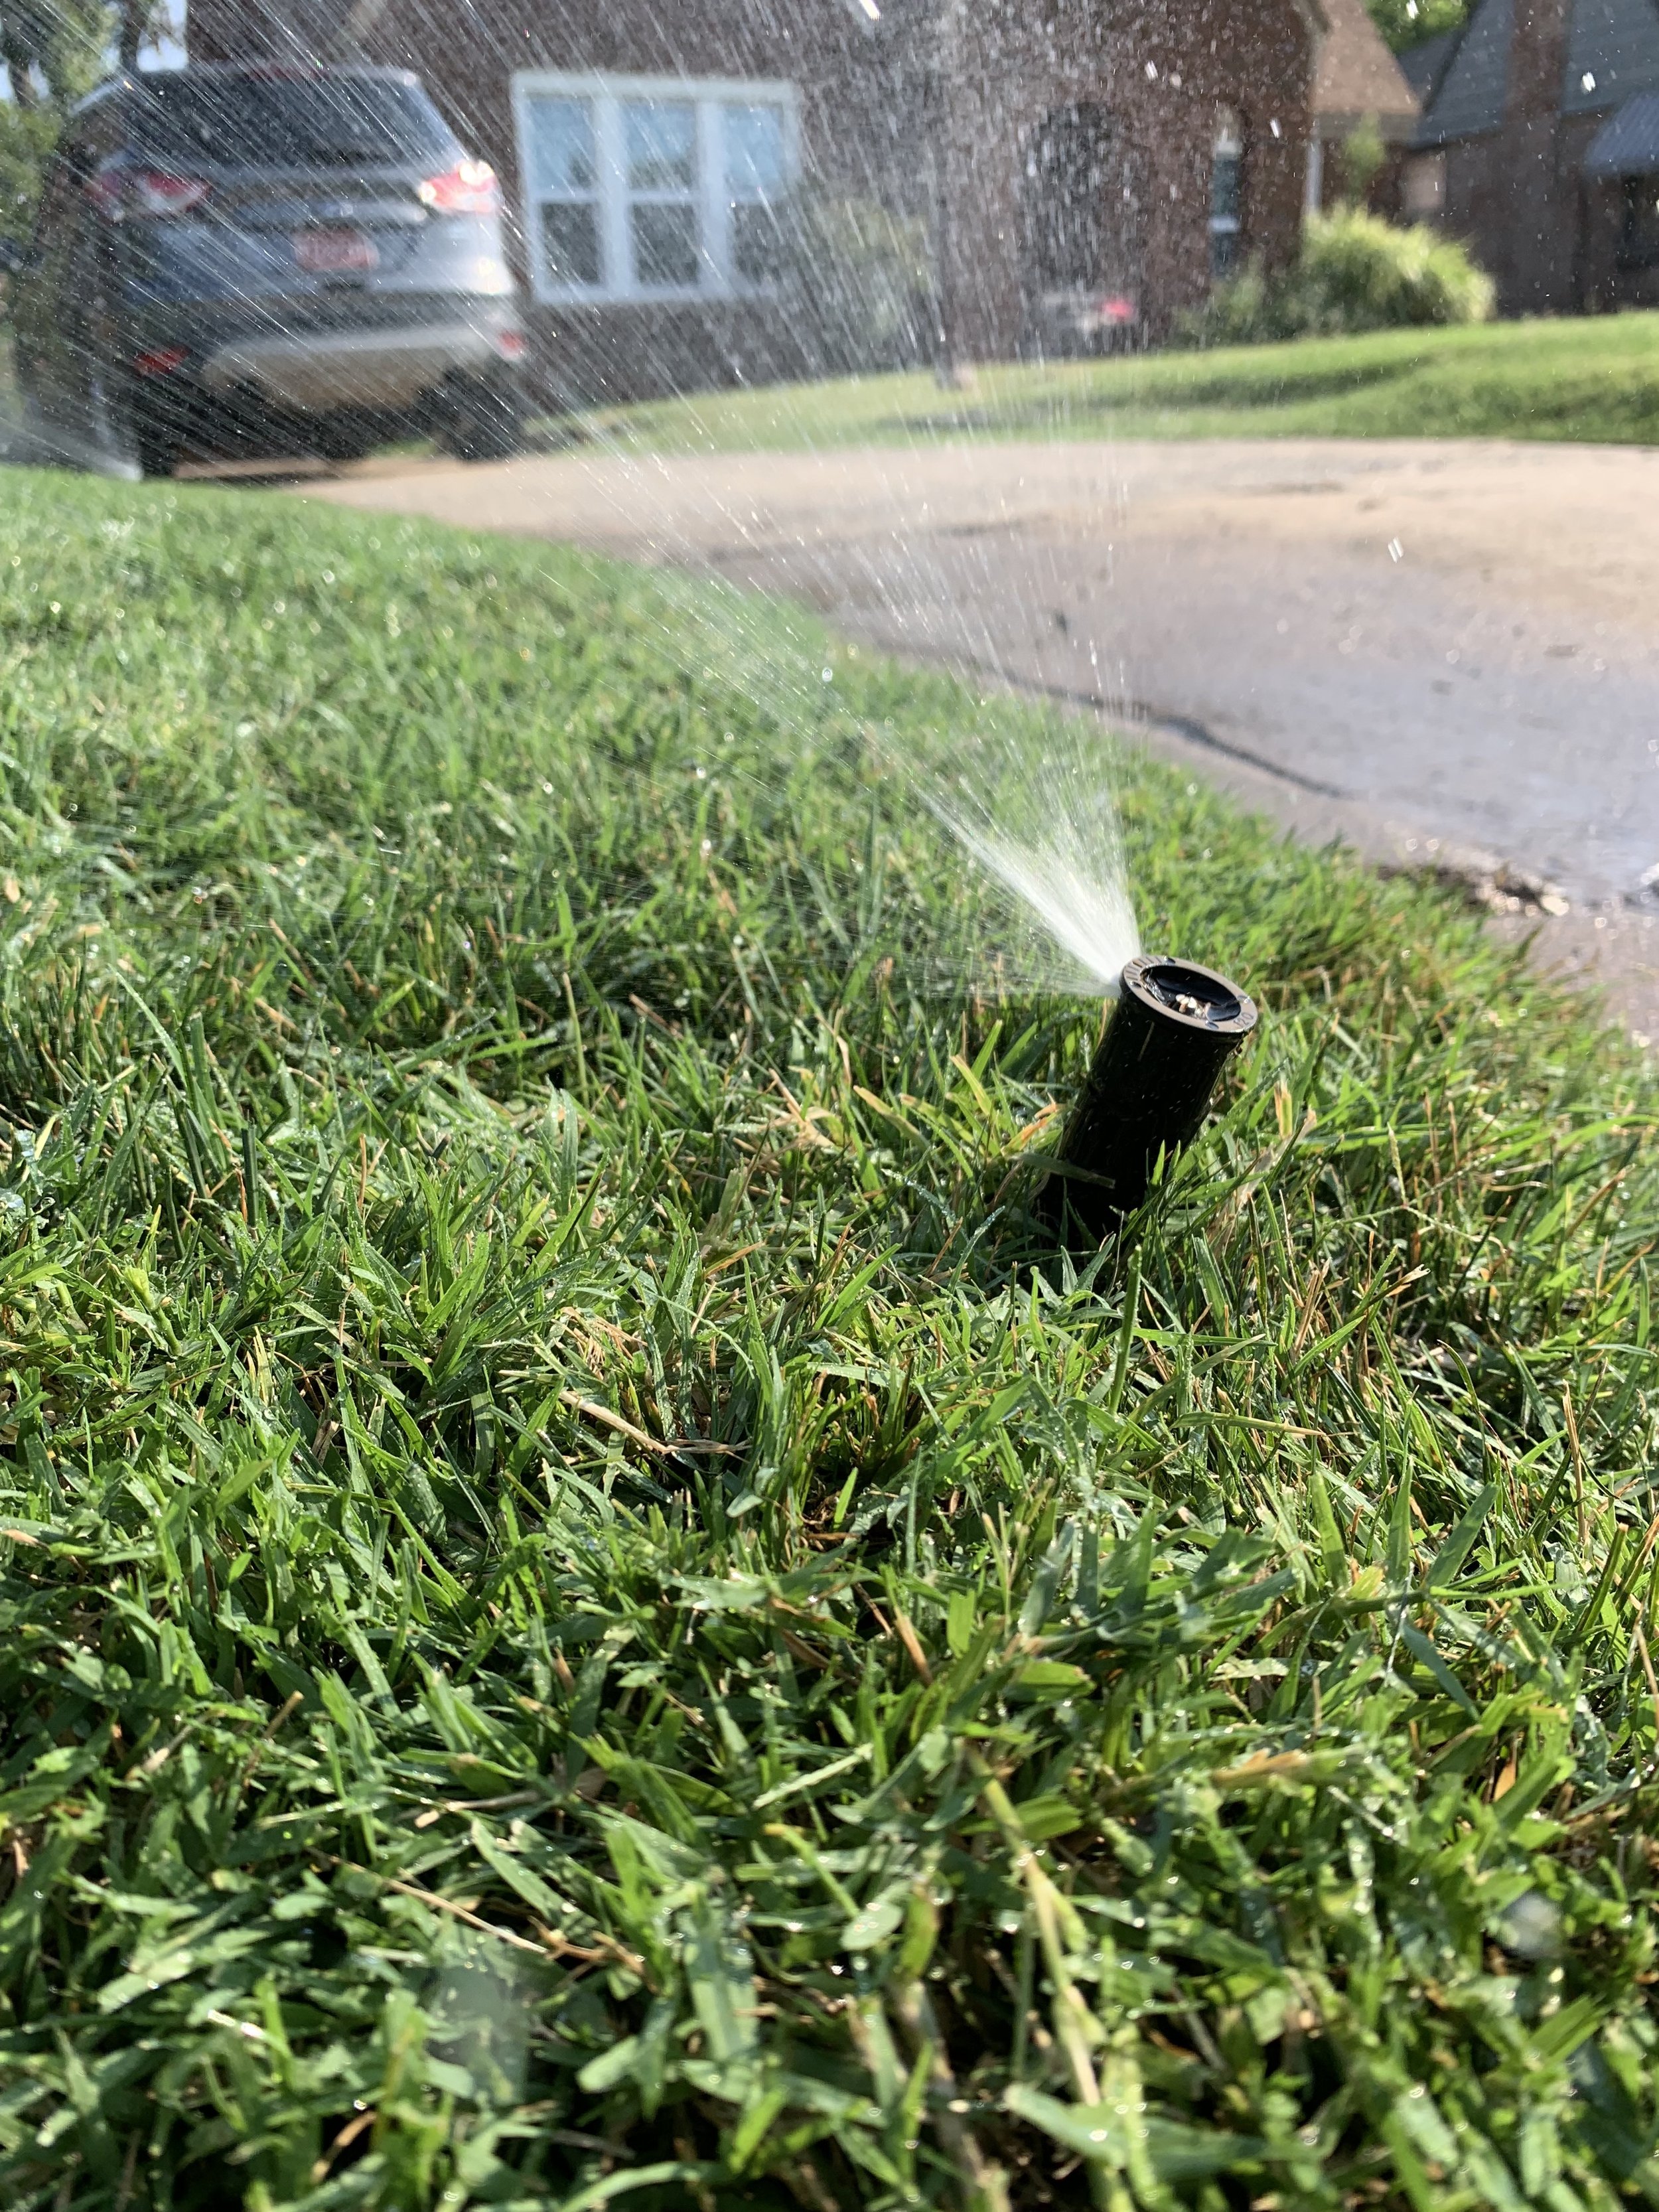
Fixing uneven water patterns in your lawn may be as simple as making sure heads are straight. A leaning head will result in uneven water distribution.
A clue to an uneven watering problem is an arc pattern matching the sweep of an irrigation head.
Always pay attention to water needs.
If we receive 1/2” of rain or more, turn your controller off for a few days. Install a rain sensor if you are not good at remembering. A rain sensor will pay for itself easily in one season.
Just because it is summer, don’t assume you can leave your controller in automatic and forget it.
Don’t stress if your lawn and landscape gets a little dry, it will rebound quickly once water is applied.
A good indicator that your lawn needs water is the footprint test. If the grass retains your footprints instead of quickly springing back, it is time to resume watering.
Watch for uneven water patterns.
If you notice areas where the lawn color is fading, you may have uneven moisture patterns. This could be the result of a broken head, clogged nozzle, or a head that is out of adjustment.
Even if you don’t have an irrigation system, the concepts of good watering apply.
It is important to learn how long you need to water when you are using a hose end sprinkler. Next time you water, set out a few cans. You will be surprised how long you need to water to get the proper amount of water on your lawn.
Invest in a digital hose water timer, such as the ones made by Orbit. It will make it easier for you to control the timing and frequency of watering.
If you need help in determining your lawn and landscape’s water needs, let us know.
We can schedule an irrigation audit for your lawn and landscape. We will inspect for uneven water distribution, absorb water rates, make recommended irrigation changes, and set the controller for optimal operation. Give us a call if we can help – (405)367-3873.
A healthy landscape is an important part of our environment.
A healthy turf helps clean the air, trap carbon dioxide, reduce erosion, improve groundwater quality, absorb noise, reduce temperatures, as well as adds cub appeal and value to your home.
A key component to a healthy landscape is correct water usage.
Lorne Hall
Hall | Stewart Lawn + Landscape
(405)367-3873
More perennials, please!
Over the years, I have become more and more fond of using perennials in the landscape.
In the early days of my love for landscapes, I was slow to add perennials because they don’t add color all season and often their foliage is unattractive after the blooms faded. When I did add a few, they always found their home in an out of the way, background location of the landscape.
I still believe annual color is the best choice close to the front door, along the front walks, and key areas around outdoor living spaces. Annual color is the best way to create a bright, welcome and season long statement in the landscape. But, more and more, I find myself adding perennials to landscapes.
What is the difference between annuals and perennials?
Perennial plants regrow every spring.
Annual plants live for only one growing season and then die.
Perennials usually have a shorter blooming period compared to annuals.
Great landscapes use a combination of both plants.
There are so many perennial choices. Every year, growers introduce new varieties of the old tried and true perennials. Every year, I enjoy trying a perennial I haven’t used in a landscape before.
I have my favorites. Favorites that have found a home in my landscape, and although none of them add color the entire season, it is fun to discover something new blooming in the landscape as we pass through the seasons.
Creeping Phlox (Phlox stolonifera).
The first to welcome spring each year. Creeping phlox produces a spring-like carpet in pastel hues of white, lavender, red and pink. Creeping phlox is a moderate grower that can spread up to 2’ but only reaches 4-6” in height. It prefers full sun but will tolerate some shade each day. Borders, walls, and around boulders are where it looks best. In my garden, you will find it cascading over a rock retaining wall. It tolerates most soils as long as it is well drained. The plant requires little maintenance. Mites are about the only insect problem it will have.
Creeping Phlox
Creeping phlox cascading over any landscape wall is a great way to say “hello” to spring.
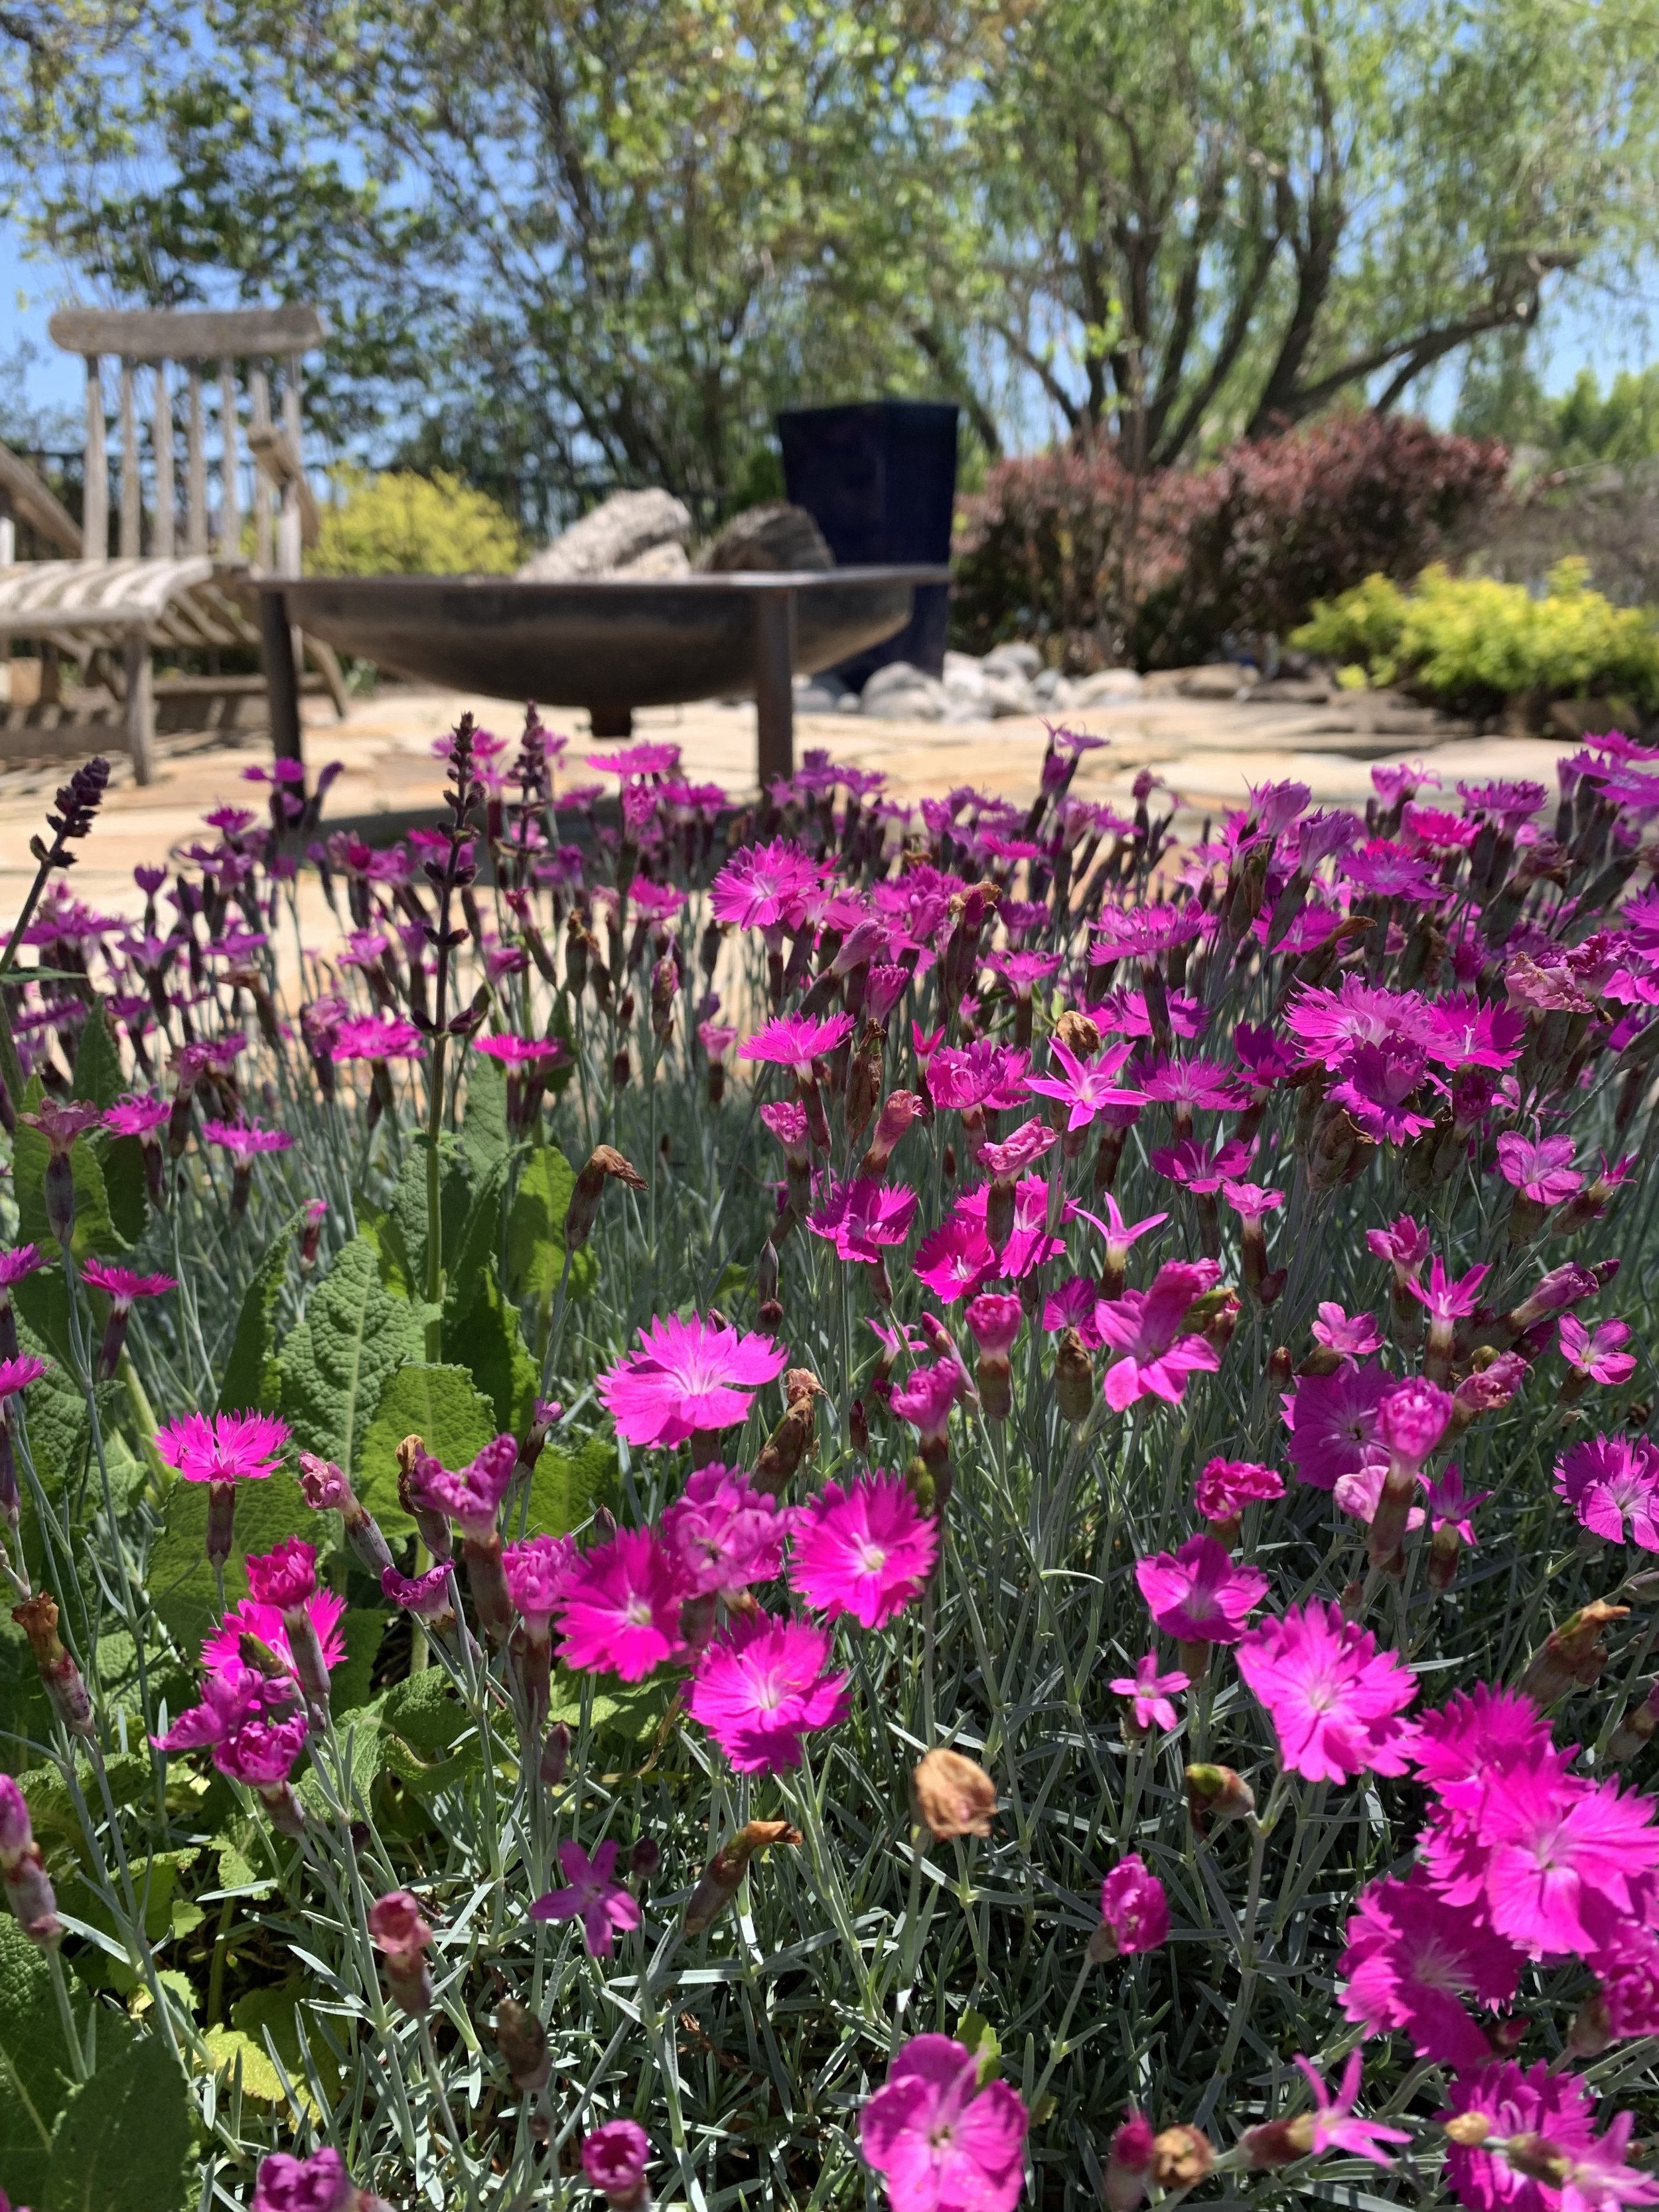
Dianthus
Dianthus and Salvia planted along a flagstone walkway.
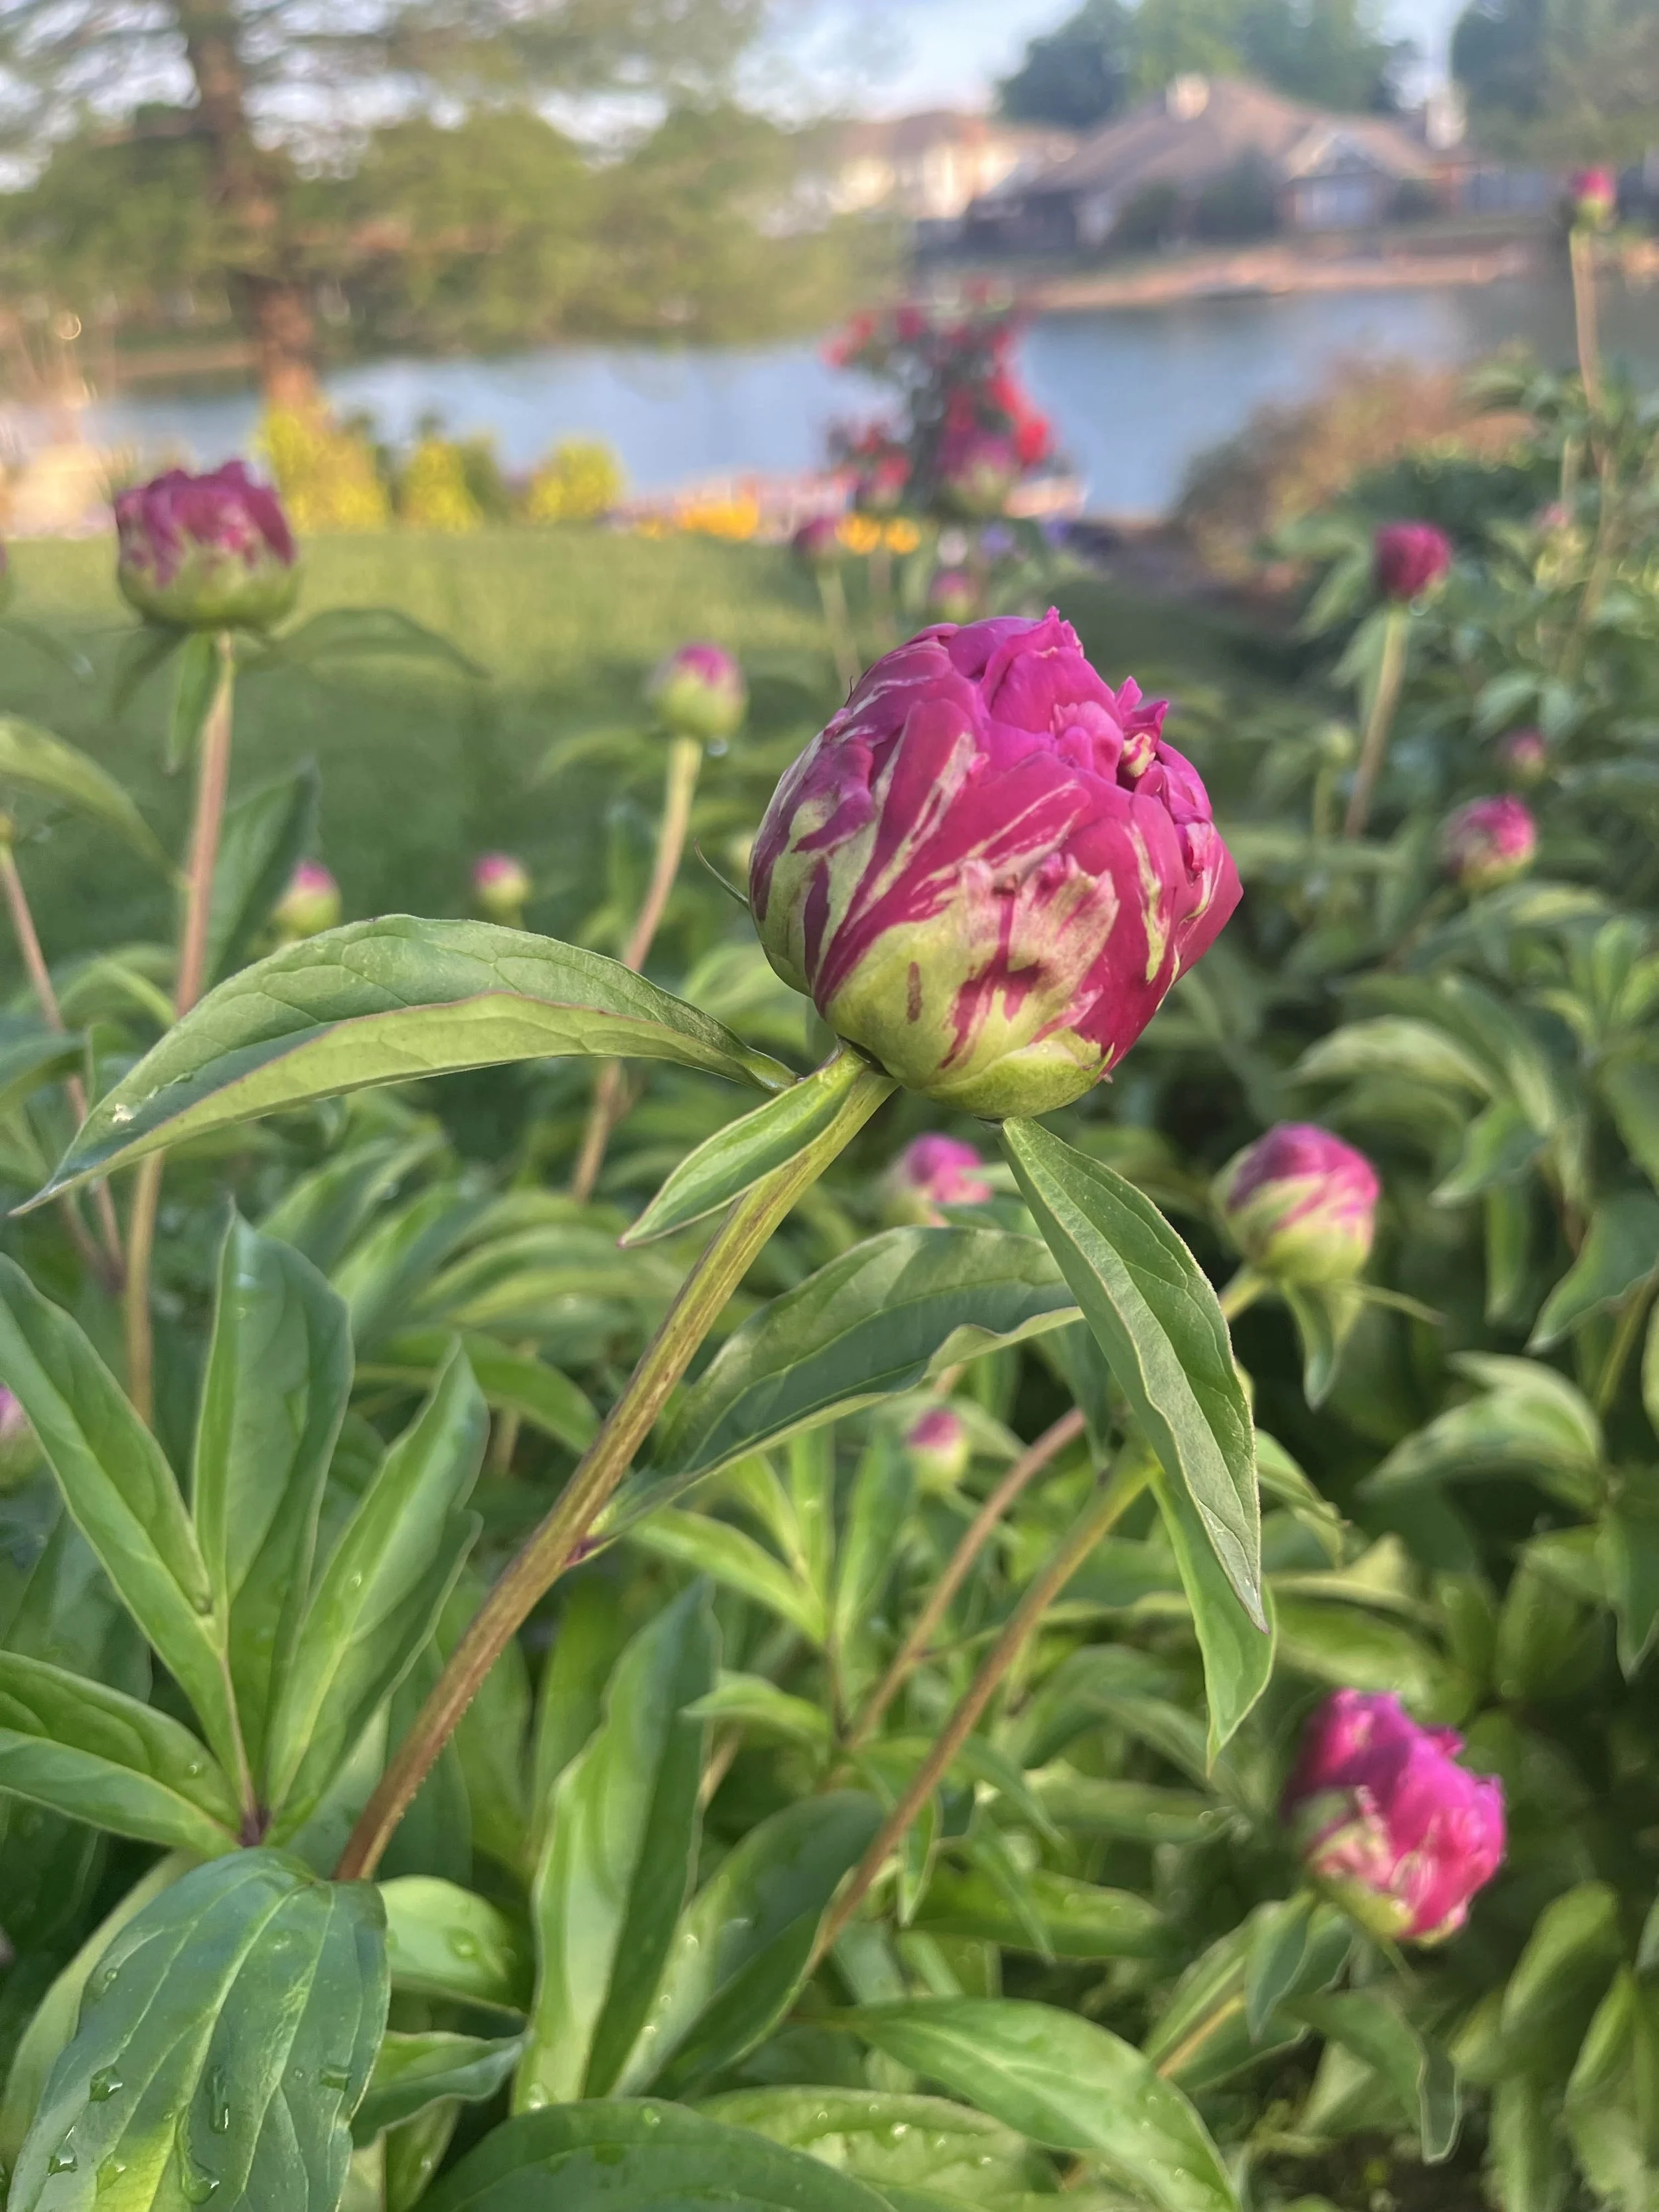
A must have perennial for cut flowers is Peony. With sturdy stems and spectacular blooms they not make April to early May pretty outside, but inside too.
Creeping Phlox
Creeping Phlox
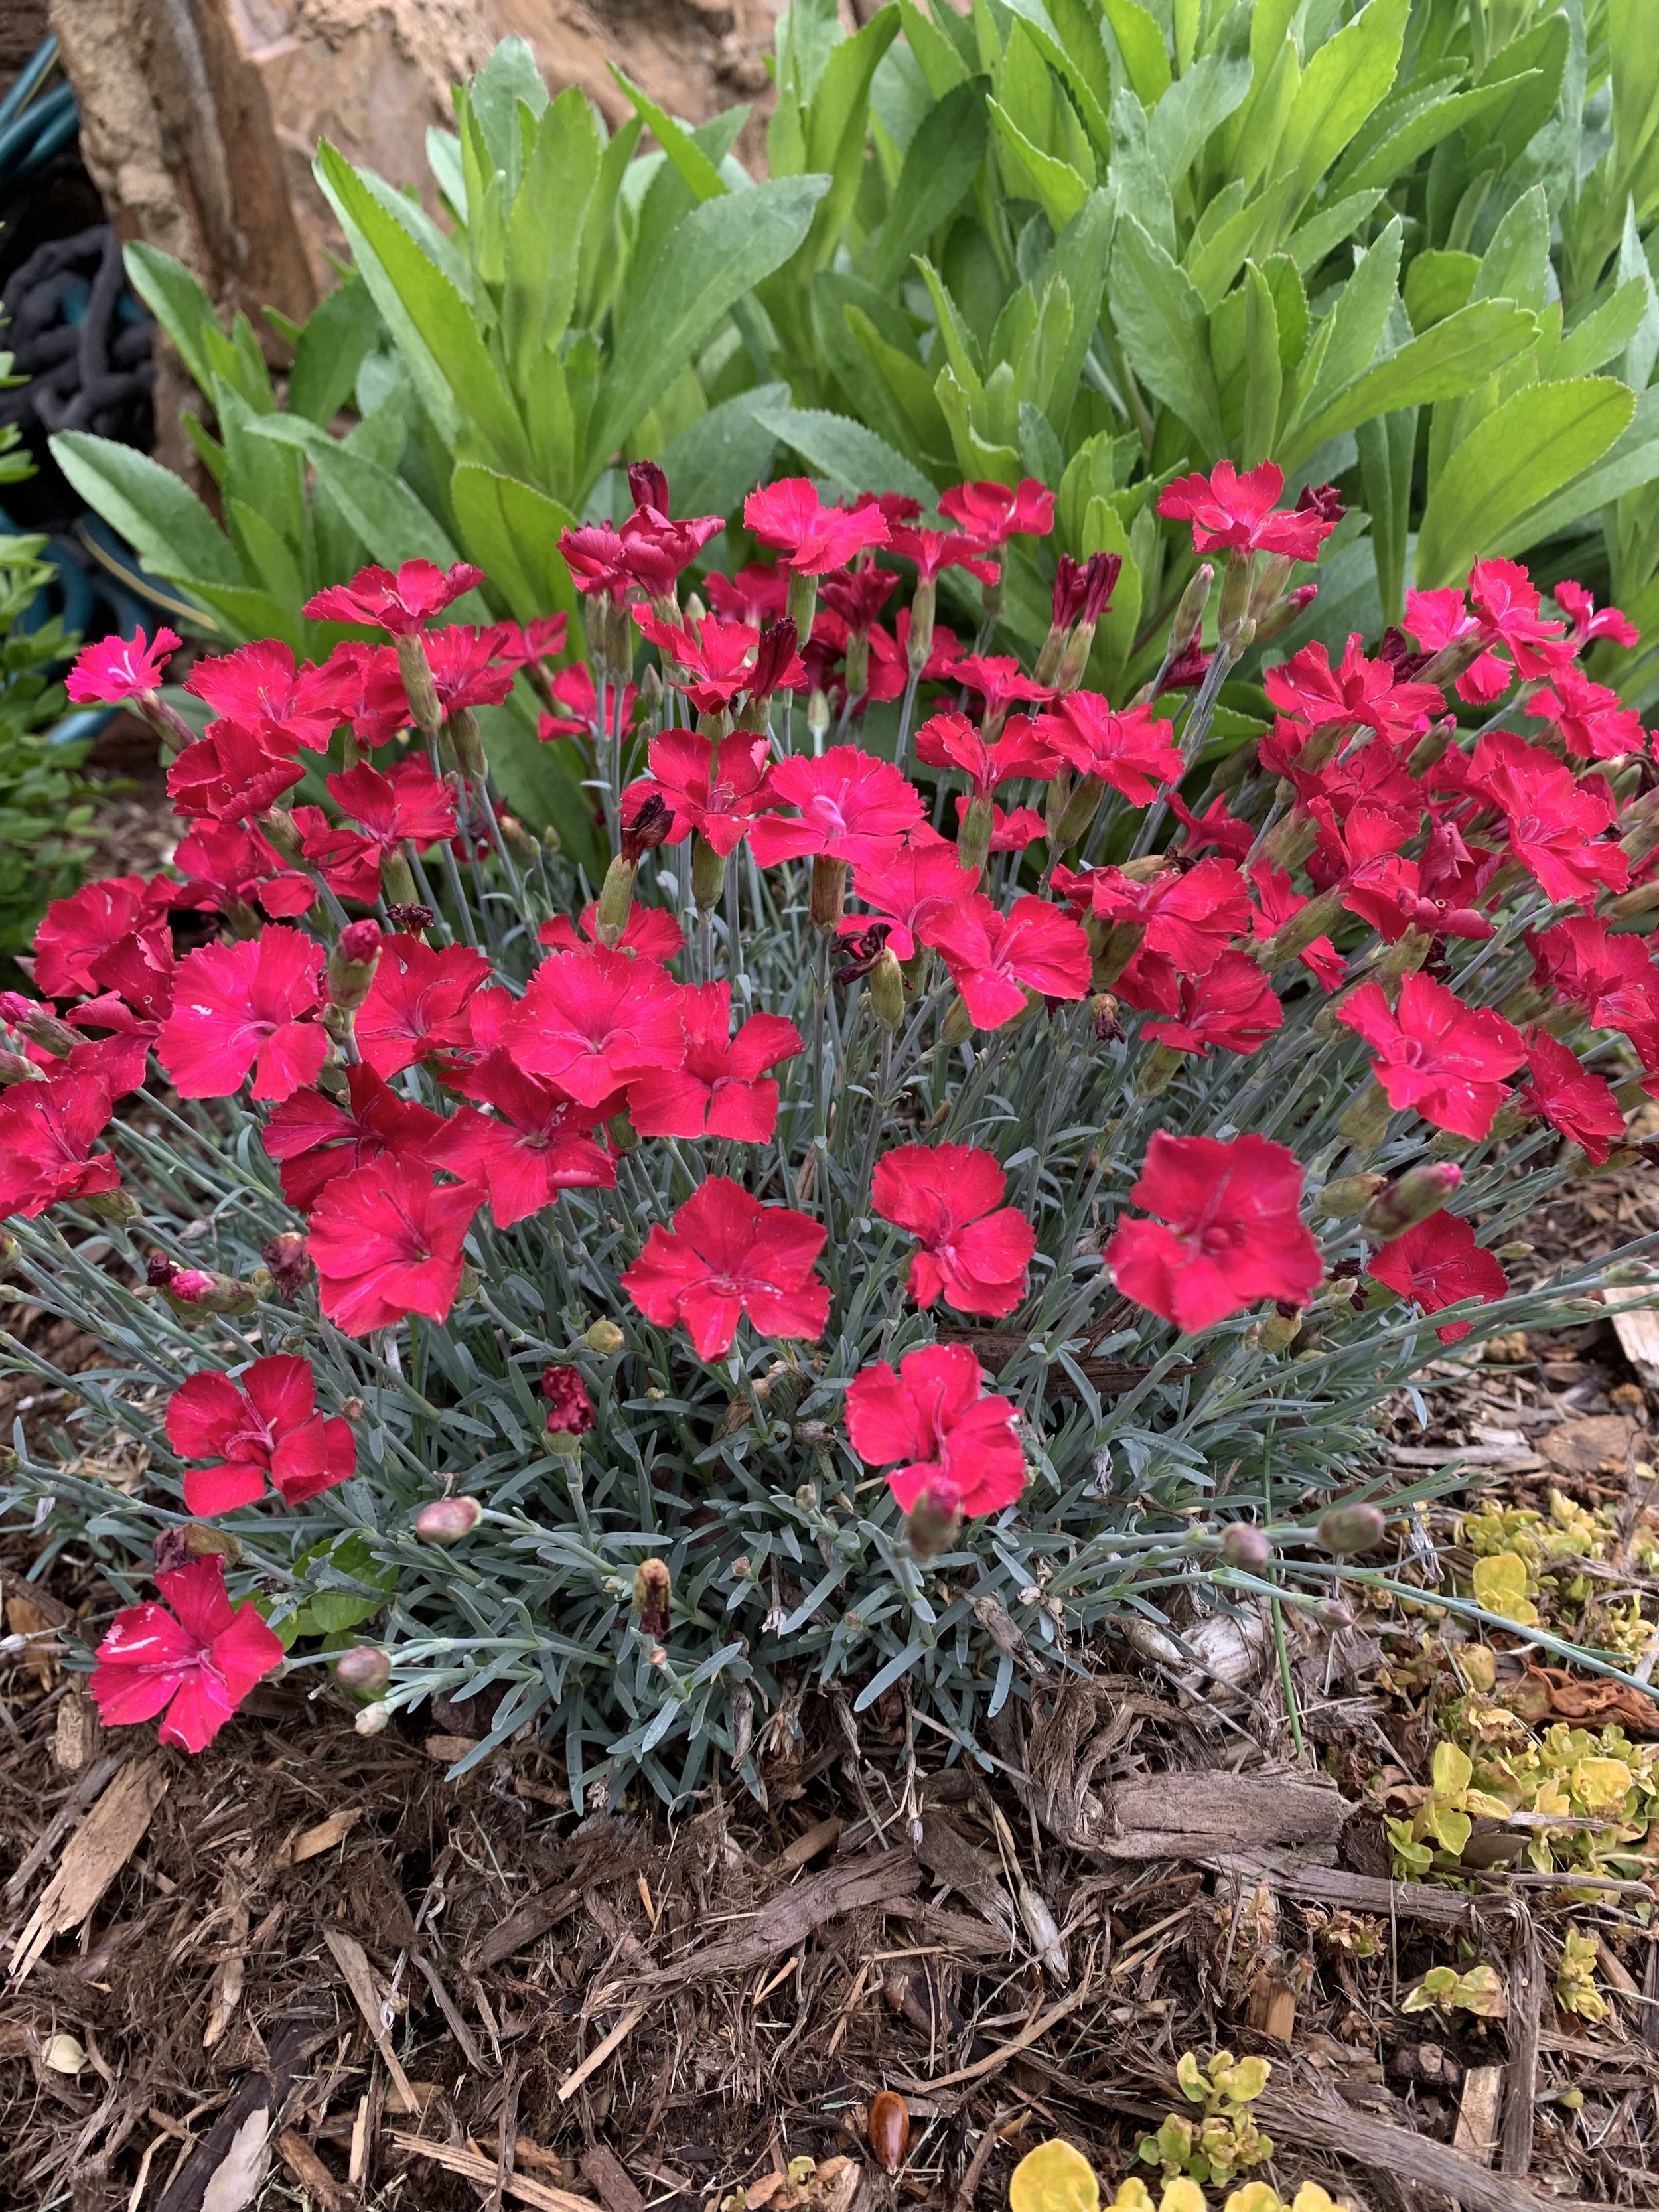
Dianthus (Dianthus).
It works well as a border, in small groupings, around boulders or as a single plant reaching 10-15” tall with a spread of 12-24”. They bloom in late spring to early summer in rose, pink, white, red. They prefer areas where they will receive at least 6 hours of full sun each day but will tolerate some dappled shade or afternoon shade. Just like creeping phlox, they are a cool season lover. They will grow in most soils, prefer alkaline soils, but waterlogged soil will cause crown and root rot. Heavy mulching near the crown of the plant can be detrimental. Late March through April and into May is the peak bloom time. Light feeding in the spring with a complete fertilizer of phosphorus, potassium and low nitrogen is recommended. Other than an occasional aphid or powdery mildew issue, they do not have many problems. There are more than 300 varieties of dianthus to choose from. My all-time favorite is ‘Firewitch’. It has silver-green foliage and a vibrant pink bloom. One short coming – it is not uncommon for them to thrive for a few years and then gradually decline, so you may need to replant every 3-4 years. I have found this true with the dianthus planted in my front landscape, but at the same time, I have a planting of dianthus in my back landscape that has over performed for at least 10 years running.
Dianthus
Peony (disambiguation) –
Easily one of the most old fashioned, coveted perennials. With sturdy stems and spectacular blooms, a peony is a mut have in your landscape just for cut flowers in late April to early May. Peonies are a large, 2-3’ tall, bushy shape with deeply lobed leaves that make a great back drop for a border of groundcover, smaller plants or spring bulbs.
‘May Night’ Salvia (Salvia x sylvestris).
Sage type flower spikes of deep bluish-purple that will add color in April, May and early June. The best flower show will be in full sun, but it will tolerate a little dappled shade each day. The plant grows 12-18” tall with flower spikes reaching 24”. The plant looks great in the middle of the garden planted behind creeping phlox or dianthus, and in front of Shasta daisy or Black-eyed Susan. The leaves often become tattered later in the summer. Keep faded blooms removed to maximize bloom period and pruning the plants after blooming may result in a few fall blooms. In the early spring, before new growth emerges, remove the dormant foliage. Salvia tolerates clay soils but will struggle with root rot if the soil stays saturated.
With nearly 1,000 species new varieties and colors of salvia arrive every year. For the latest information on salvia introductions, visit Proven Winners https://www.provenwinners.com/learn/how-plant/salvia
Cutting Salvia back after it has finished blooming for the season.
From April through early June you can count on May Night Salvia adding deep blue to purple spikes of color to the landscape.
Pink Dianthus, May Night Salvia with Gold Moneywort ground cover.
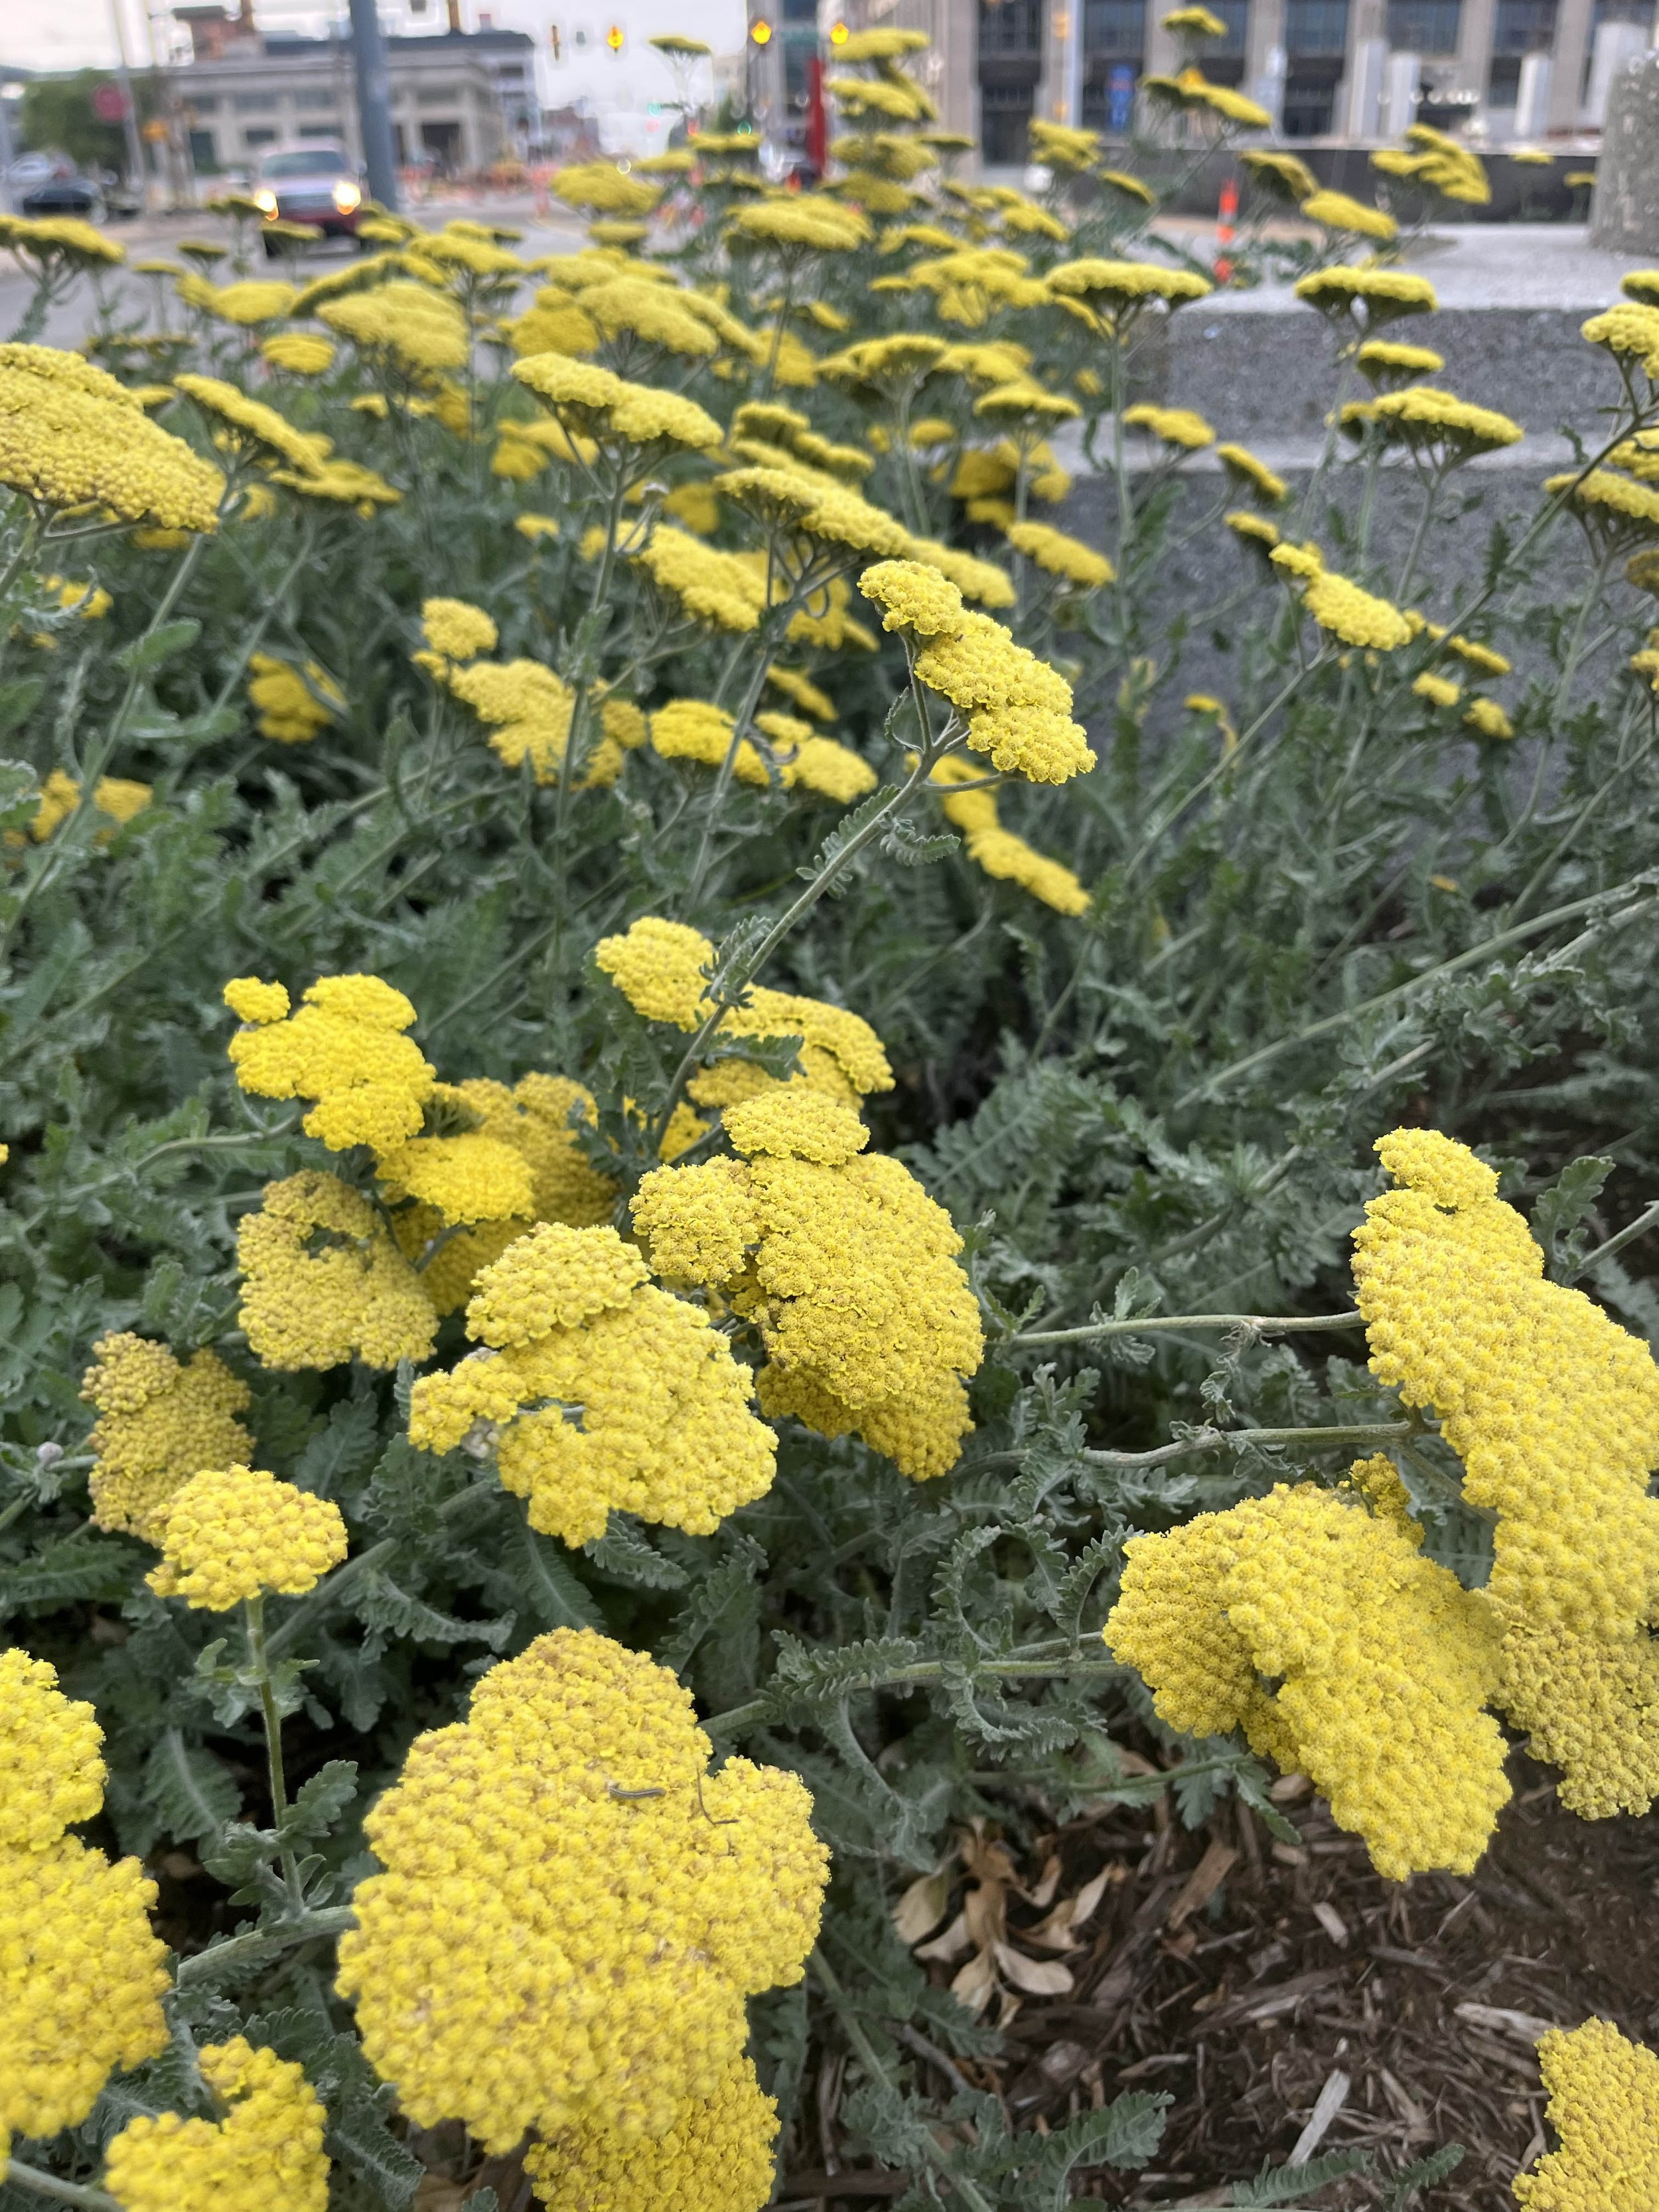
Yarrow
Daylily
Daylily (Hemerocallis).
There are over 80,000 varieties of daylily. They come in nearly every color and shade of color you can imagine, ranging 10-36” tall and 12-24” wide. Depending on the variety, blooms start in early summer and extend into late summer with a successive blooming habit that lasts 4-6 weeks. They also are one of the most adaptable plants. They are very cold hardy and very heat tolerant. They are happy in almost every soil condition, clay, loam, dry, wet, low nutrient. They prefer full sun but will bloom in partial shade. With a clump type growth, they are dynamic planted in a mass grouping. Leave dormant foliage until new foliage emerges in the spring. Fertilize in early spring and again in early summer. Clumps can be divided every 3-5 years in the fall. Remove spent flower stocks to encourage more blooms. The most common yellow daylily is ‘Stella de’ Oro’. ‘Pardon Me’ is a great red daylily. Planting daylilies behind liriope (monkey grass) will help cover up the unattractive foliage as it begins to fade in late summer. Look around, daylilies started putting on their early summer show this week.
‘May Night’ Salvia
Dianthus and Salvia make a great combination to your May landscape.
May Night Salvia
Yarrow (Achillea millefolium).
I’m sure you have noticed yellow yarrow in landscapes for years, but more recently you are seeing red, white, pink and purple tones of yarrow in the landscapes. An early bloomer with ferny foliage that make a great addition in full sun landscapes. Plant in groups in the front or middle layer of the landscape bed. They are also great in a butterfly garden.
Yarrow
‘Cat’s Pajamas’ Catmint is a long blooming small mounding perennial that is covered with blue flowers from late spring through summer.
Daylily
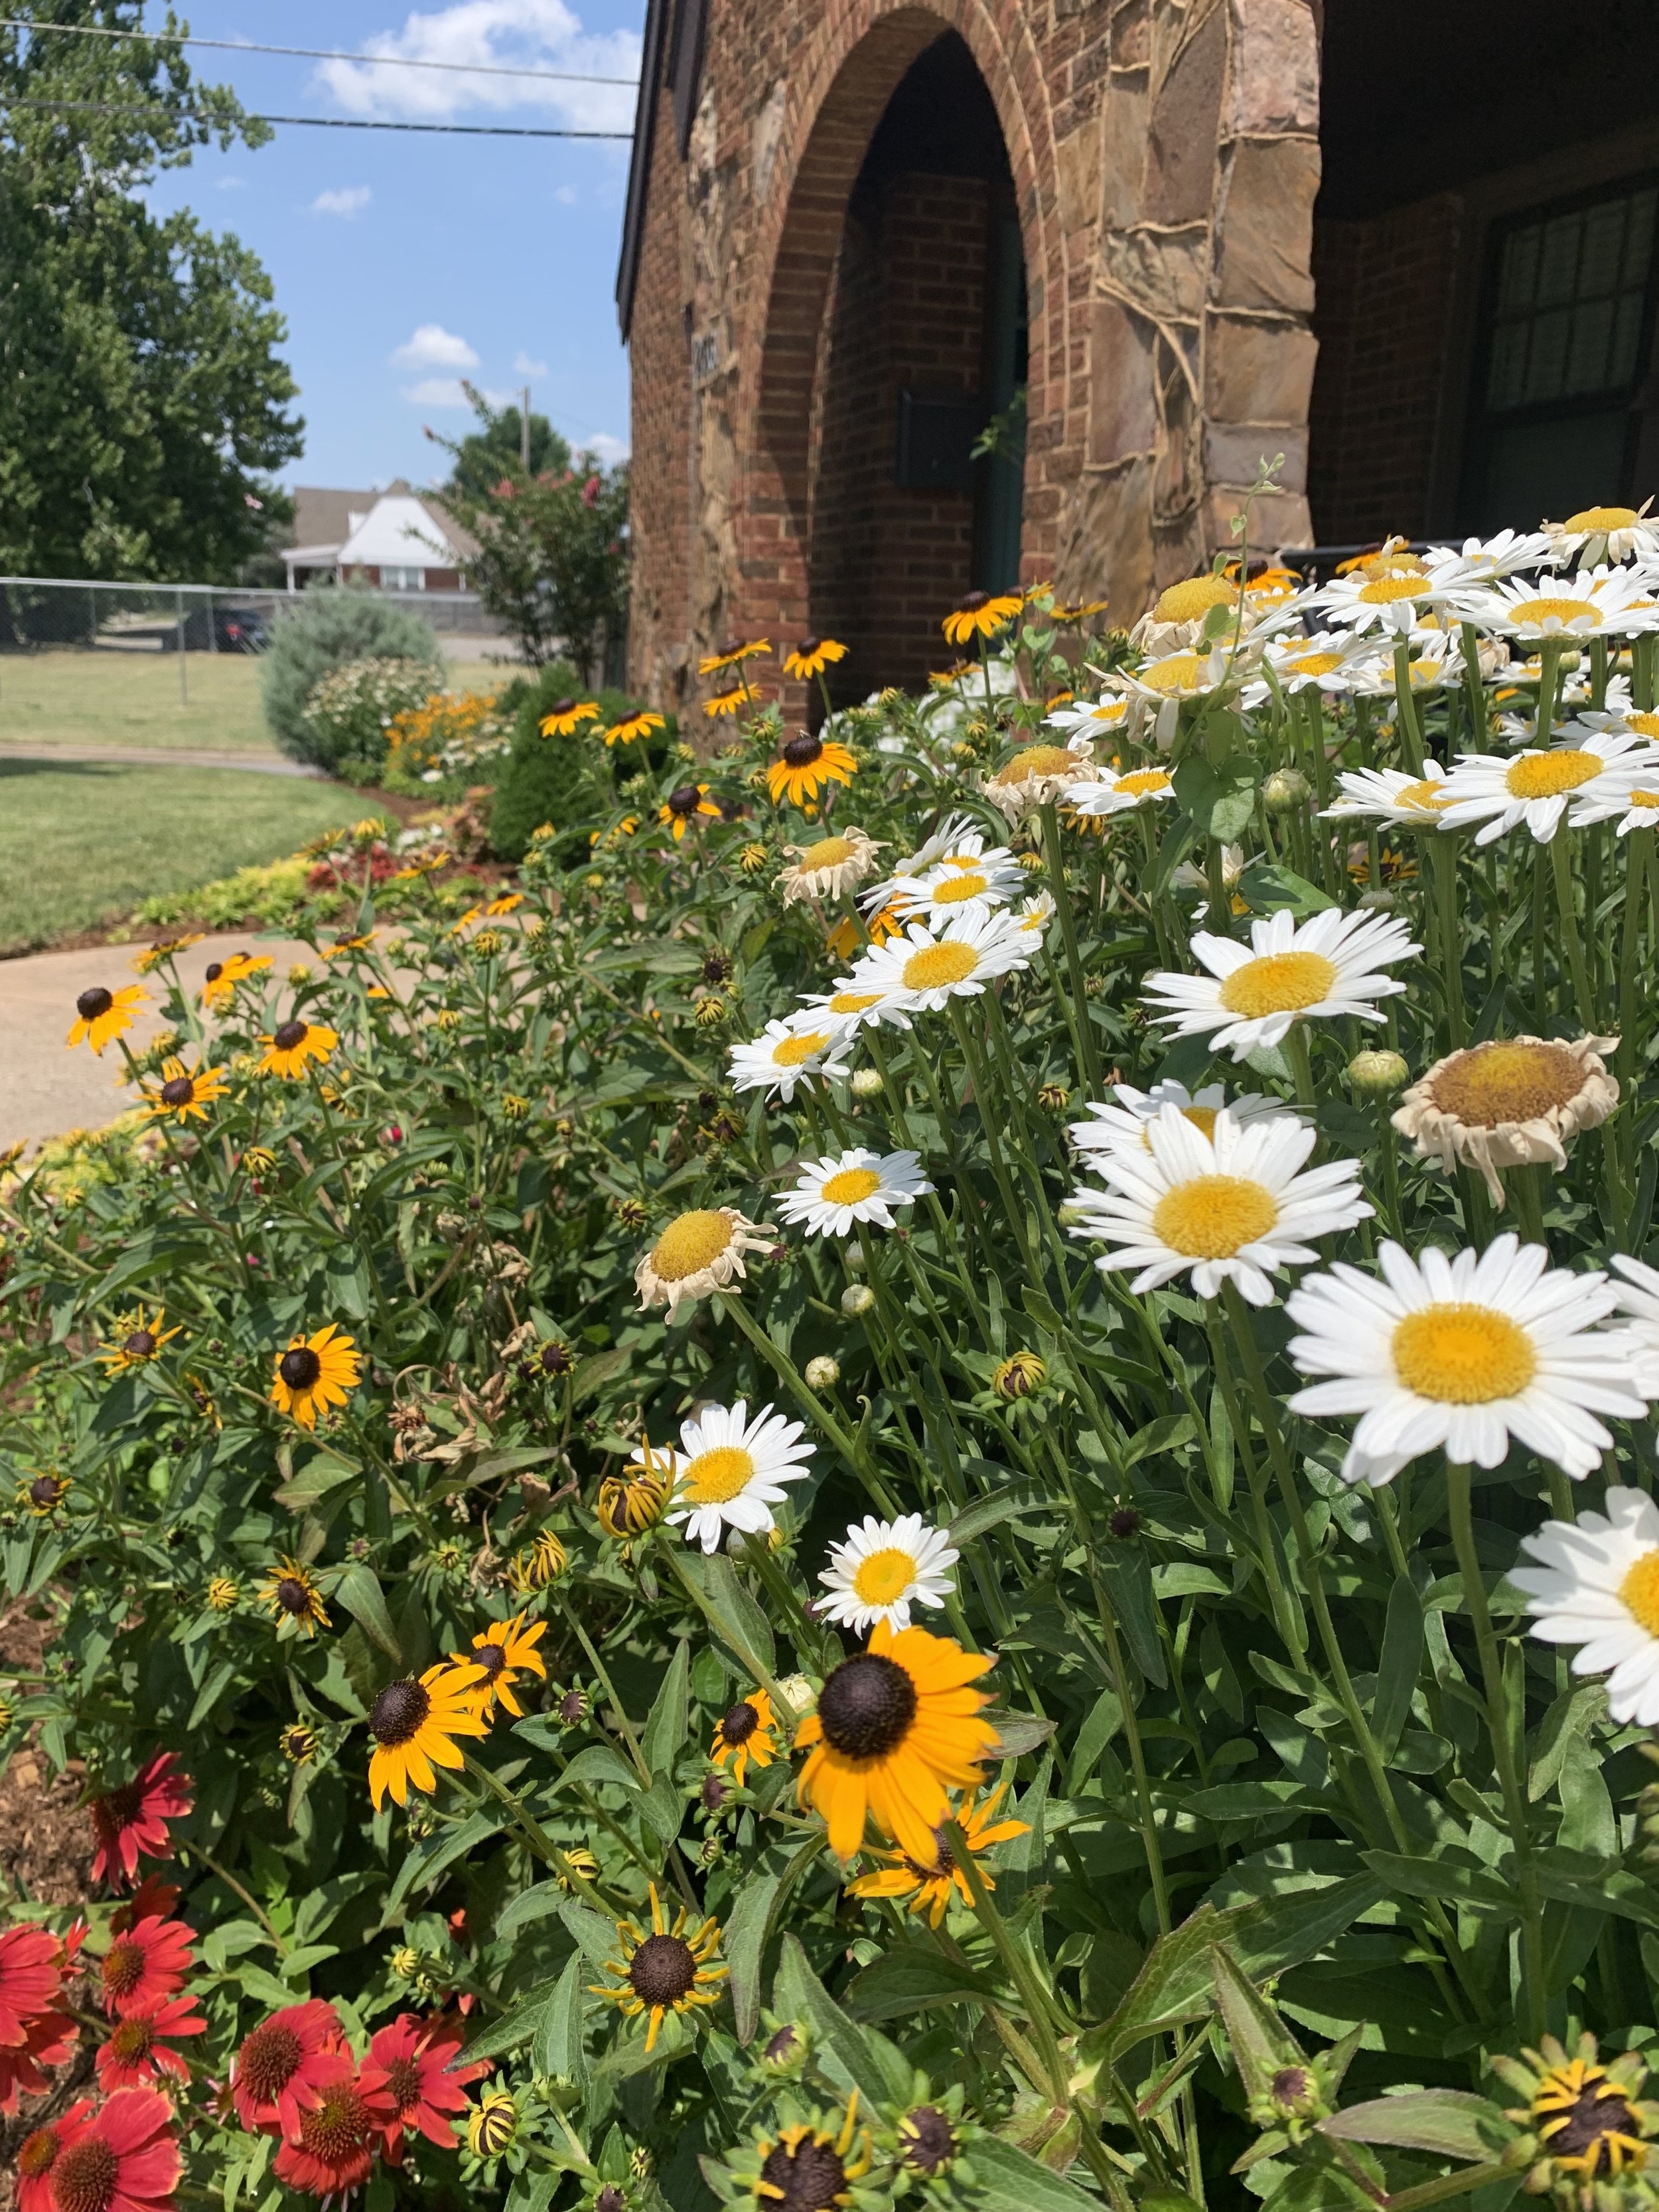
Red Coneflower, Black-eyed Susan and Shasta Daisy
Banana Cream II is an improved variety of Daisy with lemony yellow flowers.
Shasta Daisy (Chrysanthemum x superbum).
Classic daisy appearance of white petals around a yellow center. They grow in clumps 1-2’ wide and 2-3’ tall. Best if planted in fertile soil that drains well. The more sun they receive the more they will bloom. Shasta Daisies start blooming in early summer and can last until early fall. They make great cut flowers. Keeping the faded blooms cut will extend the color show. After the foliage goes dormant in late fall, cut the stems back to 1-2”. They respond well to light fertilizer in the spring. Daisies perform best if they are divided every 3-5 years. Considered as a low maintenance plant, aphids are about the only insect you may see. ‘Becky’ is a favorite variety.
A newer addition to the Shata family is Banana Cream II. Proven Winners is a great place to learn more about adding daisies to your landscape. https://www.provenwinners.com/learn/how-plant/shasta-daisy
Black-Eyed Susan (Rudbeckia grandiflora).
Daisy like golden-yellow flower petals surround a dark brown or black center reaching 2-4’ and spreading 2’. The large flower blooms (2-4”) will be arriving in the next few weeks and will continue into July. And, if you keep spent blooms trimmed off, you will get a few blooms in the fall. Plant in sun to partial shade. As a native prairie plant, you will find it to be low maintenance. It tolerates most soils but prefers well drained. Because of its height, plant in the middle of a bed or as a background to lower perennials, such as dianthus or salvia. The plant can be divided every 3-5 years. Remove dormant foliage anytime in the fall or winter. It can develop powdery mildew if in too much shade. Minimal feeding is required. Keep a watch out for occasional aphid problems.
One of the best late summer blooming perennials is Black-eyed Susan.
Black-eyed Susan
Black-eyed Susan
Because of its height, plant in the middle of a bed or as a background to lower perennials, such as dianthus or salvia. The plant can be divided every 3-5 years. Remove dormant foliage anytime in the fall or winter. It can develop powdery mildew if in too much shade. Minimal feeding is required. Keep a watch out for occasional aphid problem.
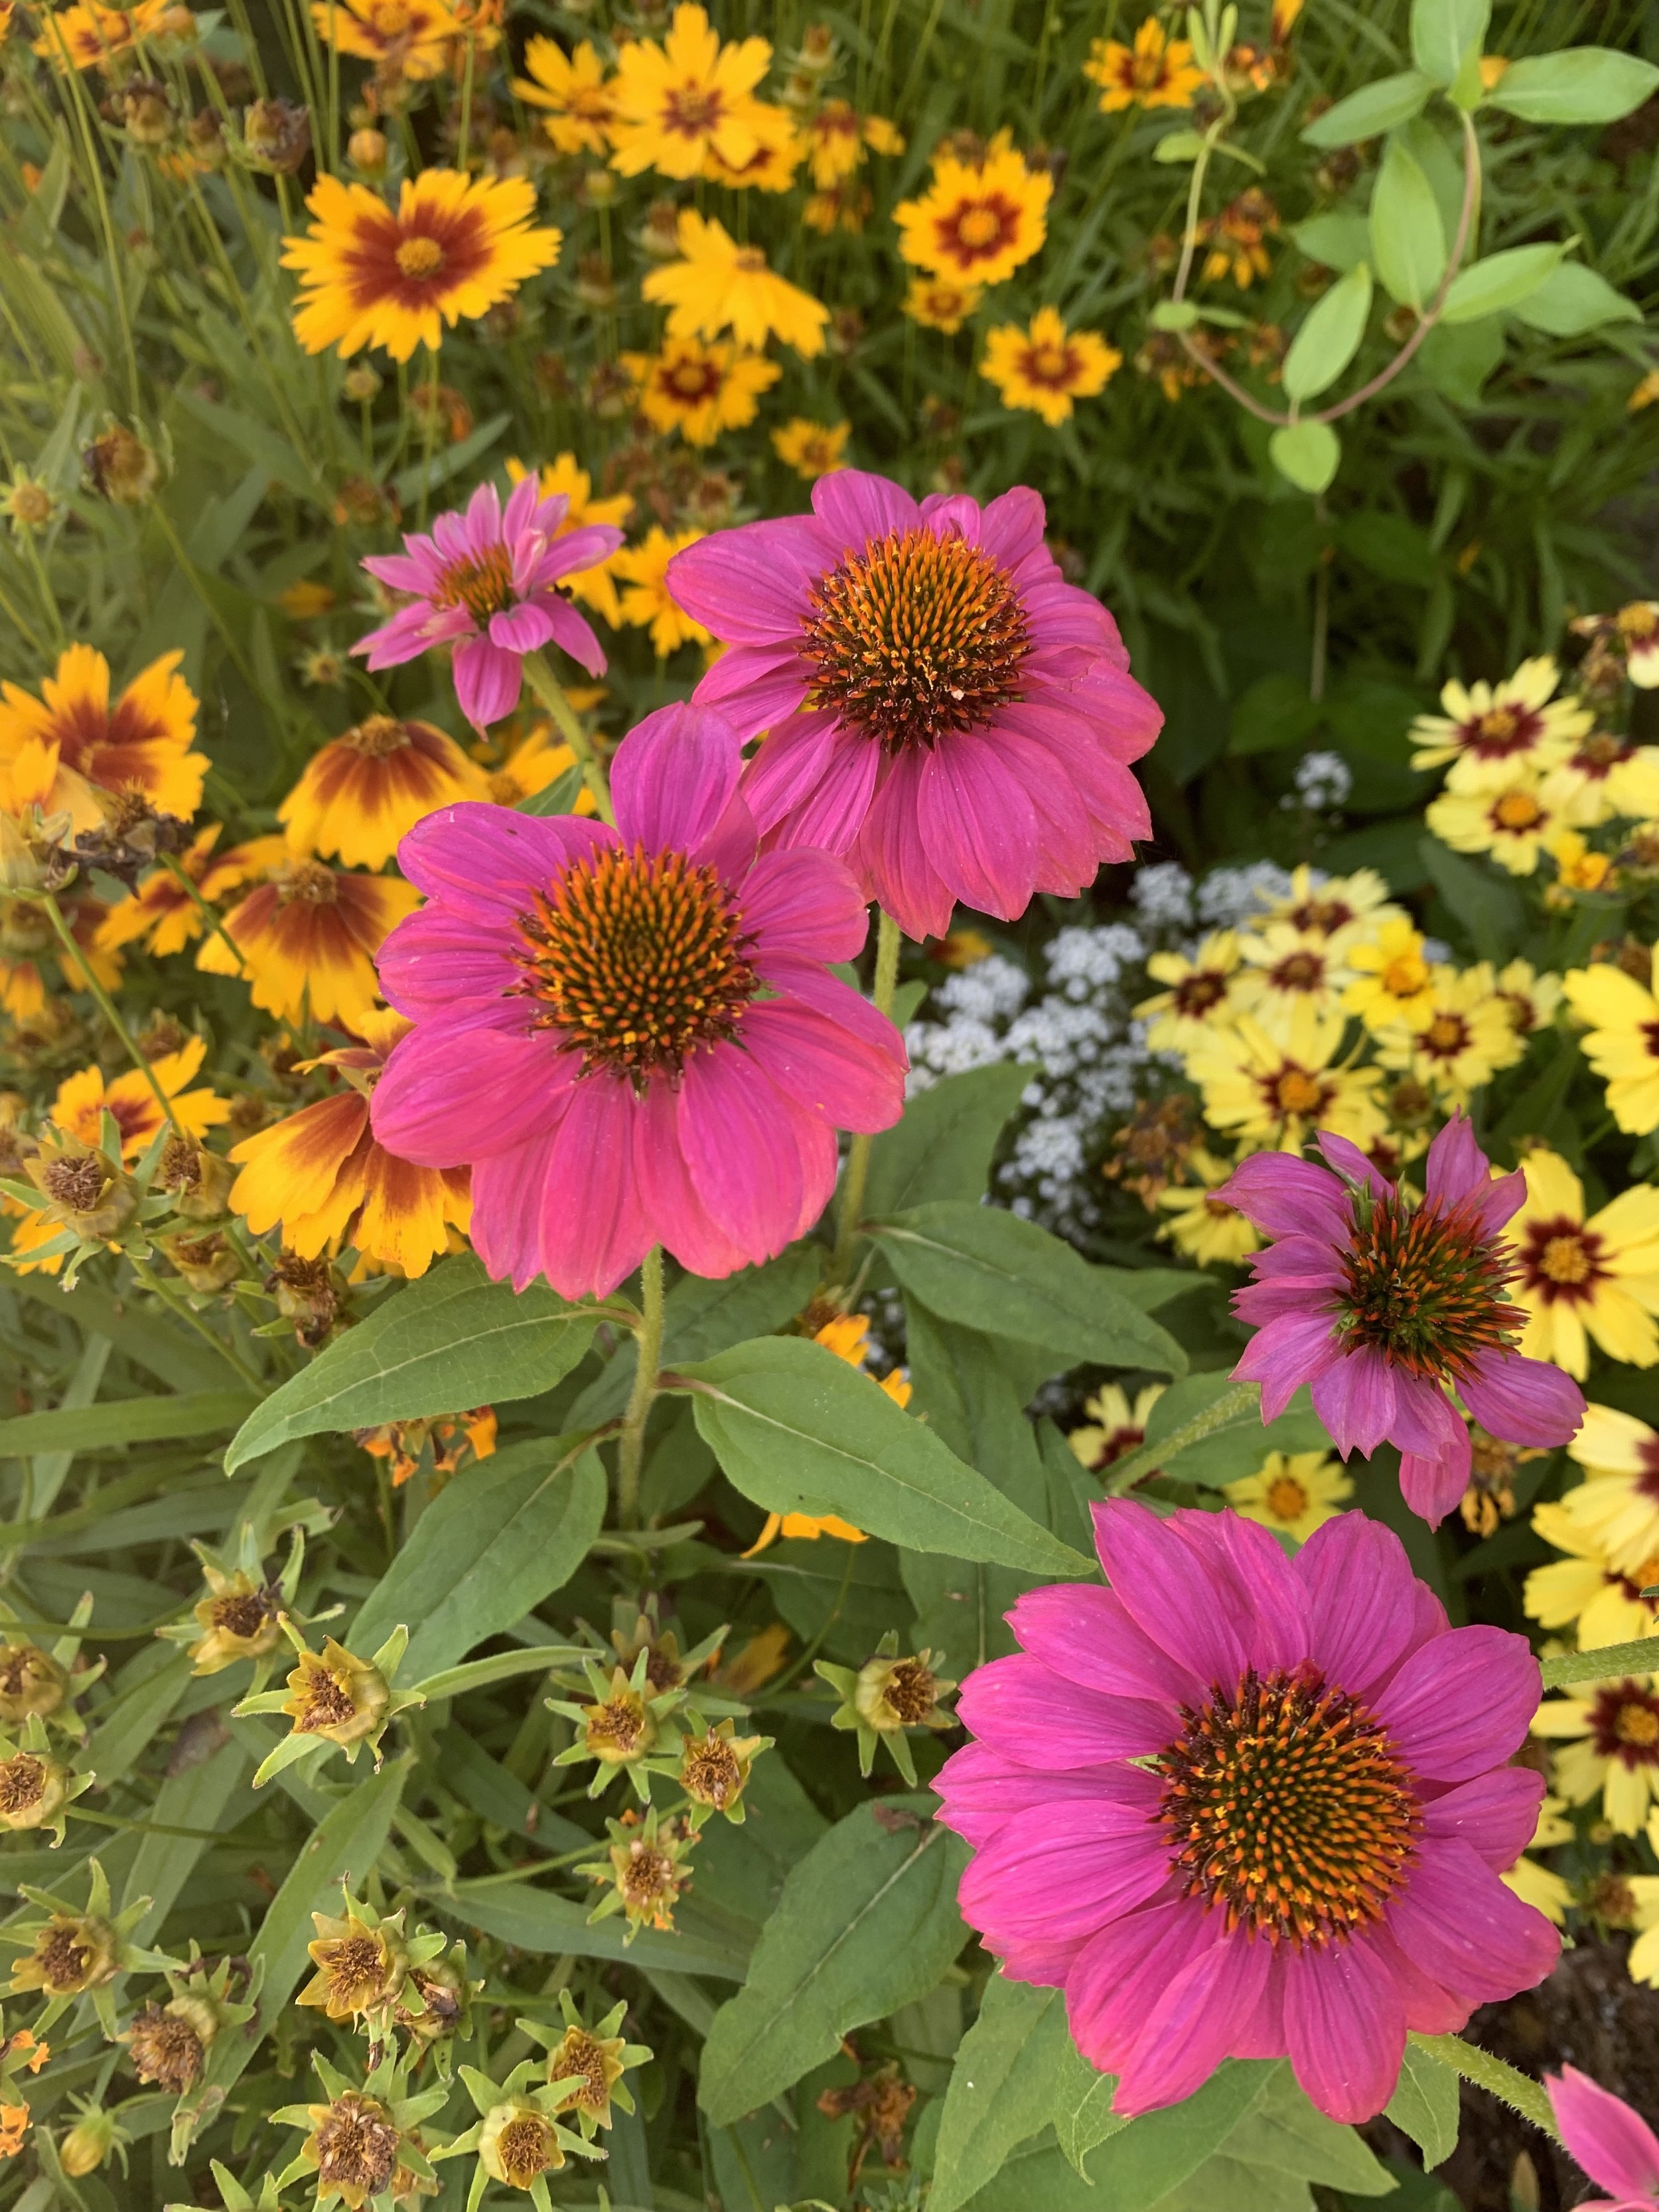
Coneflower
One of the longer blooming summer perennials is Coneflower.
Coneflower
Coneflower (Echinacea).
A native prairie plant with purple or white blooms 2-4” in diameter. Just like black-eyed susan it reaches 2-4’ in height and spreads out 2-3’ and makes a good show planted in the back or sides of the garden. But, it also works well as a single specimen. Plant in sun to partial shade. It is one of the longest summer bloomers with a show that lasts 5-8 weeks. The coarse texture of the leaves makes them well suited near softer-textured plants such as ornamental grasses. It enjoys well-drained, fertile soil. Removing faded flowers will encourage more blooms. Remove dead foliage in the winter. Coneflowers are fairly disease tolerant and responds to feeding early in the growing season and also likes to be mulched.
Hardy Verbena (Verbena).
This low growing (4-6”) spreading (2-3’) perennial thrives in summer heat while producing purple, pink, red or white blooms. Verbena is not picky about soil type but requires full sun. When it gets more than 2-3 hours of shade per day, its biggest problem is powdery mildew disease increases. The low growing nature makes it perfect for the front of beds, along walks and cascading over walls and slopes. It also looks great in pots and window boxes. Good drainage and fertile soils needed and with consistent irrigation blooms and spread will increase. Feed in spring and after the first flush of heavy blooms. Don’t fertilize after July. Verbena likes mulch to insulate roots and hold in moisture. Shearing the plant just below spent blooms will encourage growth and more flowering. My favorite variety is ‘Homestead Purple’.
We think of Garden Mums as fall color, but they also bloom in late spring to early summer. After the early blooms fade shear them back to the shape and height you prefer and then don’t prune on them again after the 4th of July.
Garden Mum (Chrysanthemum x moratorium).
Typically thought of as an annual, but they make a great perennial for fall color with shades of pink, red, white and yellow. Plant height and width are both 1-3’ resulting typically in a round shape. They produce a wonderful burst of color for 2-4 weeks in late September and October. Mums will tolerate light shade but prefer full sun. To survive the winter as a perennial, they need moisture and good drainage. Therefore, add an ample amount of compost when planting in our clay soils. Dormant foliage can be removed anytime during the winter or in the spring when new growth emerges. Mums will bloom a little in the spring or early summer. Once the early blooms fade, keep the plant sheared to the shape and height you prefer. Stop shearing after the first of July. When you shear a mum during the last half of the summer, you are removing the flower buds for the fall.
Hosta (Hosta).
Monrovia.com lists over 78 varieties of hosta. This shade to partial sun loving plant is perfect for adding brightness to shady areas. Varieties range in size, but 12-14” tall and 30” wide is common. They prefer organic soil and regular watering when it is hot. Their leafy appearance is a great companion to ground covers. Monrovia calls them “the potato chip of plants…once you have one and watch how it lights up the shade you will want another.” One of my favorites is ‘Patriot’. I dare you to plant just one.
A favorite, Patriot Hosta, is a compact variety with glossy dark green leaves with white edges. It is also more heat tolerant than most varieties.
King Ostrich Fern
Fern.
Excellent for shade gardens and damp areas. They require frequent watering, especially in the summer heat. There are many varieties but for most gardens, ones that grow 18-30” with a 24” spread, are best. They are an easy-going plant that adds texture to the landscape. It is a great plant for filling in bare areas in the shade. Matteuccia struthiopteris ‘The King’ is a favorite Ostrich fern.
Coral Bells (Heuchera).
A great shade companion to hosta and caladium, but this perennial will also be happy planted in a little more sun. It makes a great border, a mass grouping, or plant a single plant as an accent. There are many varieties with colorful foliage to choose from. ‘Palace Purple’ has deep purple foliage which looks great planted with ‘Patriot’ Hosta.
Coral Bells
Coral Bell 'Palace Purple' planted as an accent with fern in a shady raised planter.
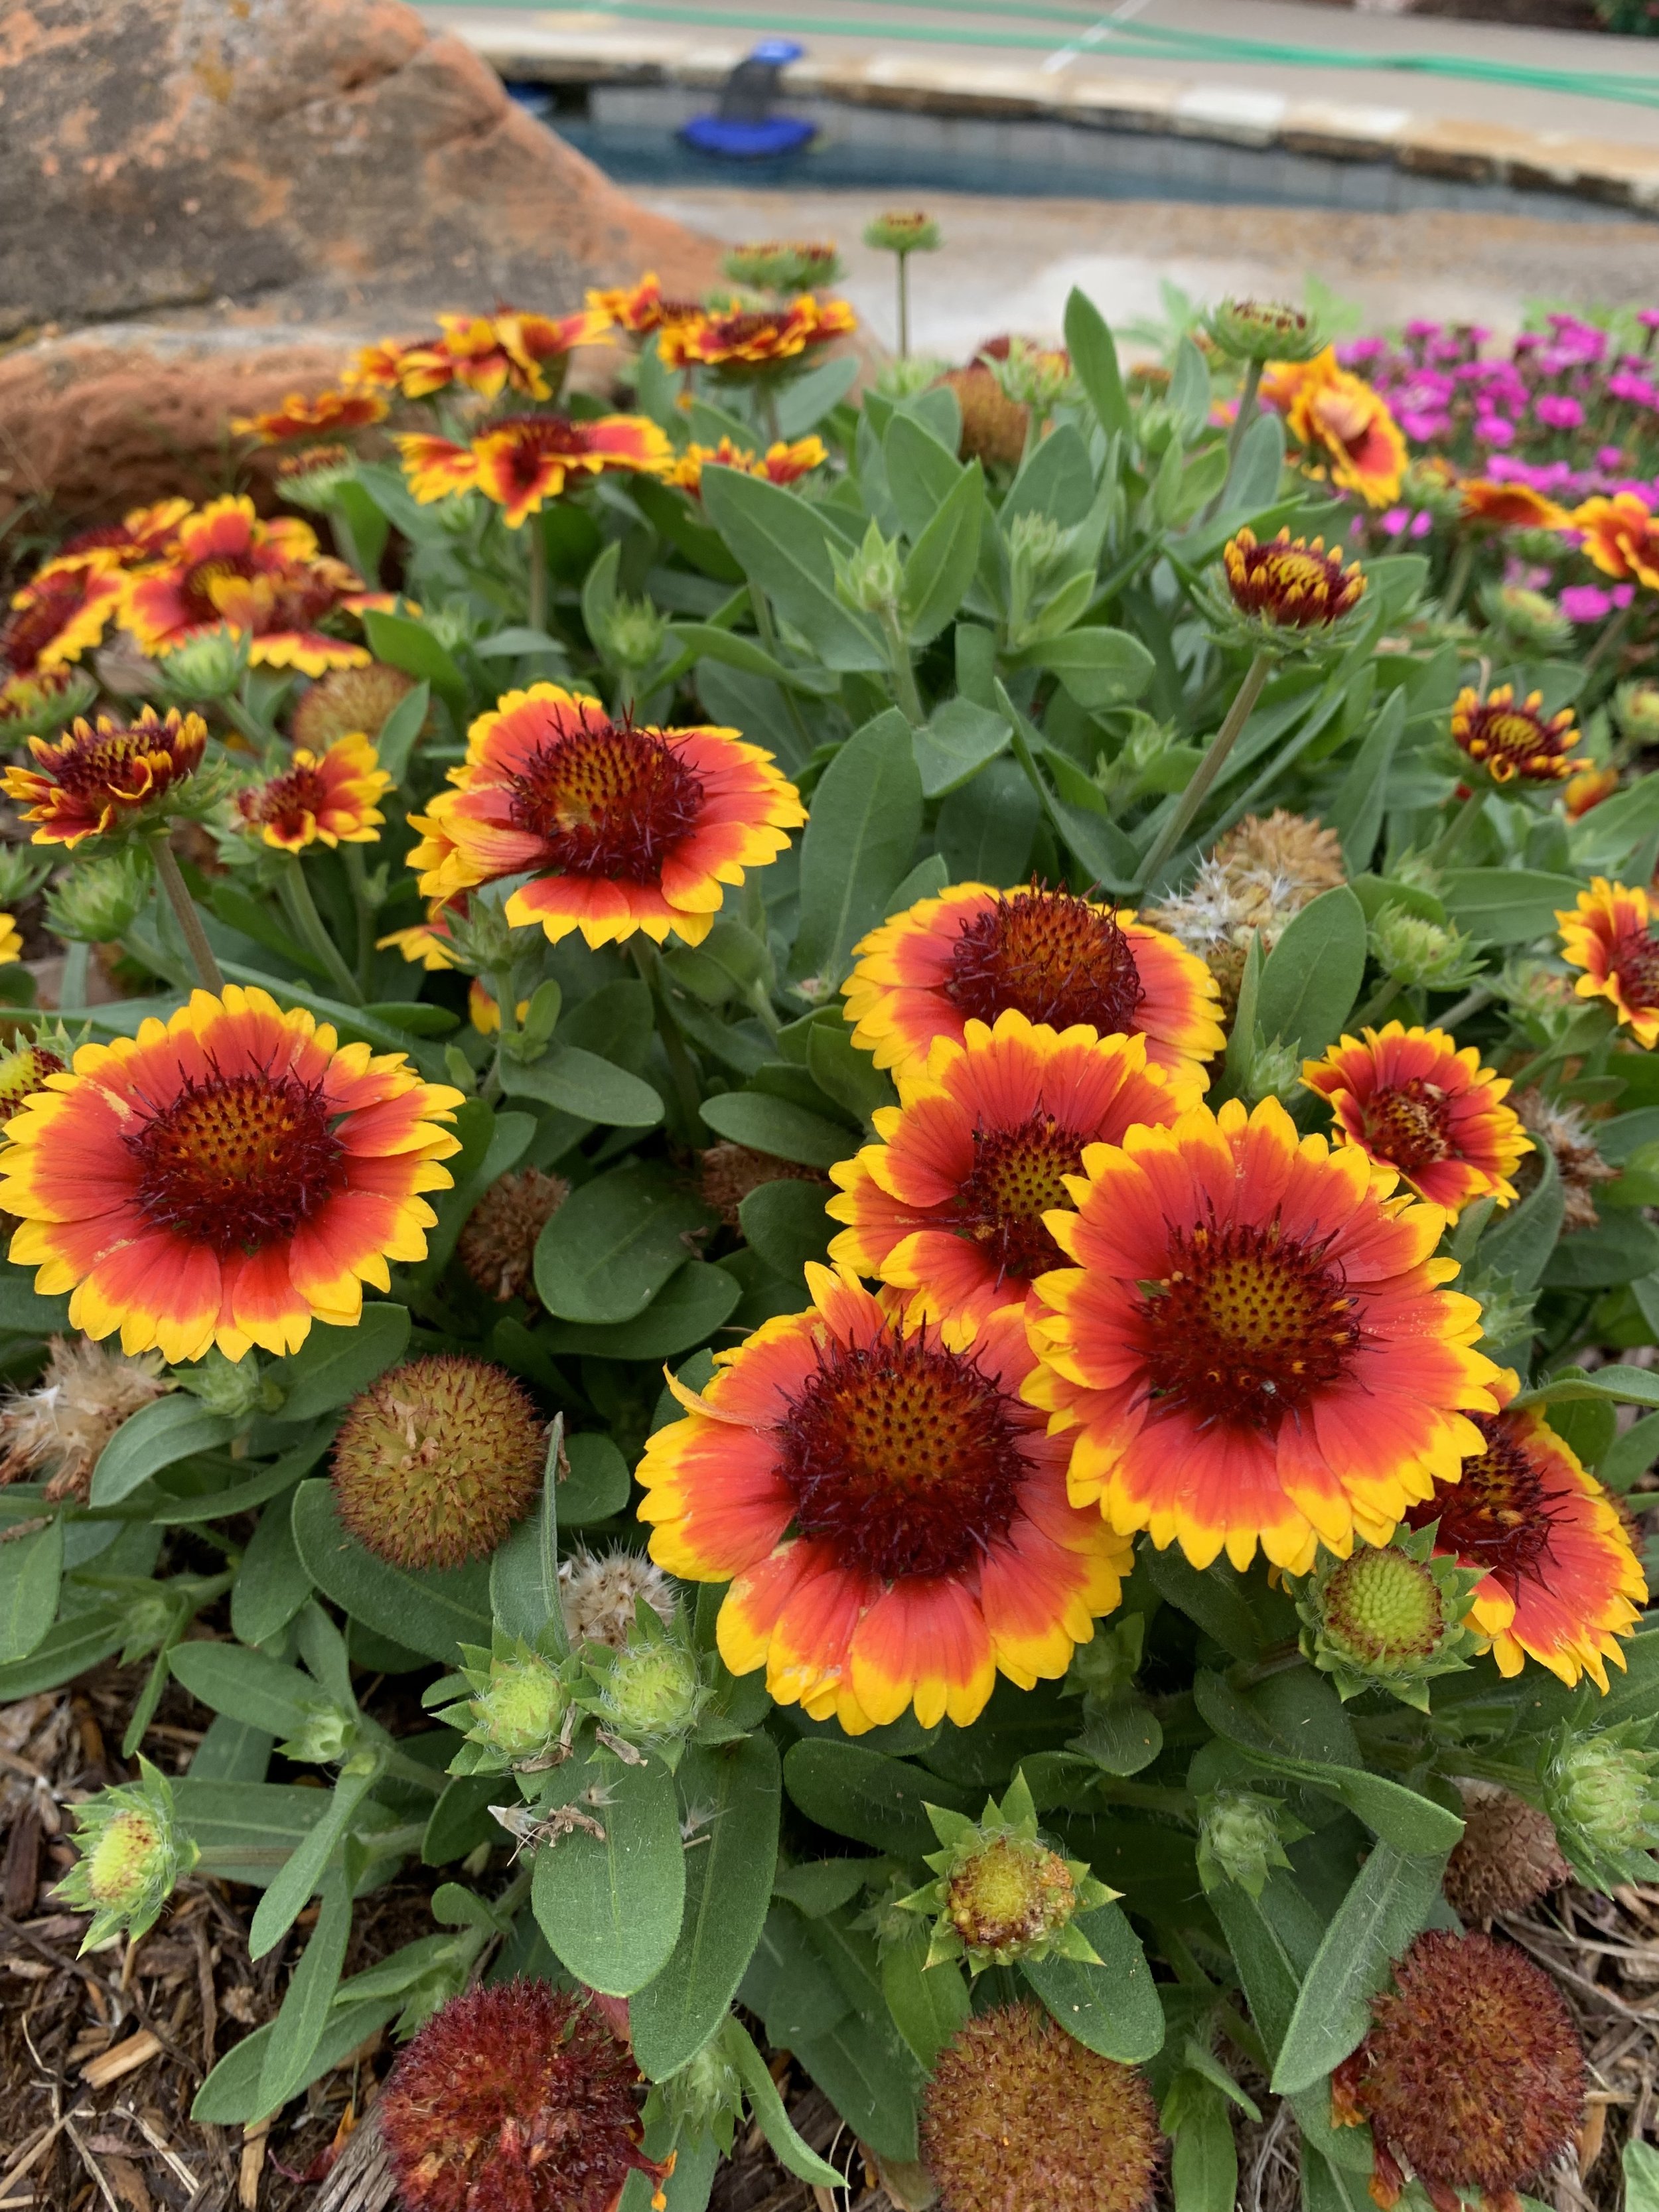
Gaillardia
The best time to add perennials to your landscape is spring and fall. But, you can find success adding perennials most anytime; just avoid the hottest days of the summer and the coldest period of the winter. My favorite time to add perennials is when I am planting my annual color in the spring or fall.
A great resource is Monrovia.com. https://www.monrovia.com/plant-catalog/
Another great way to learn more about perennials is to take monthly walks through the Myriad Garden and Scissortail Park to see what is currently in bloom.
What are your favorite perennials?
We are always on the lookout for new ideas.
Text or email us a few pictures of perennials blooming in your landscape!
Lorne Hall
Hall | Stewart Lawn + Landscape
(405)367-3873
Where Are the April Showers?
It is rare to be addressing watering practices in April. Who thinks about watering issues in April?
Regardless of the time of year, one of the best practices for your lawn and landscape is to pay attention to rainfall and supplement with good watering practices when needed.
Good watering practices start with being aware of current weather patterns and making adjustments to watering schedules.
Good watering practices are one of the biggest influences in the health and appearance of your landscape.
The west and north areas of the Oklahoma City metro are way behind on spring moisture. Lawns and landscapes that are not receiving supplemental moisture are showing signs of drought stress. Unfortunately, most people are not used to paying attention to their lawn & landscape’s moisture needs in April.
Best Watering Practices:
Your lawn and landscape need 1” of water per week during the spring.
A common question is “How long should I water?” Every irrigation system is different – different head types, different size nozzles, different head spacing, different areas, etc.
The best way to know how long you should water is to measure the amount of water your system puts out in each zone. Take a few cans and place them around your lawn in a random pattern. Run your sprinklers through a cycle and measure the amount of water in the cans. If the sprinklers ran for 15 minutes and you had .25” of water, you need 60 minutes per week.
Next, determine how long you can run your irrigation before there is excessive runoff. This will tell you how many times per week you need to water.
If you can get away with watering every 4th-day versus every other day, you will have a healthier, stronger lawn and landscape.
If you don’t have the time to audit the amount of water your system puts out, start with these settings, monitor, and adjust:
Fixed spray pattern heads with 10-15’ spacings – 15 mins per time.
Larger rotor type heads on 20-30’ spacings – 30 mins per time.
Set your controller to water with back-to-back run times.
For most of our landscapes, if we run our sprinklers long enough to get the recommended amount of water, we end up with a lot of water running down the street. Splitting zone run time in half and setting the controller to run through the zones back to back will improve the amount of water that soaks in and reduce the amount of water that runs off.
Example: Set the controller to run at 4:00 AM and 5:00 AM. When the 4:00 cycle completes, even if it is after 5:00, the controller will start the second cycle.
Moist soil will absorb more water than dry soil. Soil is just like the sponge in your sink. A dried sponge repels water before it starts absorbing water. Your landscape is the same. The first cycle moistens the soil and the second cycle soaks in.
Split, back-to-back, irrigation cycles are an old golf course trick.
I started using split, back-to-back, irrigation cycles a few years ago on lawns with slopes.
After seeing great results, I started incorporating the concept on all lawns.
It makes a difference in watering efficiency.
Water in the early morning.
Evaporation is at its lowest point in the pre-dawn hours. Also, the wind is usually at the lowest point of the day in the pre-dawn hours. I prefer to set most irrigation controllers to start at 4:00 AM with the goal of having the cycle completed by 8:00 AM.
Avoid watering in the heat of the day when much of the water will be lost to evaporation. Also, avoid watering in the evening. Watering in the evening promotes many turf diseases because the lawn stays wet too long.
IMPORTANT: Don’t water fescue in the evening during the summer. When water remains in the leaf for more than 6 hours, brown patch disease will develop.
Daily watering is not needed.
Unless you are trying to get newly planted seed to germinate or new sod to take root, there is not a good reason to water every day. Always water deep and infrequent. Daily, shallow watering creates a landscape that is shallow-rooted and more dependent on constant moisture for survival.
Fescue will benefit from a deep soaking just like Bermuda. A common myth I would love to dispel is that fescue requires a lot more water than Bermuda. Yes, it is when you are trying to get newly seeded fescue to germinate, but mature fescue doesn’t require more moisture than Bermuda.
I water my fescue the same way I water Bermuda – deep, infrequent cycles.
It’s April! Fescue should be at their best. If you have areas of fescue that are not rich green, check the soil moisture. If you can slip a large screwdriver several inches into the soil, you need to water.
Aeration improves moisture absorption.
You can’t beat aeration for improving your soil structure. A key benefit of improved soil structure is better water absorption. Lawns that receive annual aeration (or at least every other year) do not experience as much runoff.
Always pay attention to water need.
If we receive .5” of rain or more, turn your controller off for a few days. Install a rain sensor if you are not good at remembering. A rain sensor will pay for itself easily in one season. Don’t assume you can leave your controller in automatic and forget it.
Don’t stress if your lawn and landscape gets a little dry, it will rebound quickly once water is applied.
A good indicator that your lawn is needing water is the footprint test. If the grass retains your footprints instead of quickly springing back, it is time to resume watering.
Fescue growing on the top of a sprinkler head.
Watch for uneven water patterns.
If you notice areas where the lawn color is fading, you may have uneven moisture patterns. This could be the result of a broken head, a clogged nozzle, or a head that is out of adjustment.
Head to head coverage is when the water from one sprinkler head reaches all the way to the next head. Without head to head coverage, dry areas can develop around heads.
A clue to an uneven watering problem is an arc pattern matching the sweep of an irrigation head.
Even if you don’t have an irrigation system, the concepts of good watering still apply.
It is important to learn how long you need to water when you are using a hose-end sprinkler. Next time you water, set out a few cans. You will be surprised how long you need to water to get the proper amount of water on your lawn. Invest in a digital hose water timer, such as ones made by Orbit. It will make it easier for you to control the timing and frequency of watering.
A healthy landscape is an important part of our environment. A healthy turf helps clean the air, trap carbon dioxide, reduce erosion, improve groundwater quality, absorb noise, reduce temperatures, as well as, adds curb appeal and value to your home.
Let’s hope metro-wide spring moisture arrives soon.
Our environment needs it. Our lawns and landscapes need it.
But, if it doesn’t, be prepared to put the best watering practices in place.
Lorne Hall
Hall | Stewart Lawn + Landscape
(405)367-3873
Crape Myrtle – Our Longest Blooming Plant
The Crape Myrtle may hold the distinction of the landscape plant that took the biggest beating over the last 9 months and yet most survived. Between the early ice storm last October and the extreme cold of February, the environment was difficult for Crape Myrtles. Some weaker plants didn’t make it leaving us with holes in the landscape. The low temperatures of February killed some of our older, majestic Crapes back to their roots leaving us with more shrub-shaped plants than trees this year. But, even though the Crape Myrtle landscape looks different this year, it is summer, and Crapes are once again adding color to our landscapes.
Crape Myrtles are our longest blooming plant. While most blooming trees and shrubs put on a show for only a few days or a few weeks, the Crape Myrtle starts adding color to the landscape as soon as summer heat arrives in late-June to early-July and doesn’t stop until the first frost.
If your landscape has a void because of winter damage, consider adding a Crape Myrtle. With over 50 varieties of Crape Myrtles and new ones introduced every year there must be one perfect for your landscape.
Last summer this large Crape Myrtle was focal point of the landscape of this 90 year old house.
Unfortunately, the Crape Myrtle didn’t survive the winter freeze. But, all is not lost. The deadwood has been removed. New growth will be allowed to grow in a shrub form this season. Next spring, 5-7 of the best stems will be selected and all the rest will be removed. Corrective pruning will happen every spring until the tree-sized shape of the old Crape Myrtle is regained.
Even this old Tuscarora Crape Myrtle had to be cut to the ground this spring, it still couldn’t be stopped from bursting with color this week.
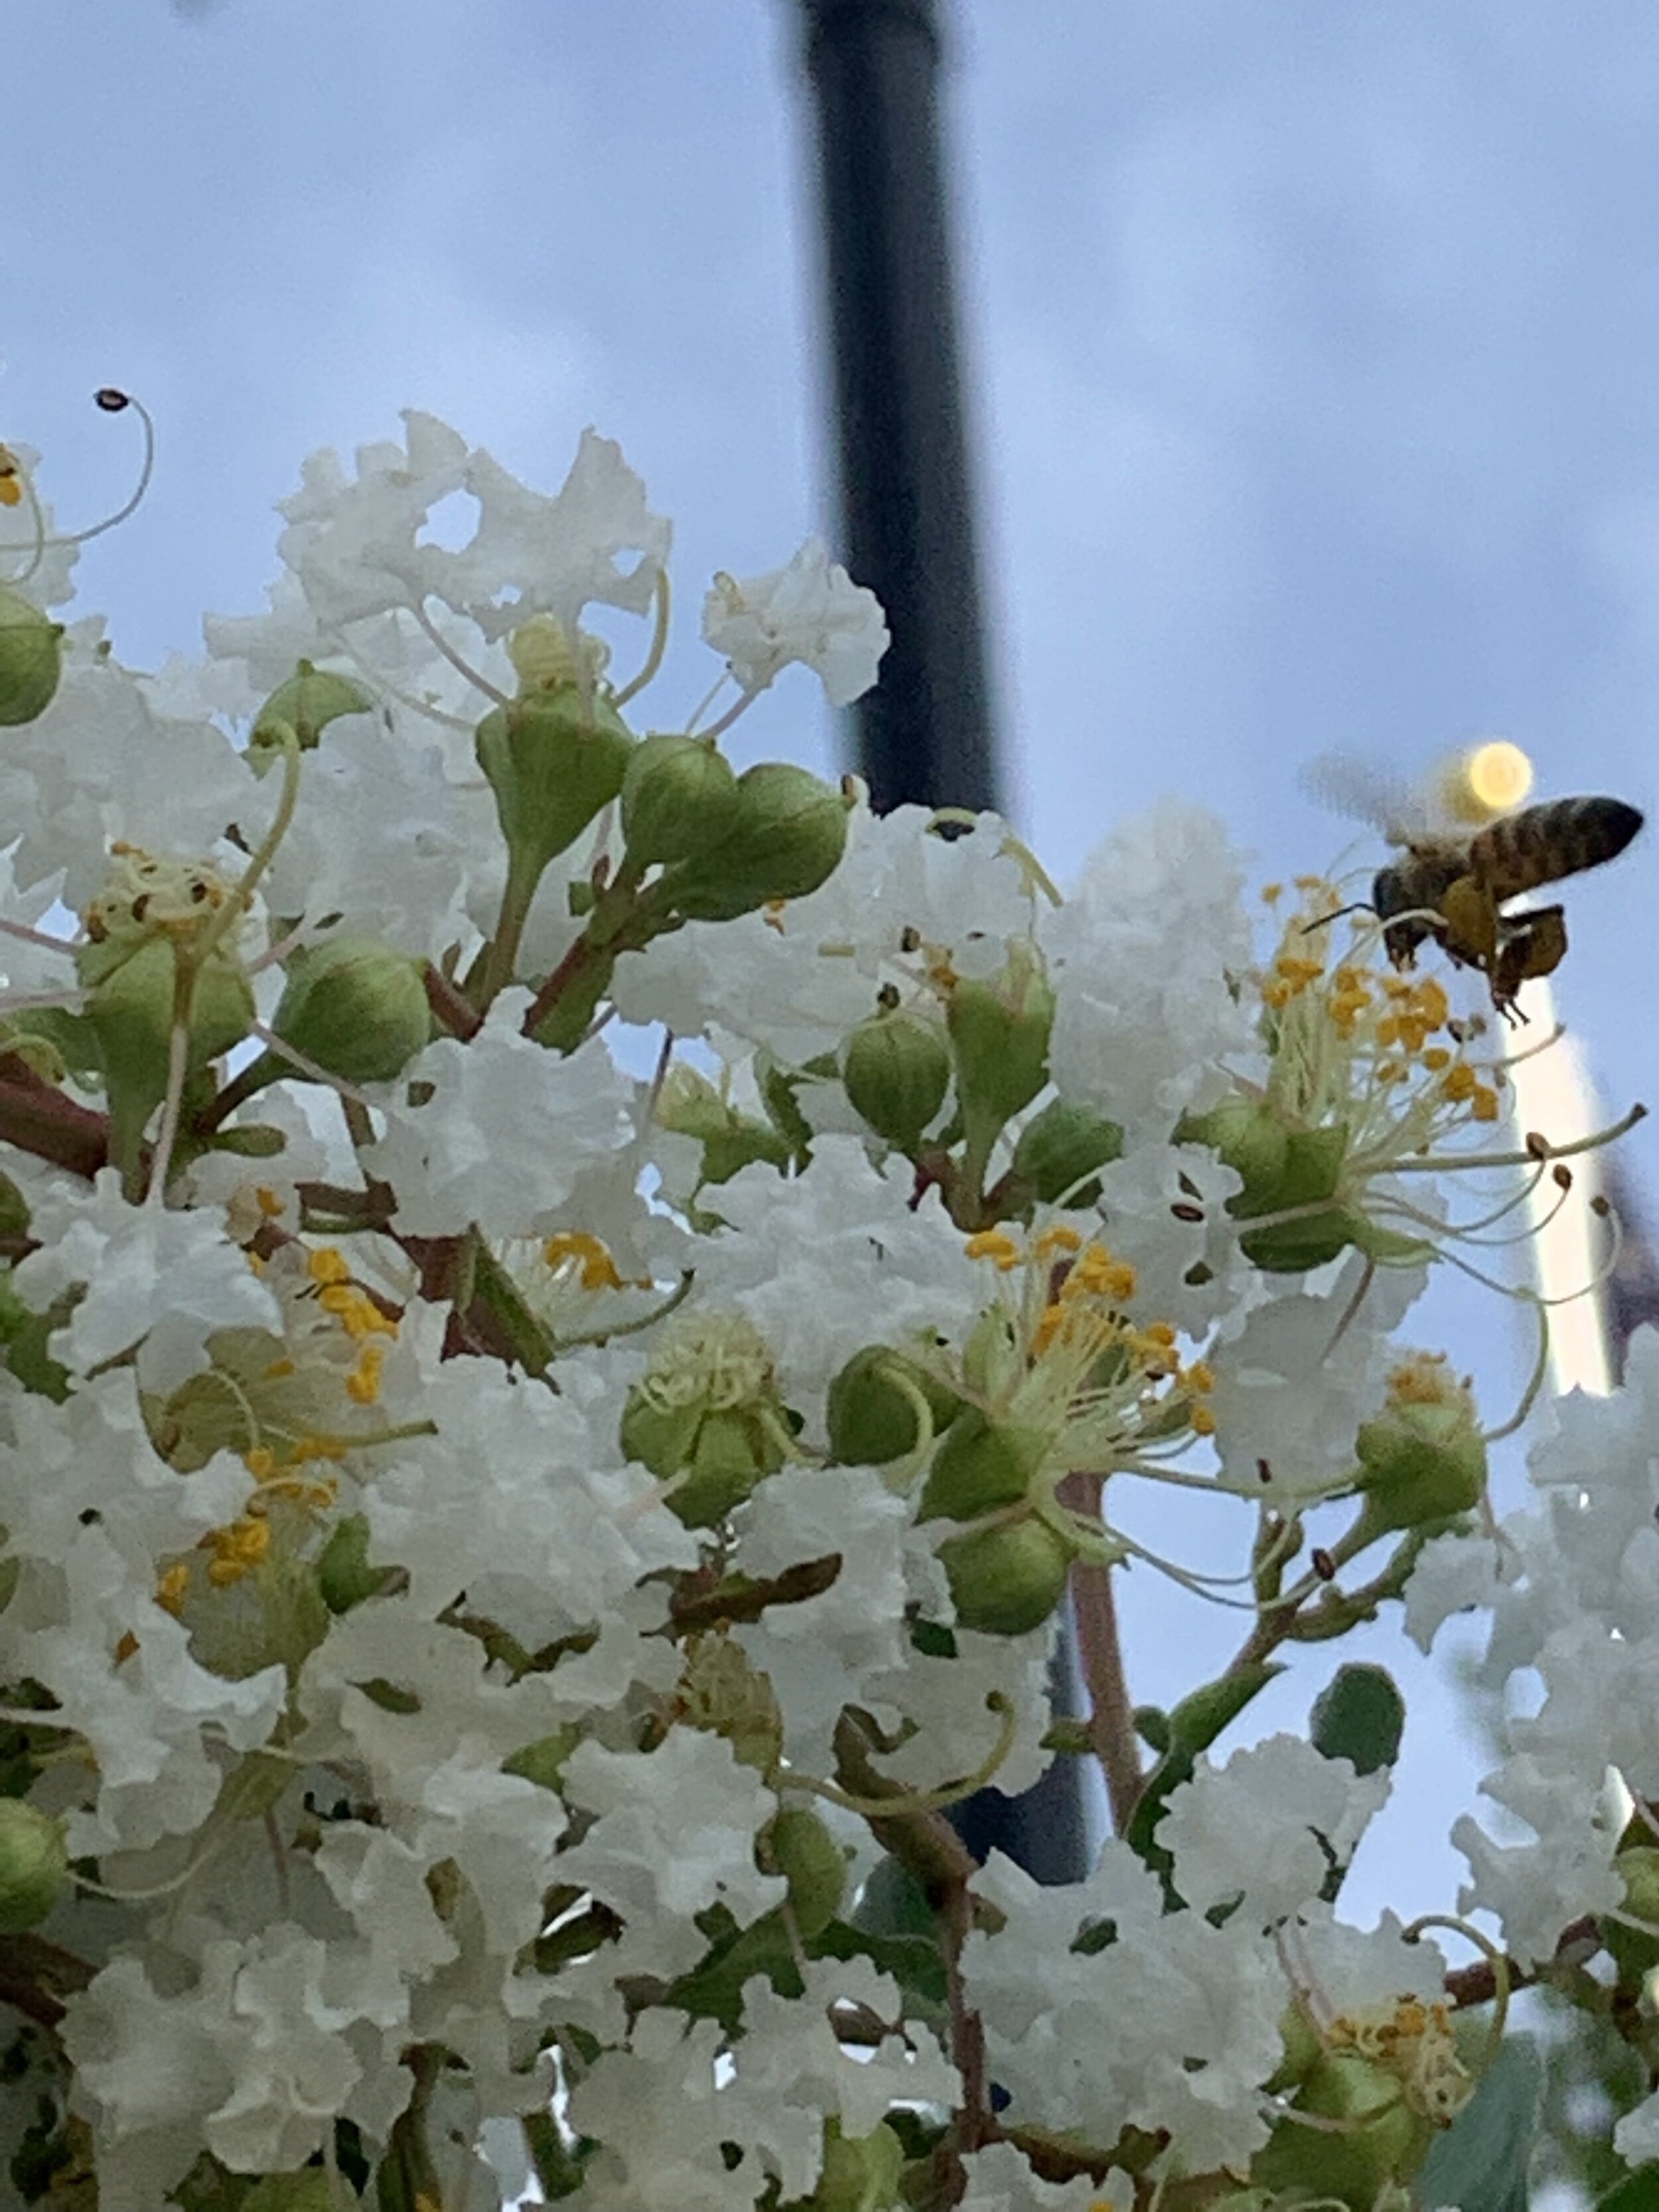
Crape Myrtles are great pollinators. Interesting…university studies have found different types of bees prefer different varieties of Crape Myrtles. Plant height and color appear to be the most common deciding factor.
Crape Myrtle Sizes
Crape Myrtles are a great way to colorfully screen an unwanted view by planting them in a row.
Standard Crape Myrtles - When allowed to grow as a small tree will reach up to 25’ in our region and require little maintenance. Simply remove any dead wood from the tips of the branches in the spring and let the plant go for the season. They can be grown as a single trunk or a multi-trunked tree.
Semi-dwarf Crape Myrtles - Typically grow 8-12’ tall and make an excellent colorful screen when grown in a row.
Dwarf Crape Myrtles - Grow only 2-4’ tall, are small and mounding, and ideal for a landscape bed where you want a splash of summer color.
Selecting the right size plant is important. Crape Myrtles are at their best when they can grow to their natural shape and size. Constant pruning on the wrong size plant to keep it in a space it was not meant to fit will reduce the summer blooms.
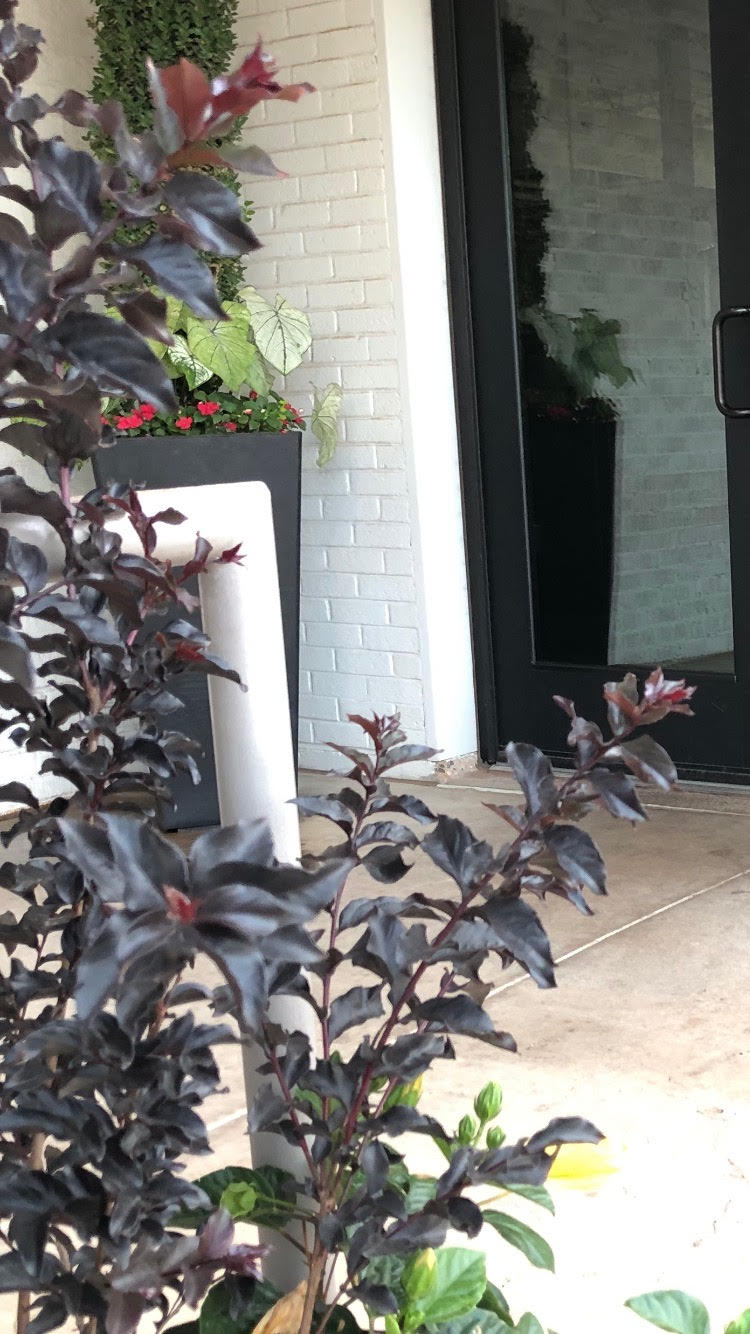
Crape Myrtle Colors – The color pallet ranges from white, pink, purple, and red. Bloom color is not the only attribute of Crape Myrtle. Their foliage ranges from dark green, wine-colored, velvet and dark purple. The combination of the bloom and foliage colors is one of the things that attracts me to the plant.
I am most fond of the large, full-sized, tree-formed Crape Myrtles. It is hard to narrow my list of favorite Crape Myrtles, and my list often changes, but these are just a few of my current favorites:
Pink Velour – Large 12-15’ small tree form with dark wine foliage and bright pink flowers. The foliage and flower combination are very striking.
Pink Velour Crape Myrtle foliage emerges dark purple and fades to a rich green and then produces vibrant pink blooms through the summer.
Dynamite – Also a small tree that grows up to 15’. Dynamite was one of the first red tree form varieties. New foliage is nearly crimson in color and changes to a rich green as it matures. Flowers are brilliant red.
It’s hard to find a more vibrant red Crape Myrtle than the Dynamite Red.
Natchez – One of the largest tree form crape myrtles reaching 25’. Foliage is rich green, and flowers are white. The cinnamon brown bark puts on a show of its own as it exfoliates.
Natchez Crape Myrtle, known for their white blossoms, also is known for adding interest to the landscape with its unique exfoliating bark.
Ebony Flame – A great accent plant that grows 10-12’ with dark red blooms on intense black foliage.
One of the nation’s leading innovators of Crape Myrtles is Oklahoma’s own, Dr. Carl Whitcomb. Dr. Whitcomb holds 32 patents and has authored five books including Know It and Grow It, a book every landscape enthusiast should own. You can see all of Dr. Whitcomb’s crape myrtles by following this link: http://drcarlwhitcomb.com/Patented_Plants.html
Crape Myrtle Bark – One of the most overlooked aspects of the plant is the bark. The bark is smooth and ranges in color from pink to gray. As the plant matures, the thin bark exfoliates to expose a different color underneath. Too often, tree form Crape Myrtles are severely pruned every spring and we never get to enjoy the beautiful bark of the mature plant.
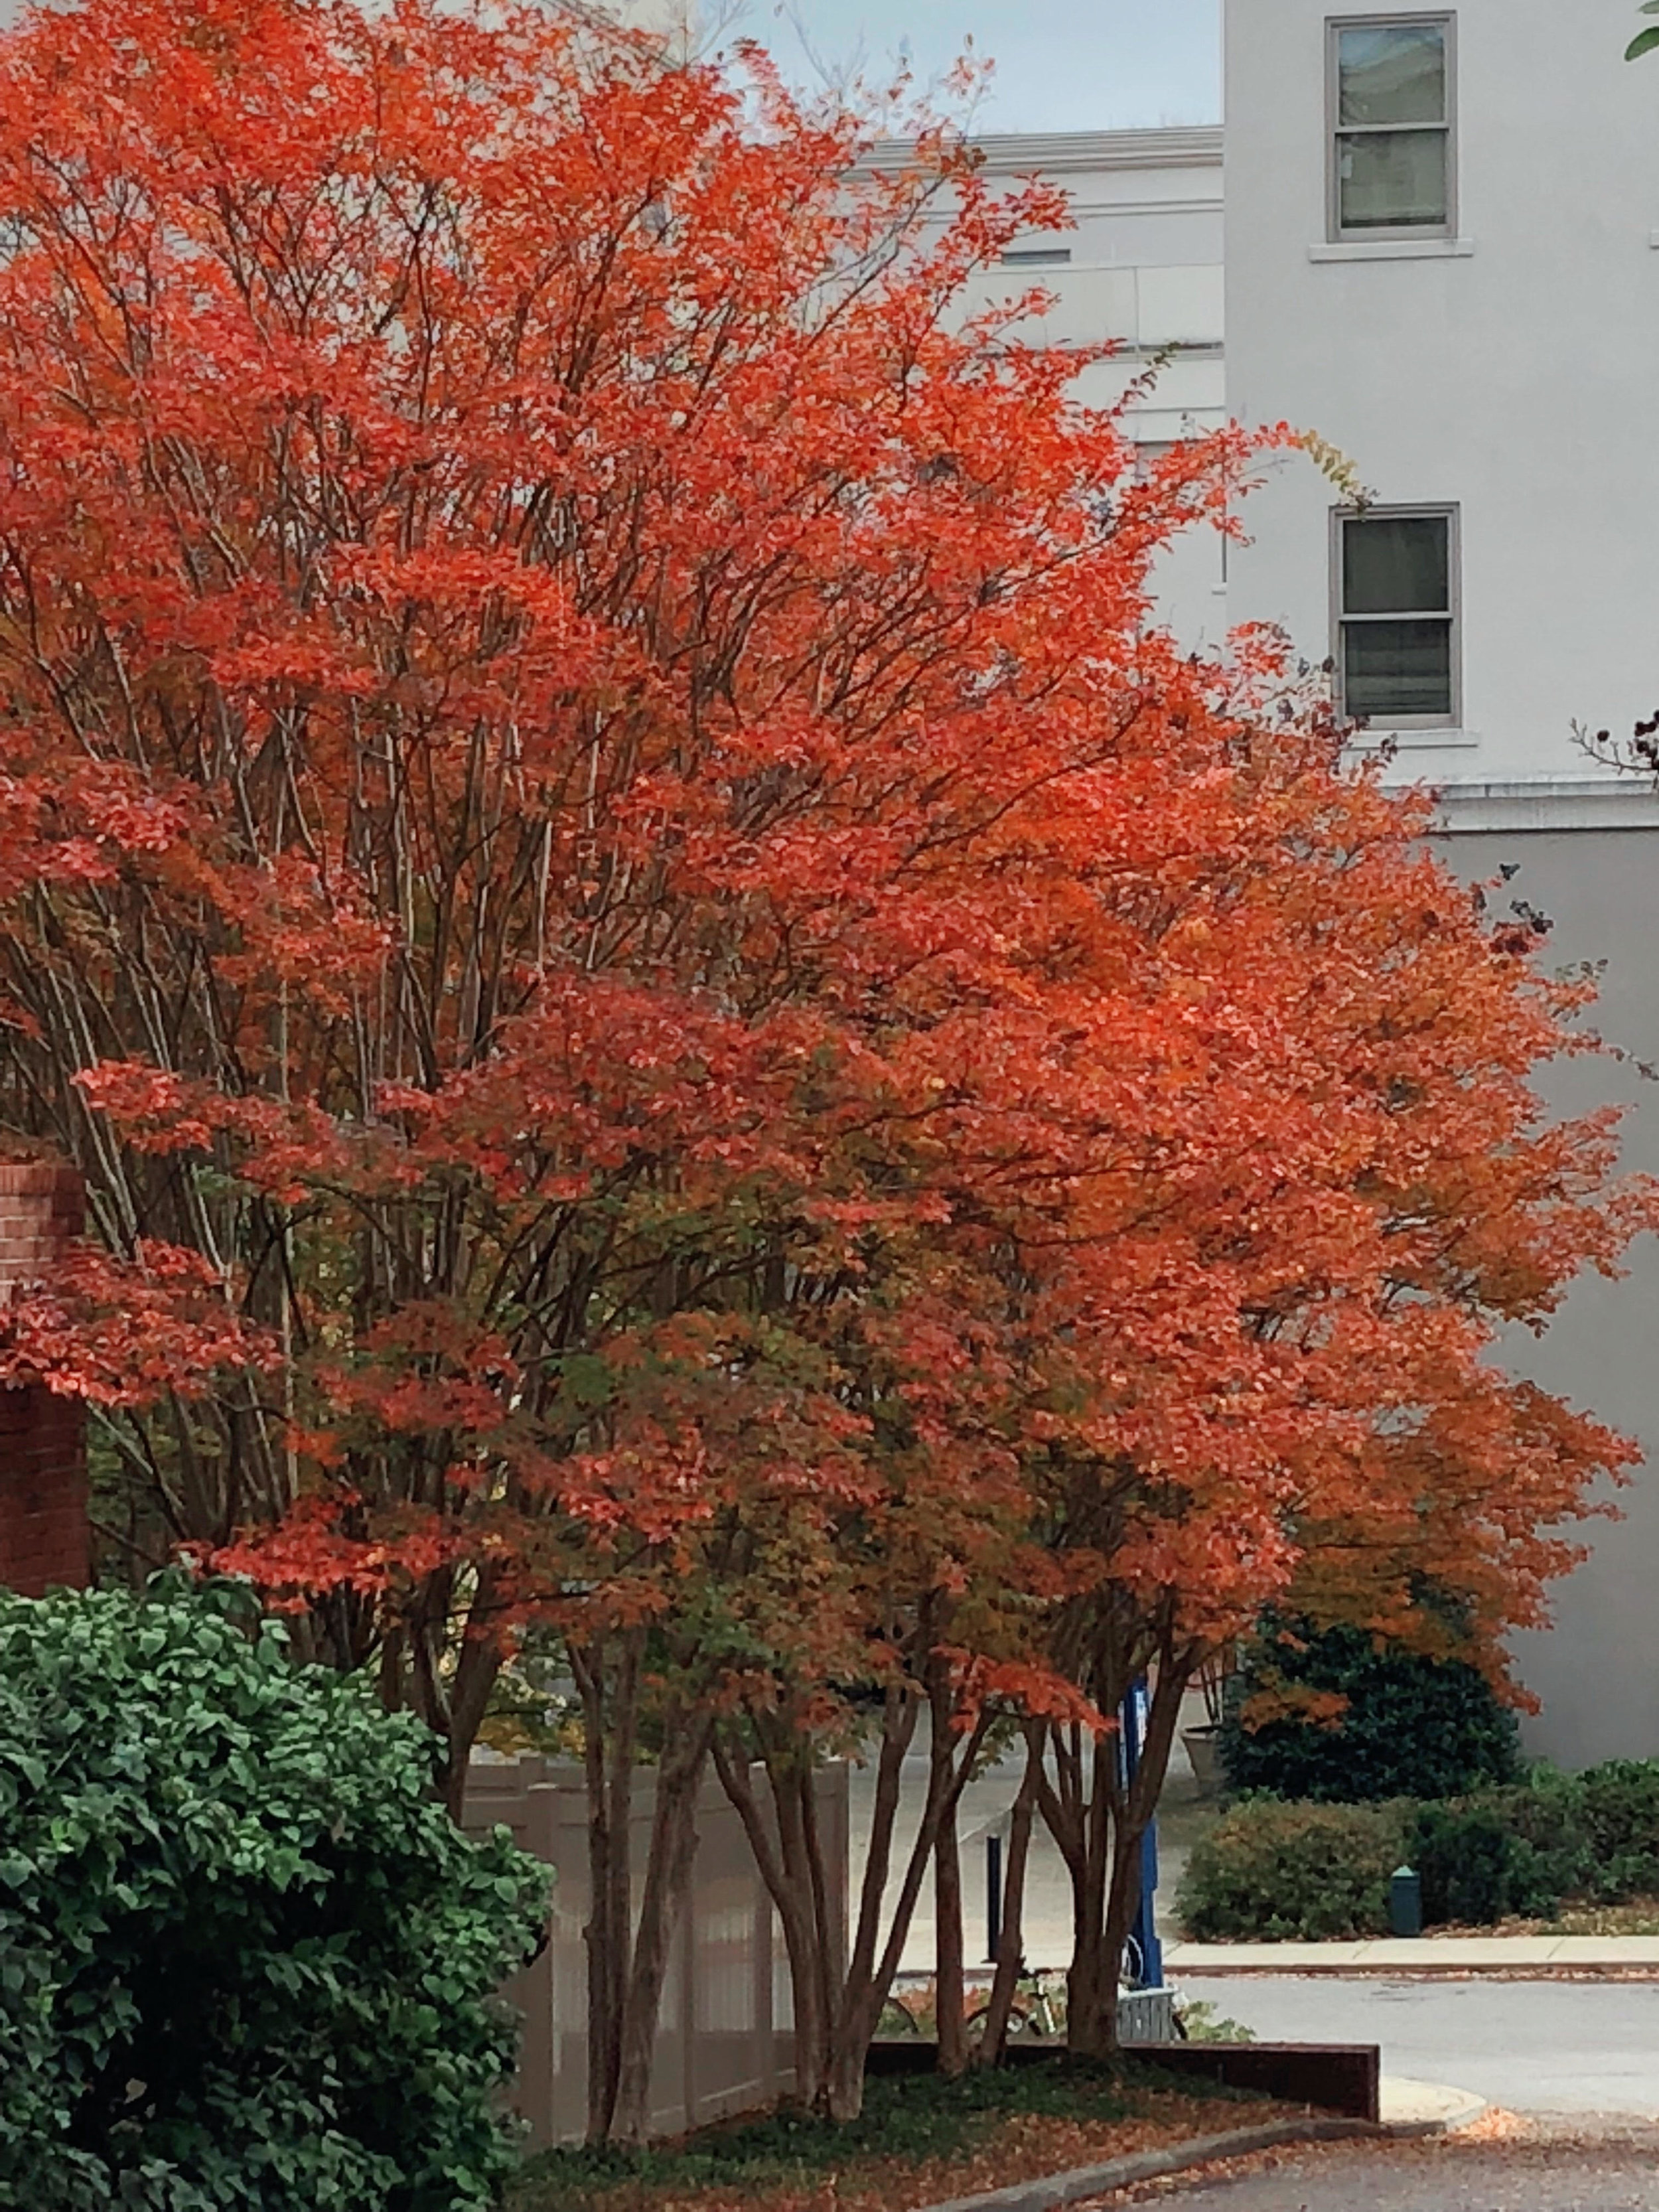
Crape Myrtle Fall Color – Another overlooked characteristic of the plant is the fall color. Varieties range from yellow to red. Much of our fall color is found in larger trees. Crape Myrtles add fall color to the landscape below the color of the large trees.
I would challenge anyone to find another plant that offers so many features to the landscape. From the long bloom, the variety of colors, the many shapes and sizes, and the addition of exfoliating bark and good fall color, you can’t deny the Crape Myrtle a place in your landscape.
Lorne Hall
Hall Stewart Lawn + Landscape
(405)367-3873
Crape Myrtle - Summer's Biggest Show!
This week marked the longest day of the year, the first day of summer, and the start of Crape Myrtle season.
Most blooming trees and shrubs last for only a few days or a couple of weeks. But the crape myrtle holds the distinction of being our longest blooming shrub or tree. Typically, the crape myrtle starts adding color to the landscape in mid-June and doesn’t stop until the first frost. This year, due to the cooler than normal start to the summer, the crape myrtle hasn’t started to put on their summer show yet but will in the next couple of weeks.
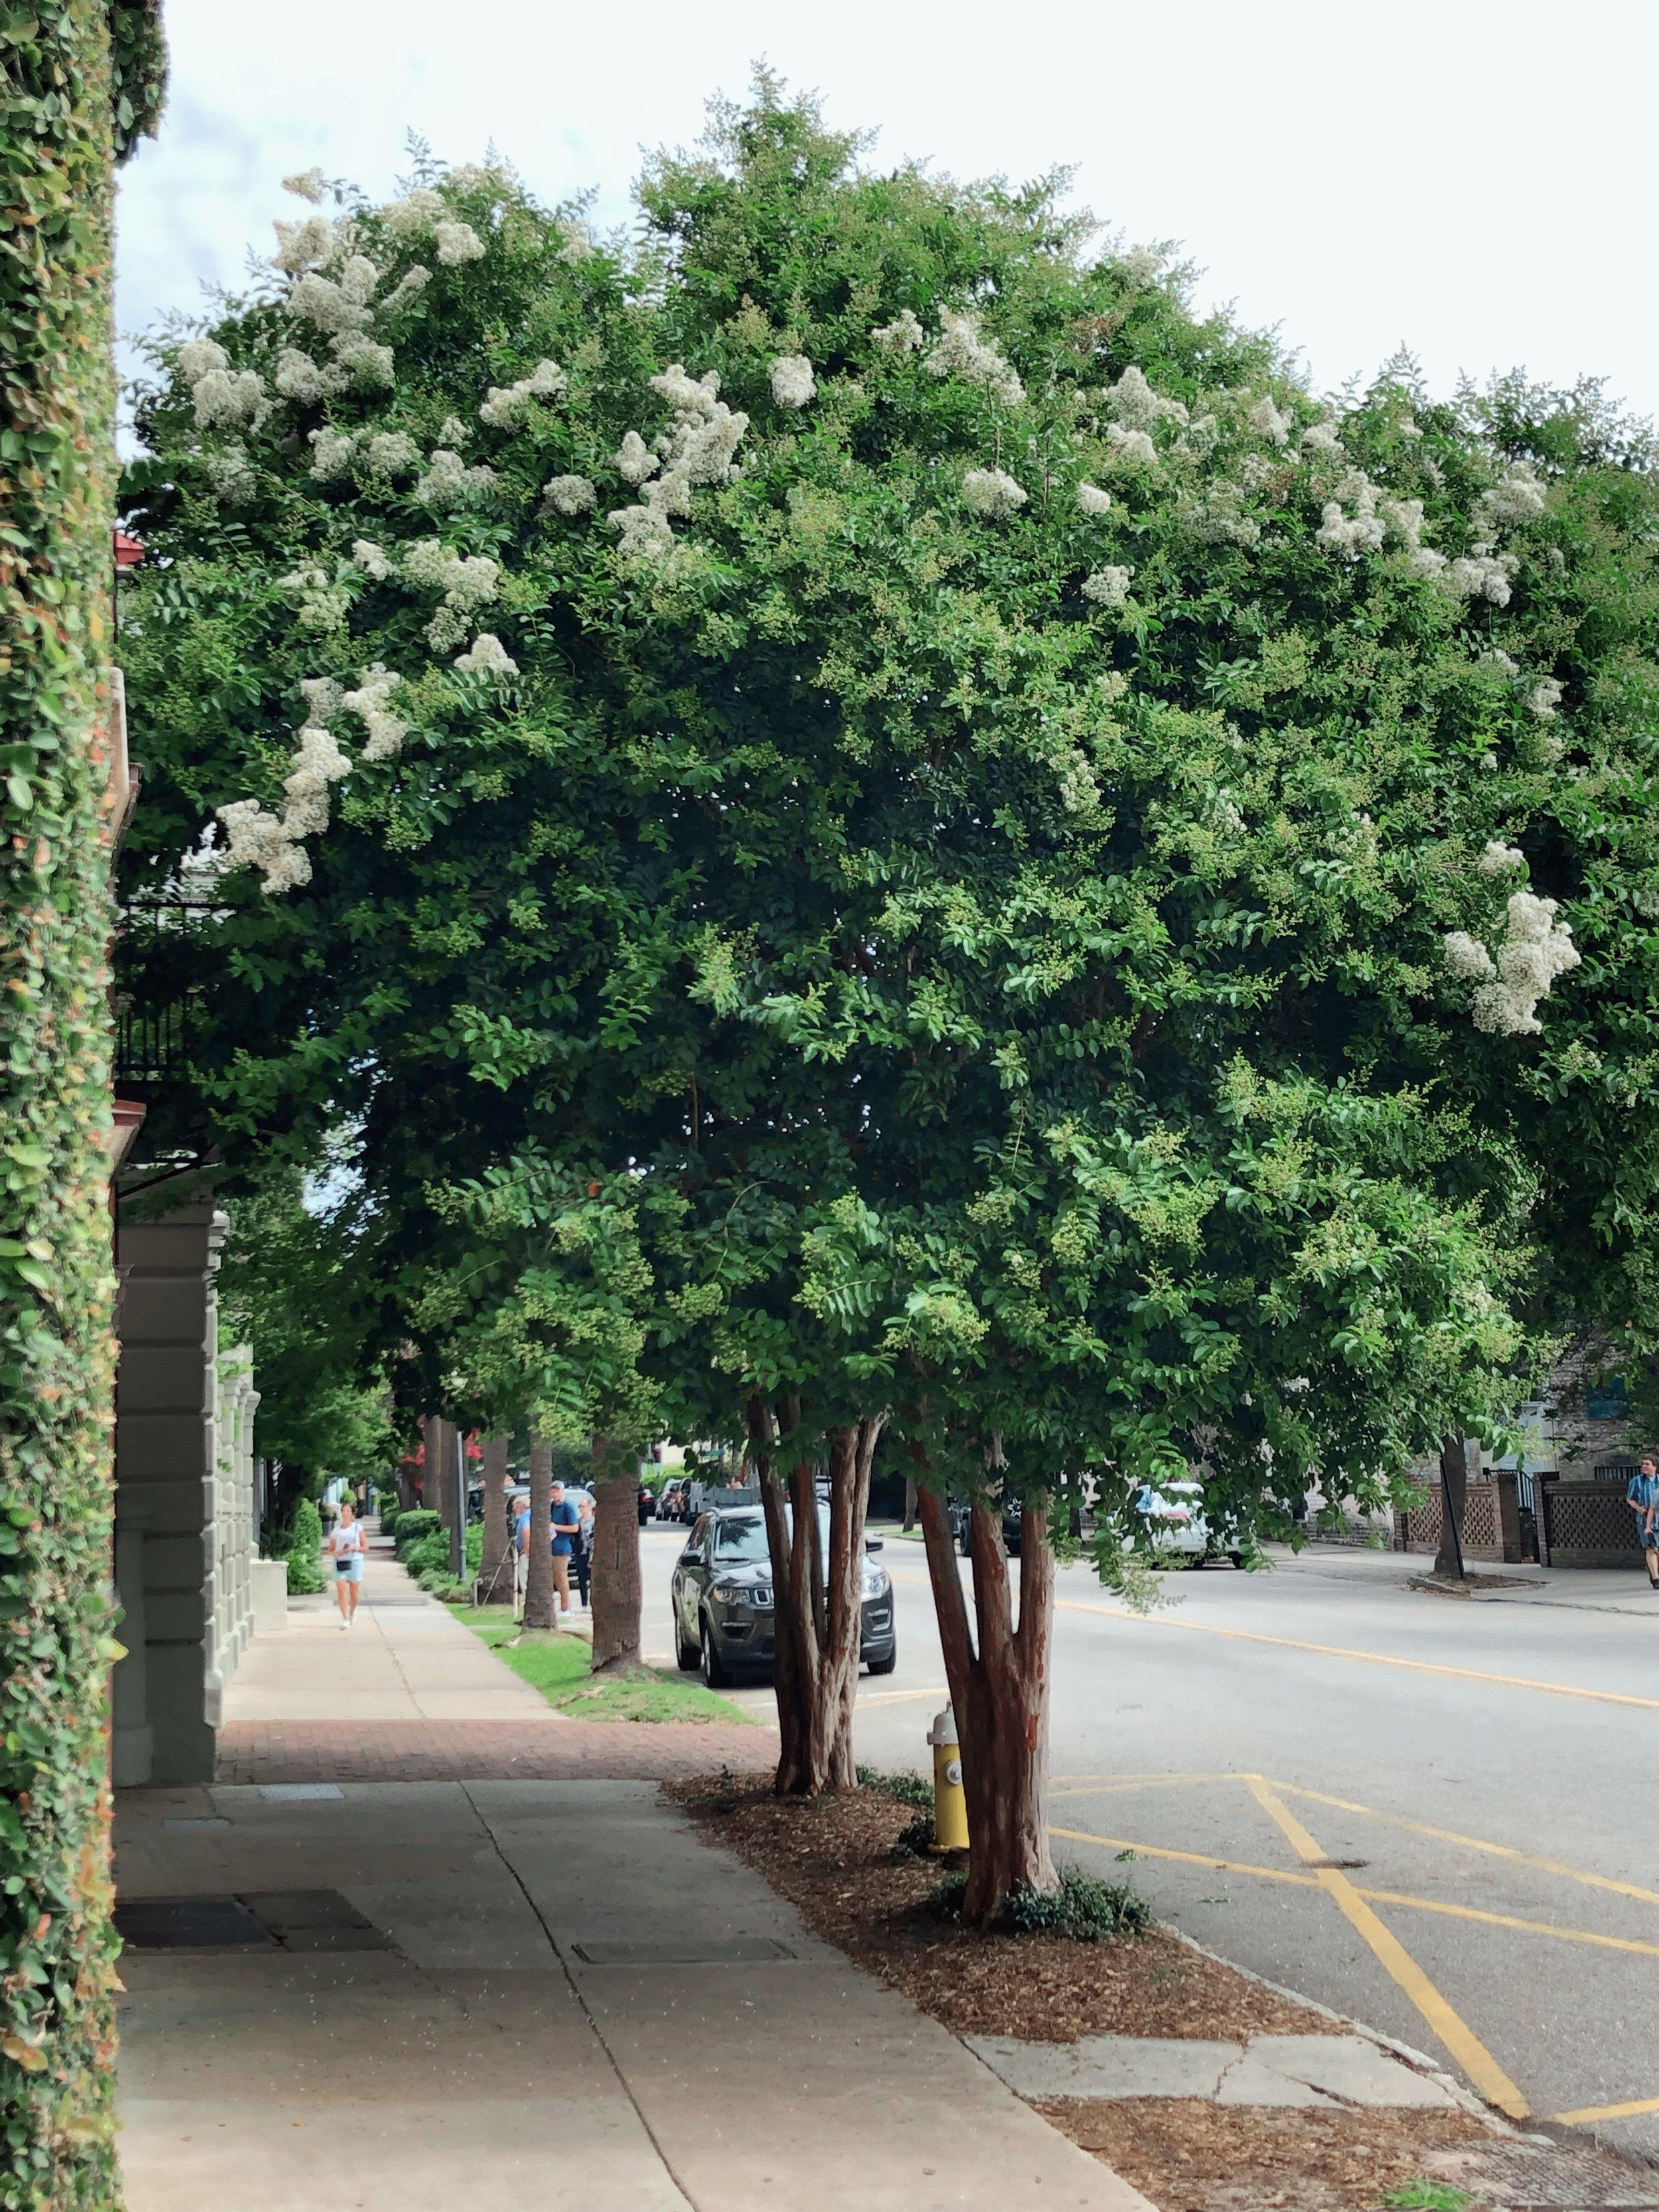
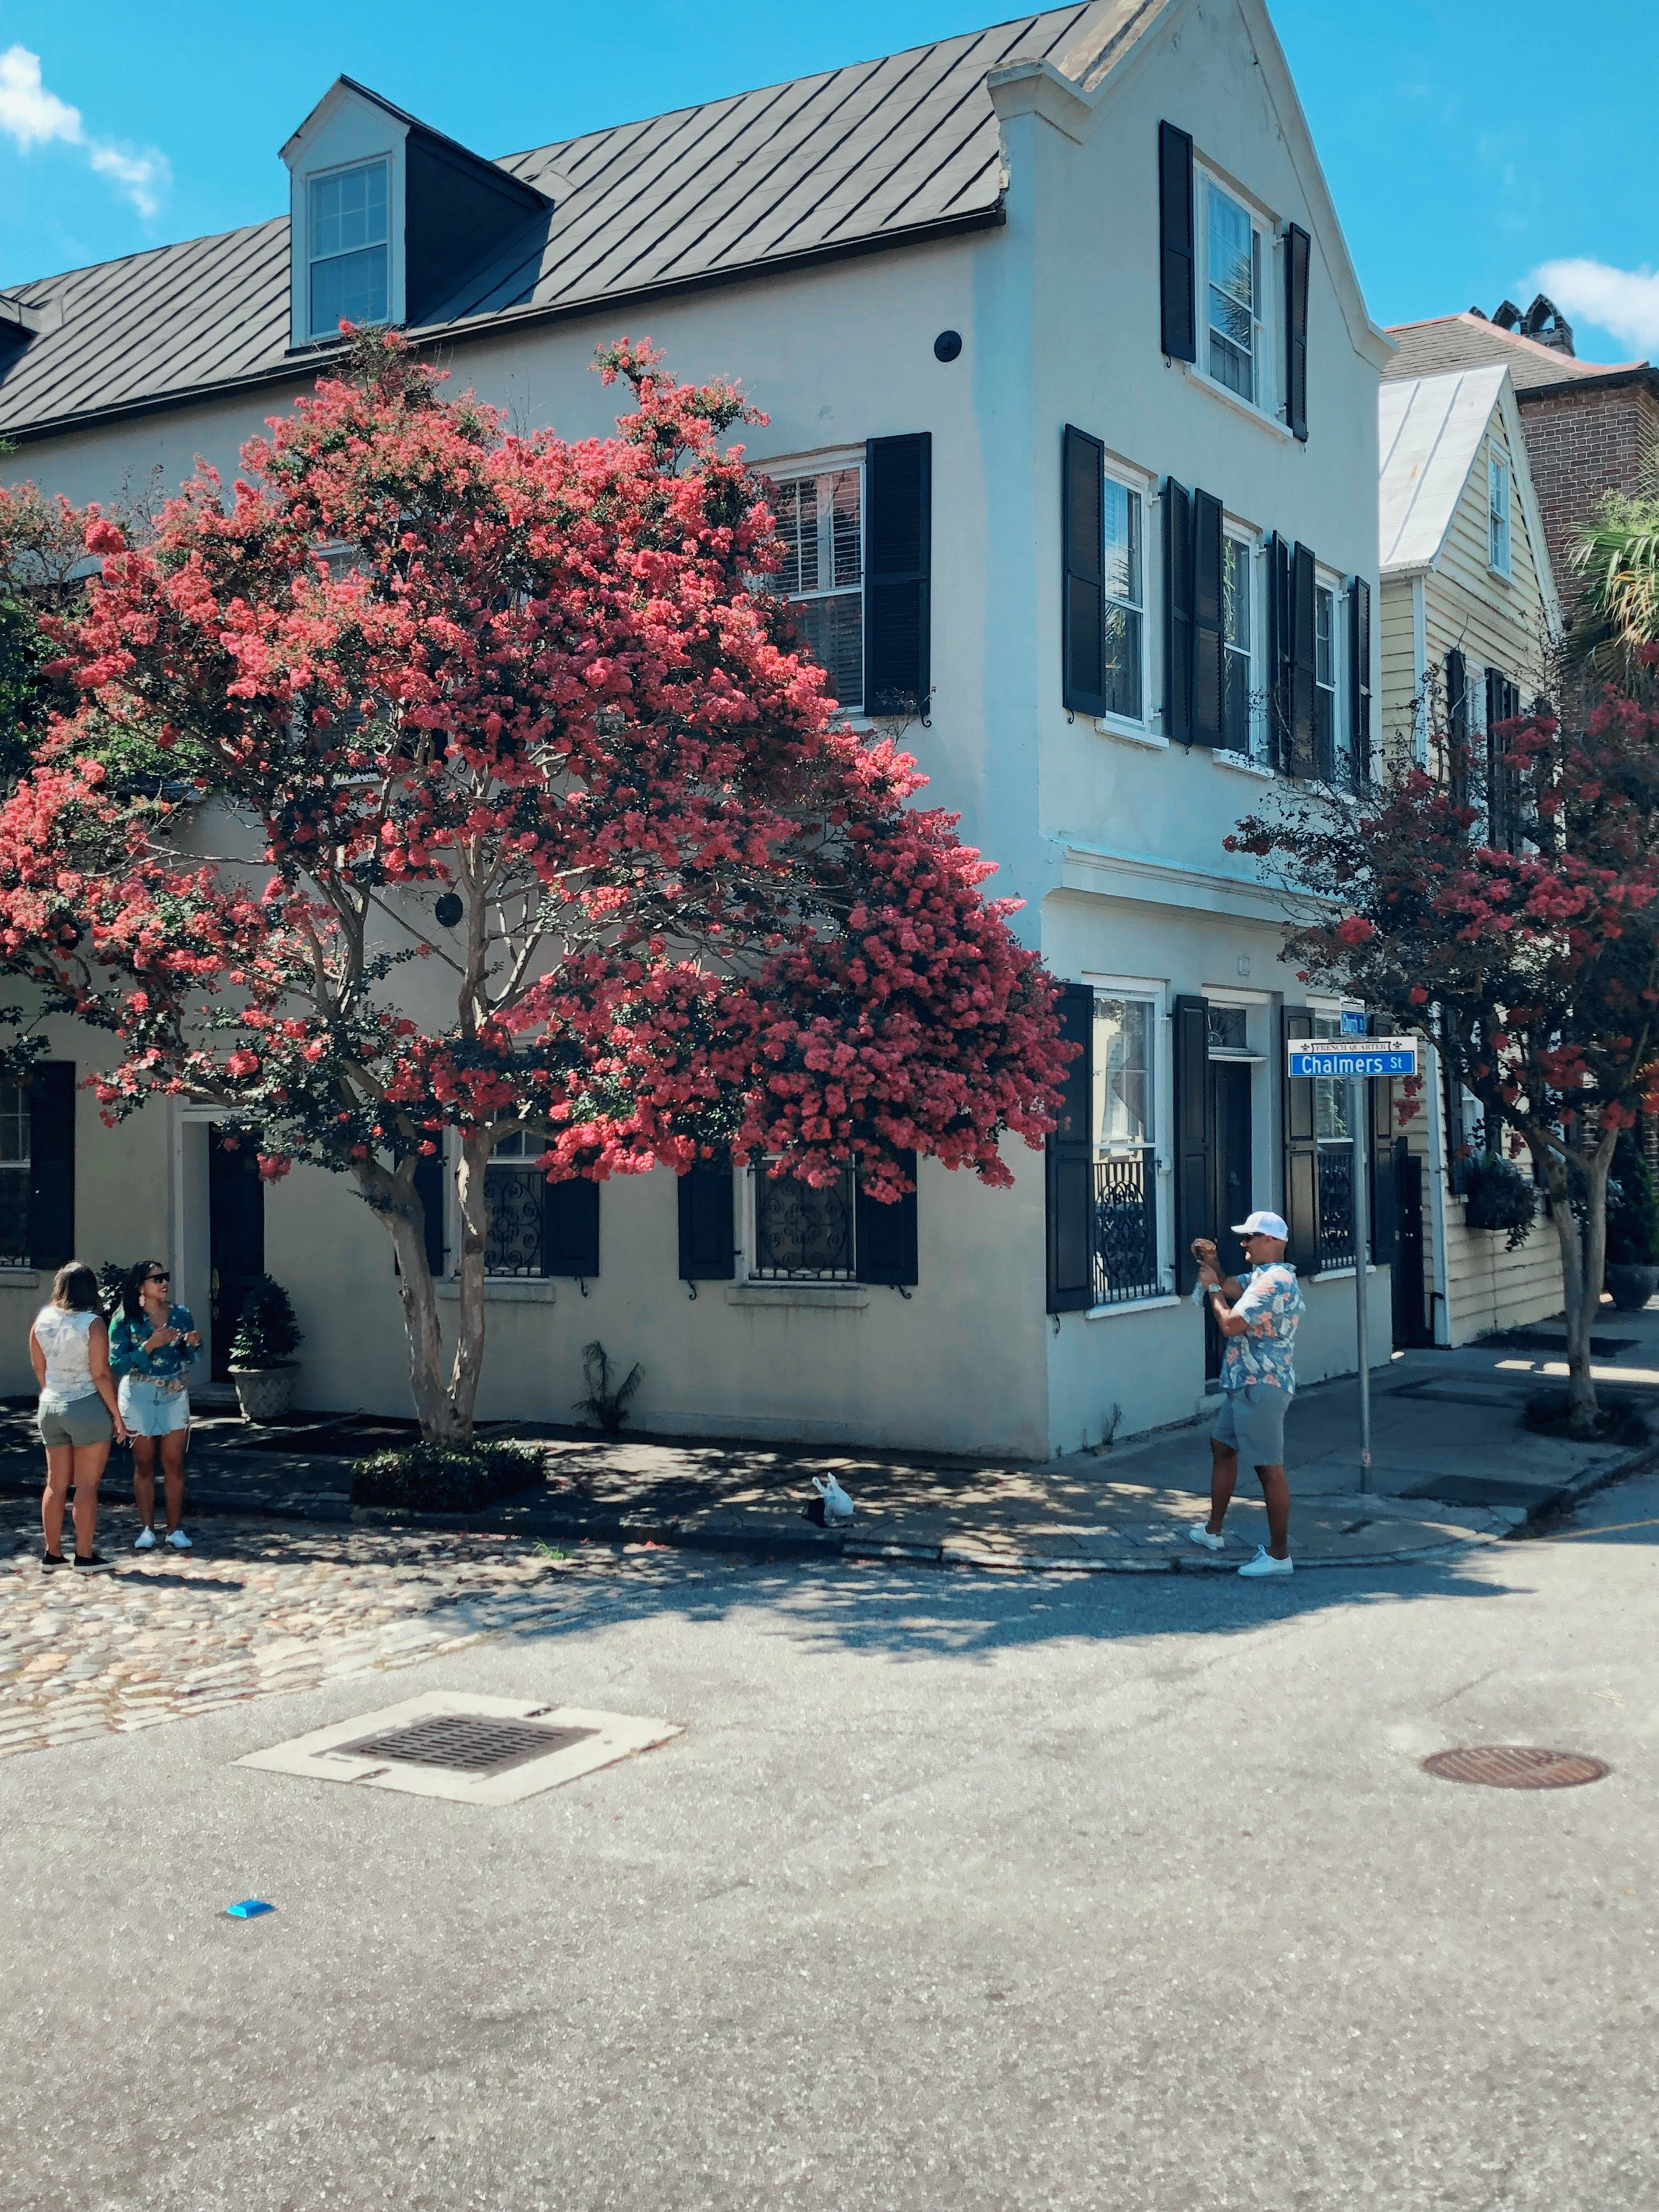
This past week, I was fortunate to spend a few days in Charleston, South Carolina, the first place the French planted crape myrtles in the United States. One of our favorite activities of the week was a morning walk through Charleston’s crape myrtle lined streets.
There are over 50 varieties of crape myrtles and new ones are introduced every year. They are found throughout the southern US and perform well anywhere south of USDA zone 6.
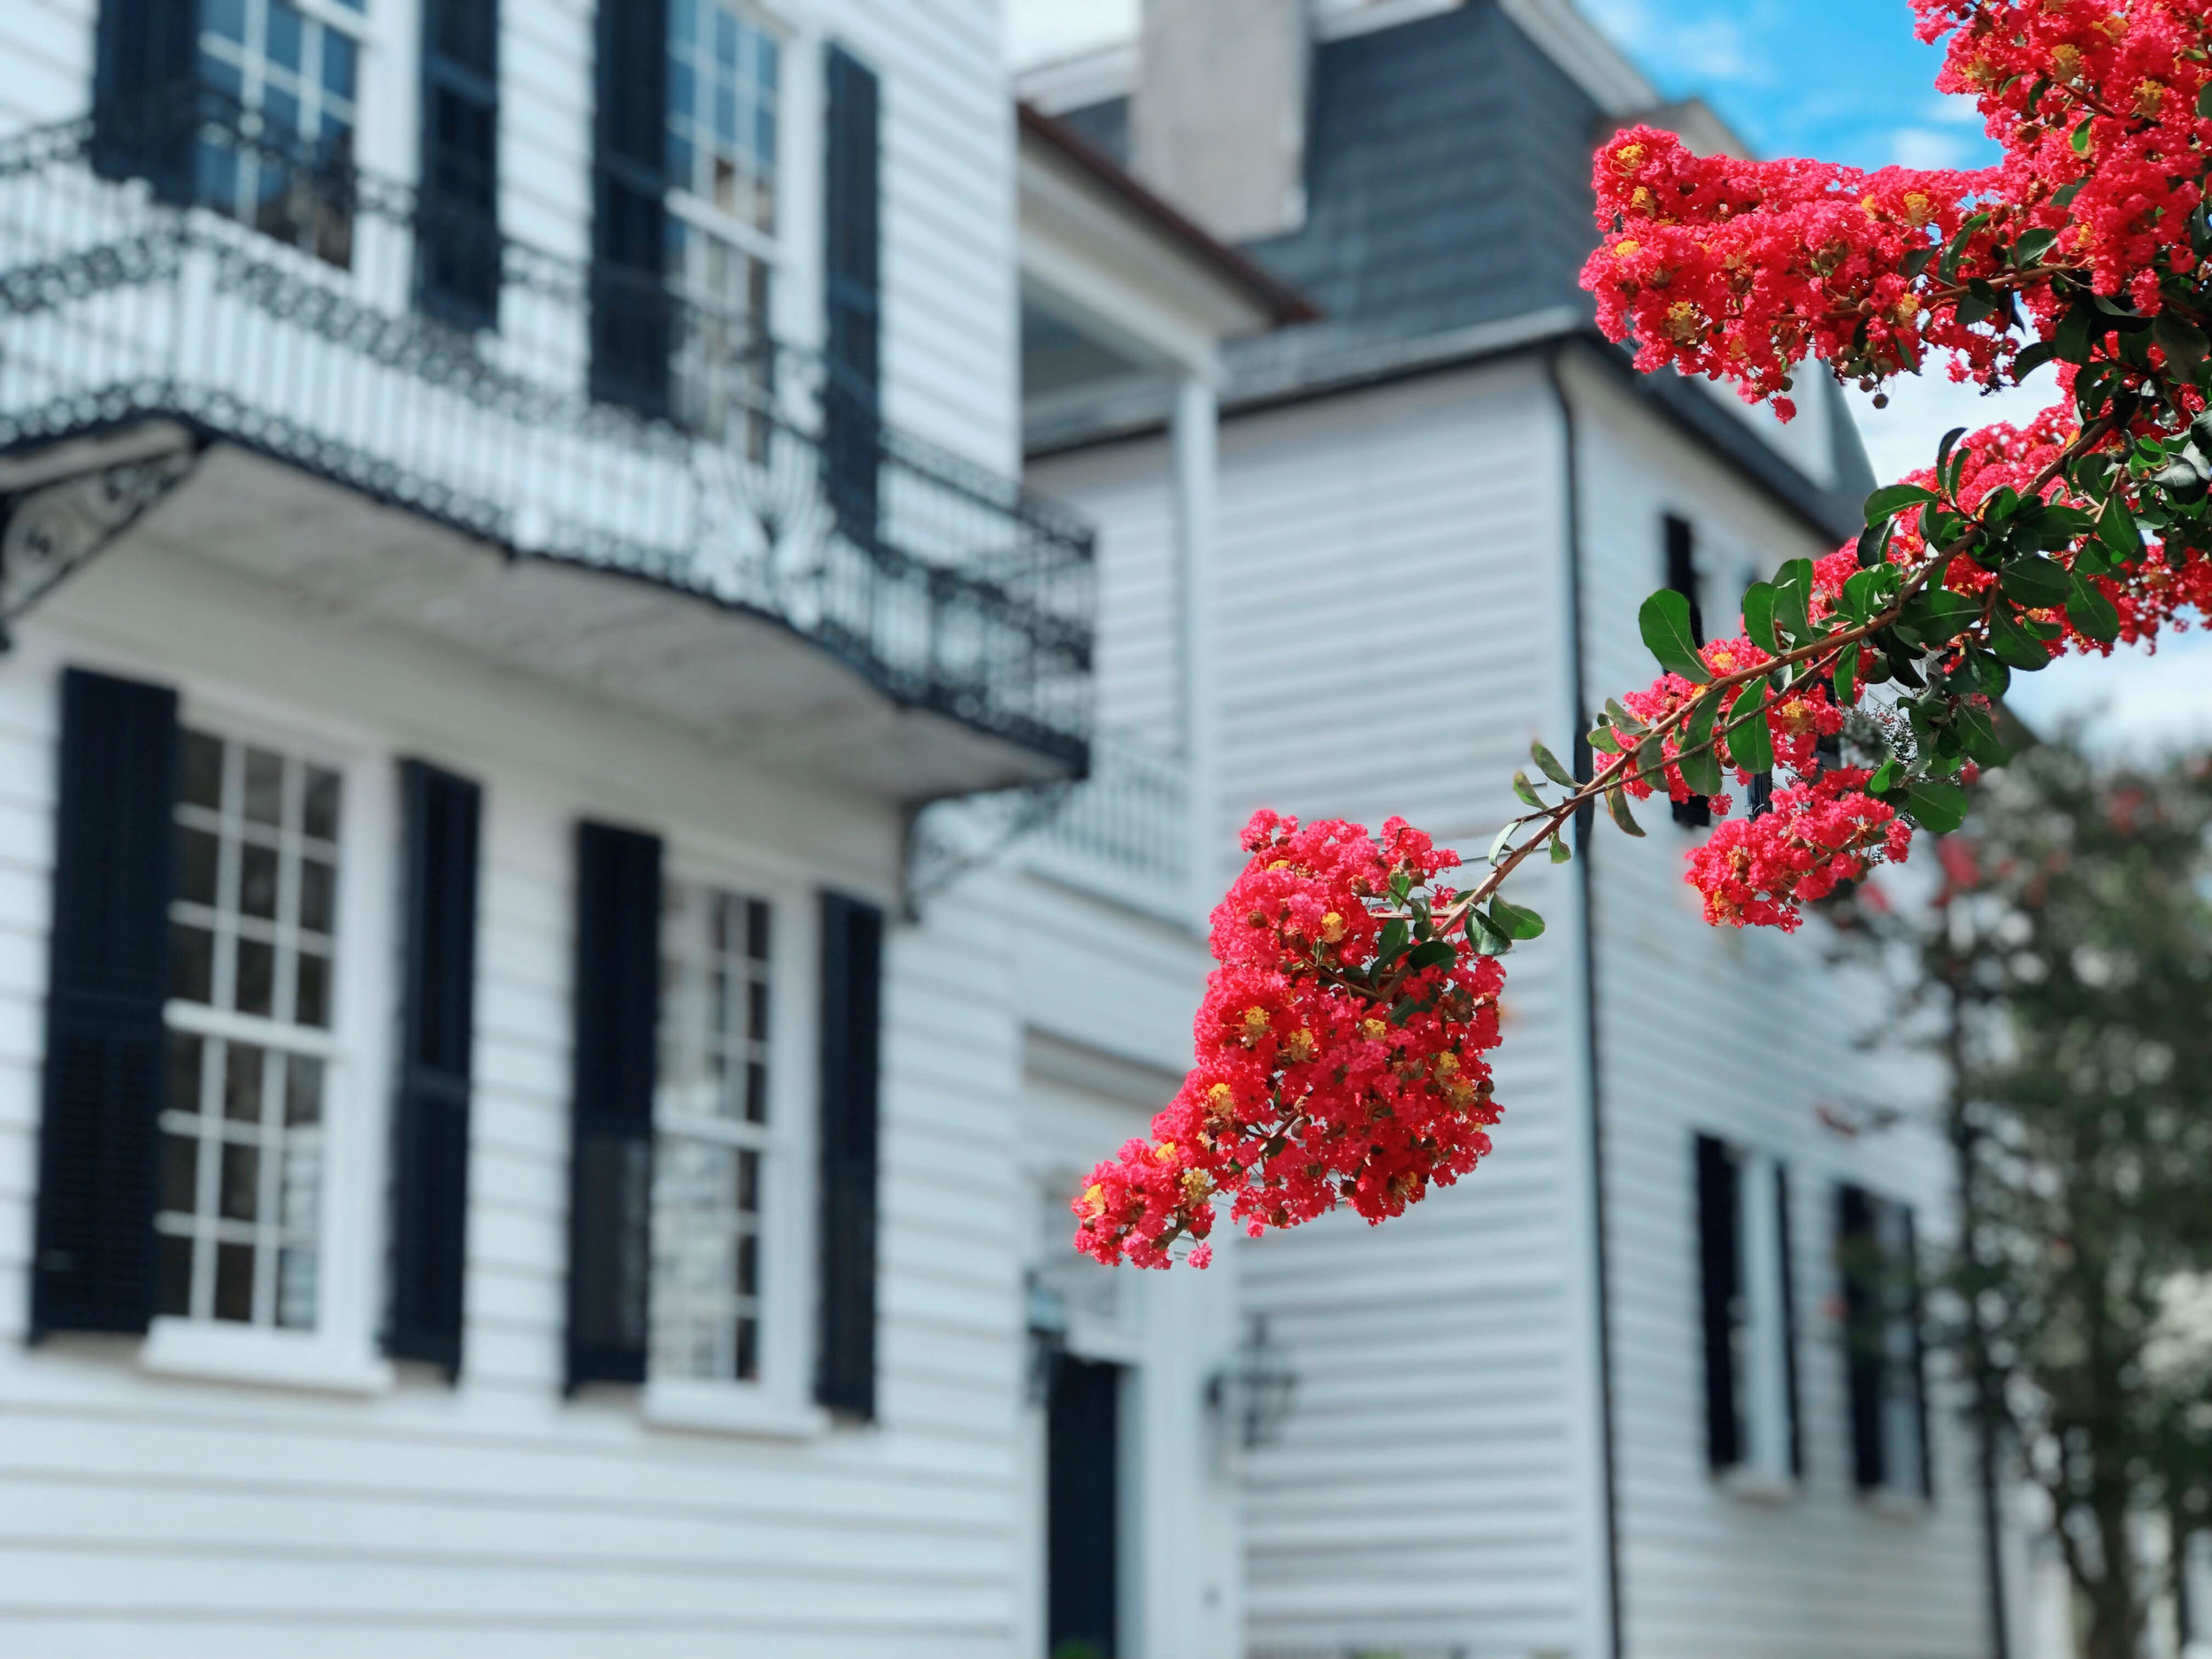
Crape Myrtle Colors – The color pallet ranges from white, pink, purple and red. Bloom color is not the only attribute of a crape myrtle. Their foliage ranges from dark green, wine colored, velvet and dark purple. The combination of the bloom and foliage colors is one of the things that attracts me to the plant.
I am most fond of the large, full sized, tree formed crapemyrtles. It is hard to narrow my list of favorite crapemyrtles, and my list often changes, but these are just a few of my current favorites:
One of the nation’s leading innovators of crape myrtles is Oklahoma’s own, Dr. Carl Whitcomb. Dr. Whitcomb holds 32 patents and has authored five books including Know It and Grow It, a book every landscape enthusiast should own. You can see all of Dr. Whitcomb’s crape myrtles by following this link: http://drcarlwhitcomb.com/Patented_Plants.html
I would challenge anyone to find another plant that offers so many features to the landscape. From the long bloom, the variety of colors, the many shapes and sizes, and the addition of exfoliating bark and good fall color, you can’t deny the crape myrtle a place in your landscape.
Lorne Hall
Hall Stewart Lawn + Landscape


